Street Photography
Everybody Street
|
|
The "Everybody Street" video is a trailer to a street photography documentary featuring the work of Jill Freedman, Bruce Davidson, Boogie, Joel Meyerowitz, Ricky Powell, Mary Ellen Mark, Jeff Mermelstein, Martha Cooper, Elliot Erwitt, Jamel Shabazz, Rebecca Lepkoff, Clayton Patterson and Bruce Gilden. The images were taken in New York; one of the busiest cities in the world, perfect for taking street photographs.This is a video which was recommended to me by my teacher because it relates really well to my Externally Set Task theme; street photography. Looking at this has already helped to expand my knowledge on street photography as it shows all different kinds of shots, people and scenarios with the photographers explaining in the background the causes and reasons for taking the images they did.
|
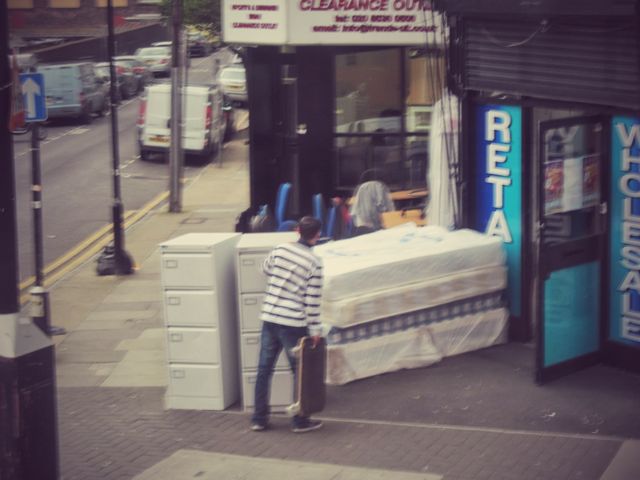
Joel Meyerowitz
|
From the "Everybody Street" video, I decided to pick one of the street photographers and do some more research on my choice. I looked at most of their work but I chose to look deeply into Joel Meyerowitz's work after deciding that his work was my favourite. Joel Meyerowitz is an American street photographer in his mid seventies who focuses on mainly the people he sees on the street and their interactions. Looking at his images I can see that he has an attraction to busy street scenes where the level of mayhem is high. This is what led me to choosing to study his work as I myself particularly enjoy viewing photographs of busy street scenes.
|
|
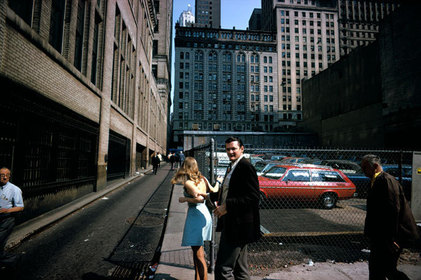
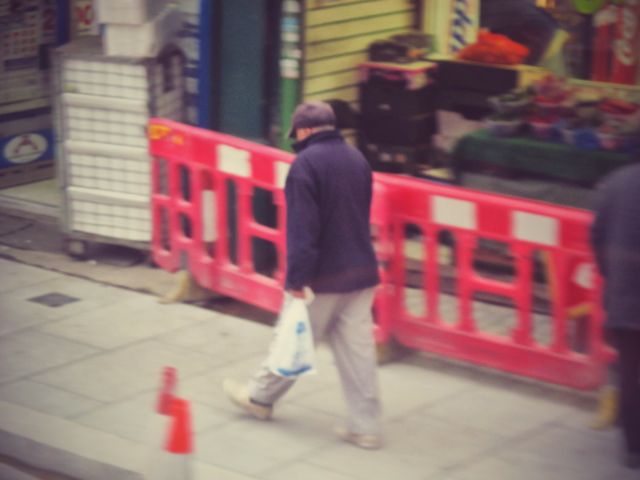
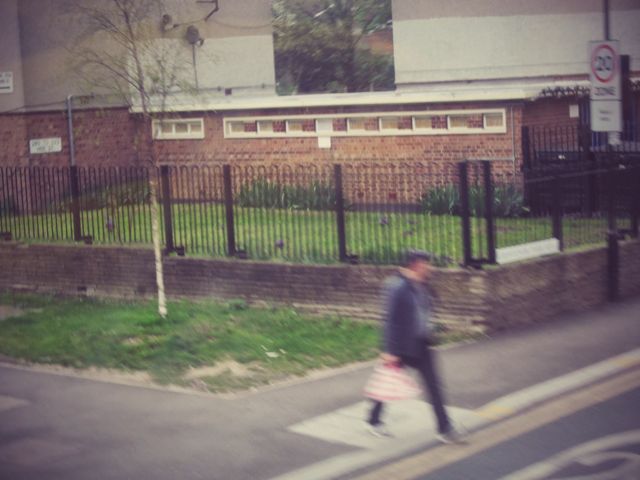
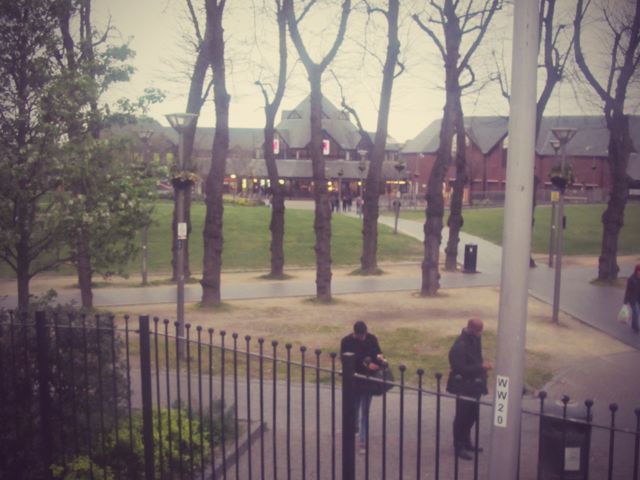
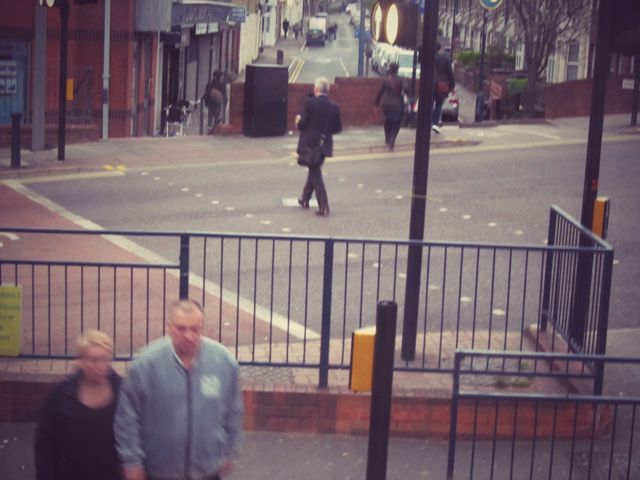
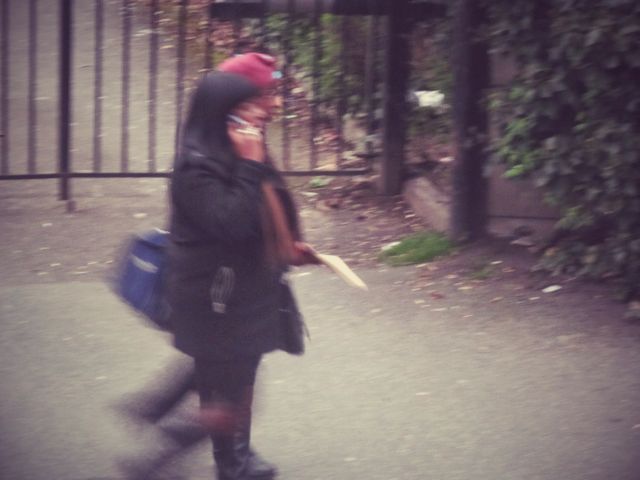
This is an image that stuck out to me more than any others. I think that the subject of the image is definitely the man and woman standing by the fence in what looks to be a quite hostile situation. It seems as though the woman is desperately trying to get away from the man but he's got a tight grip on her, making it a lot harder for her to break free. It's like the image is telling us a fragment of some kind of dramatic story and the fact that the image is in colour rather than black and white may possibly be something to do with how the photographer is trying to portray the story to the viewers. The image being in colour shows that the mans clothes are quite dark and sharp, suggesting that he is the villain, the bad guy in the situation, while the woman is in a light blue colour, a more innocent and pure colour, suggesting that she is maybe playing the "damsel in distress" role here. The scene around the pair is more isolated compared to other Meyerowitz images which are in more crowded street areas. This area only has three stragglers, including the photographer who must have stopped on the other side of the road to capture this particular moment of a scene that he may have been observing from a while, from a distance before moving closer to take the photograph. The photo was taken quite close up and so this area may not have been quite as isolated as it seems and that may have just been the goal of the photographer to make this image look a lot more suspicious than it really is.
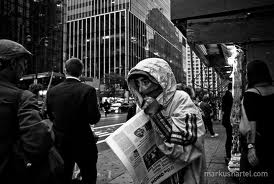
Markus Hartel
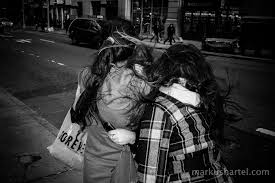
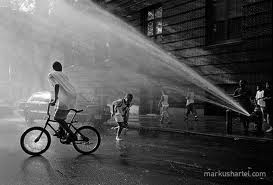
Markus Hartel is another street photographer that I looked at. He is not as well know as Joel Meyerowitz but I decided to look at his images anyway because I like some of the features and elements that he uses in his images. The majority of the images he takes are in black and white and I am particularly interested in black and white photography - particularly in street photography. The black and white effect really works well in his images, emphasizing some key aspects of the photographs. Much like Joel Meyerowitz, Markus Hartel also focuses on people and their interactions. Looking at a few of his images that I picked out, I noticed that his photographs of people he is standing quite close to, whether they are facing towards him or away from him. The focuses of the images (the people) also seem to generally be in a front and center position rather than slightly off to the side of the frame as some other photographers do. This suggests that he perhaps likes to take portrait-like images, to make sure that a viewers attention is solely on the person or people in the middle of the frame.

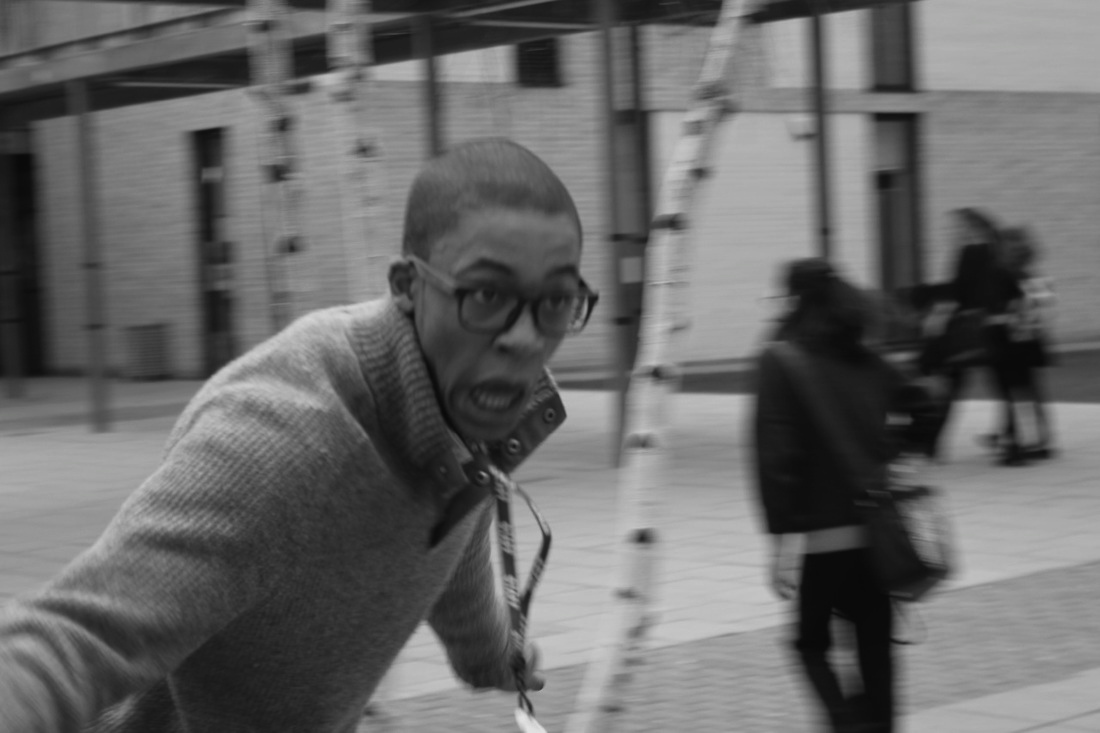
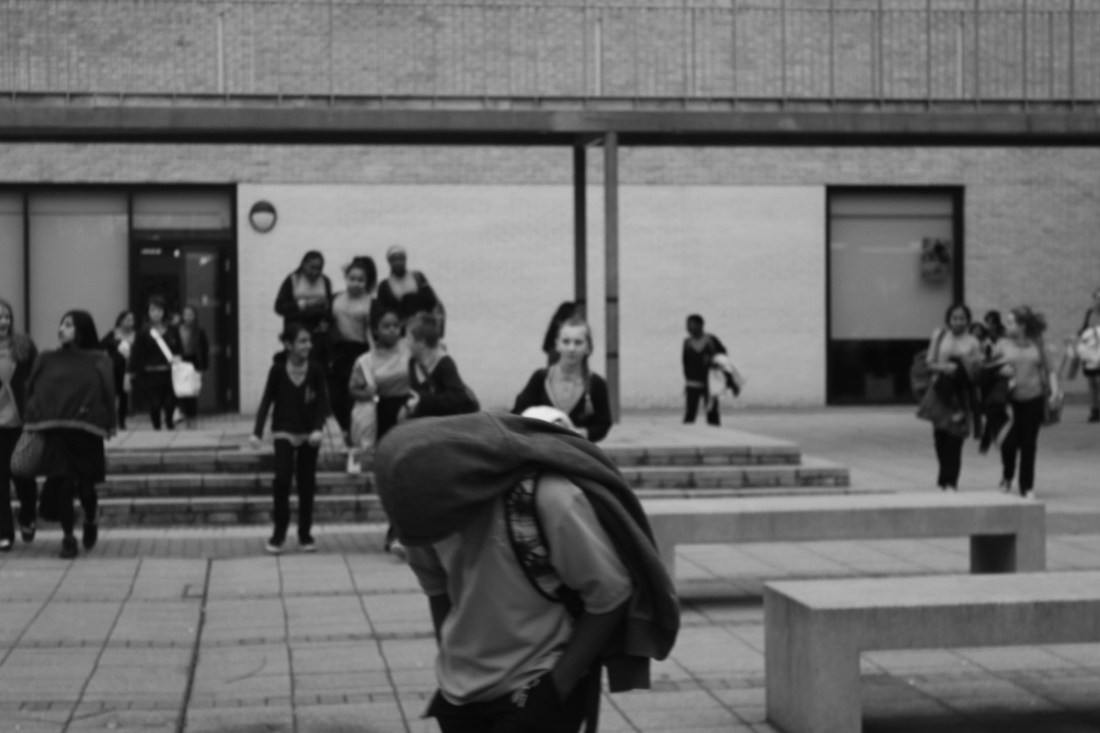
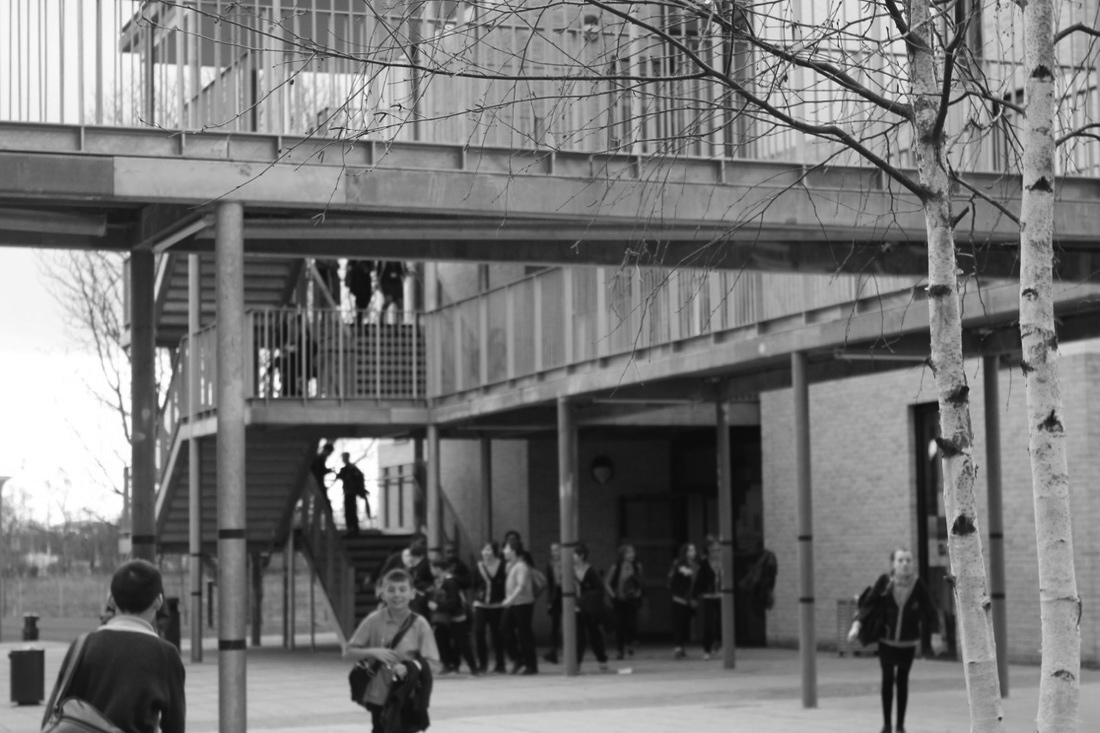
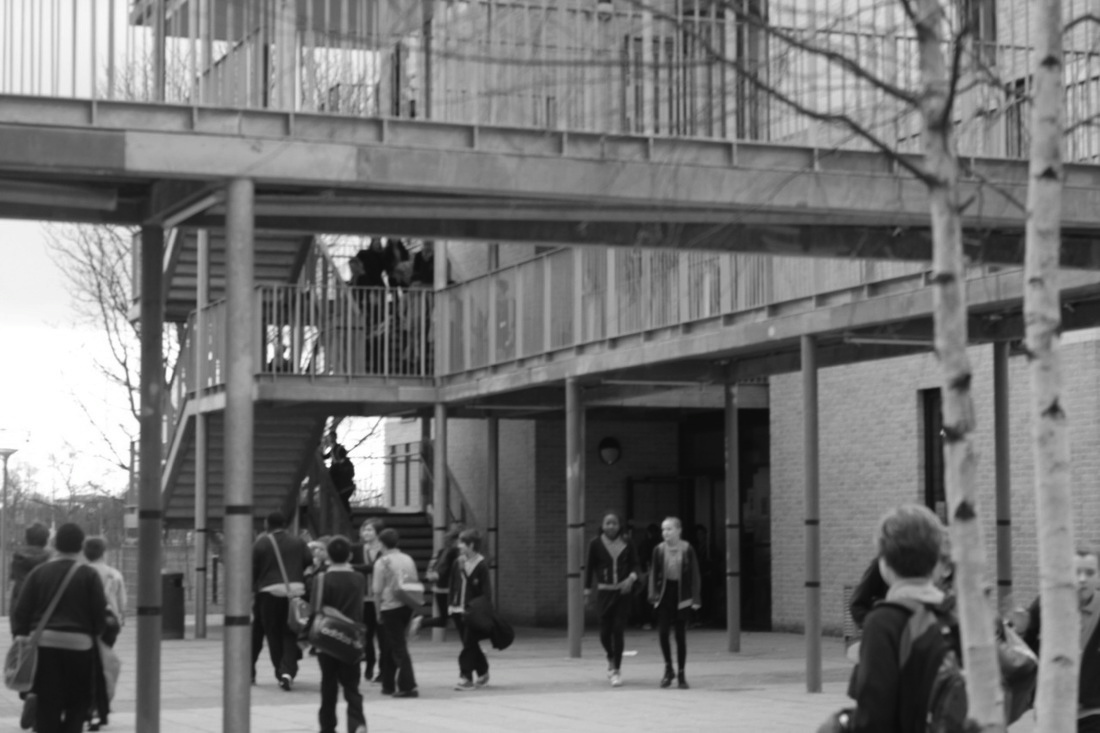
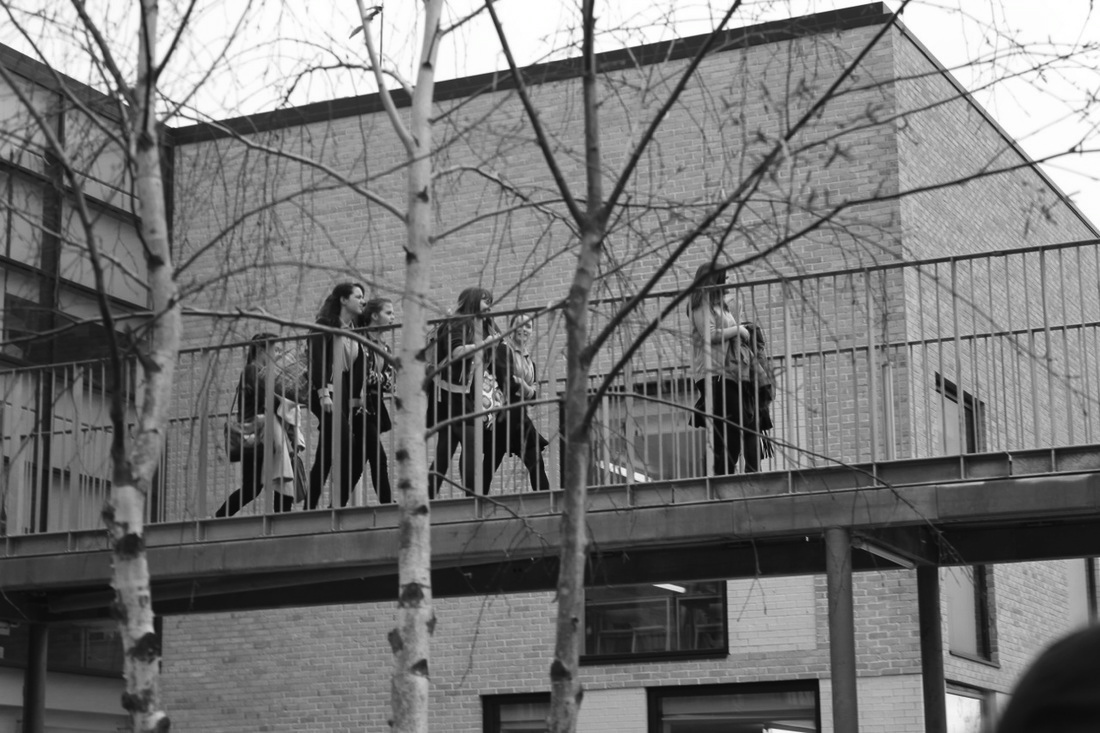
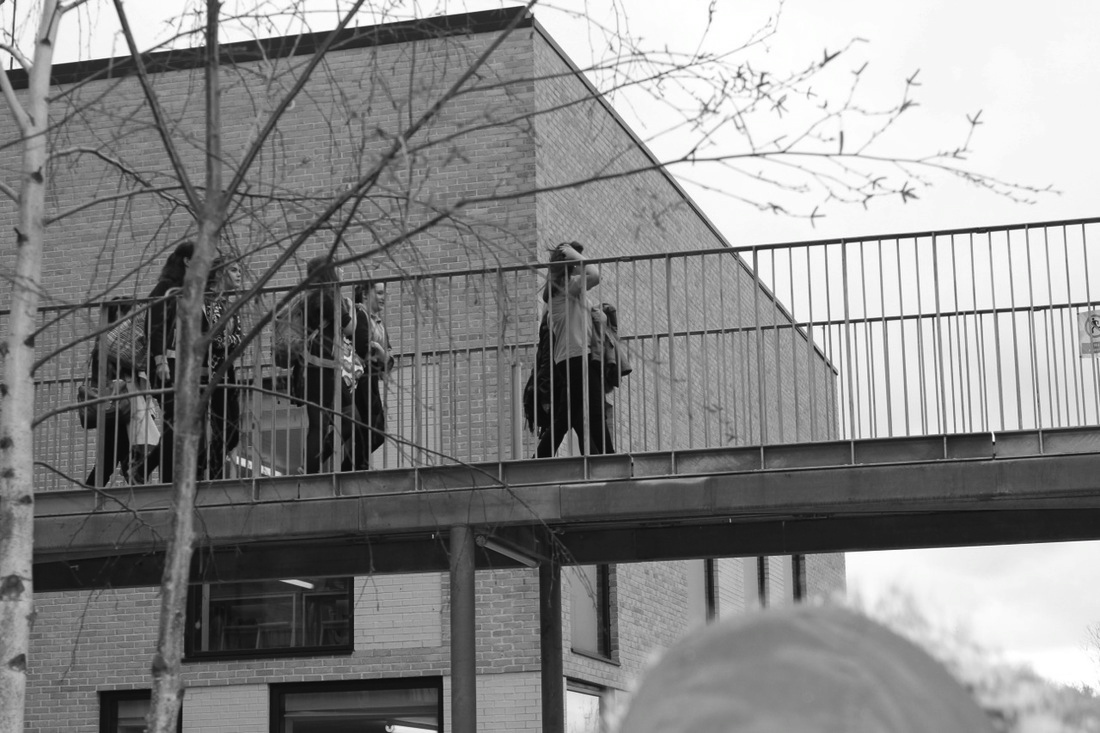
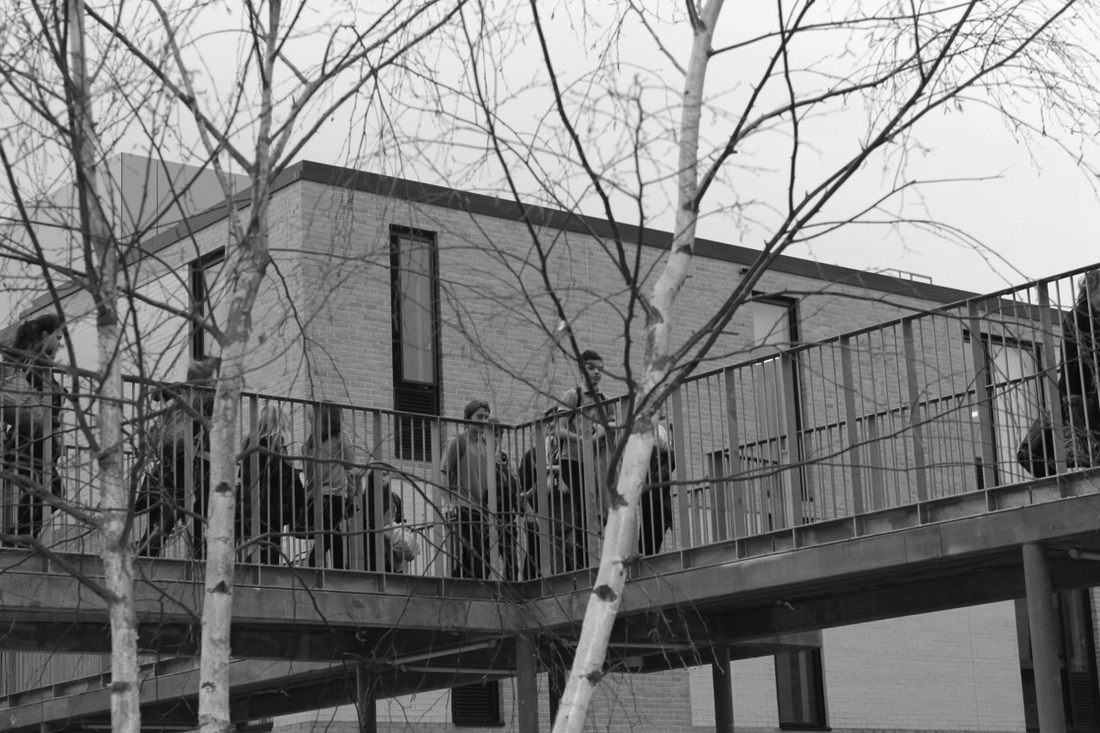
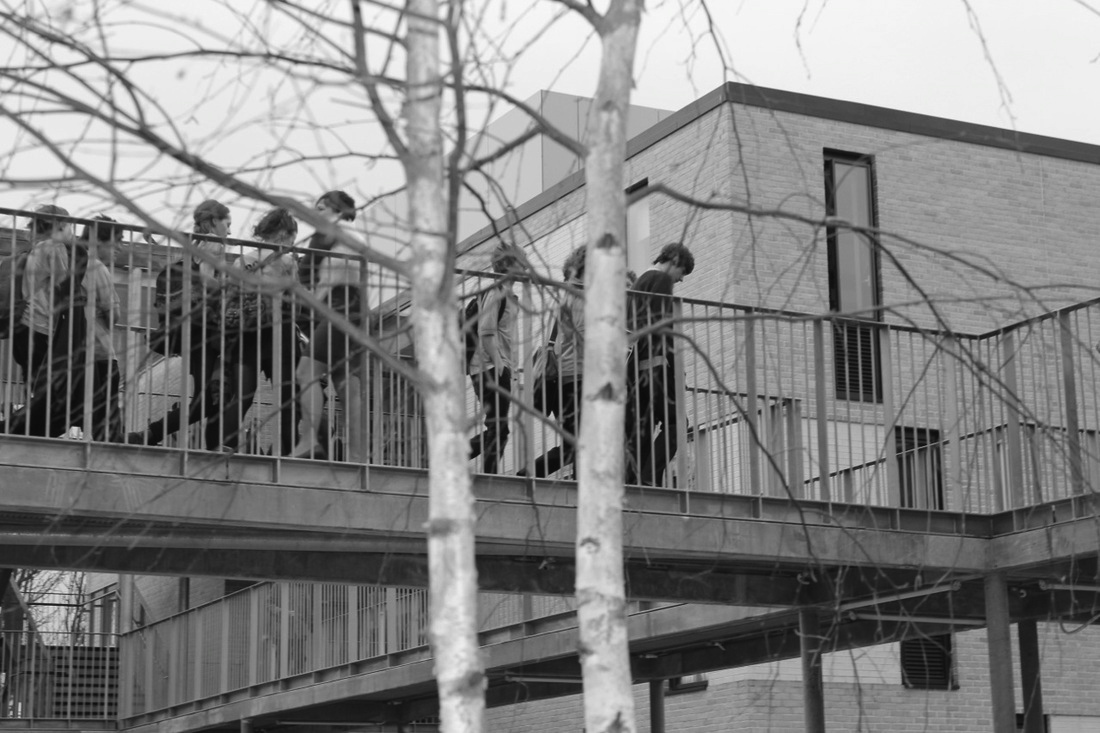
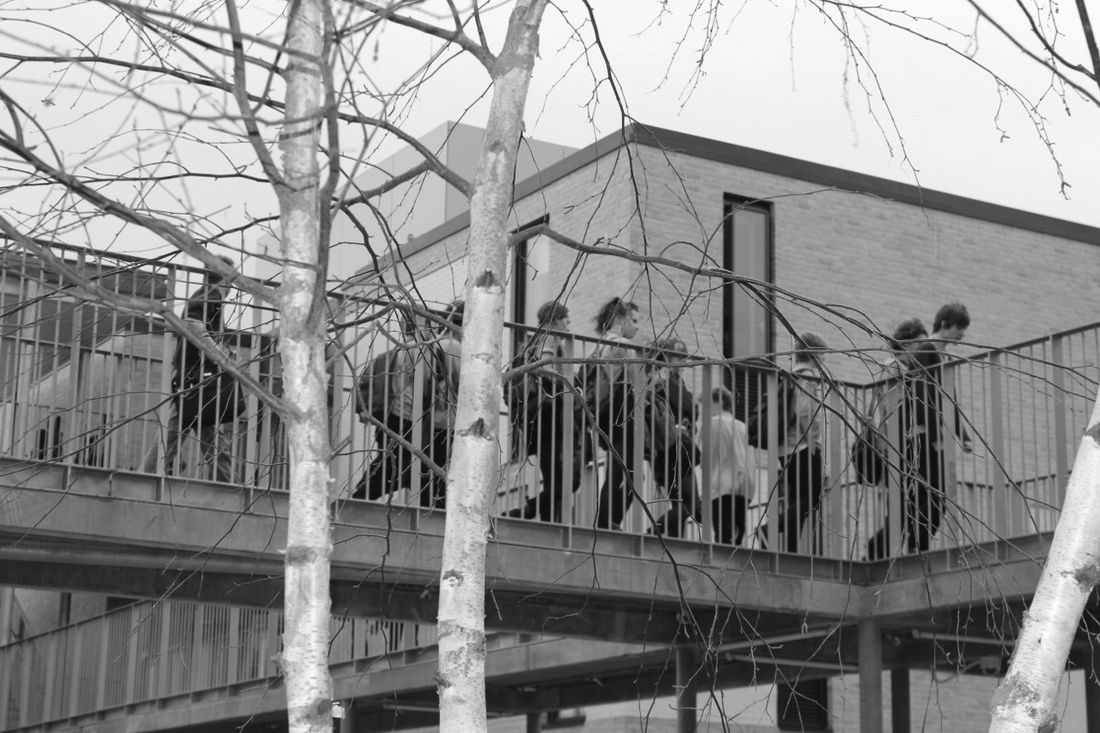
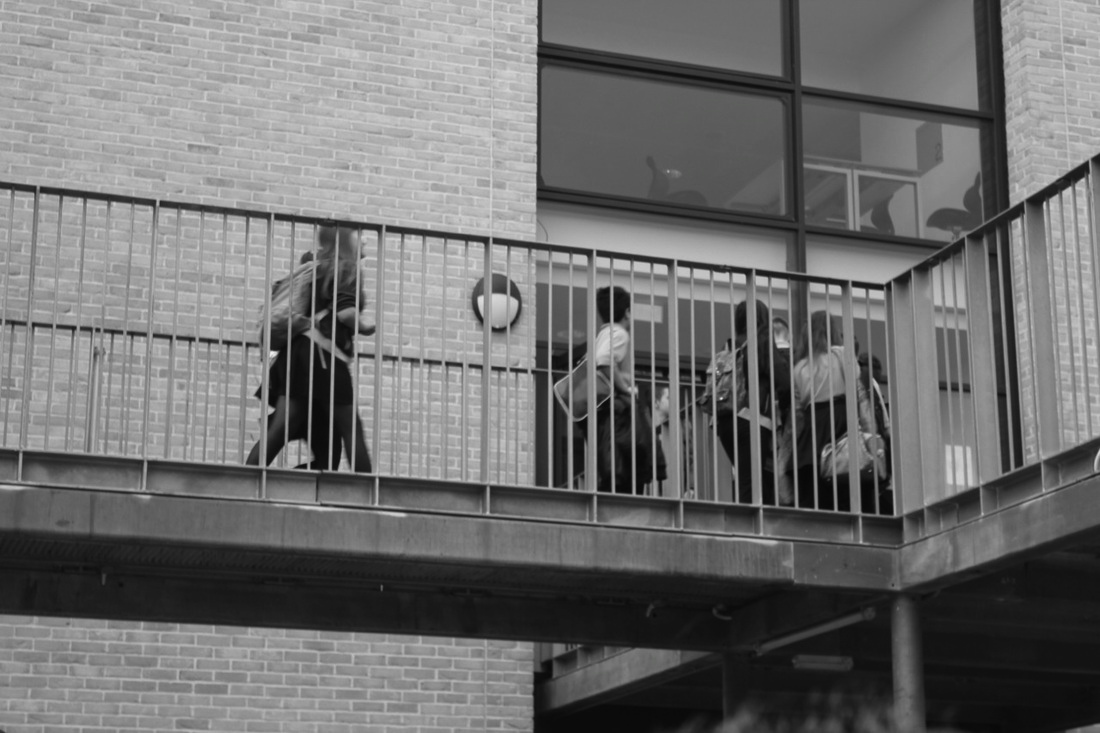
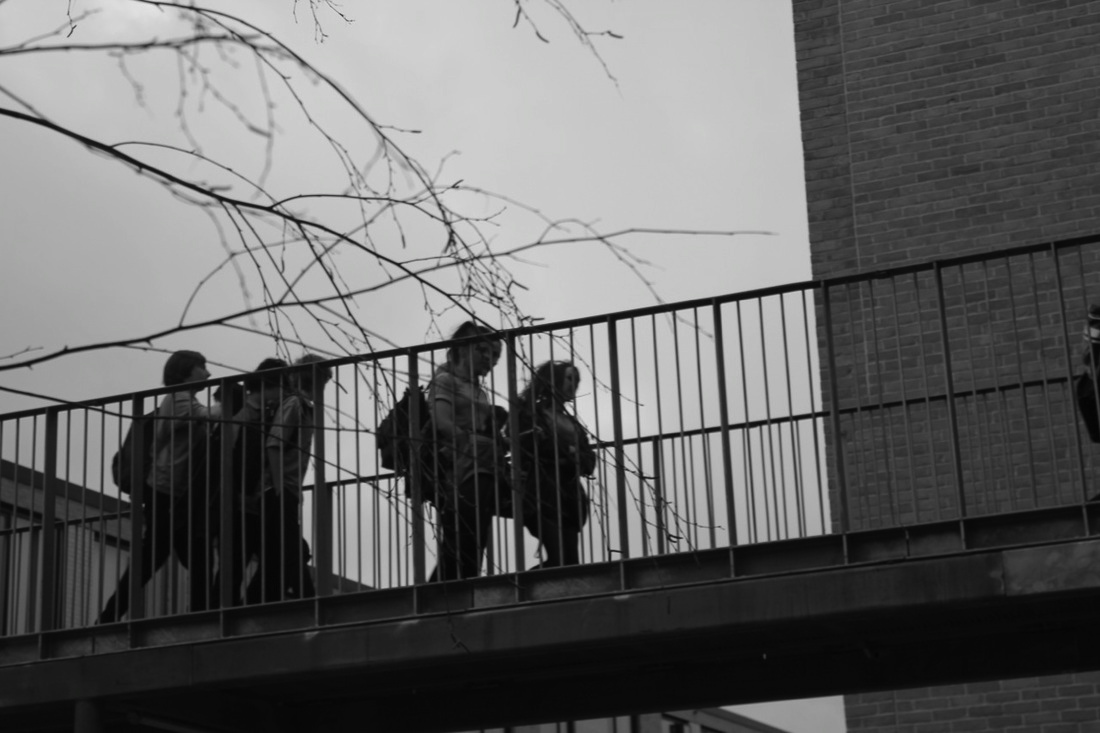
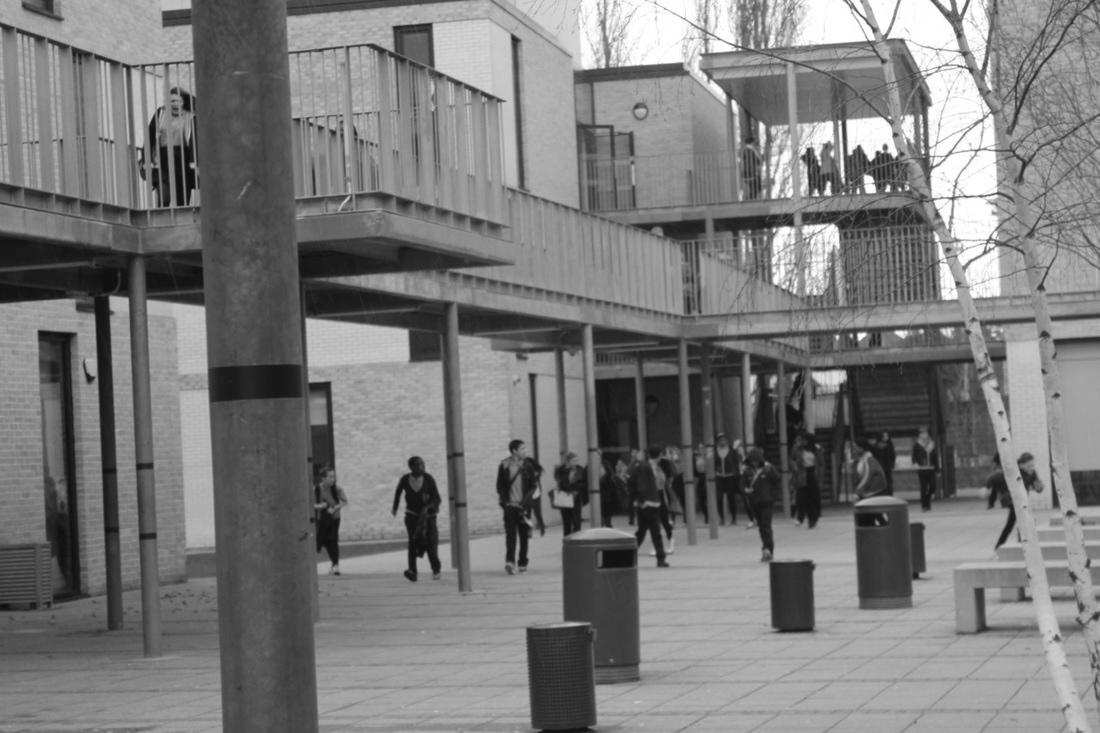
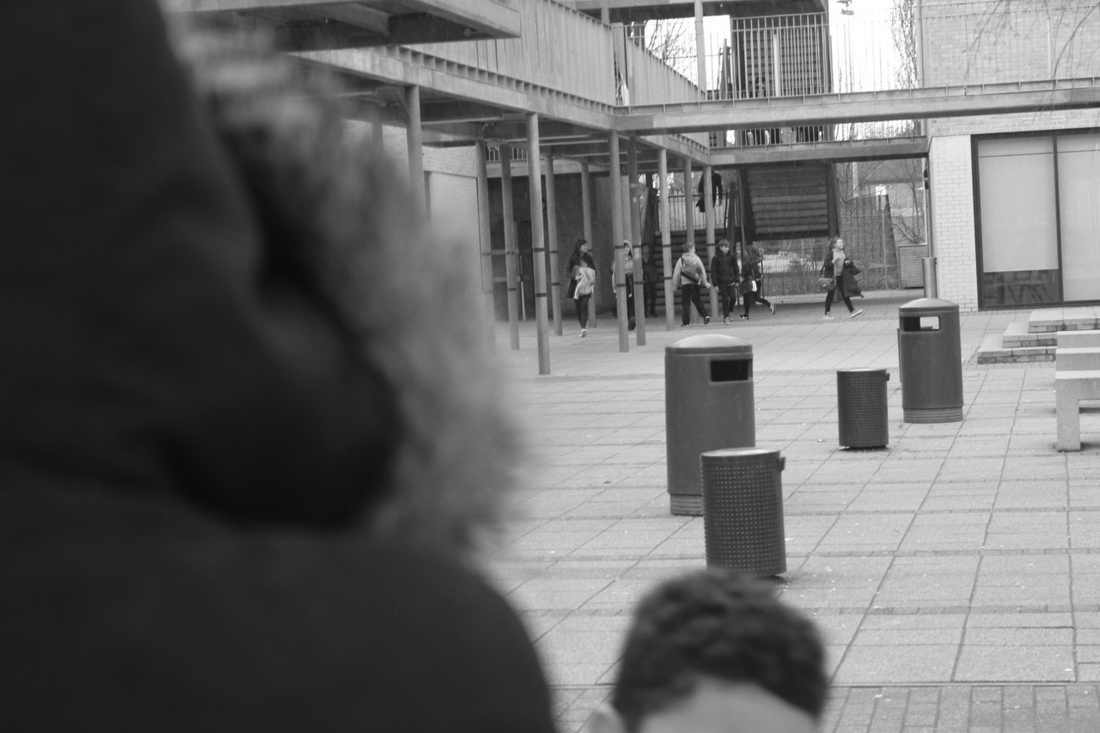
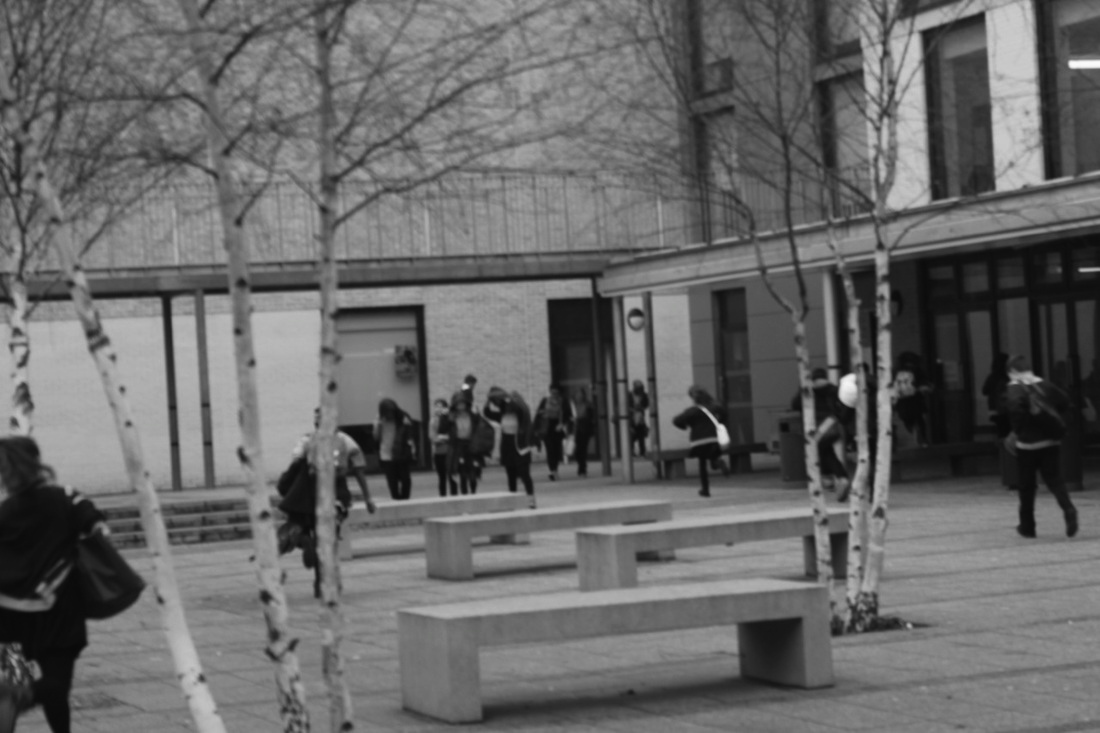
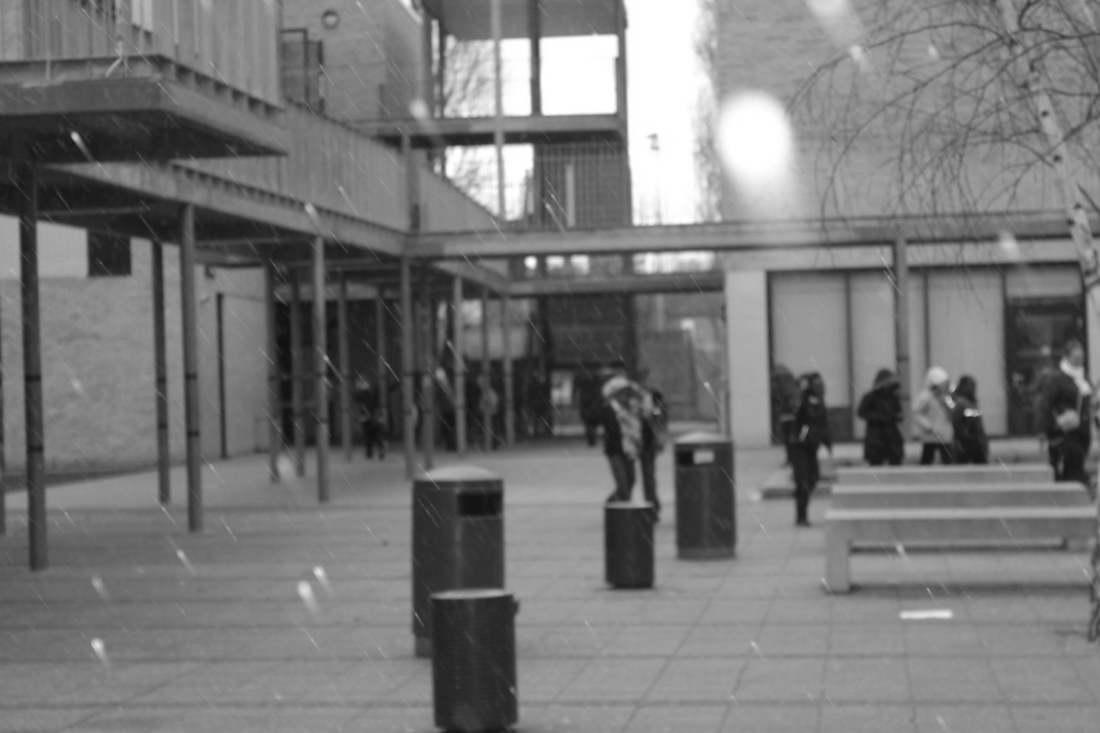
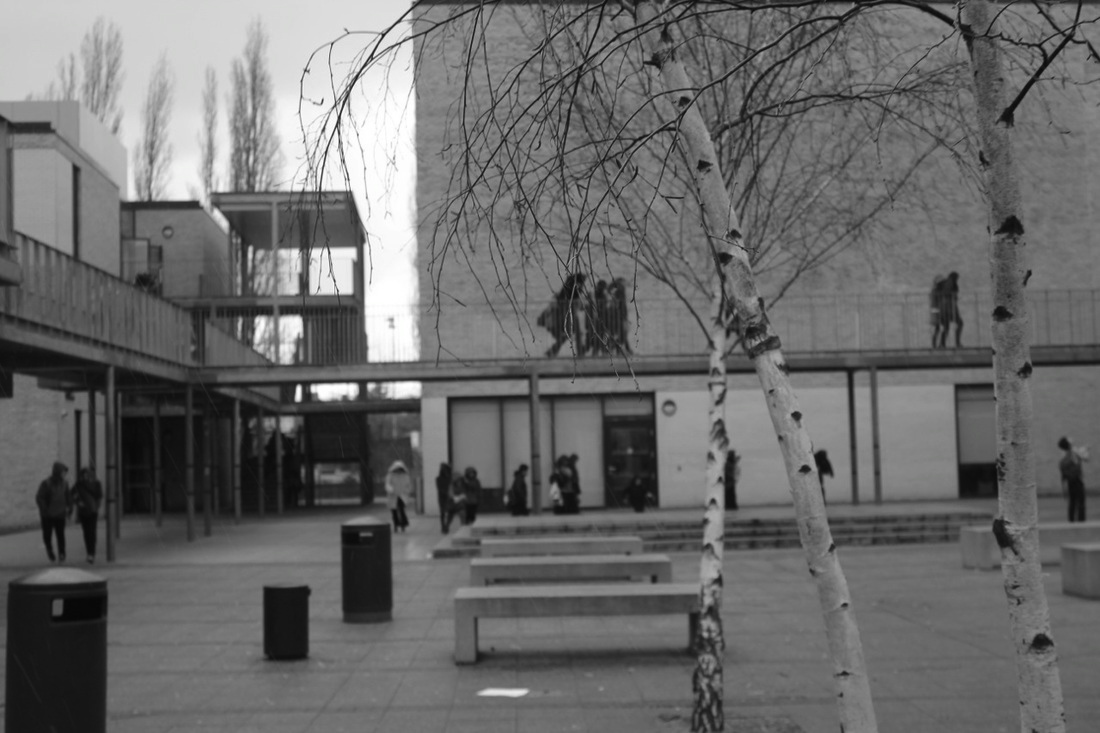
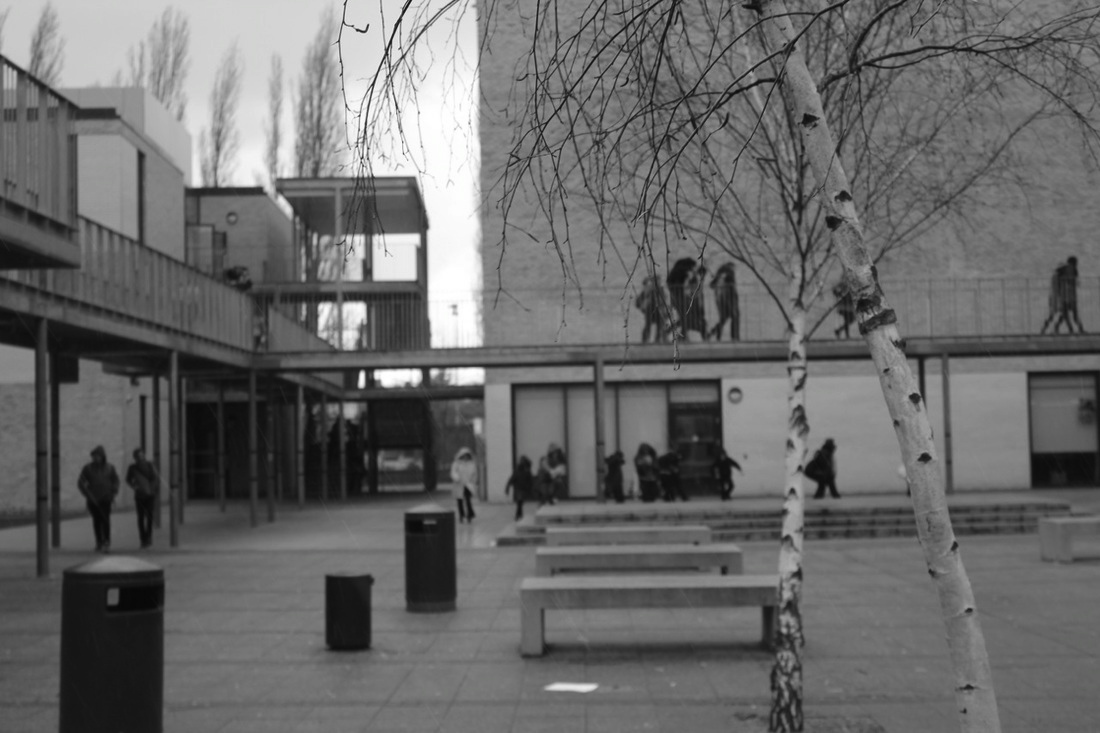
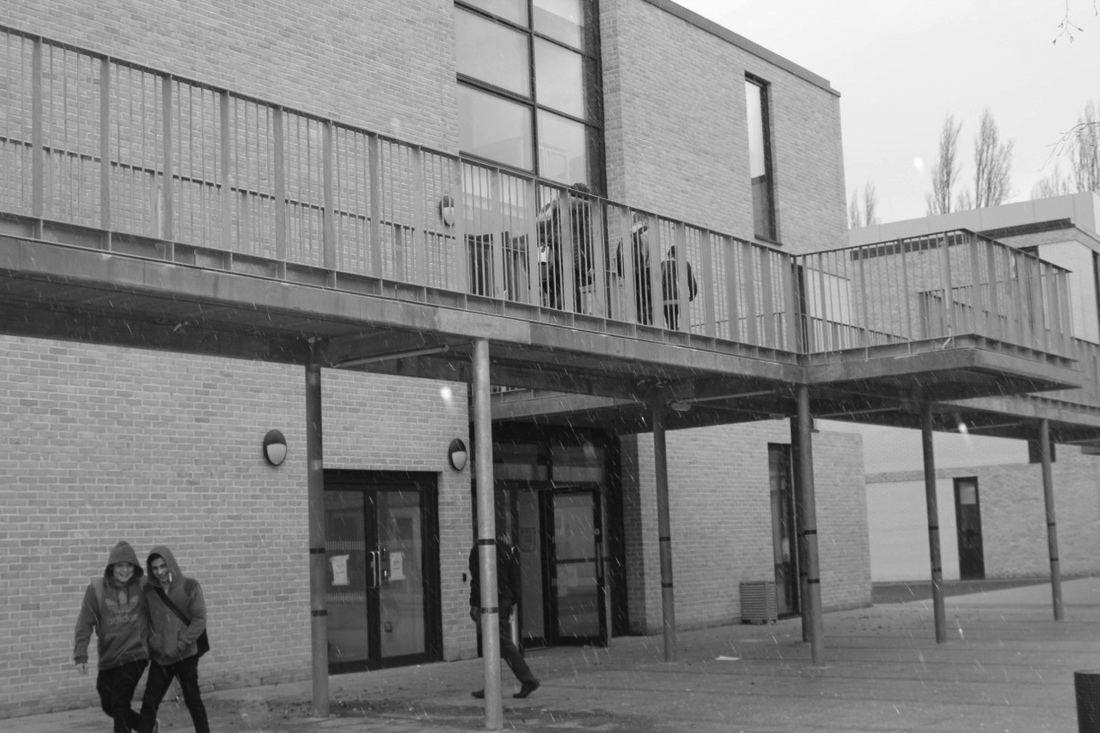
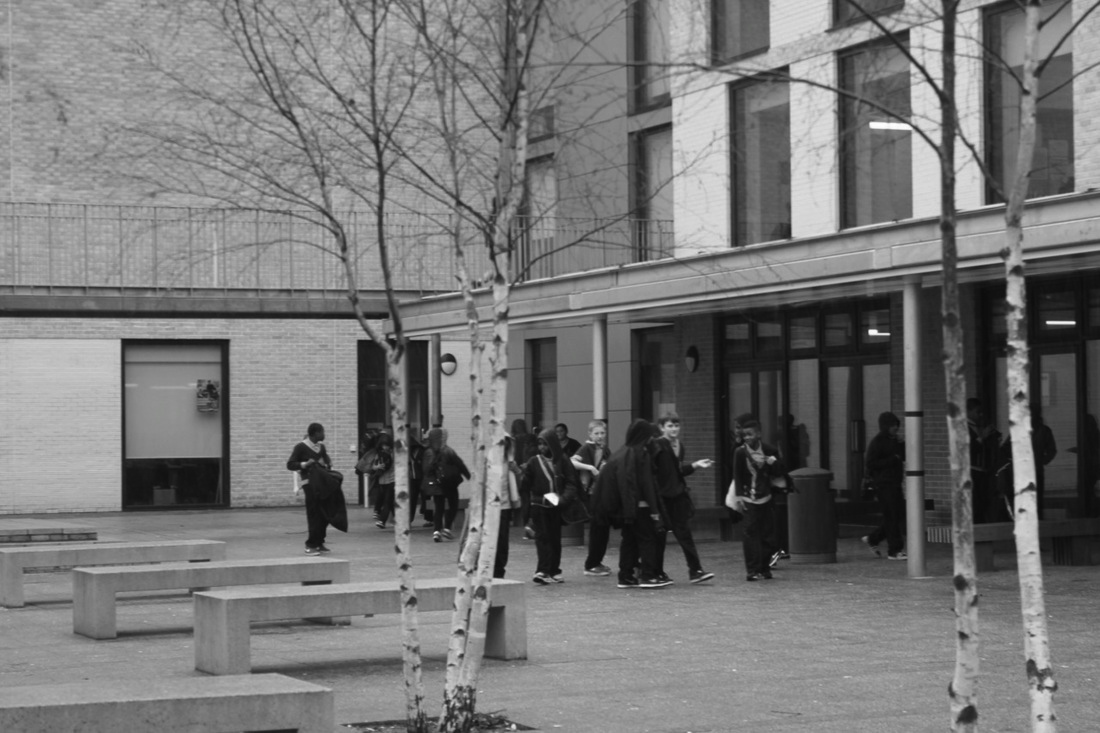
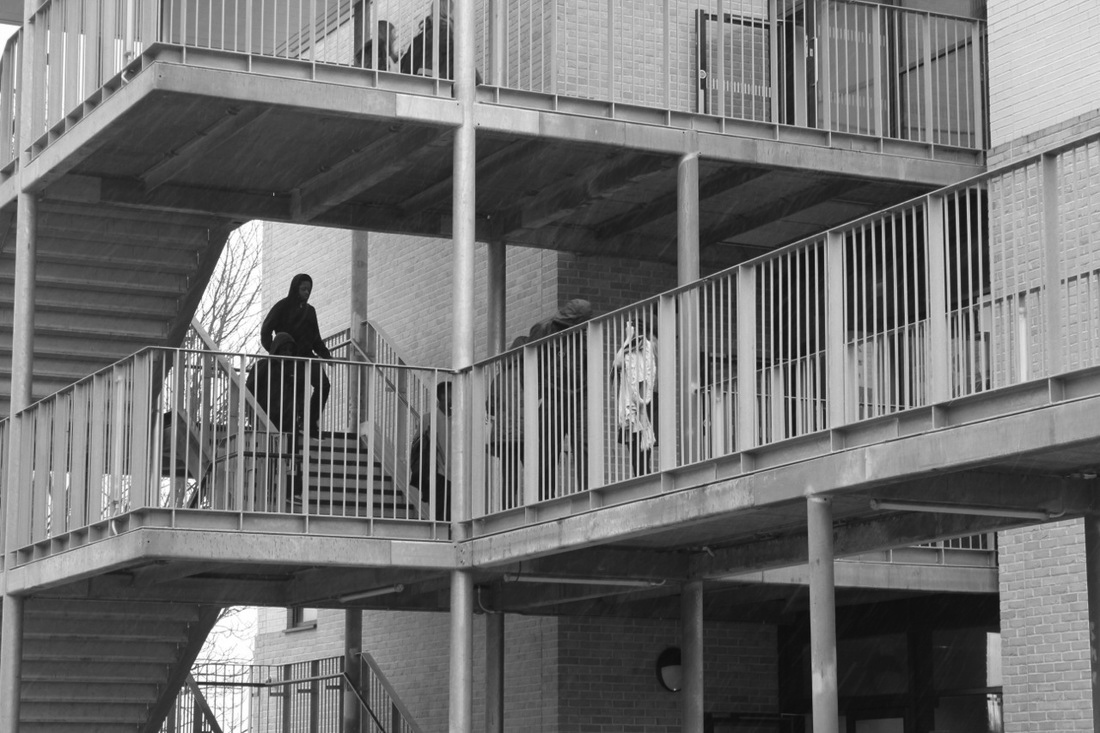
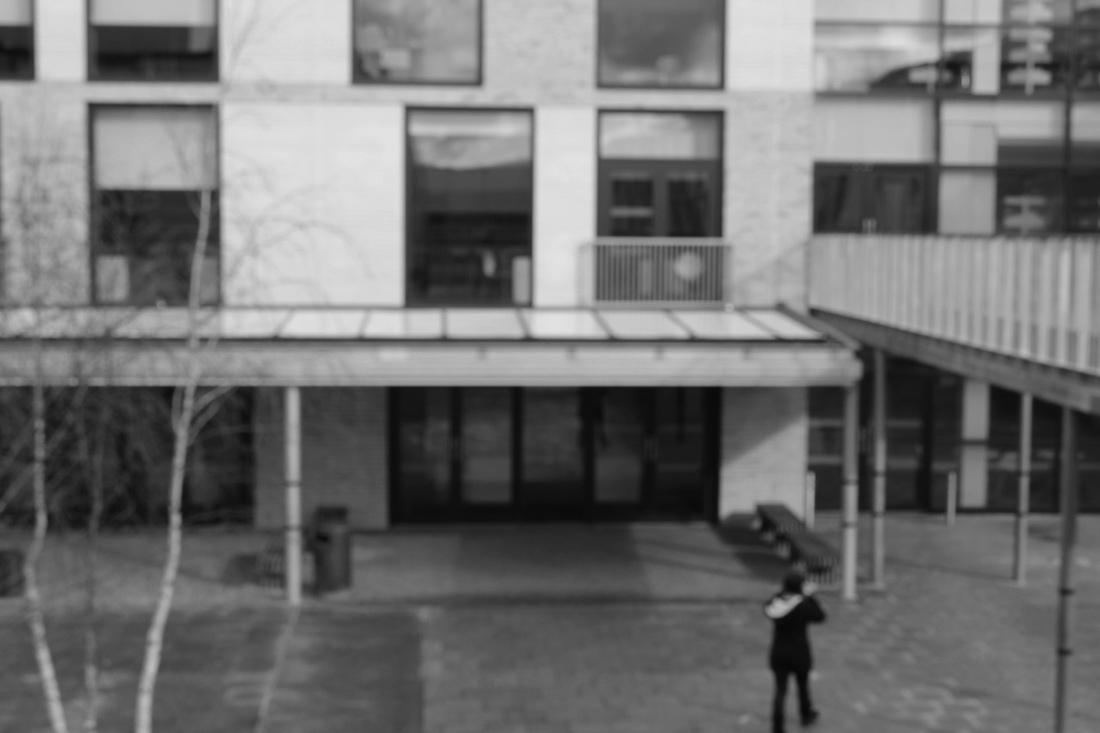
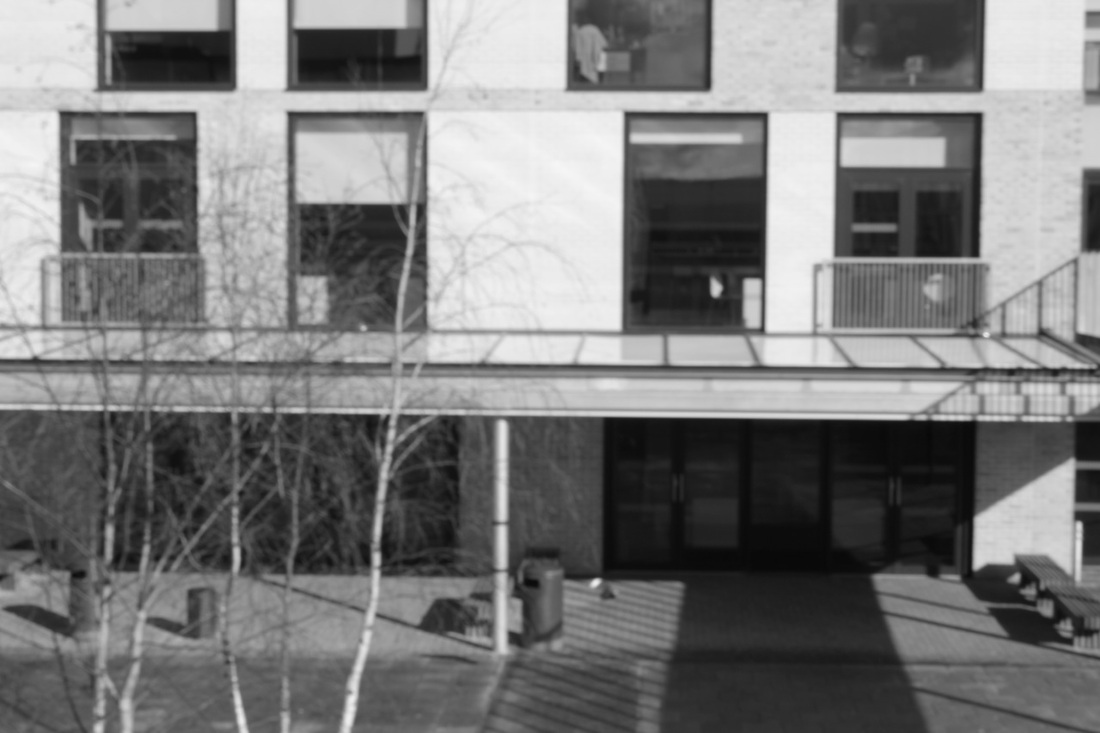
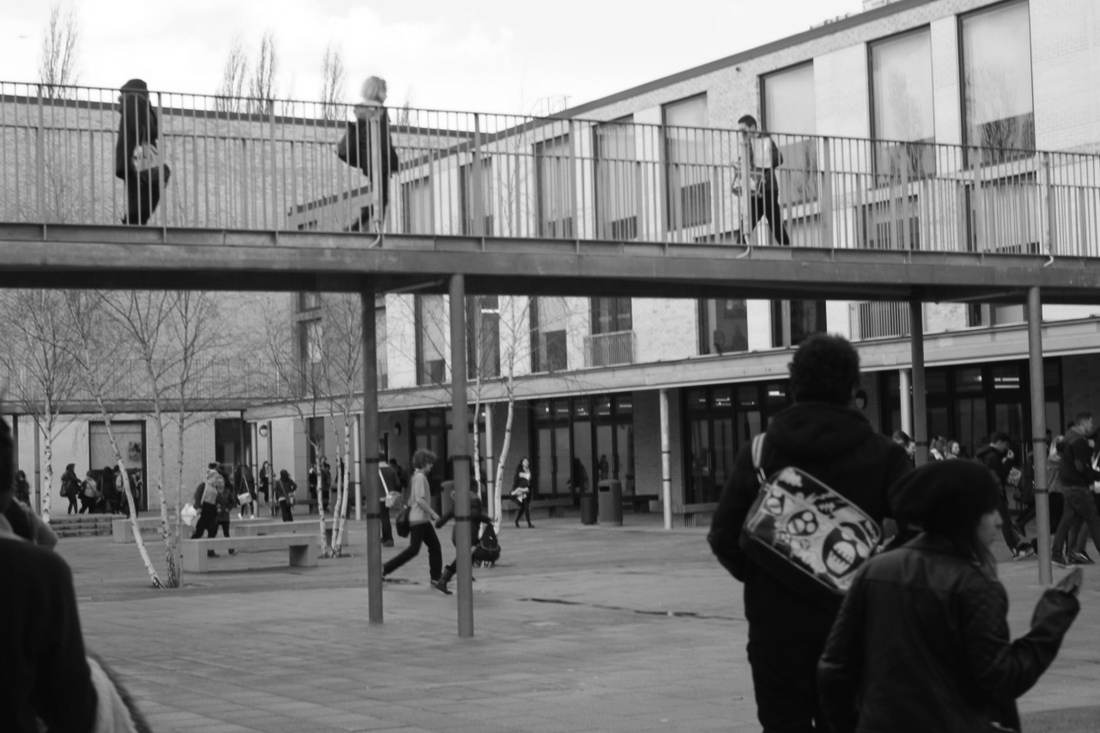
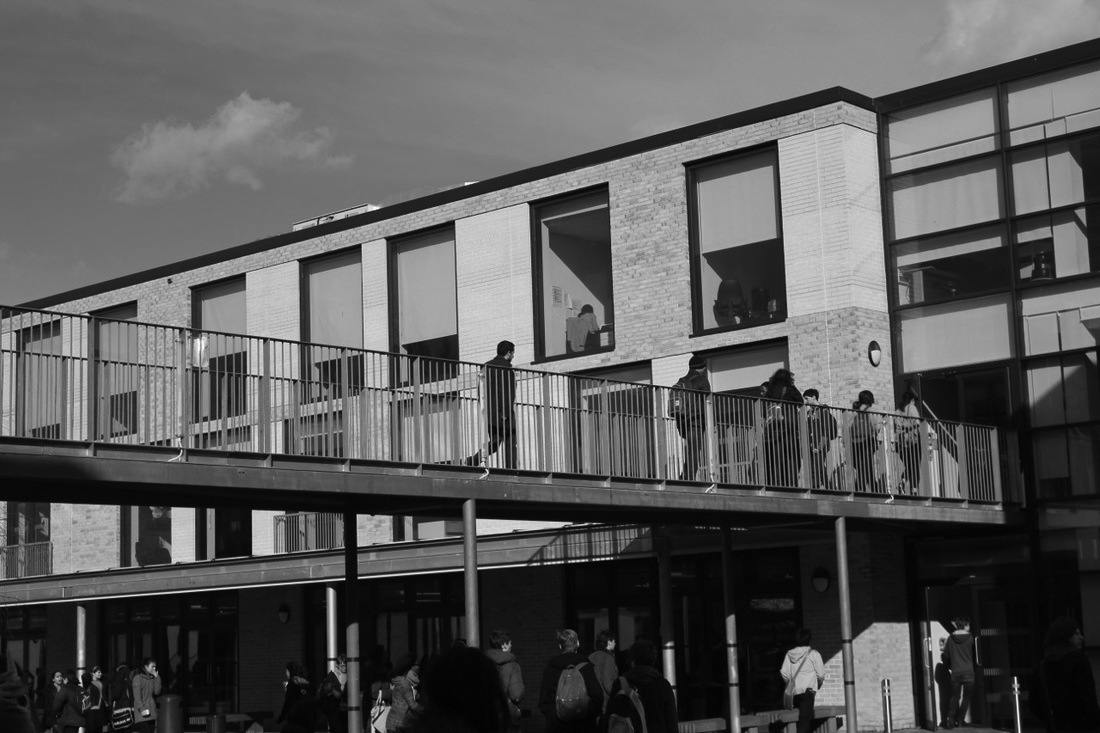
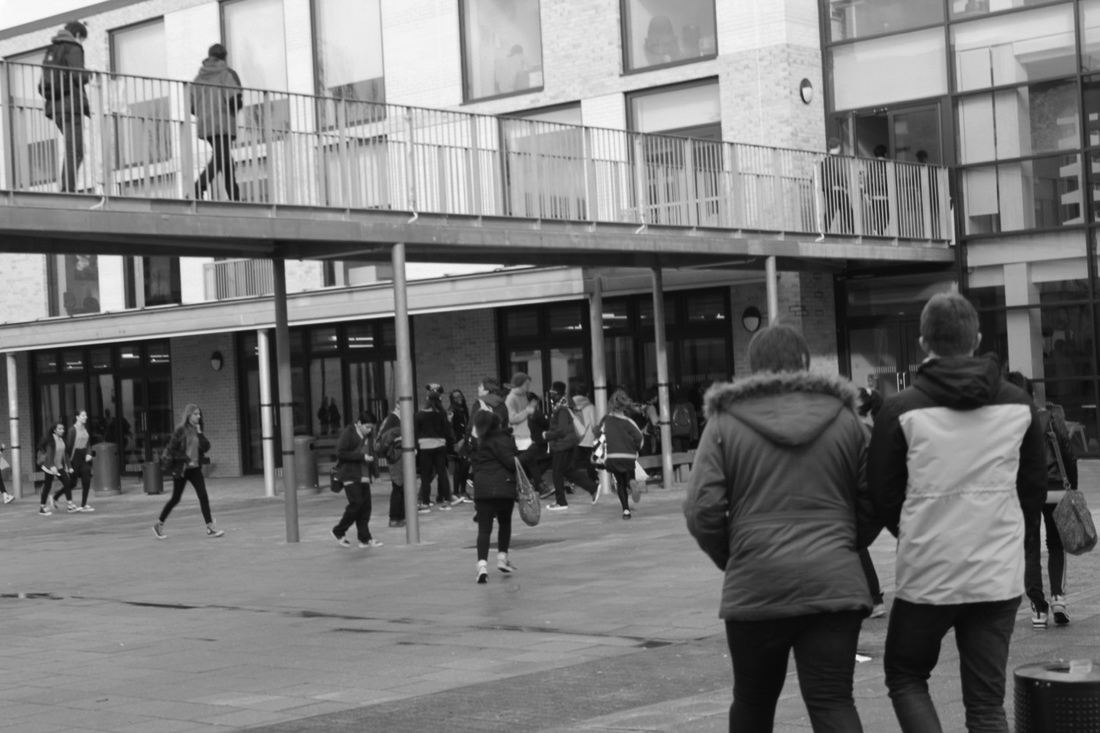
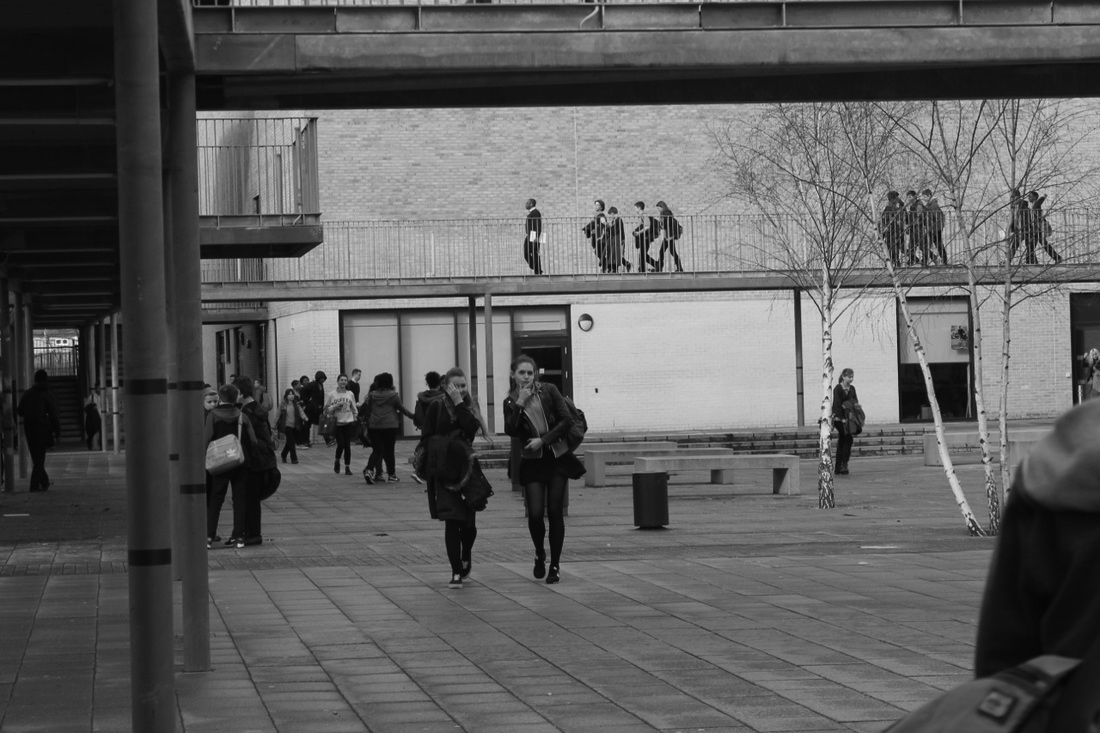
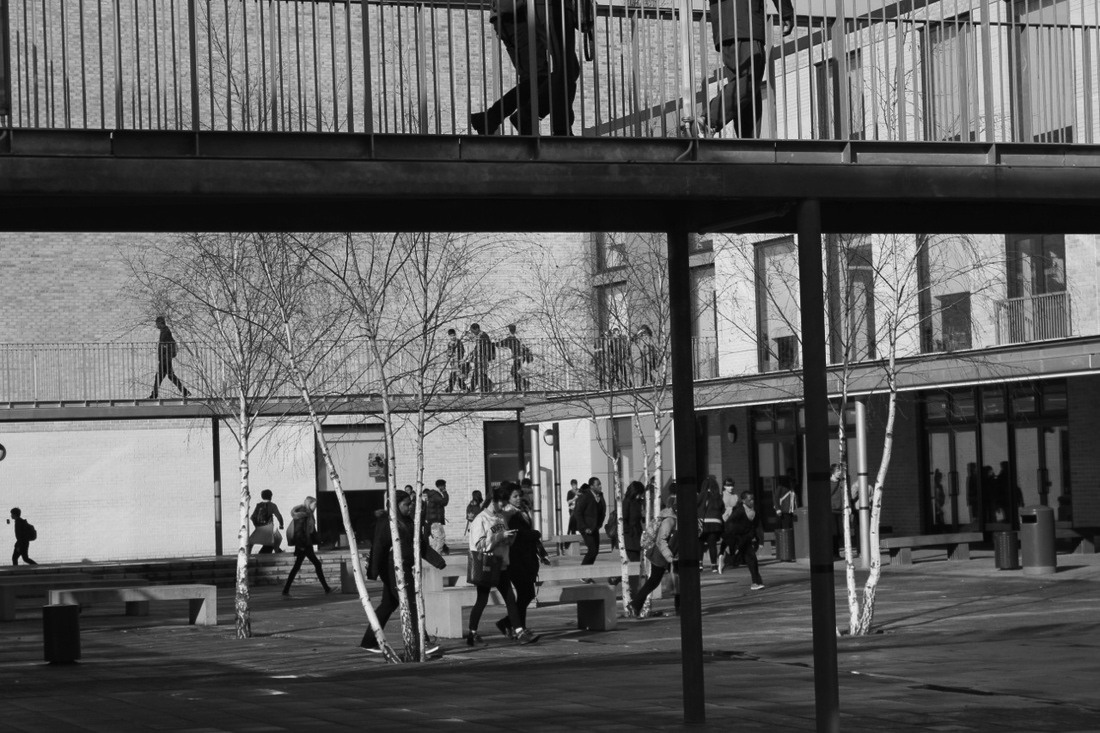
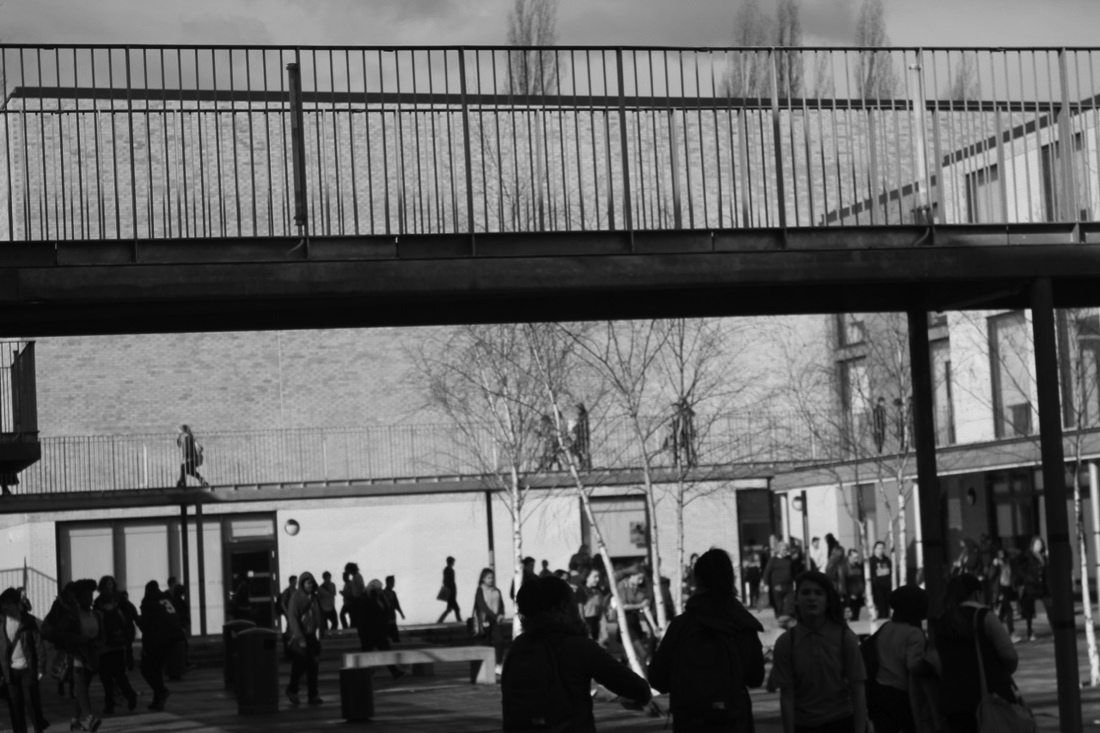
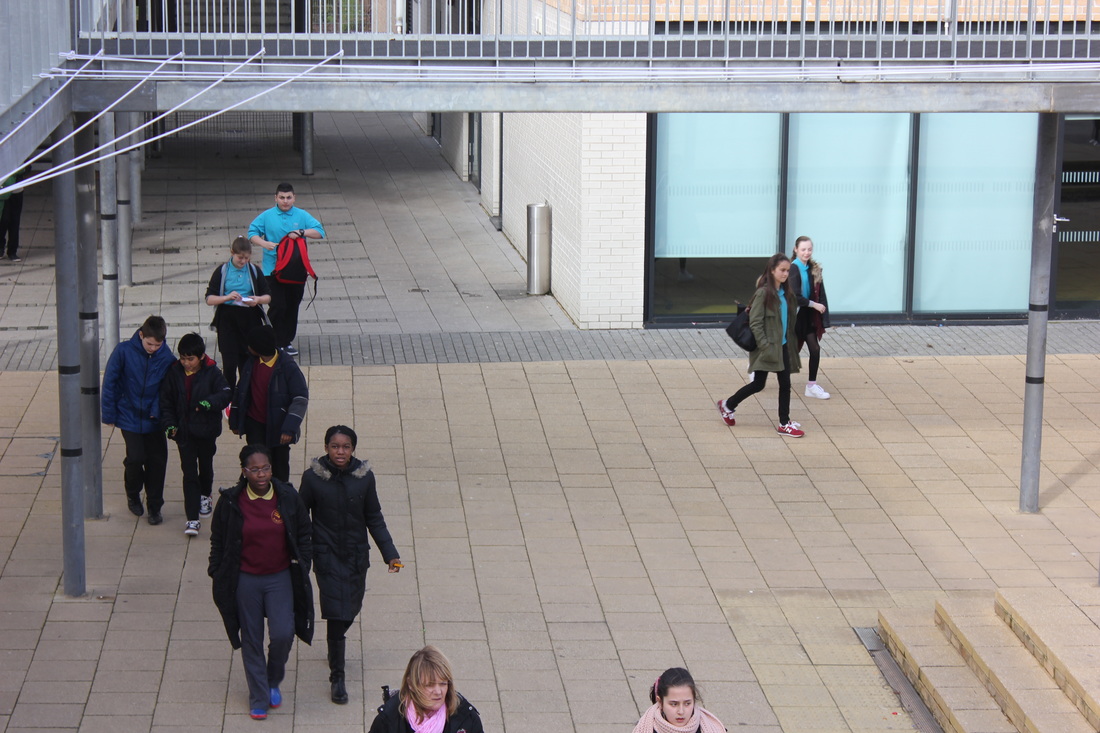
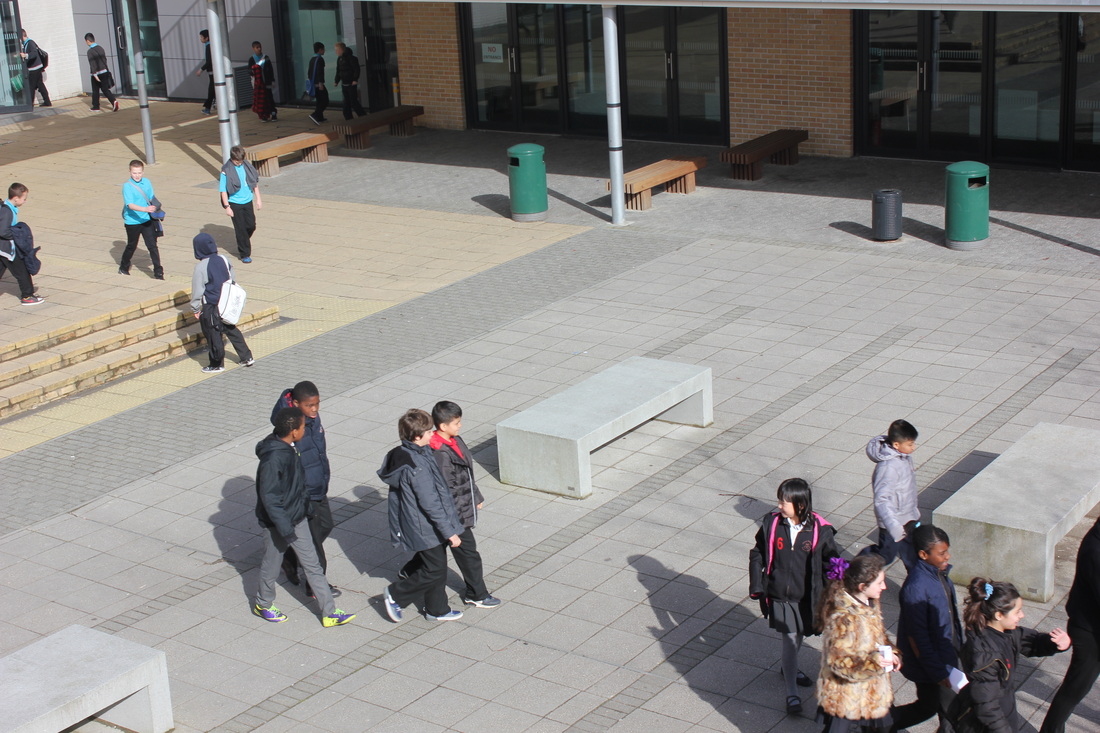
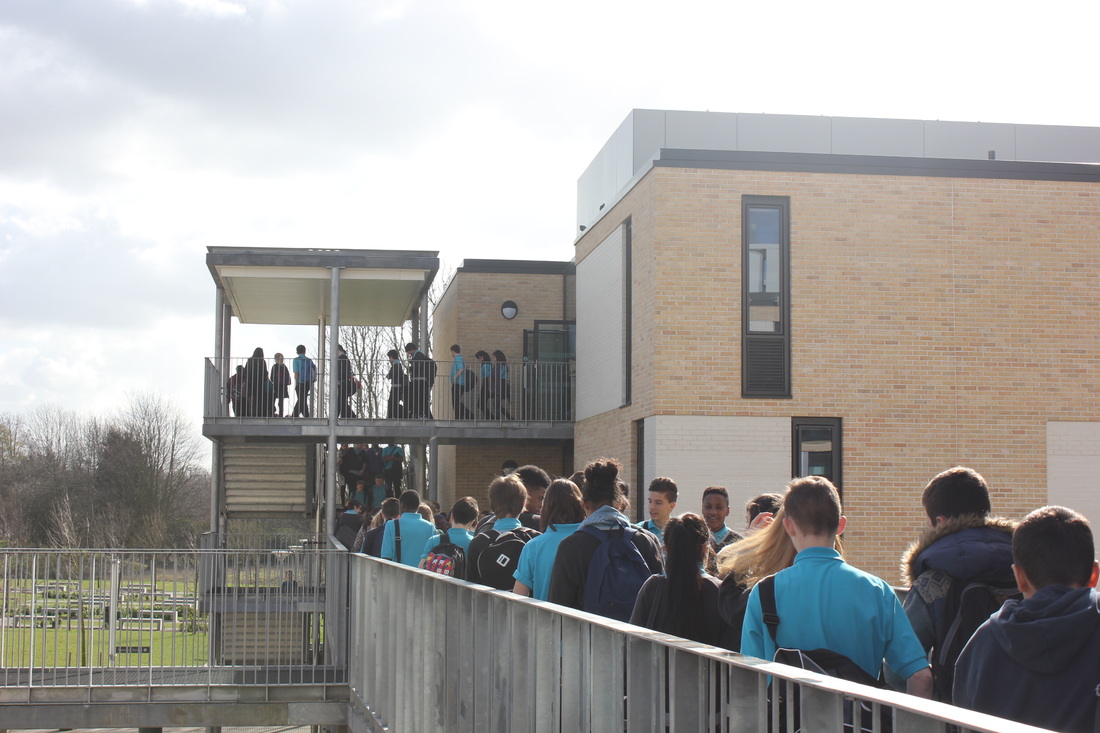
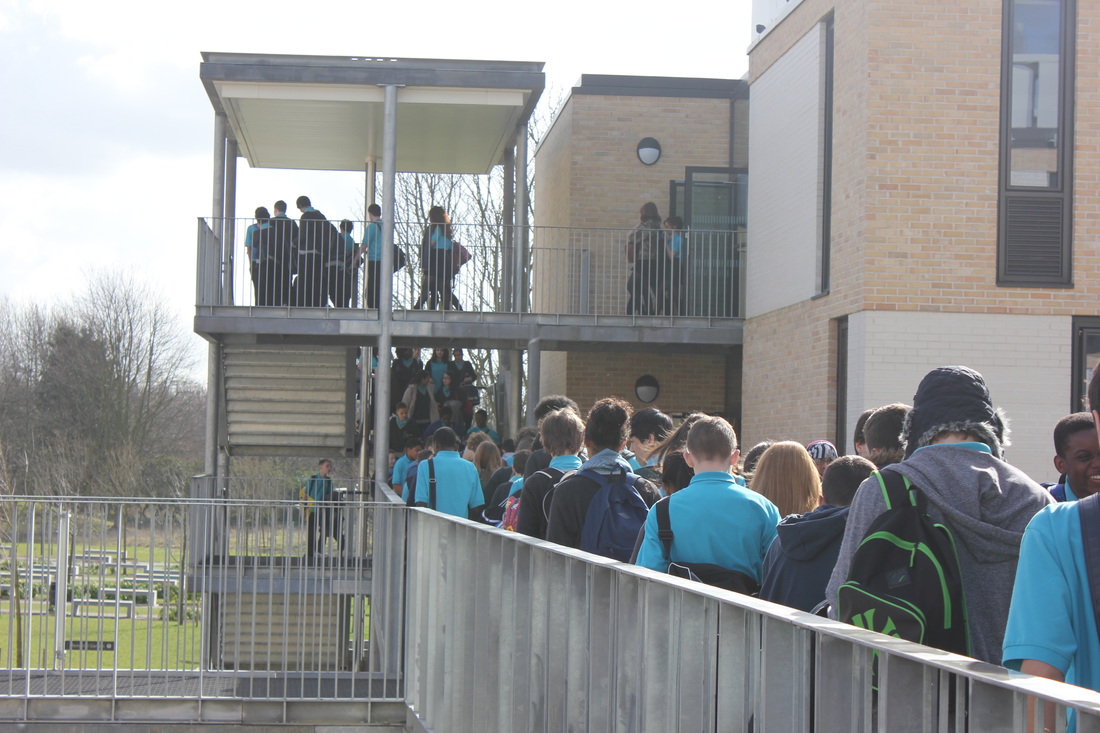
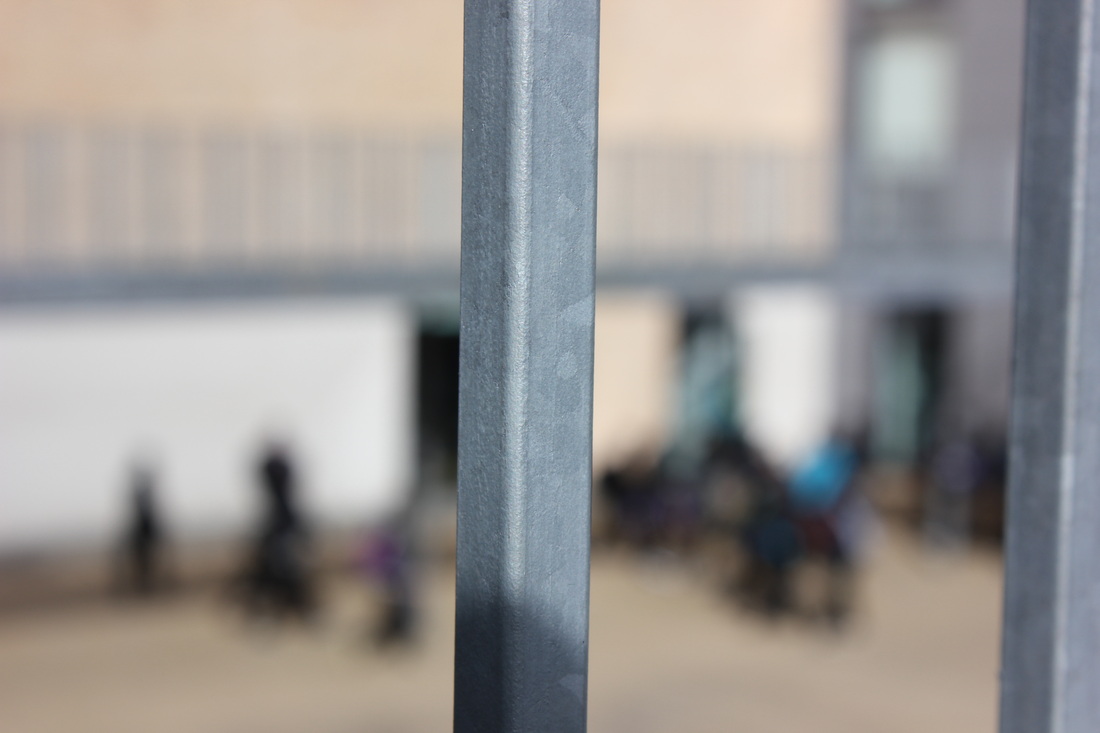
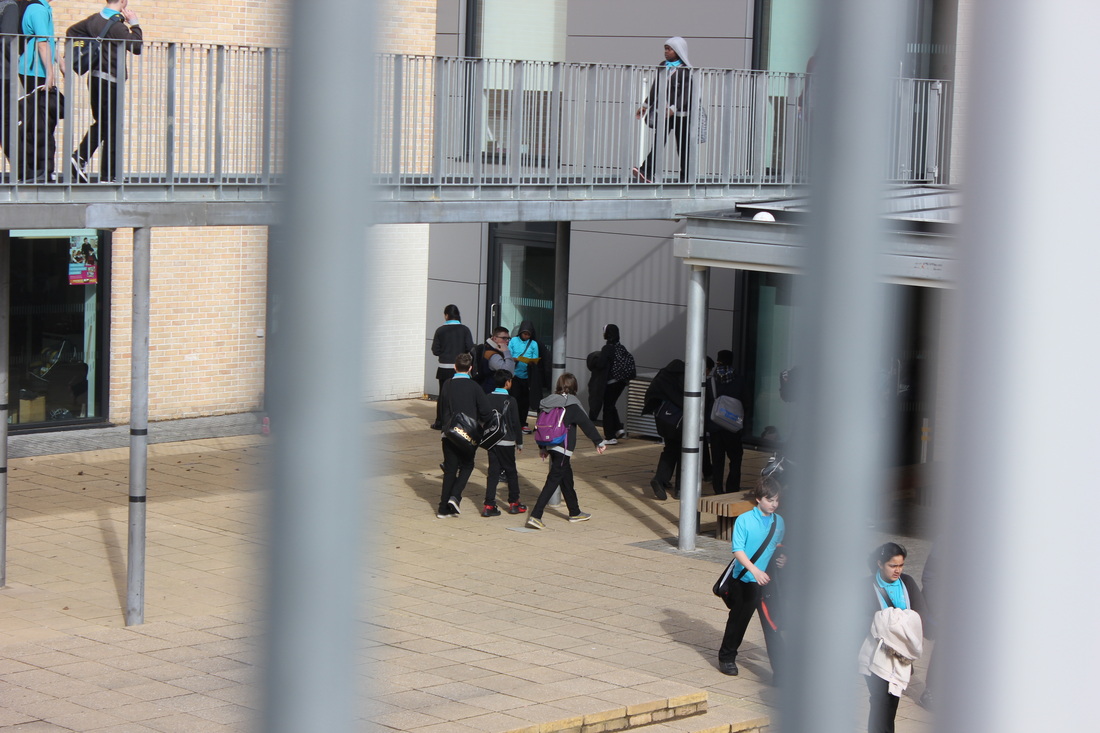
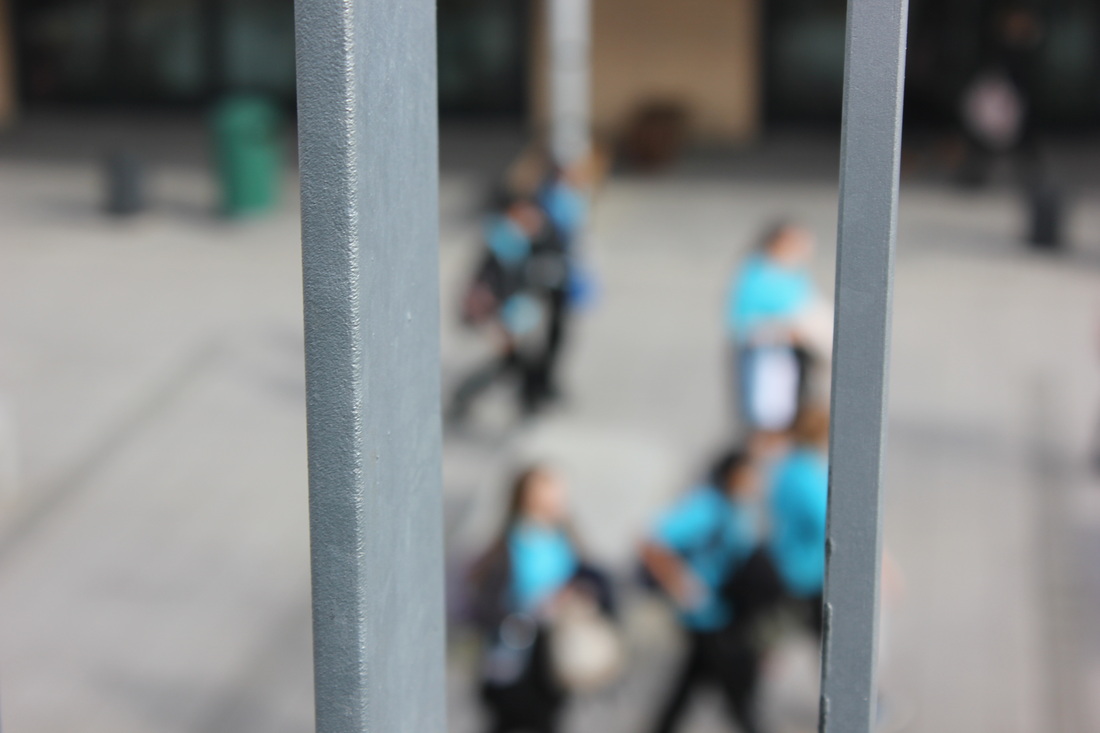
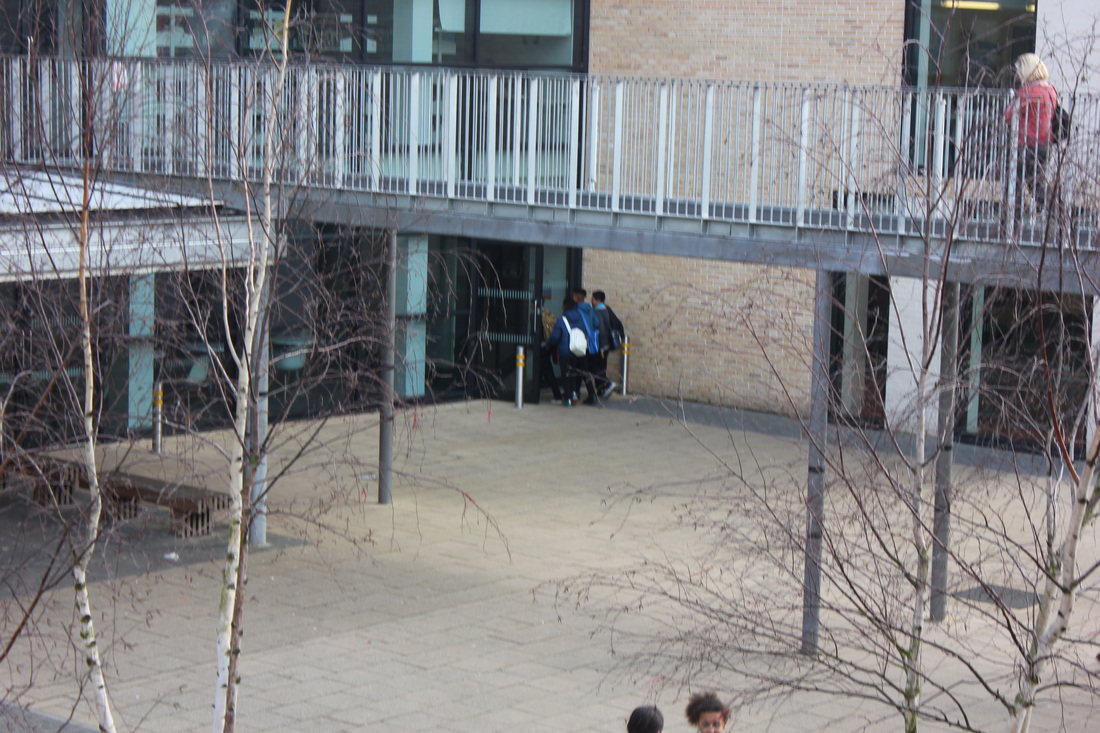
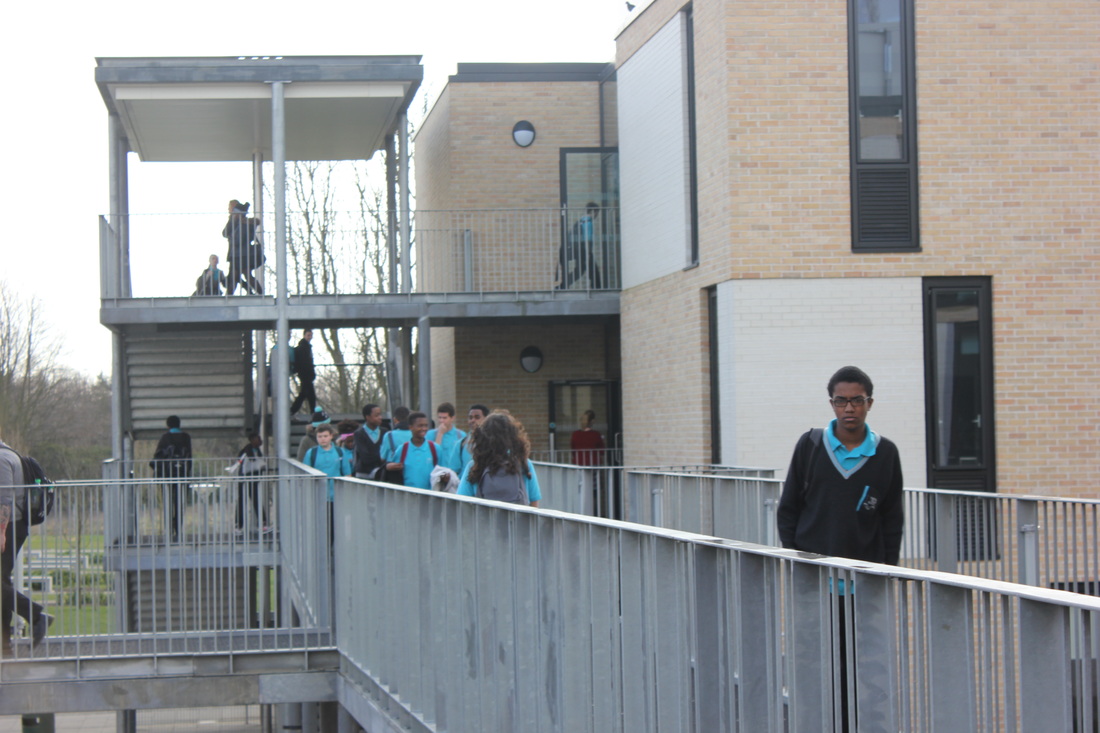
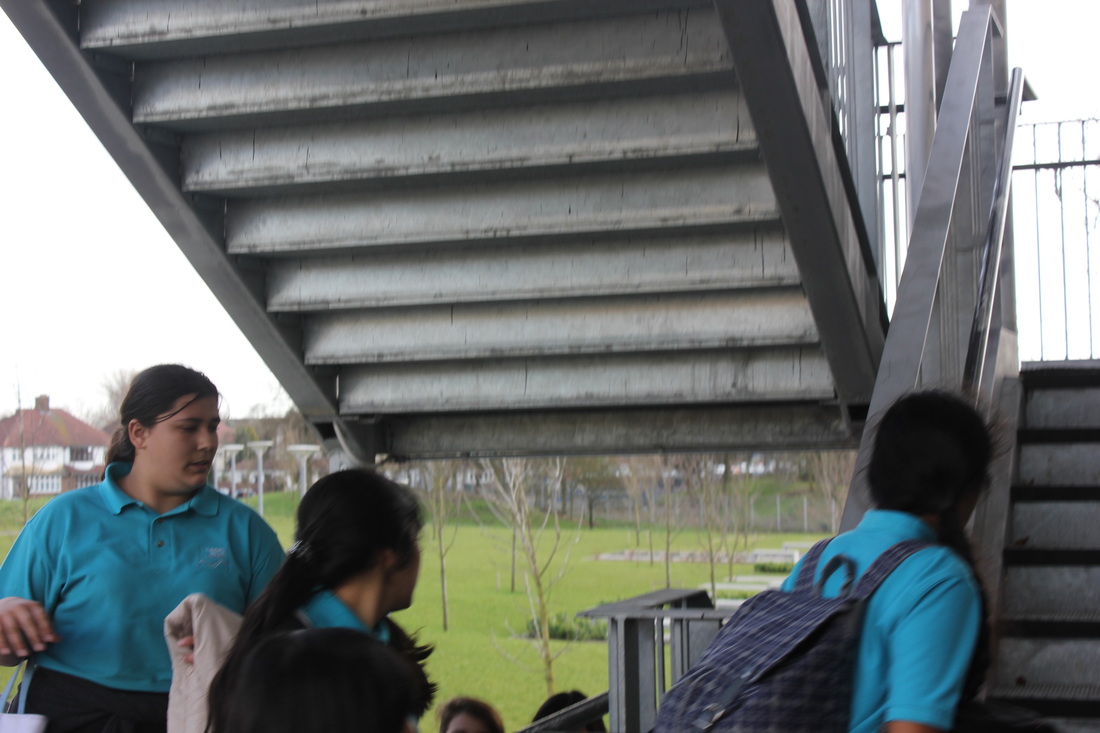
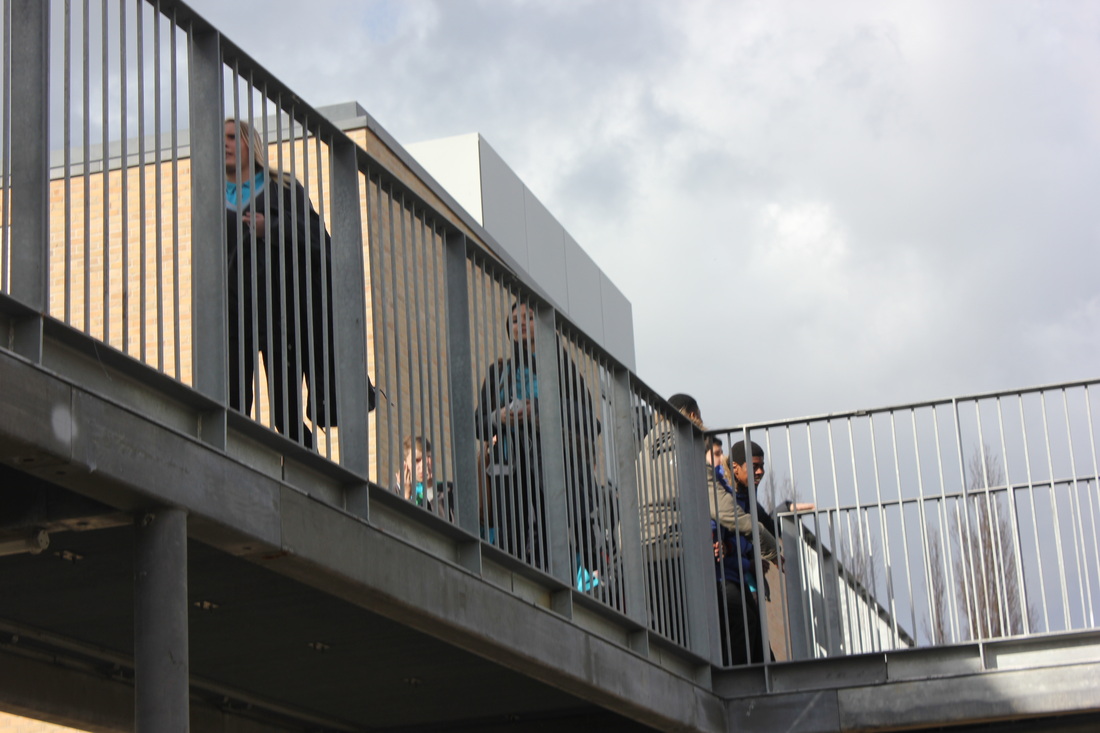
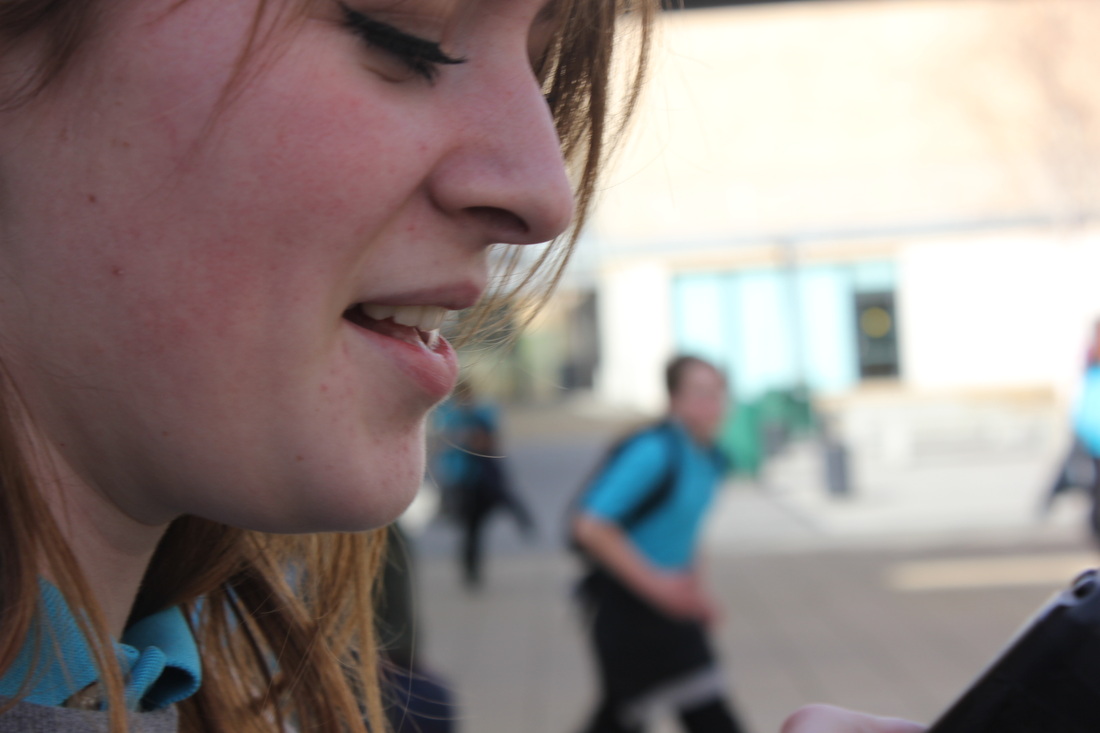
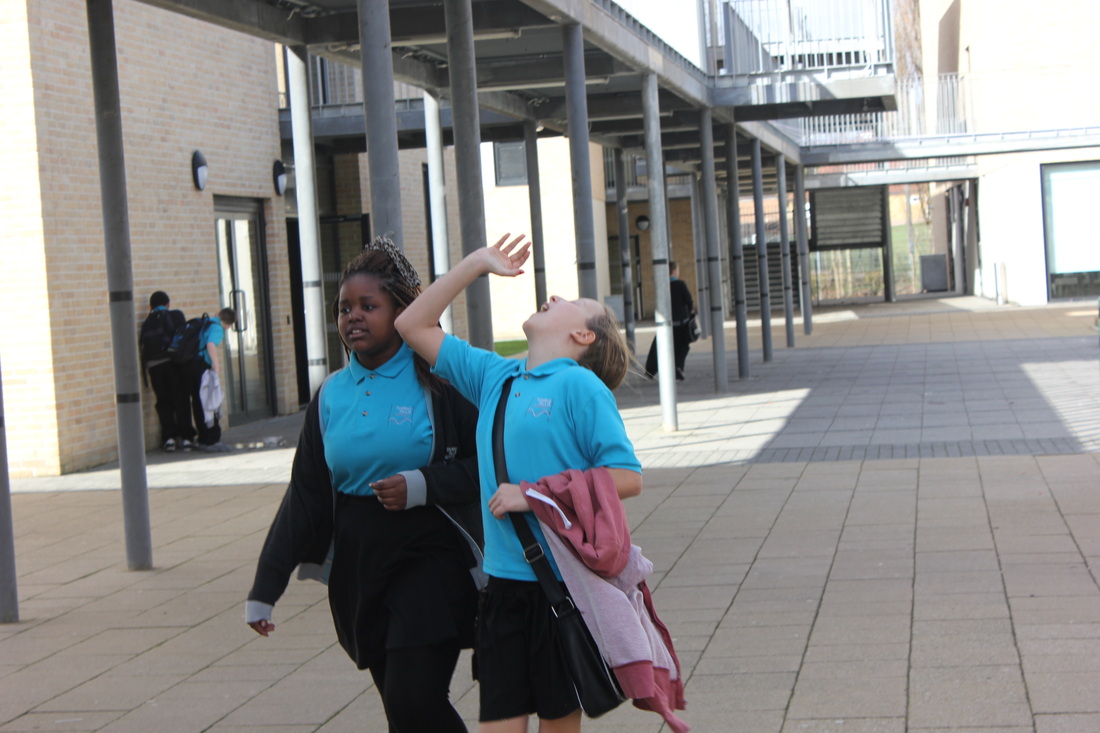
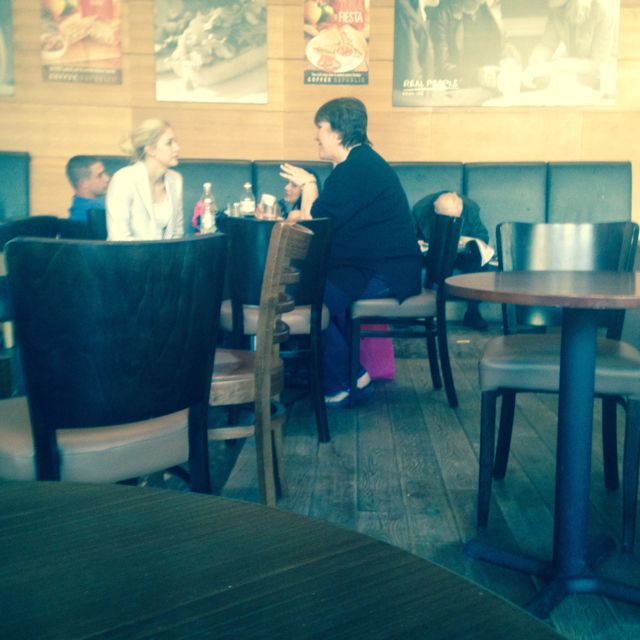
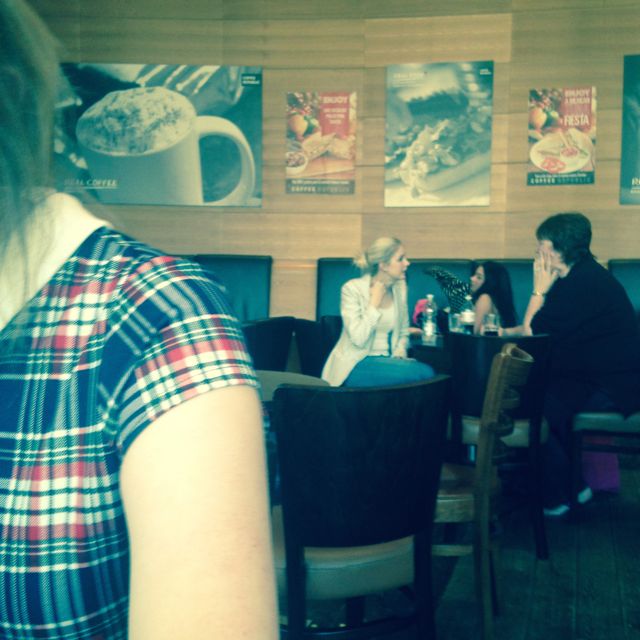
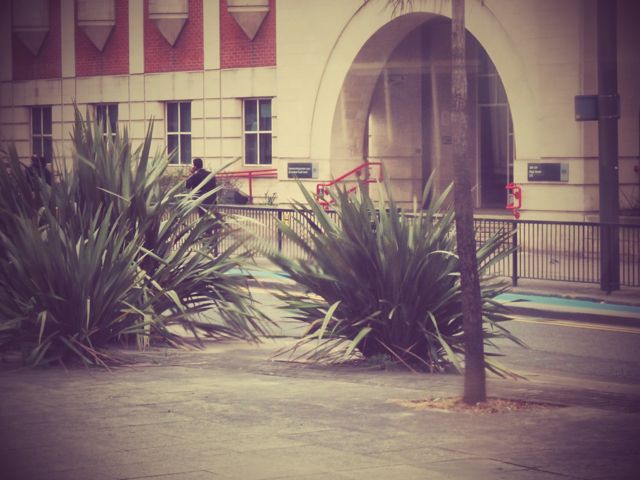
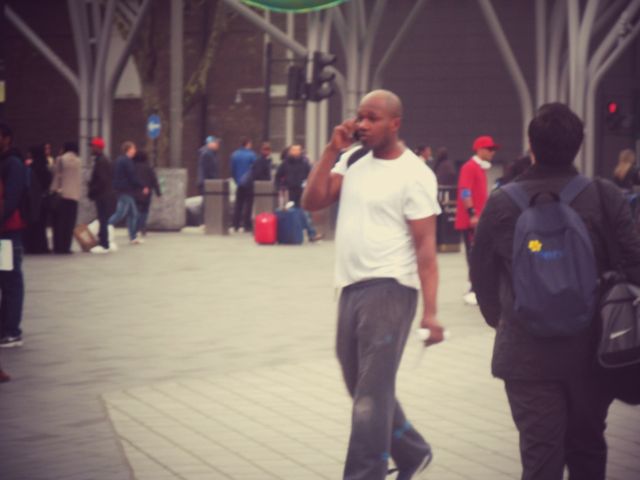
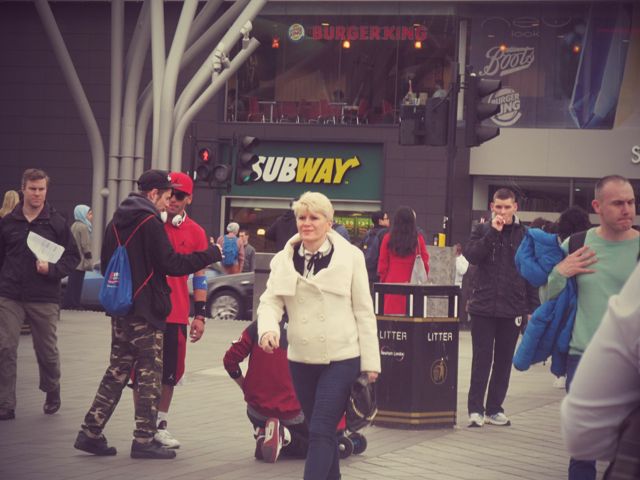
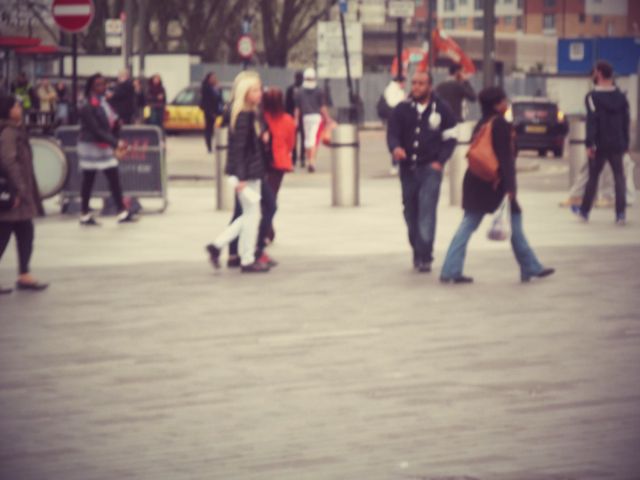
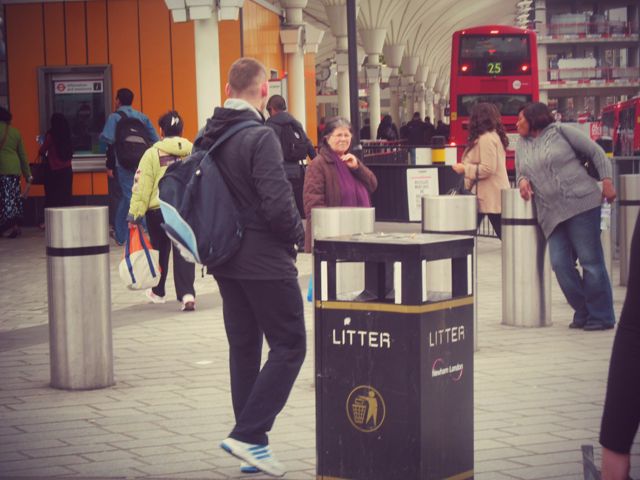
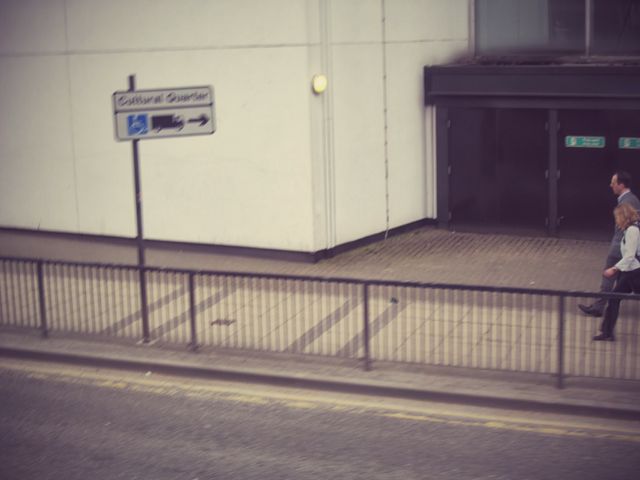
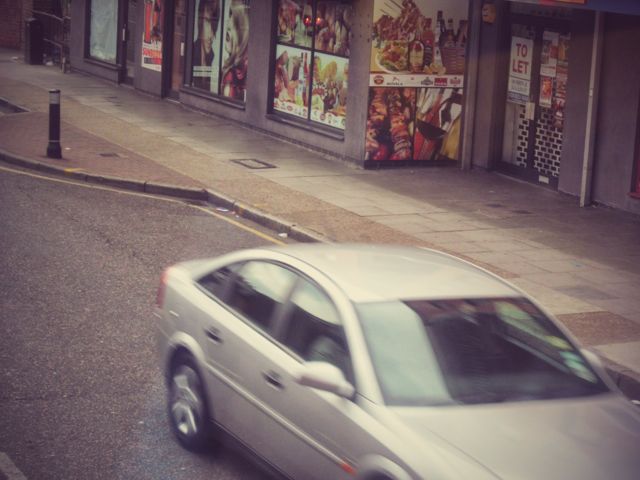
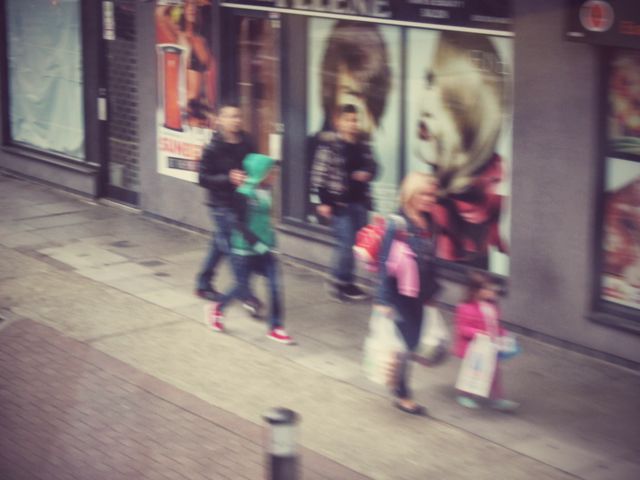
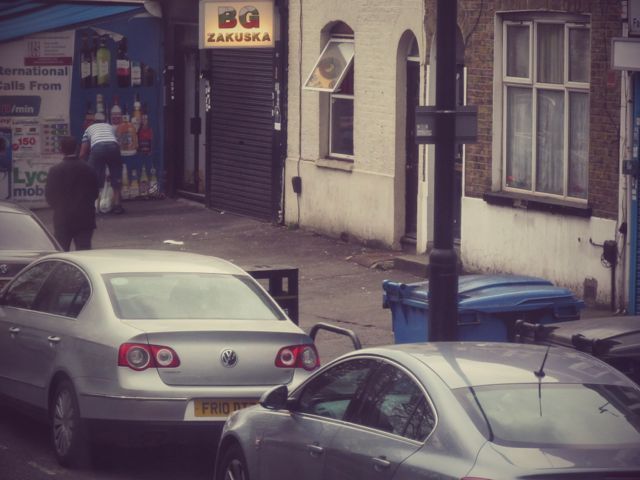
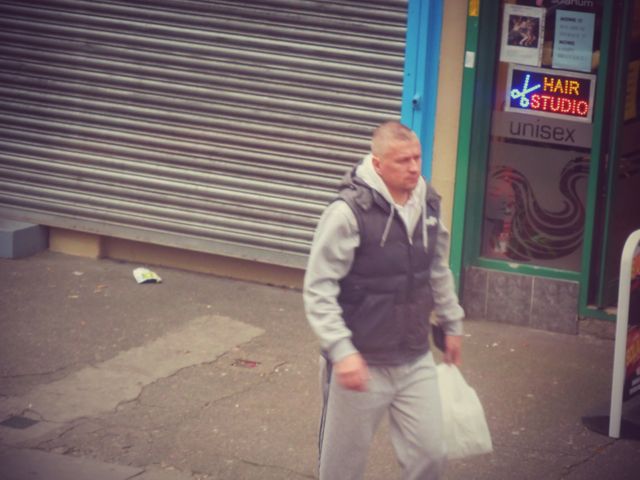
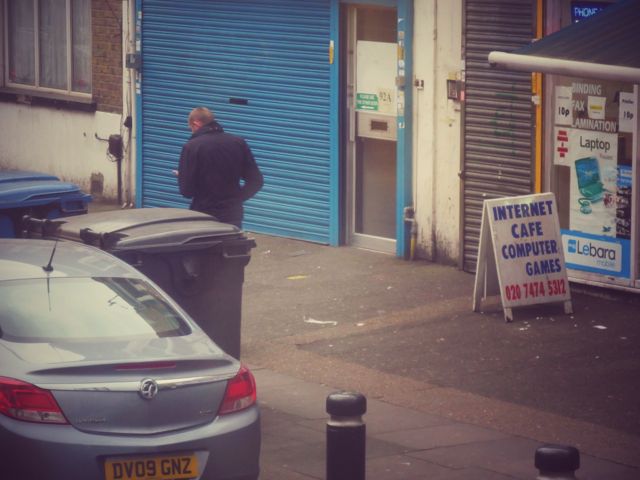
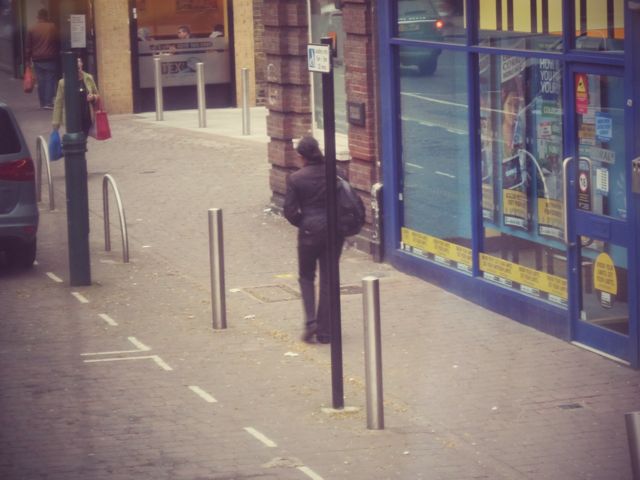
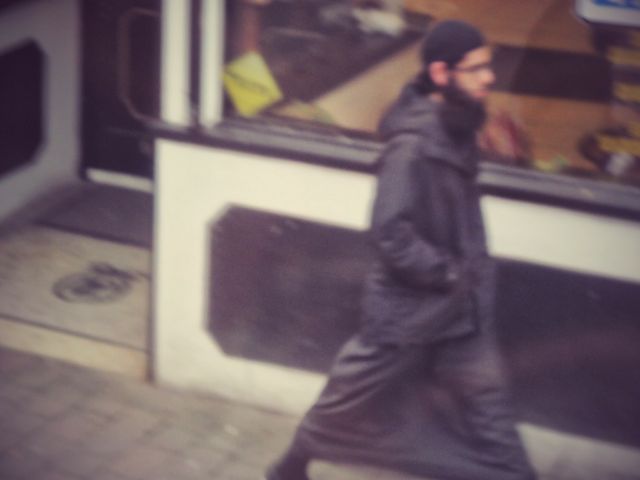
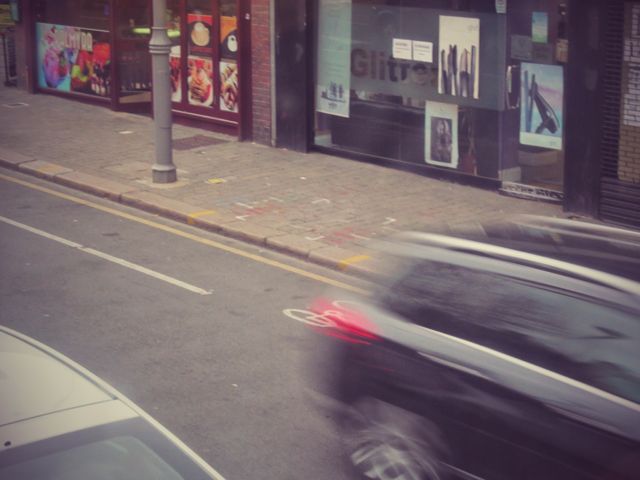
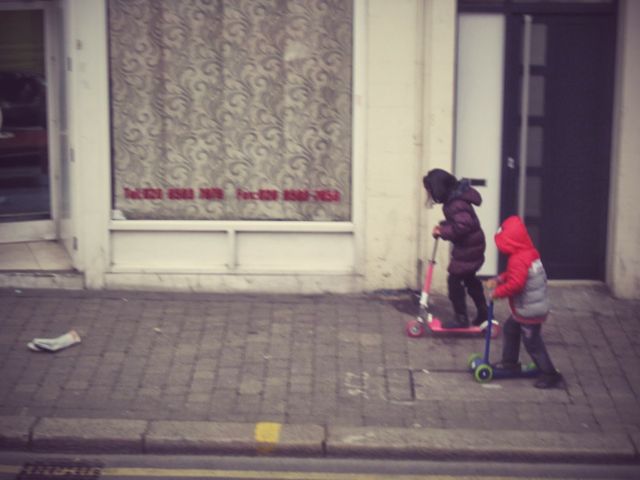
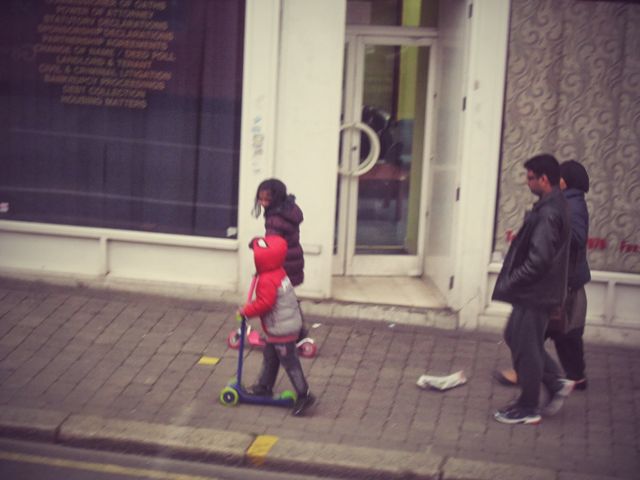
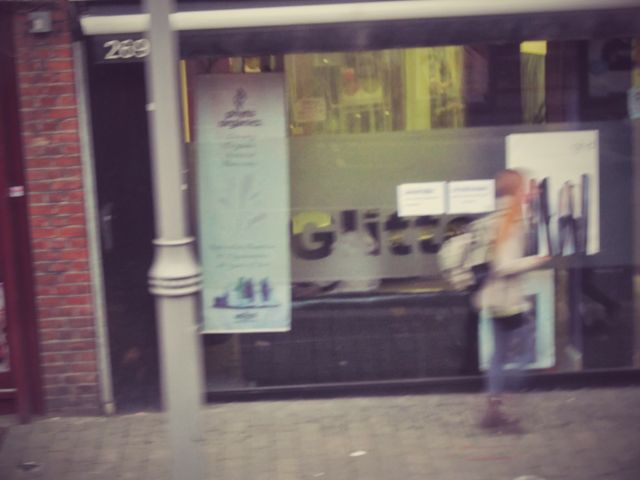
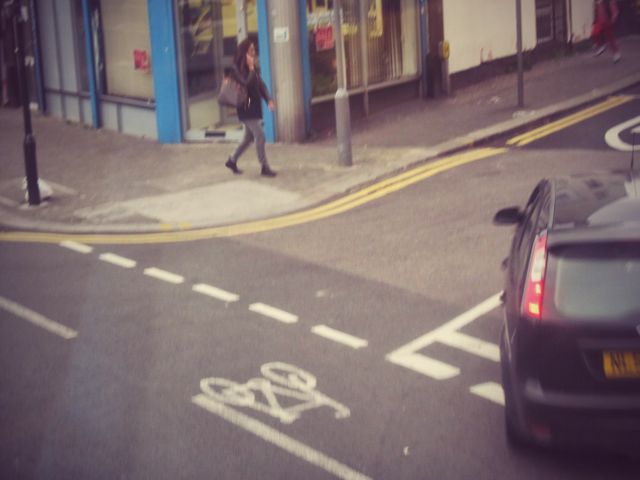
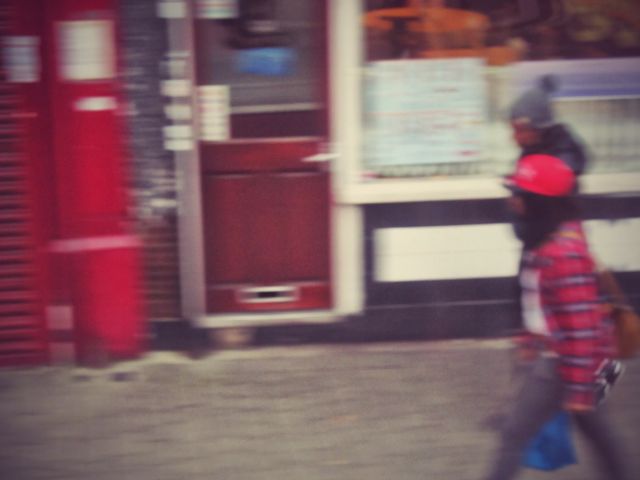
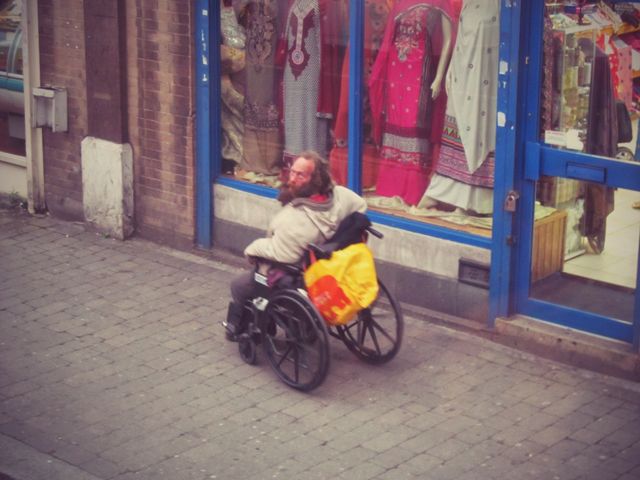
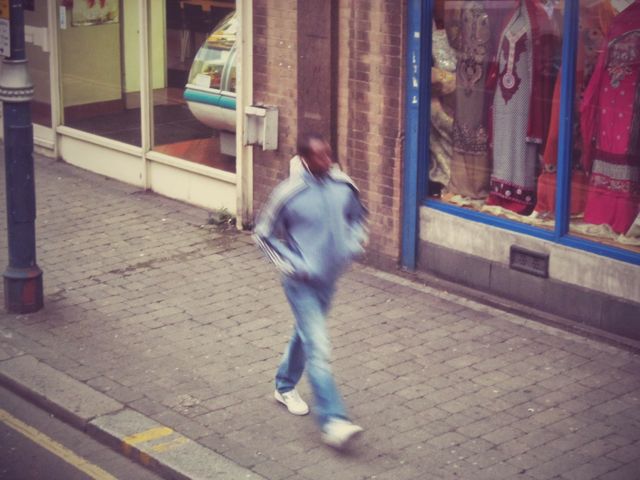
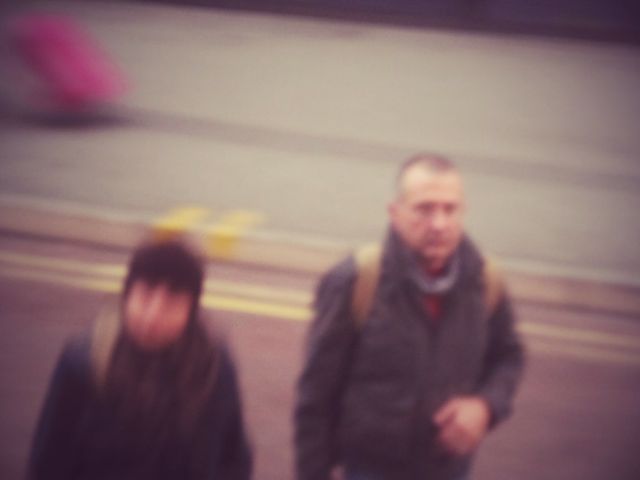
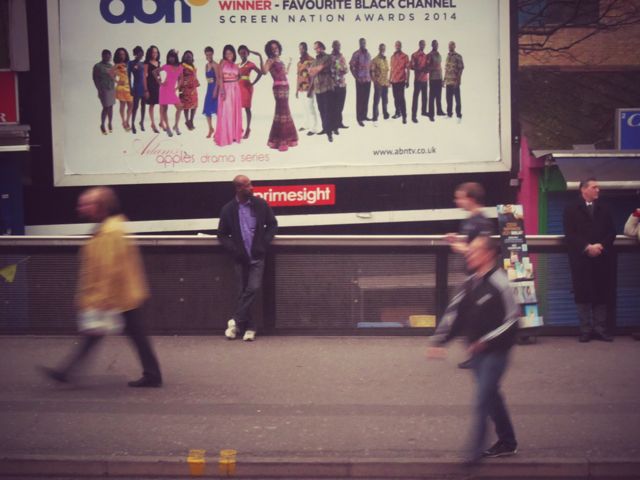
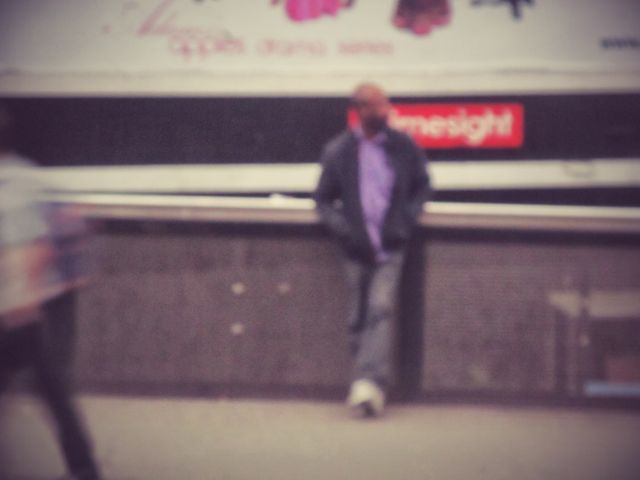
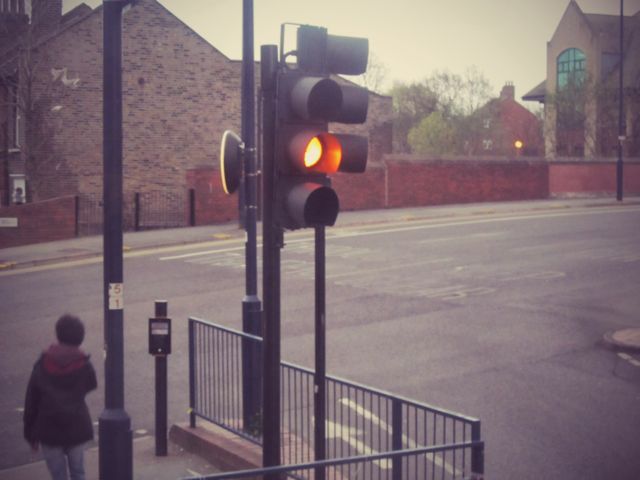
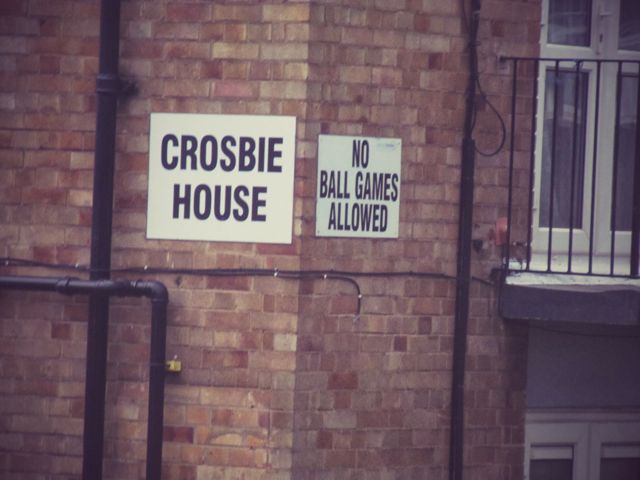
My First Set of Images
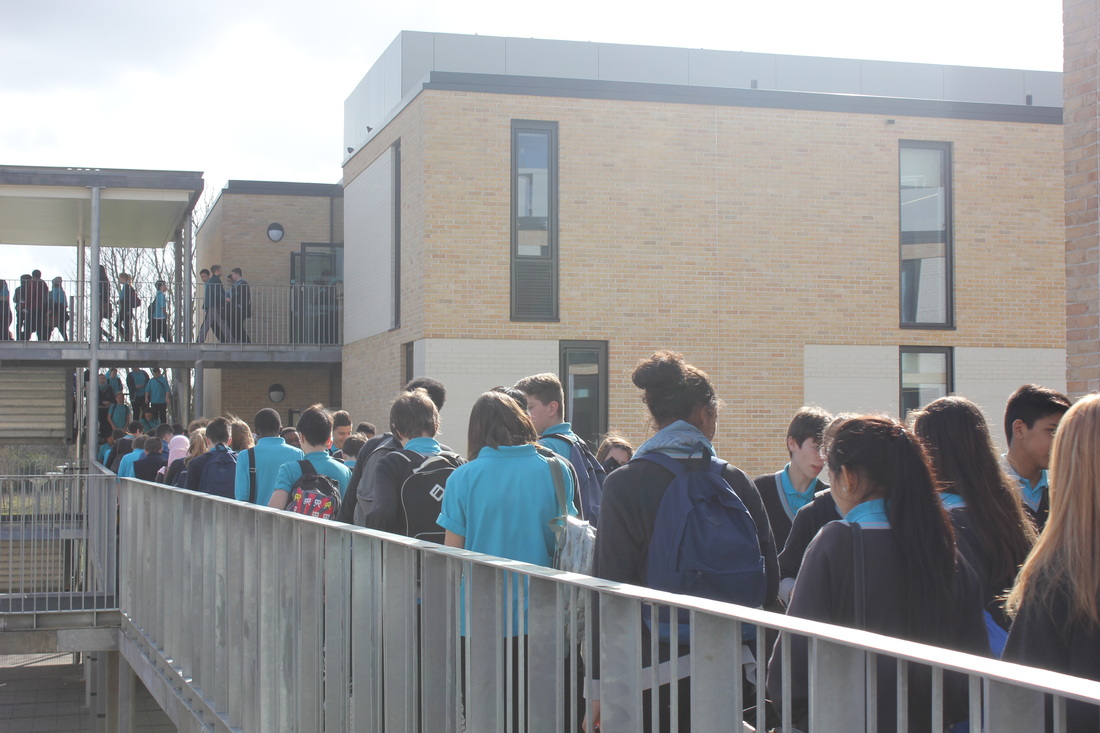
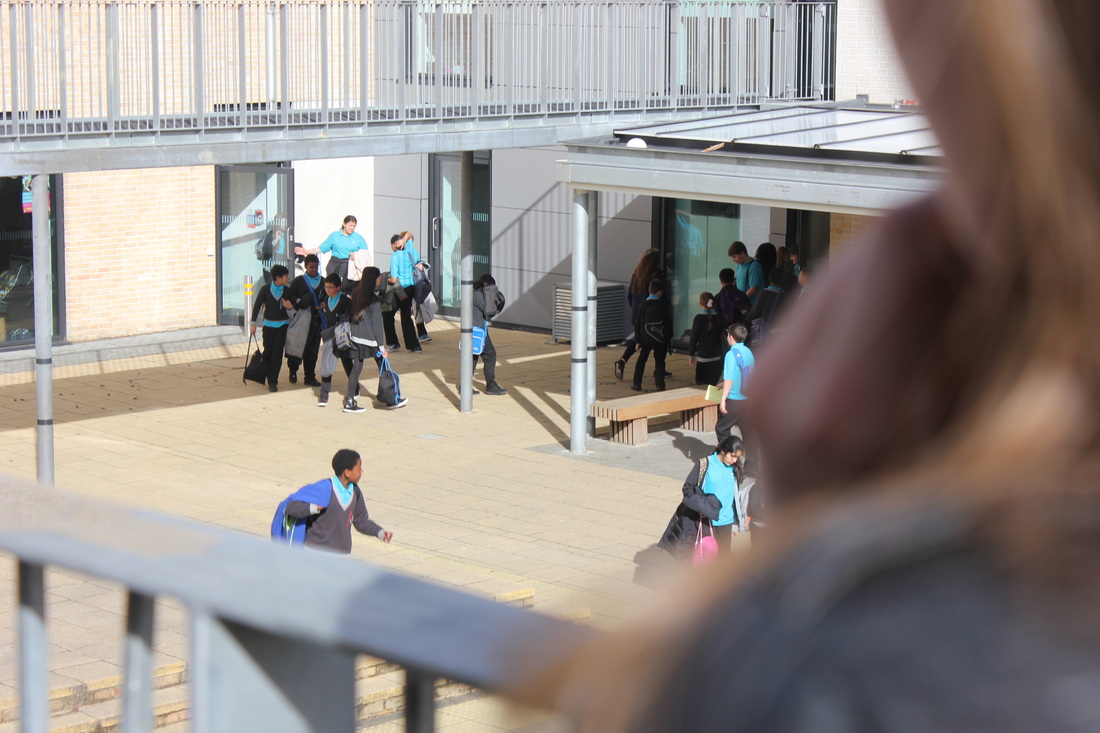
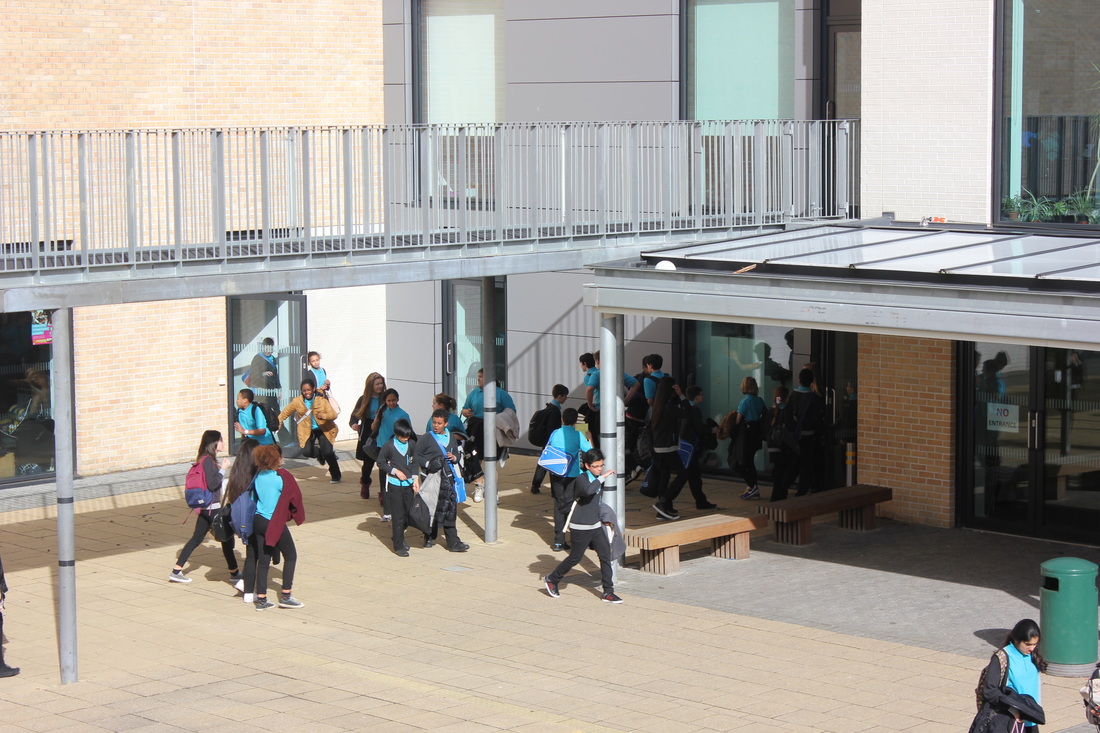
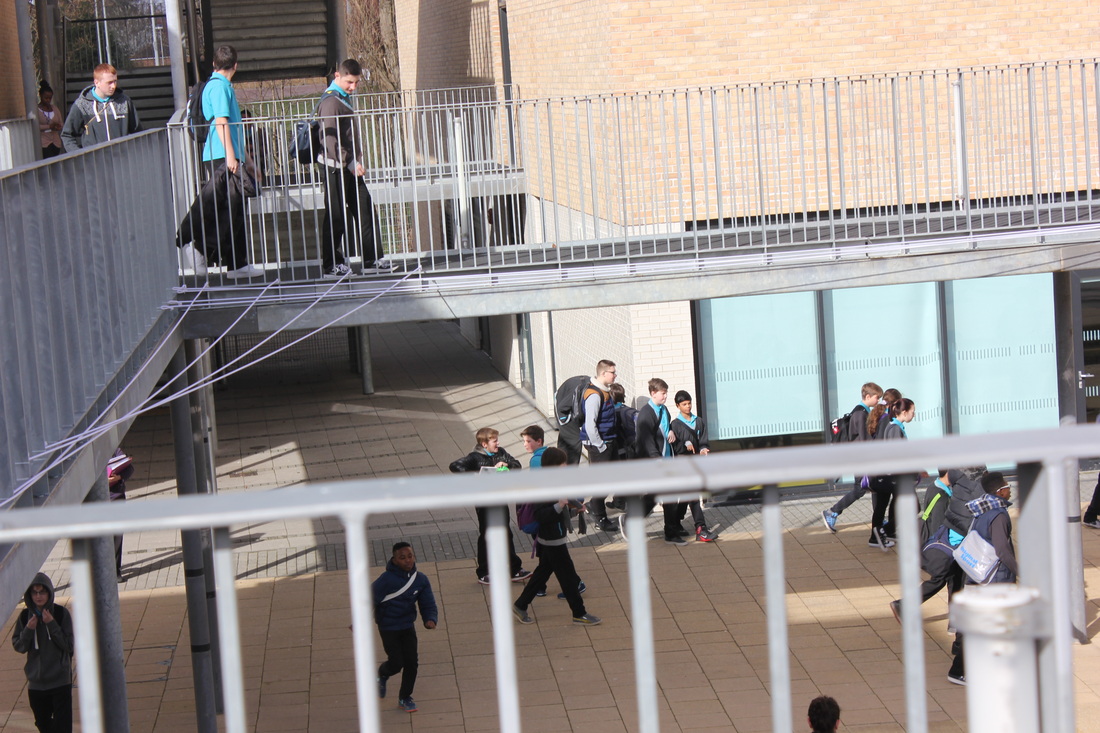
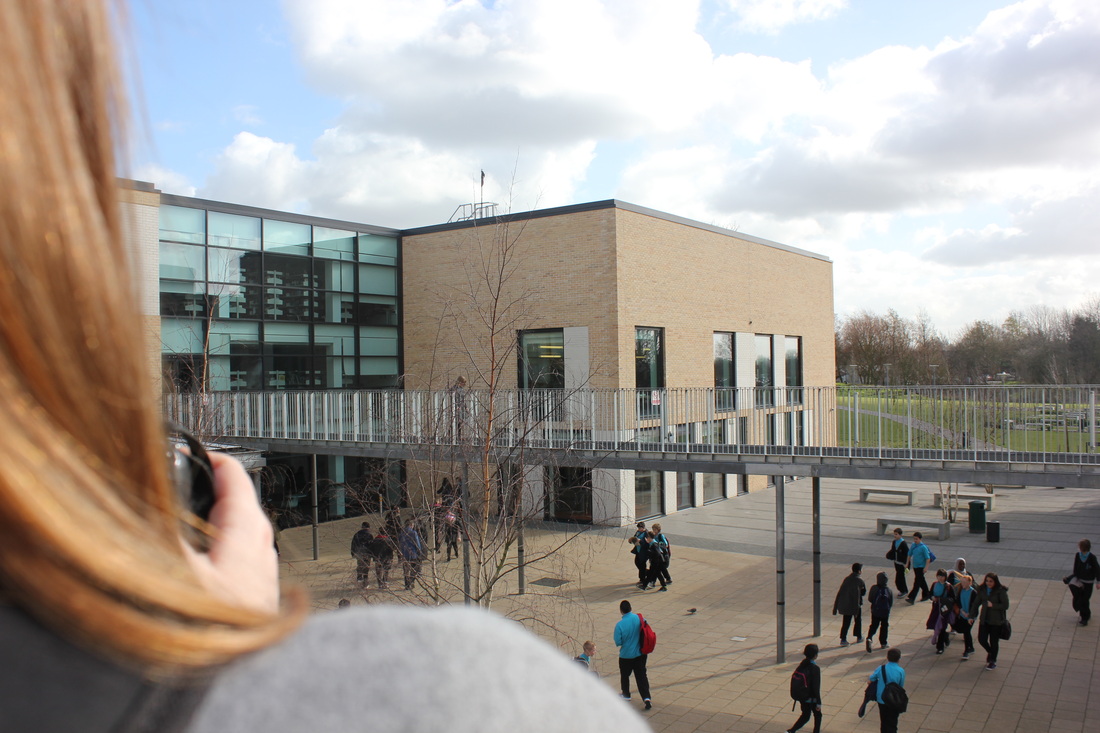
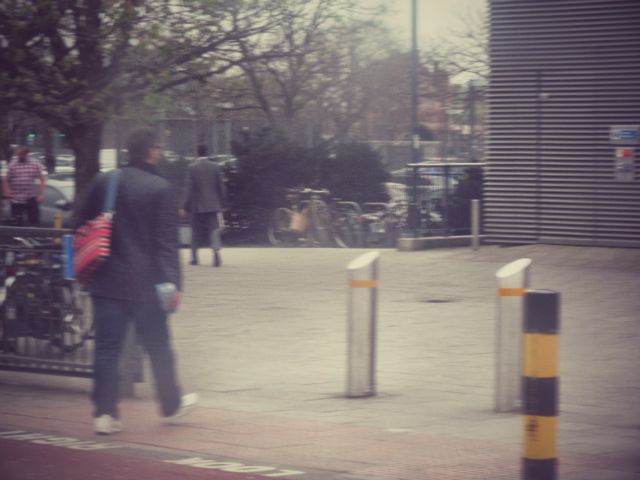
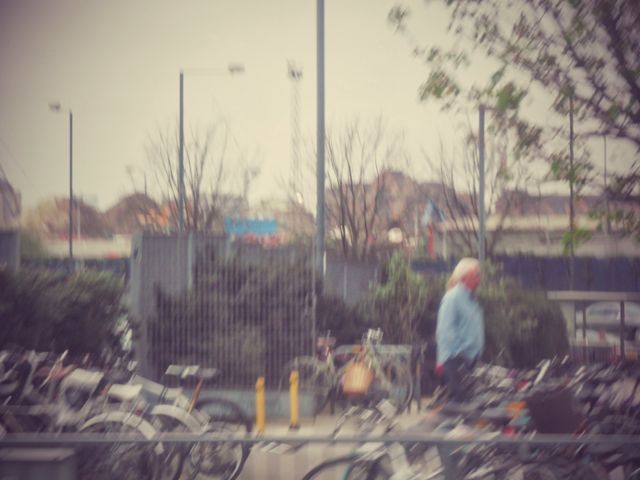
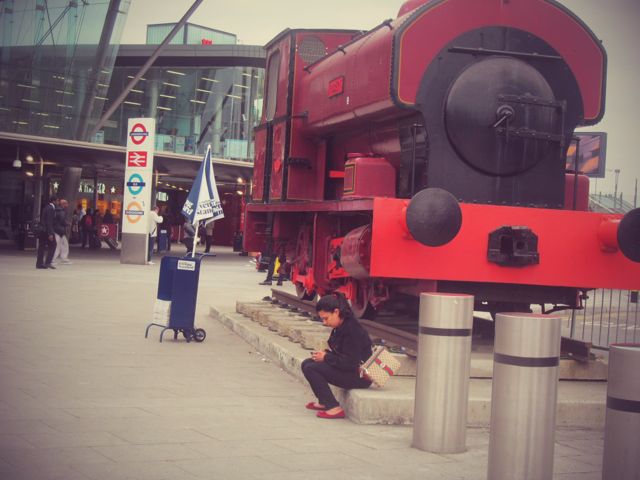
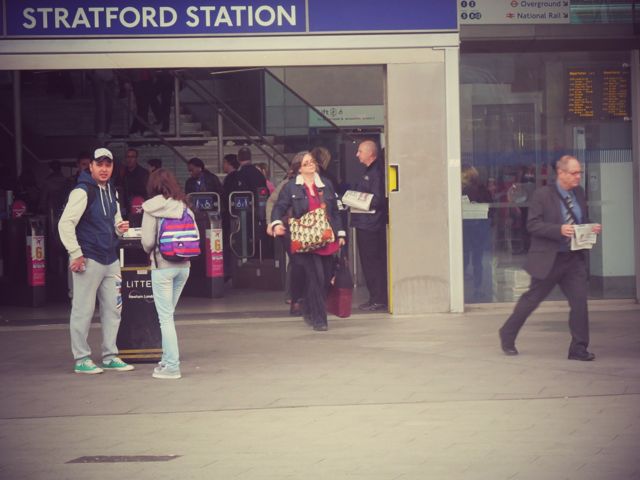
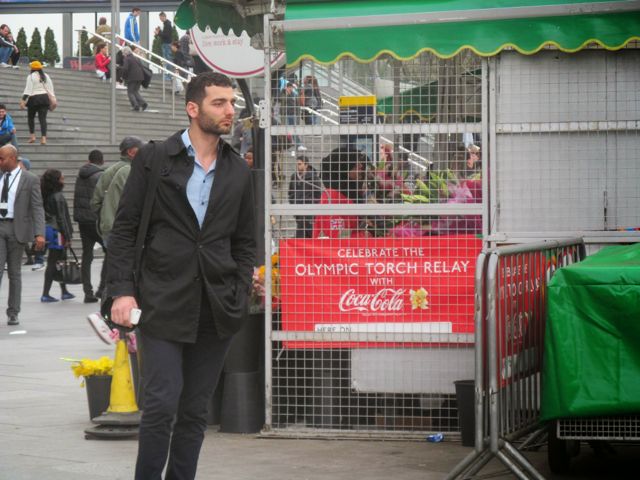
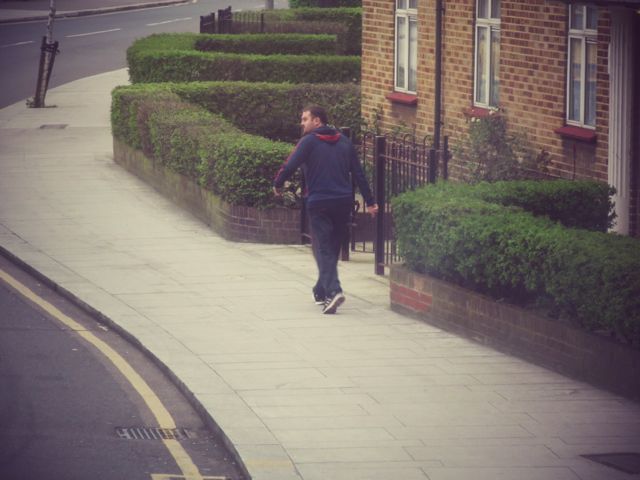
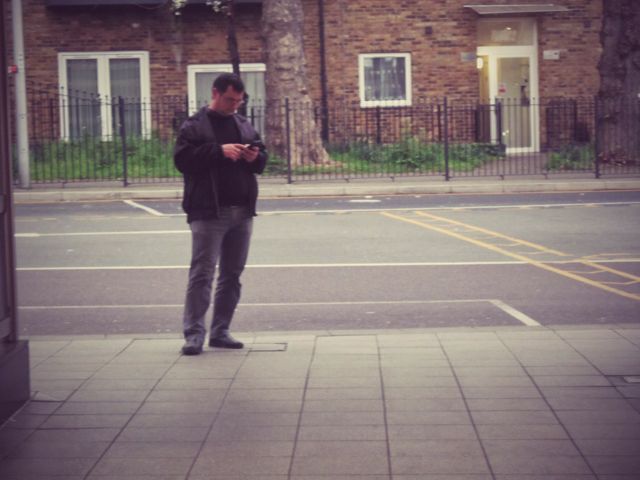
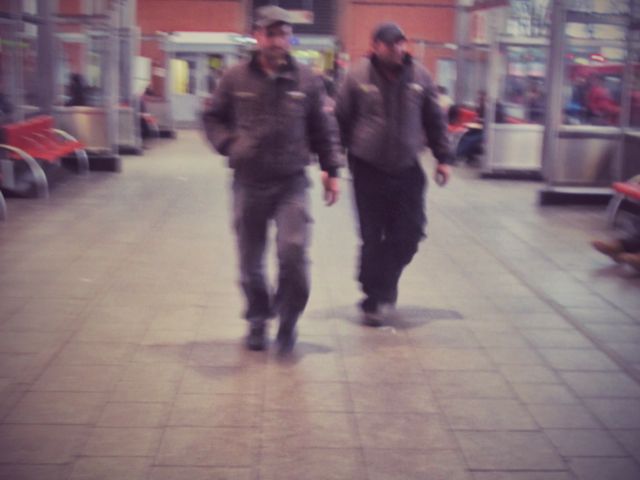
This is the first set of images that I took in school in the style of street photography. Although it is more difficult to take street photography images in the school building and environment as I'm not actually outside in public areas, I still made the most of what I had and worked with it. A couple of us decided that the double lesson that we had, we would go out and take some images at the changeover period when everyone else would move to their next lessons - one of the busiest parts of the school day. During this time, I managed to take some decent images which I thought definitely related to my theme. Once I had taken all the images, I went back inside and used iPhoto to edit the images and make them black and white - in the style of Markus Hartel's work.
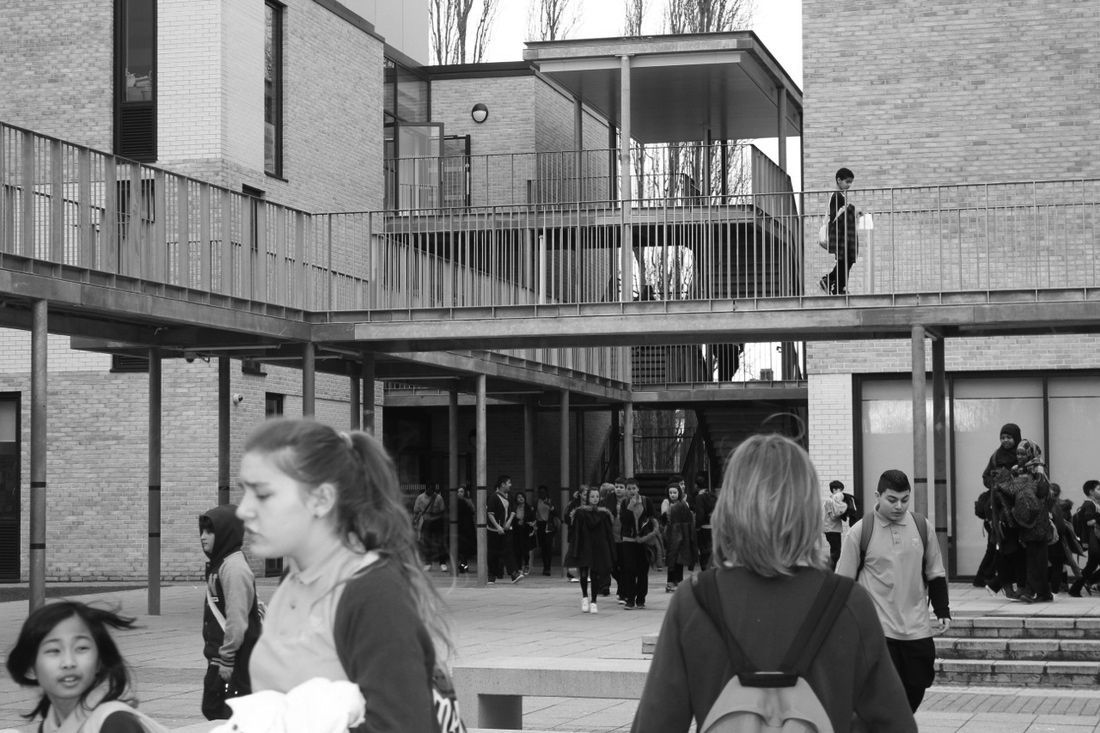
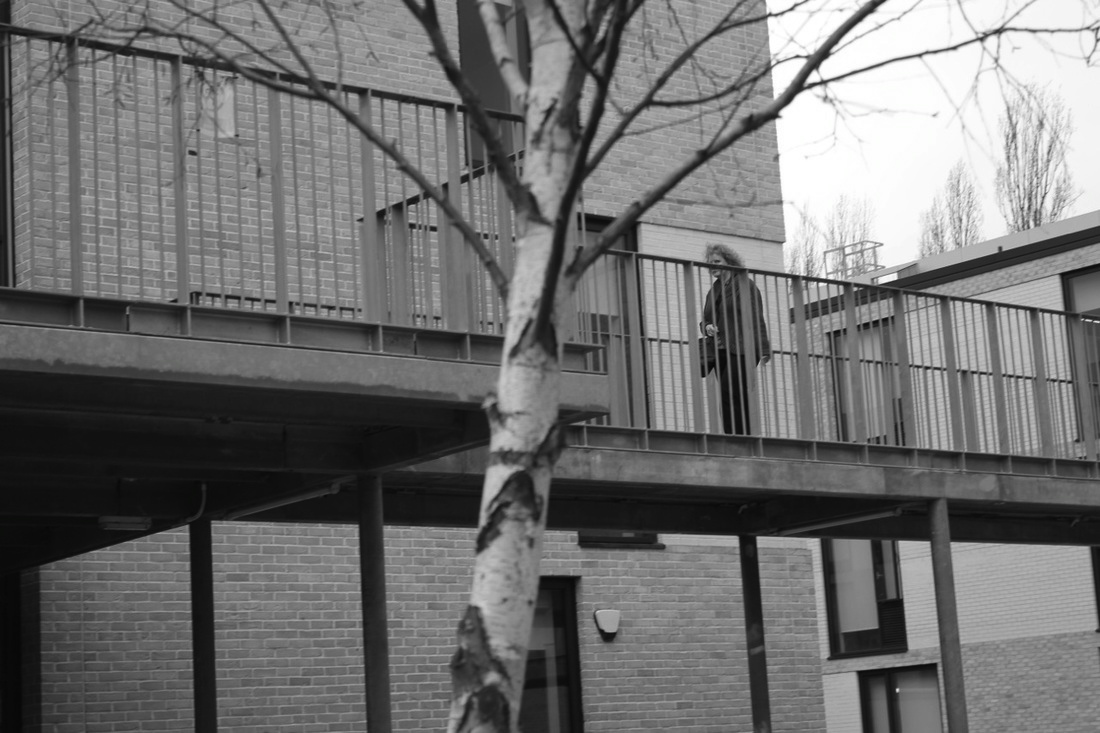
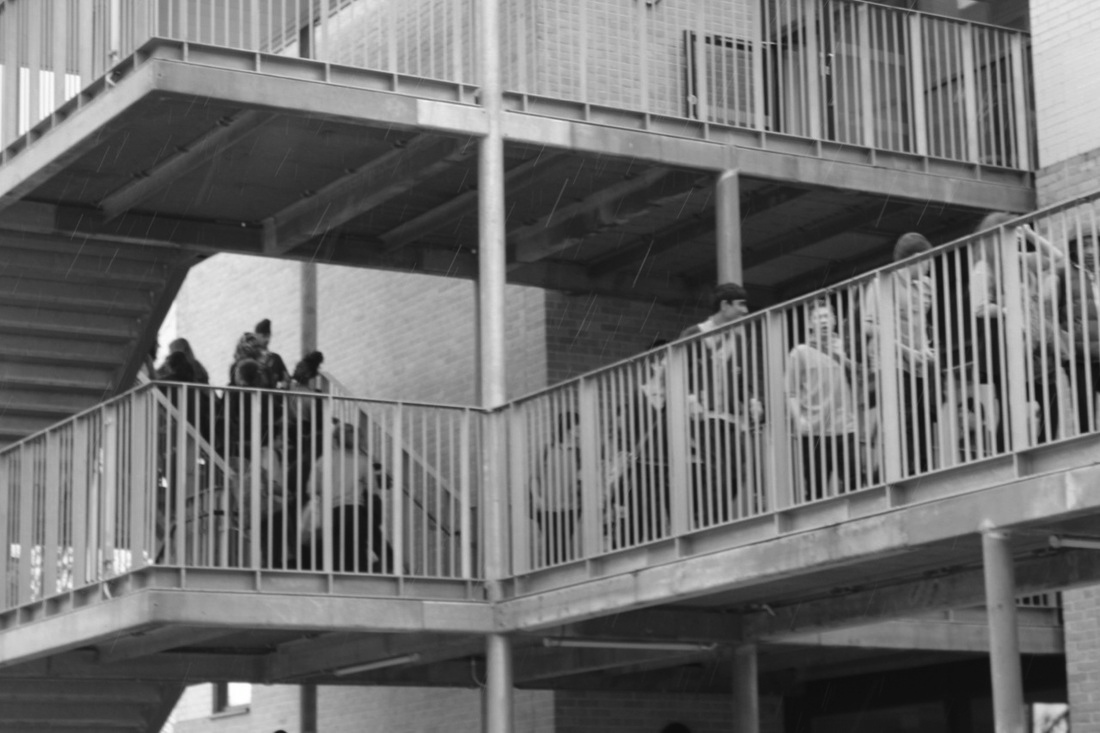
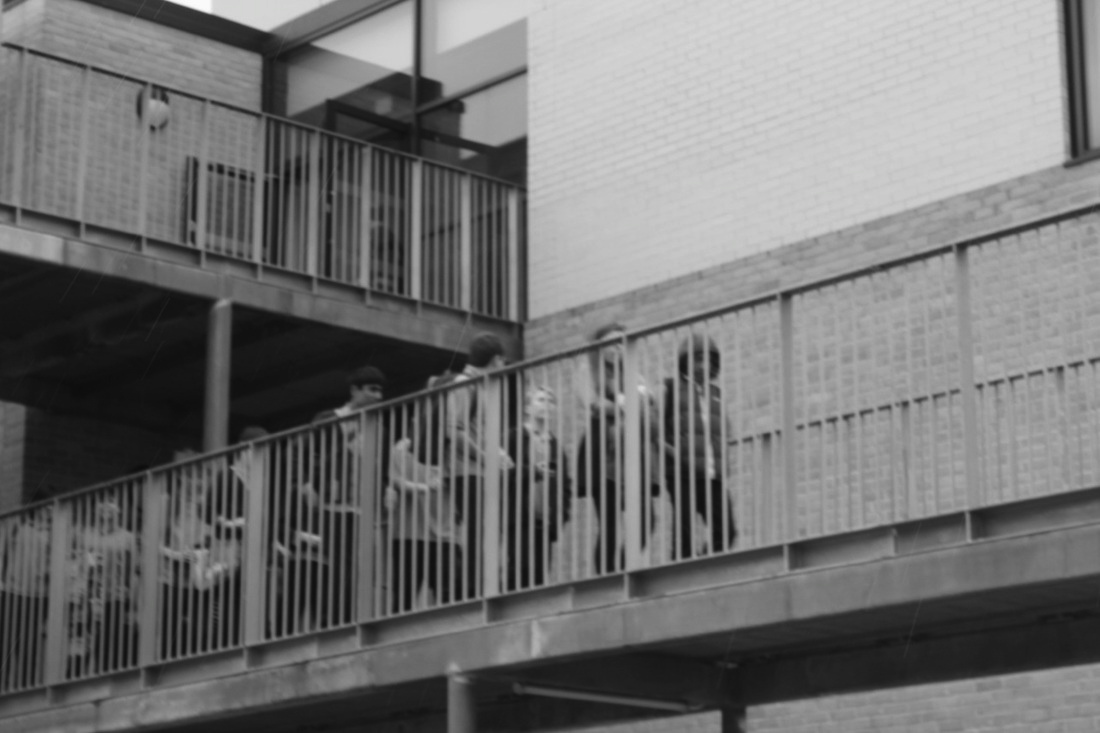
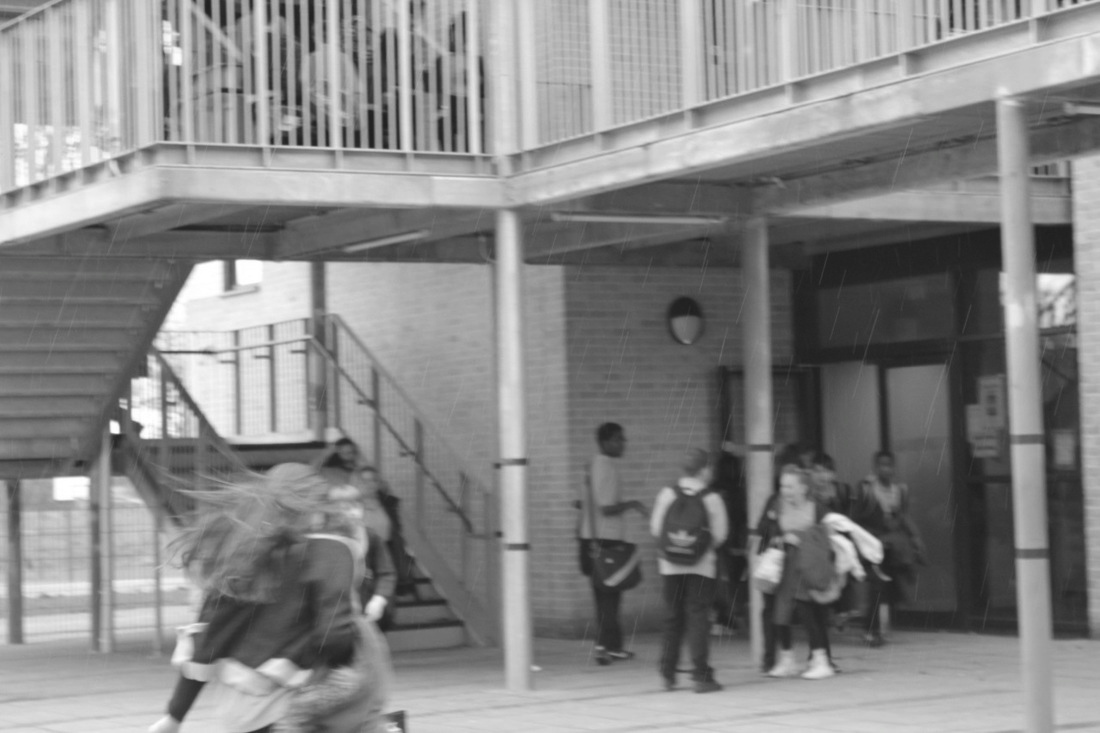
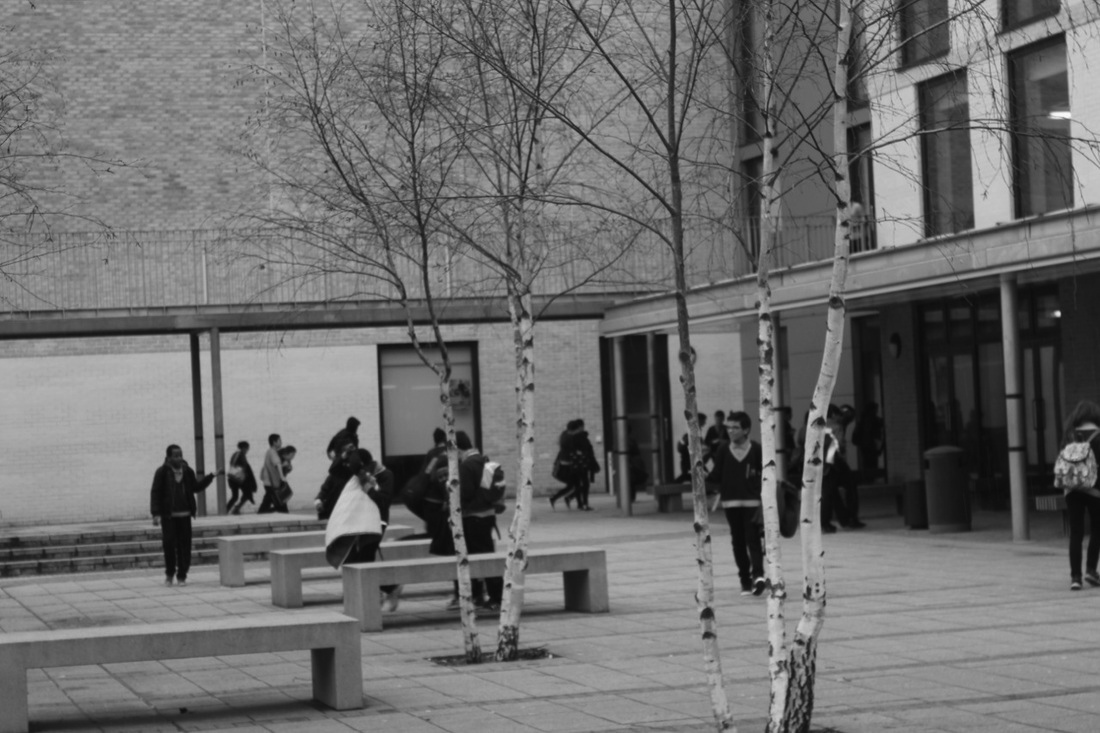
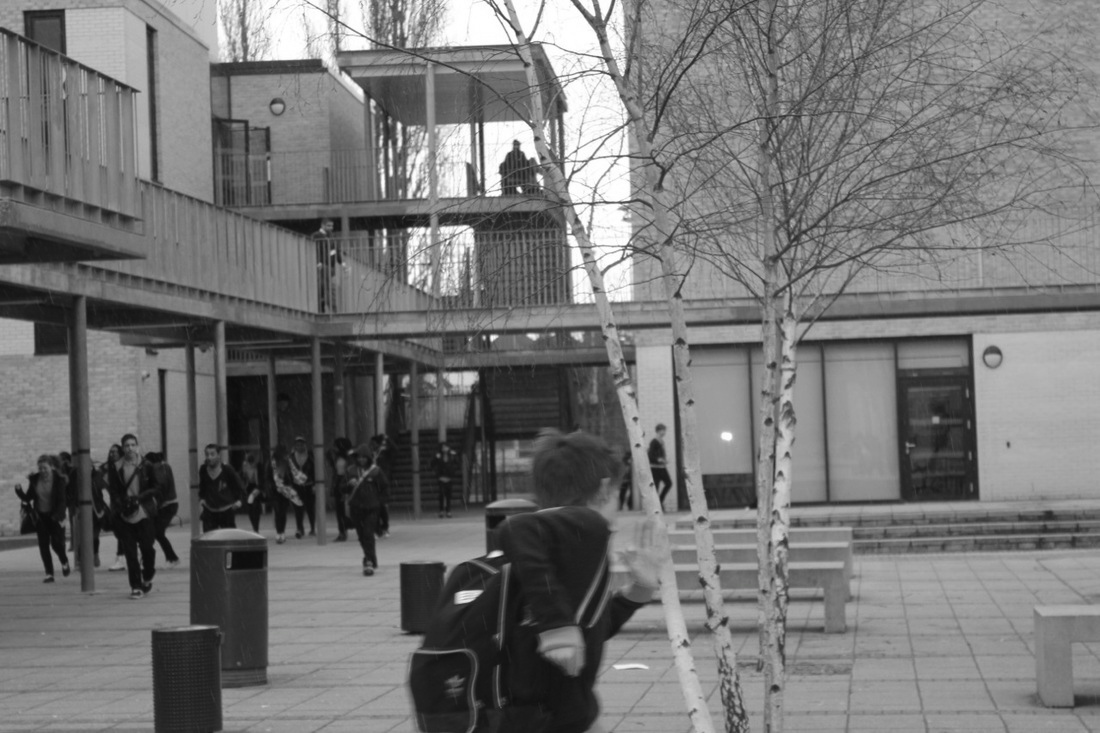
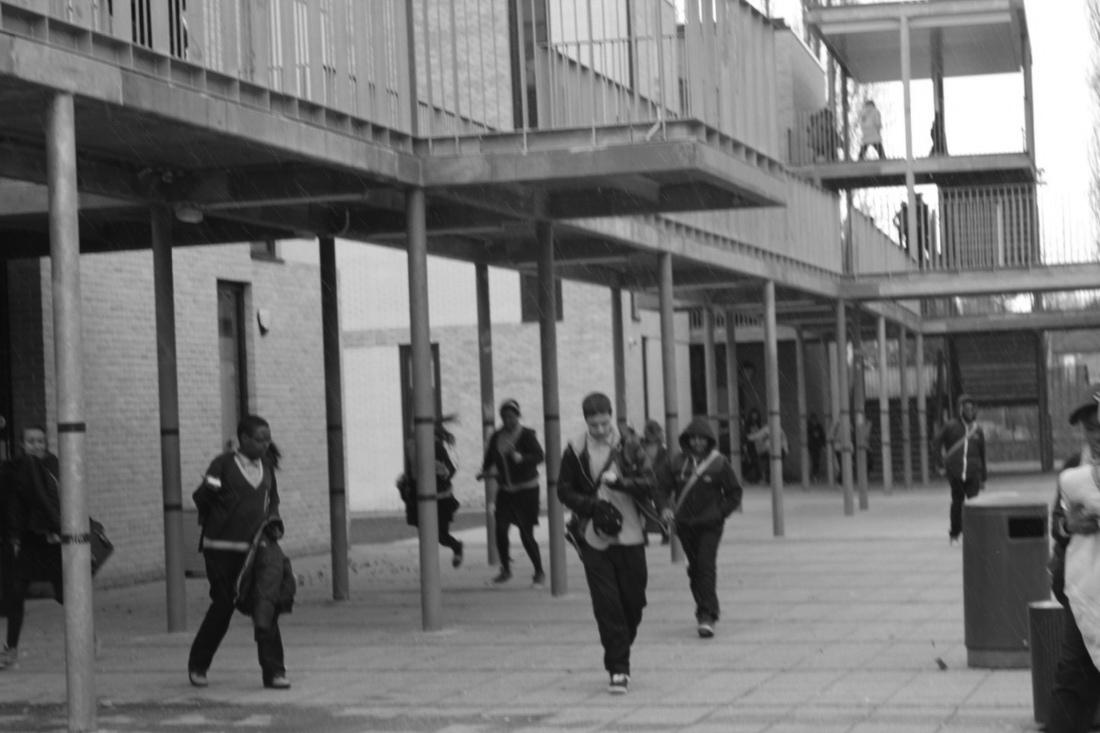
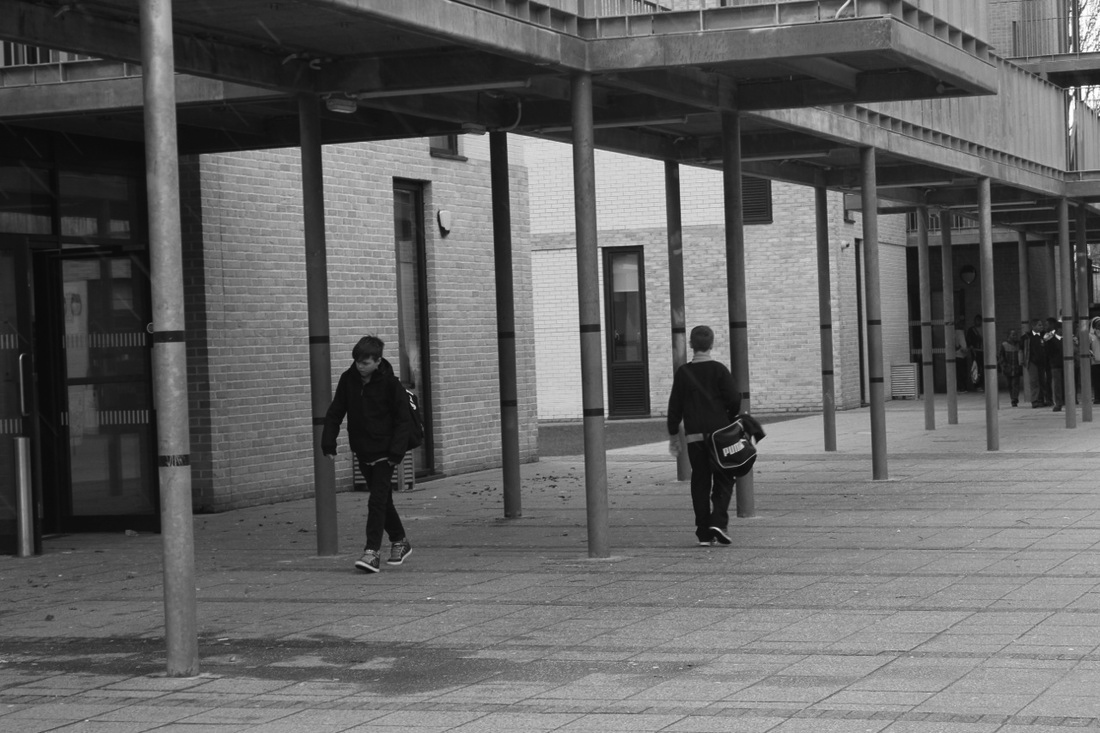
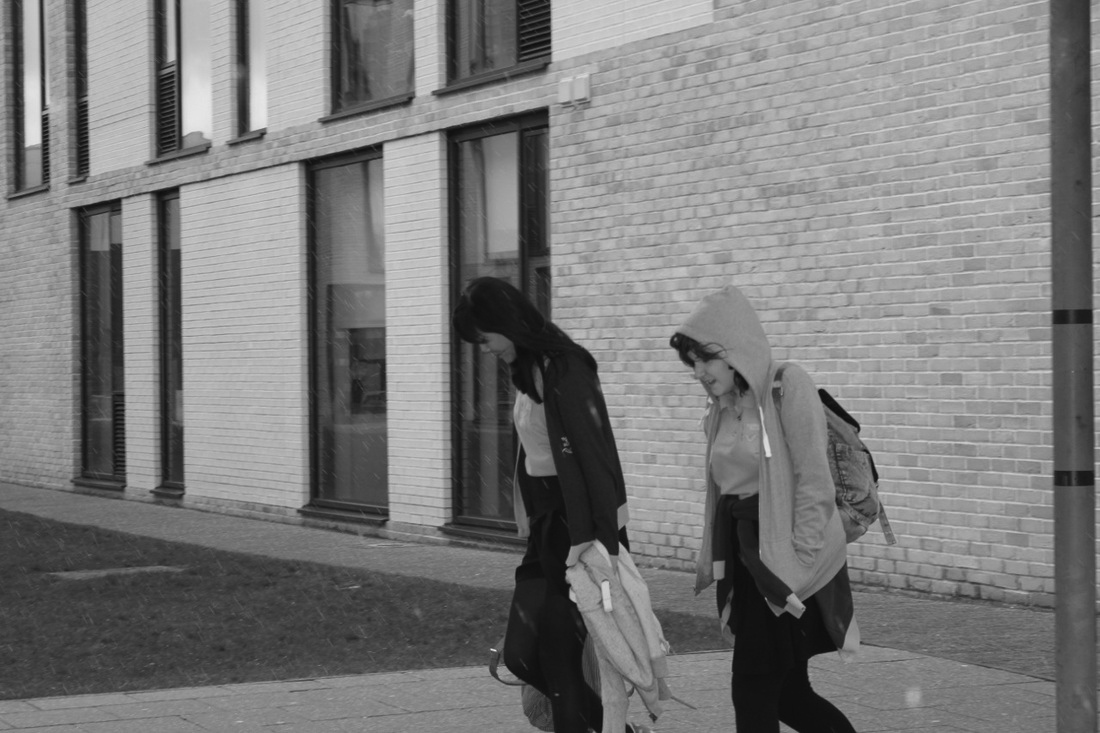

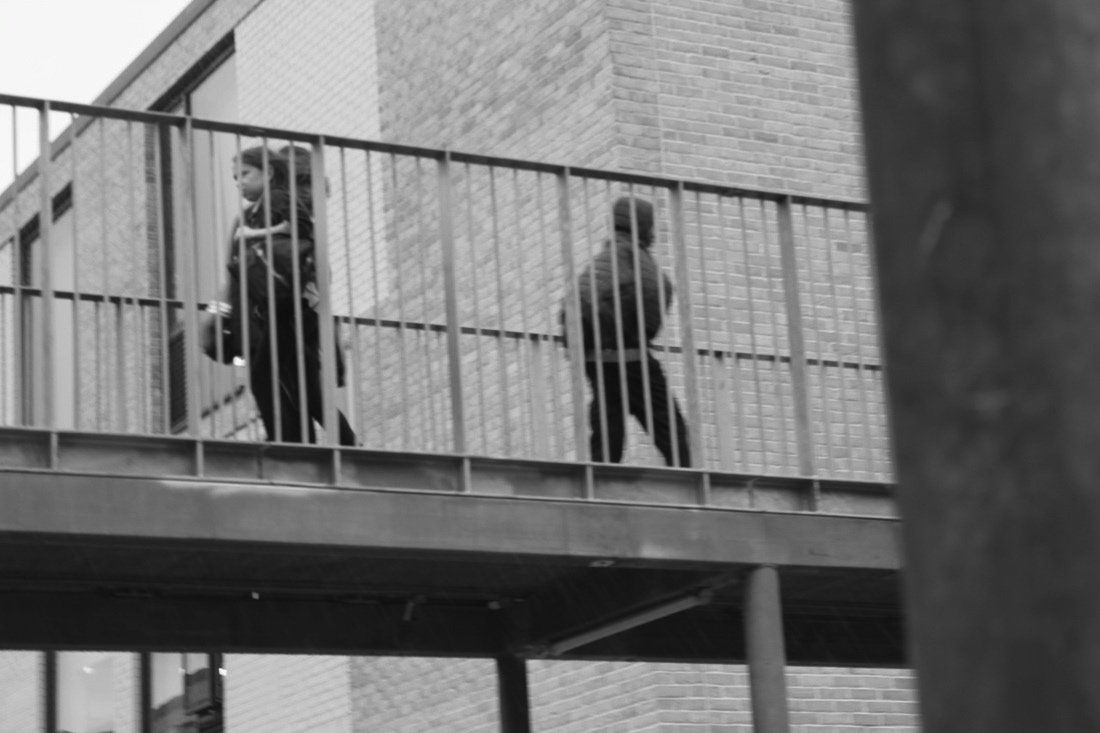


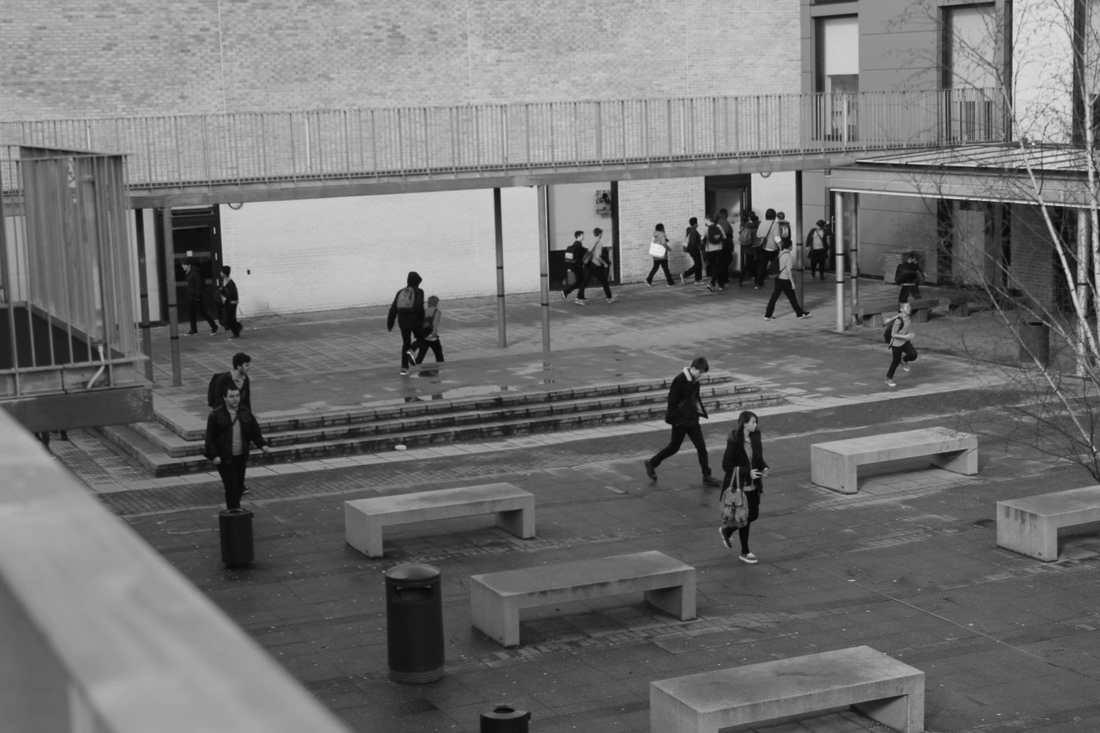
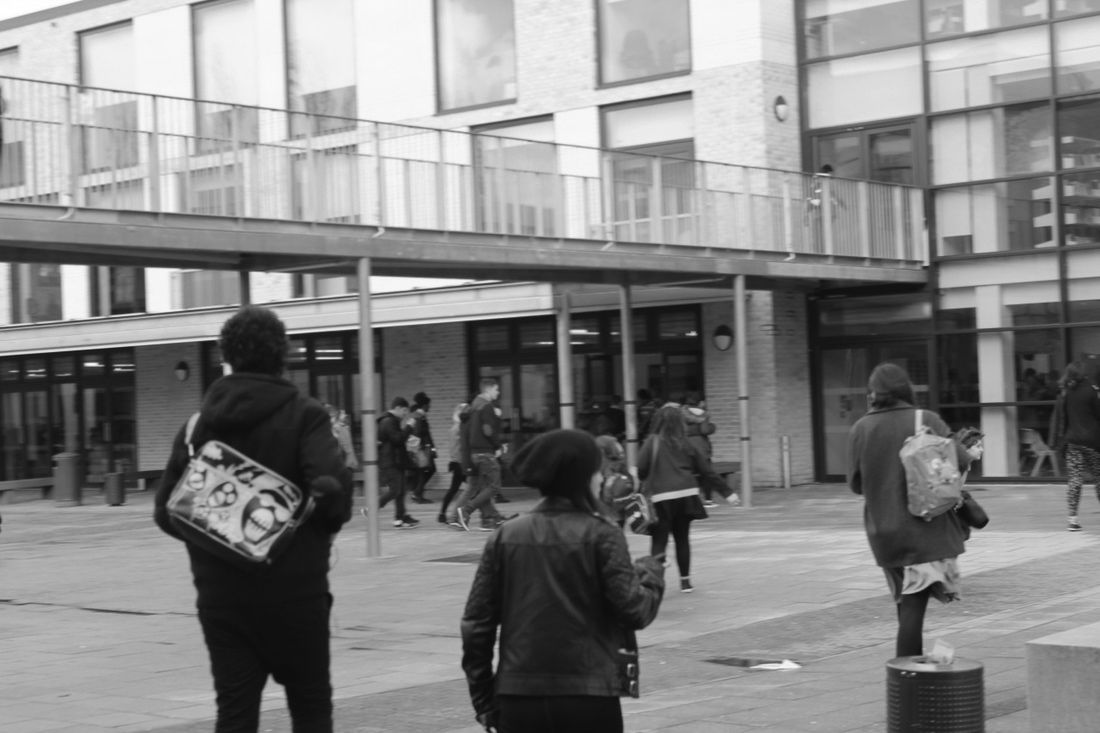
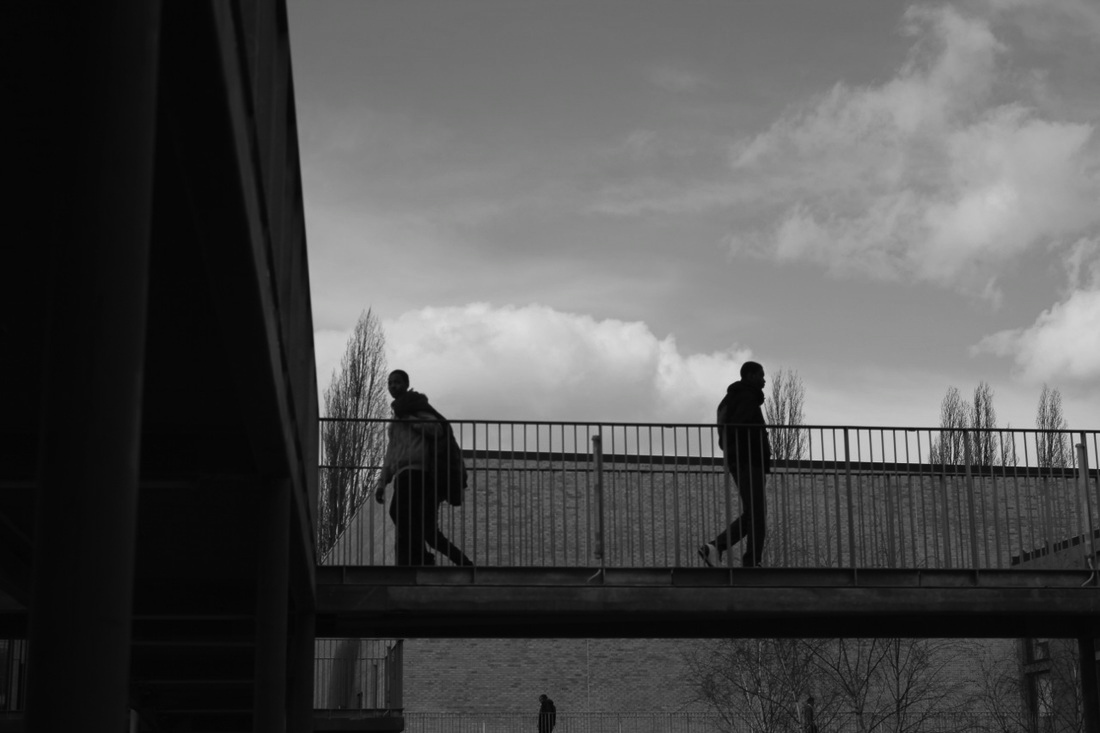
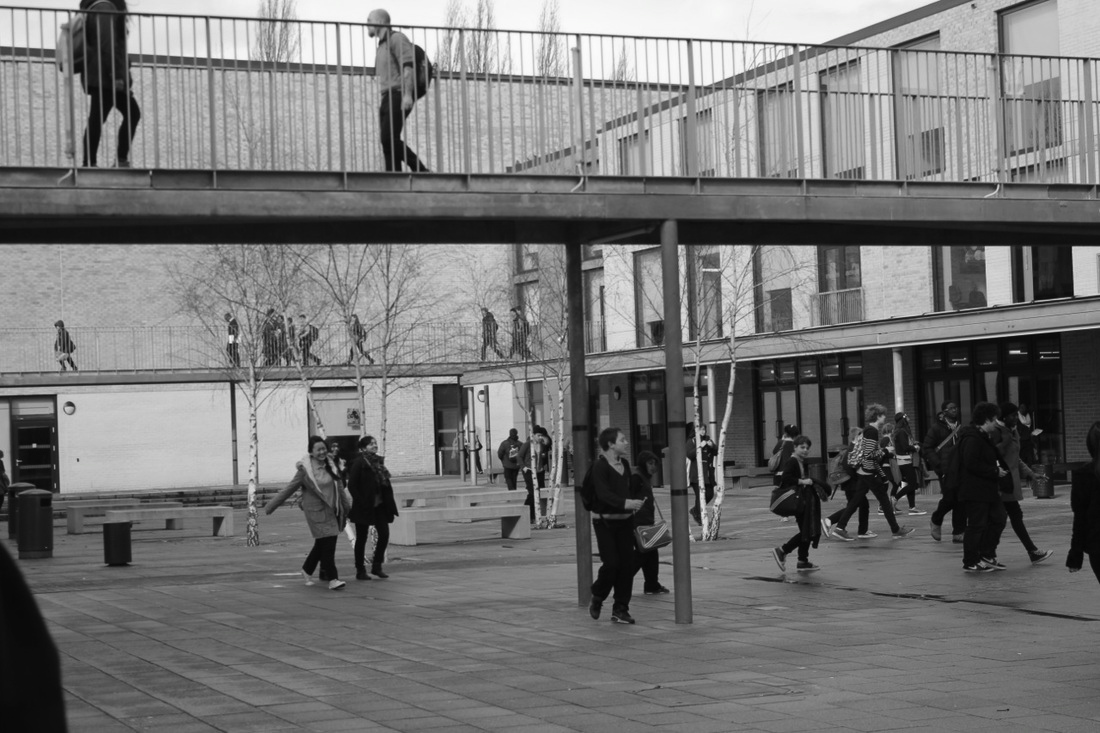
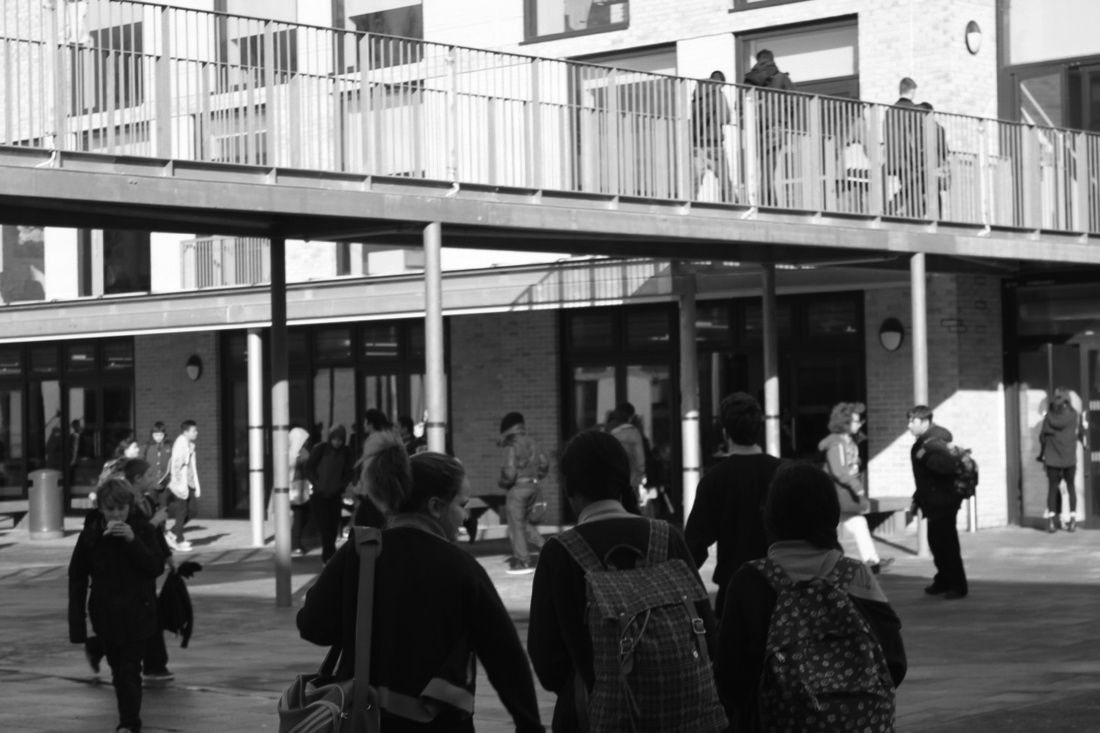
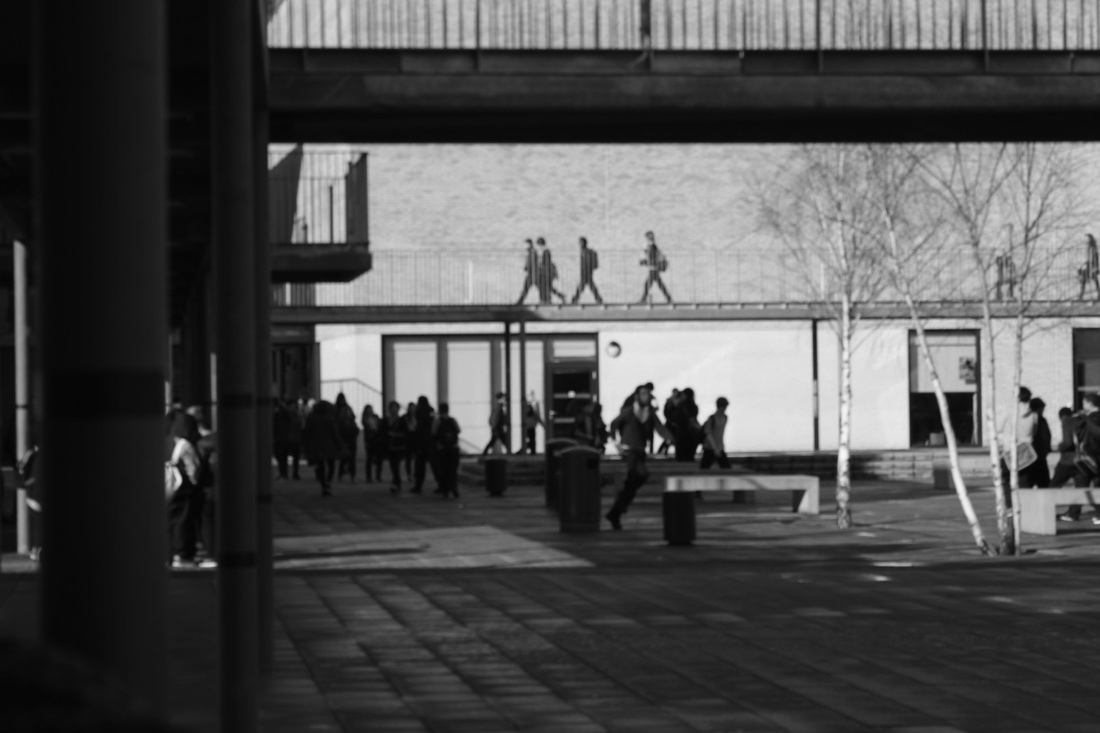

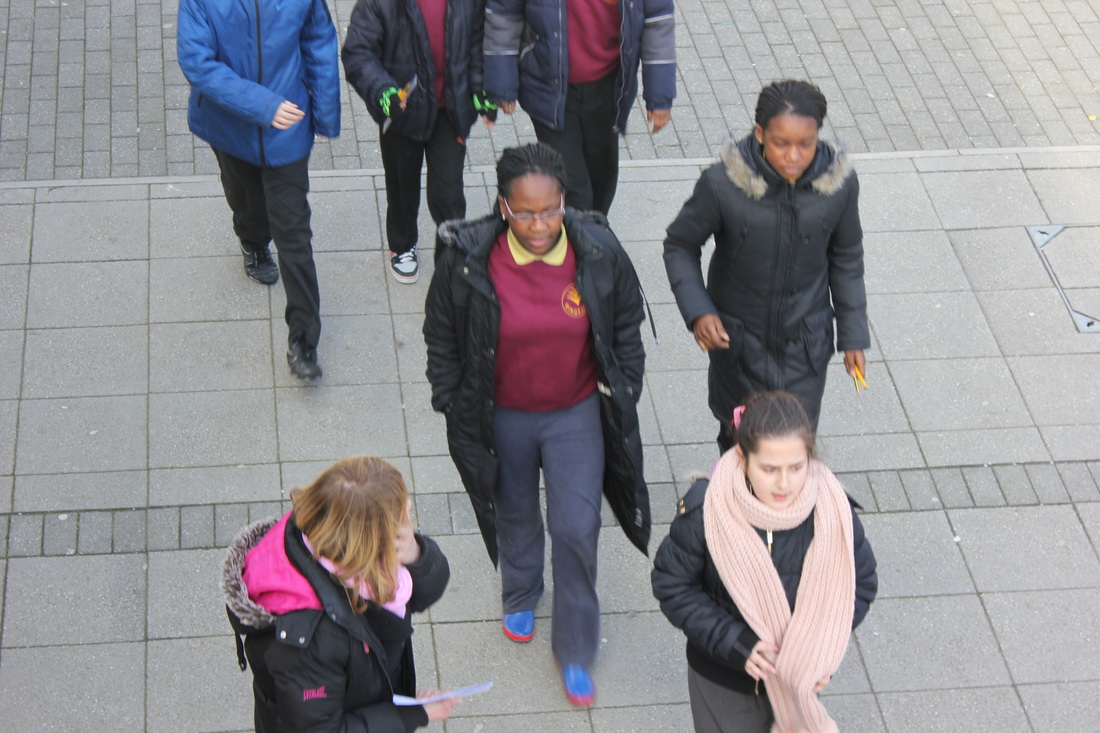
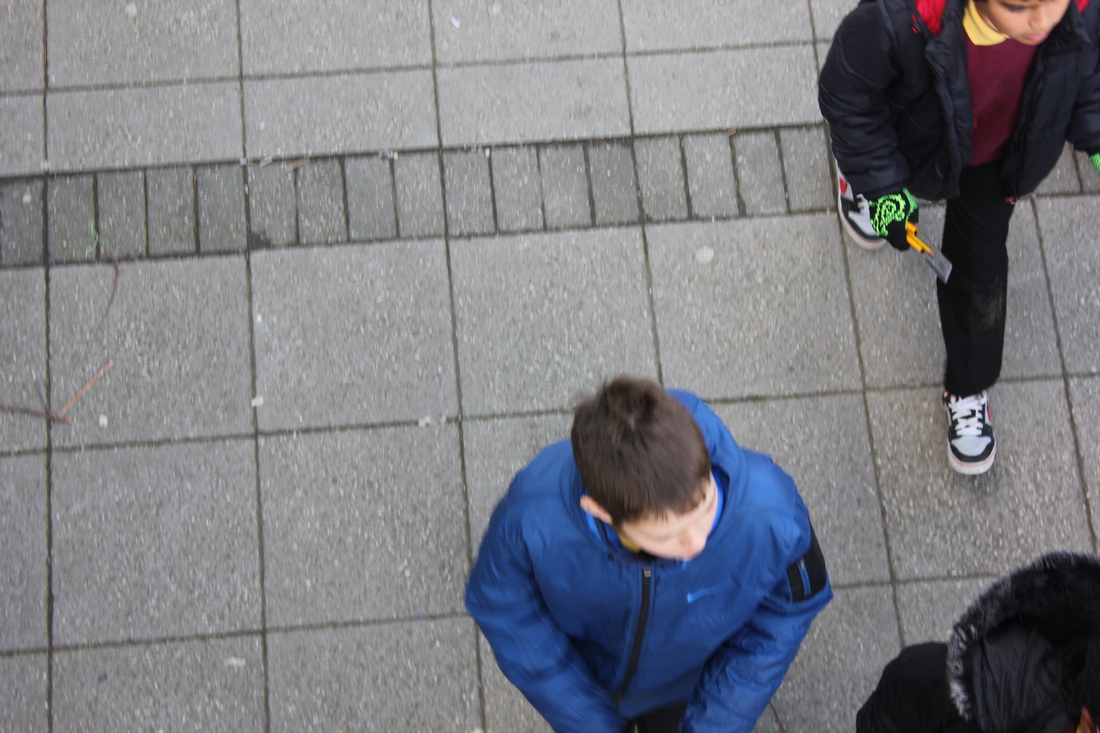
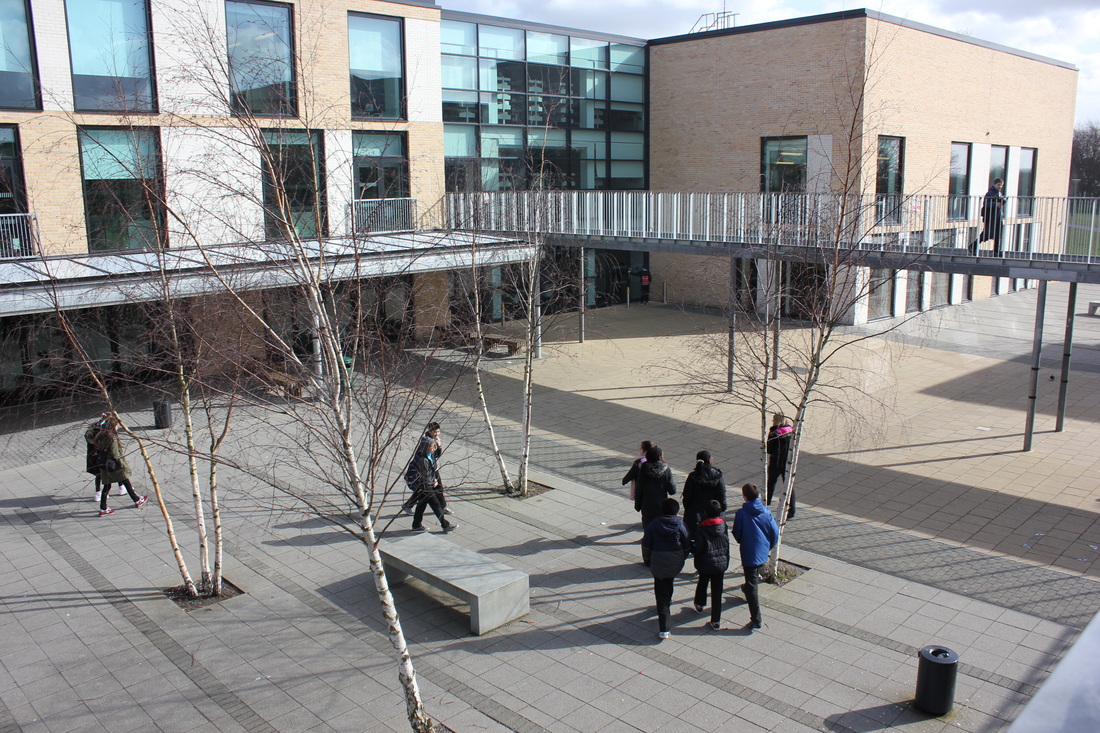
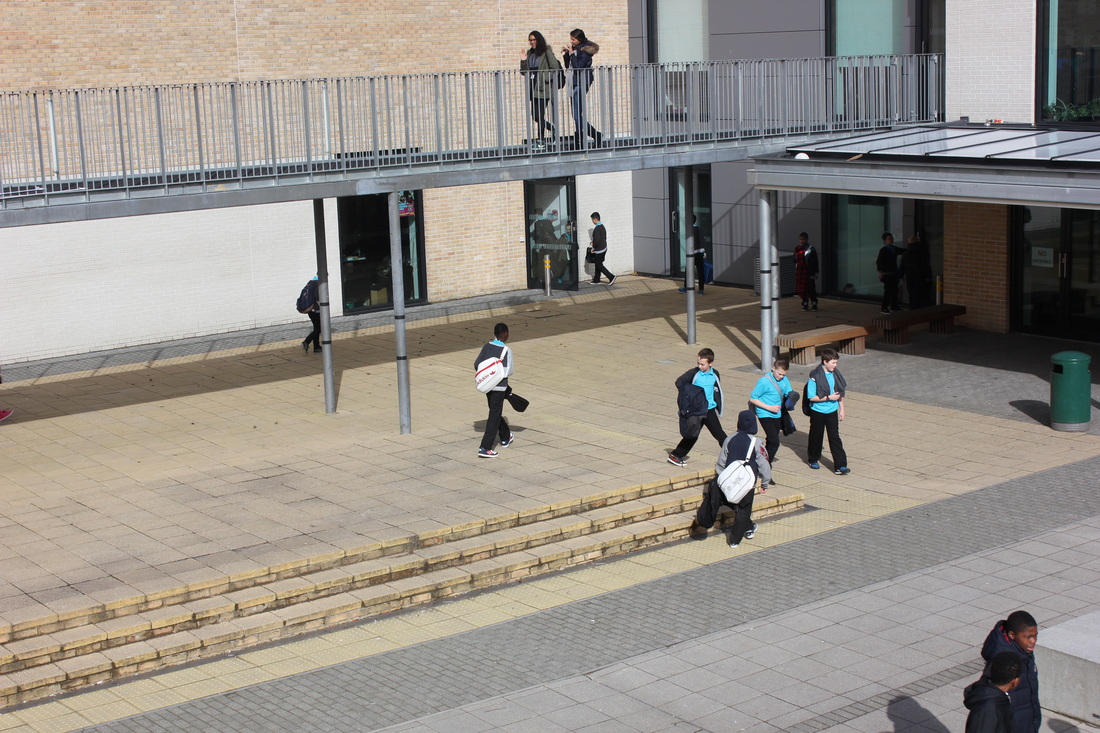
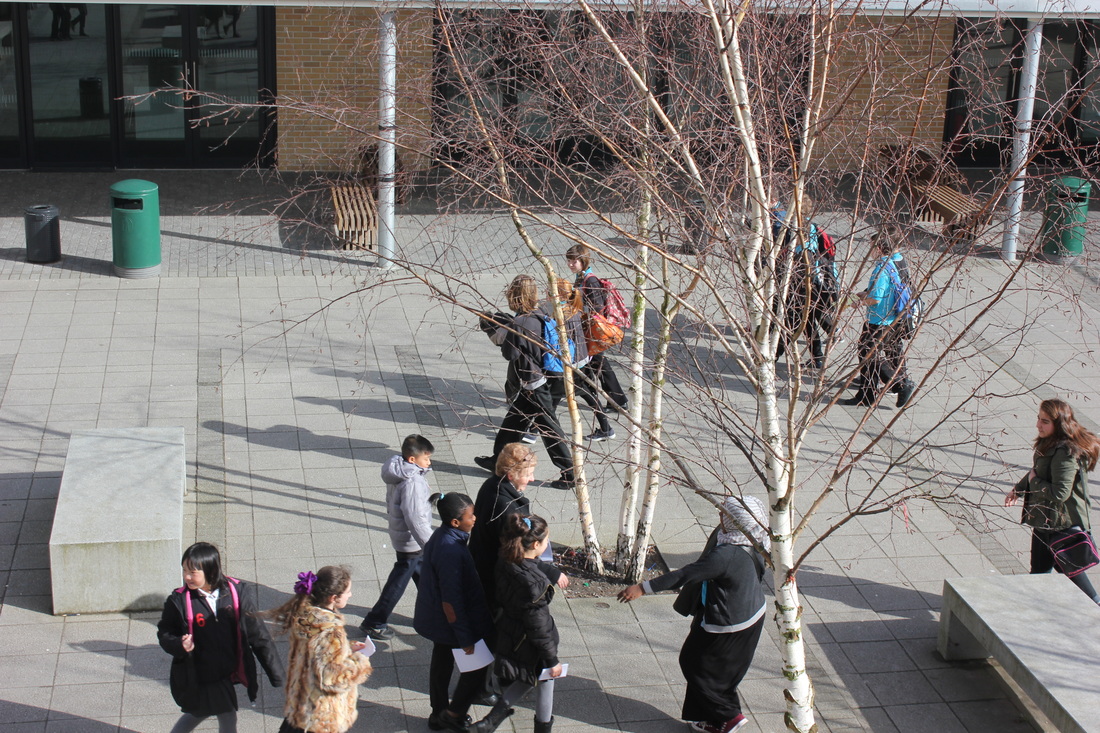
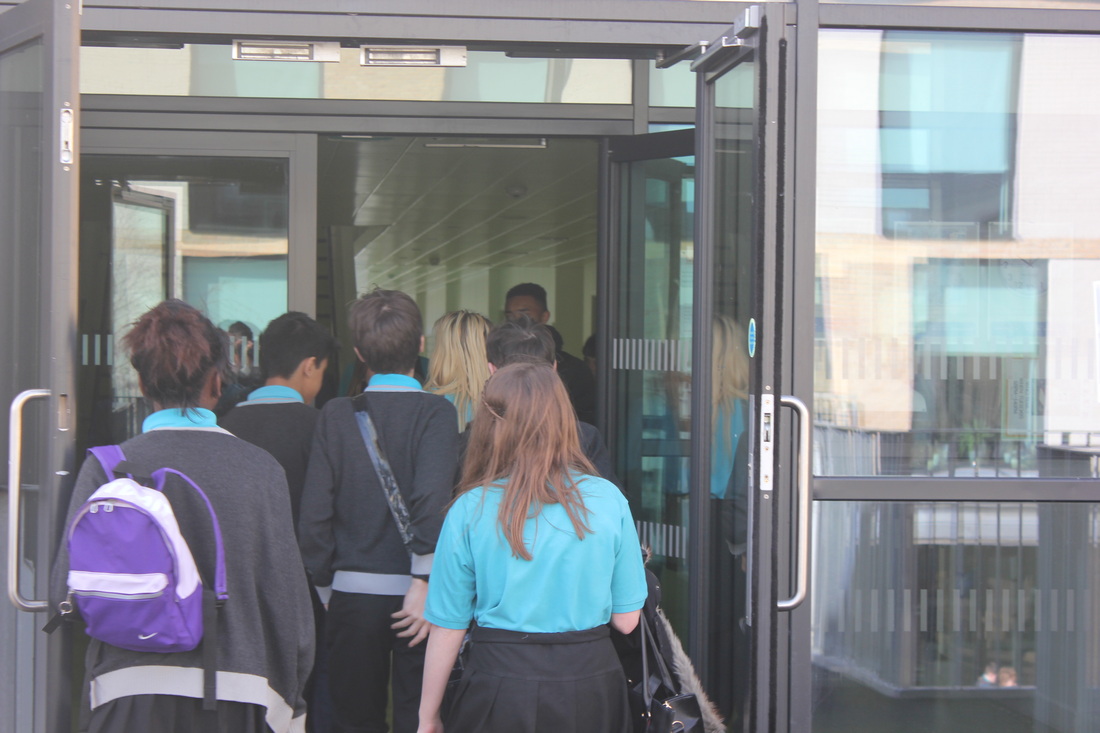
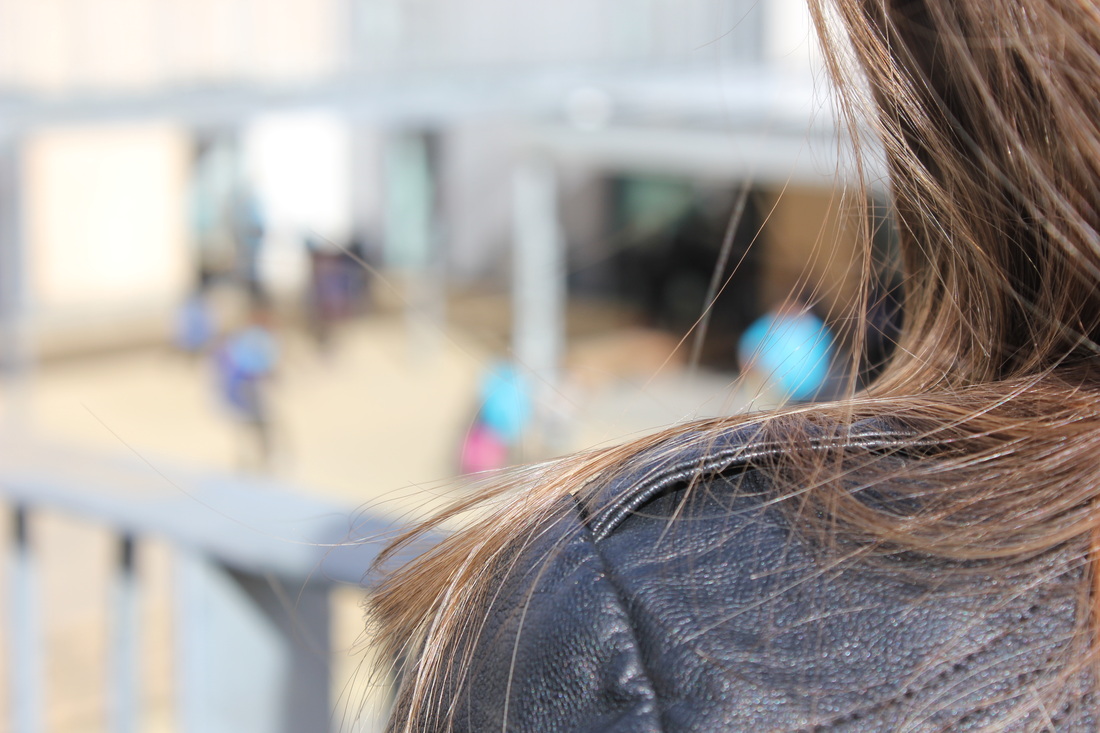
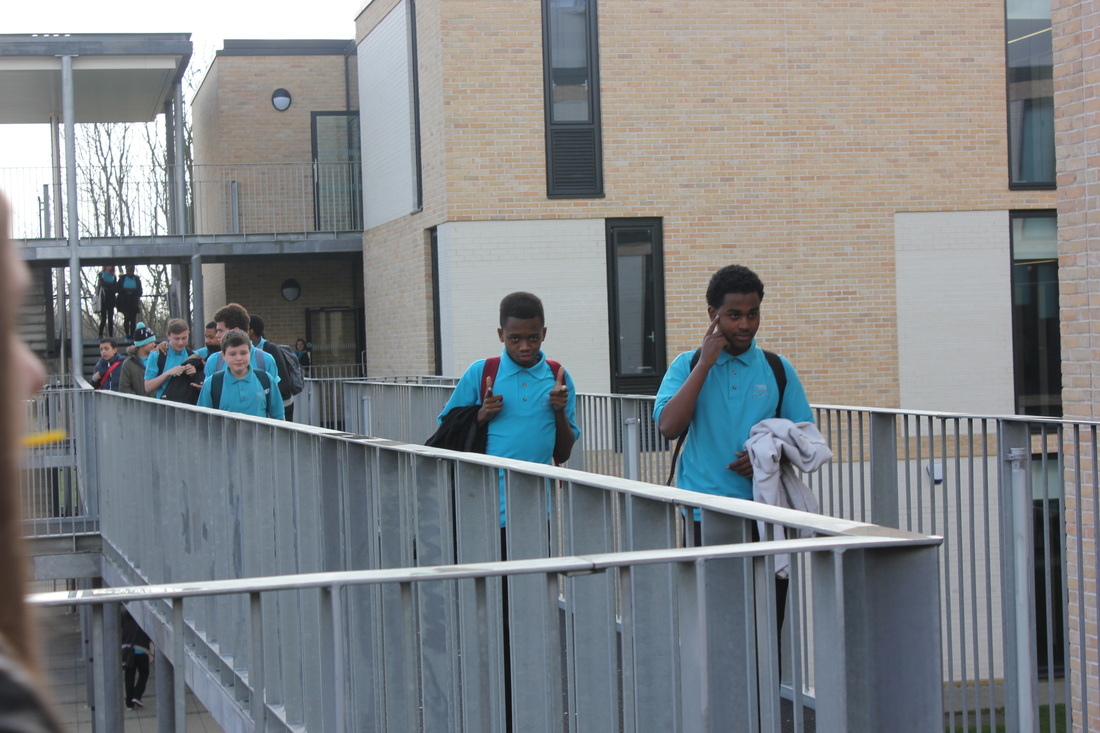
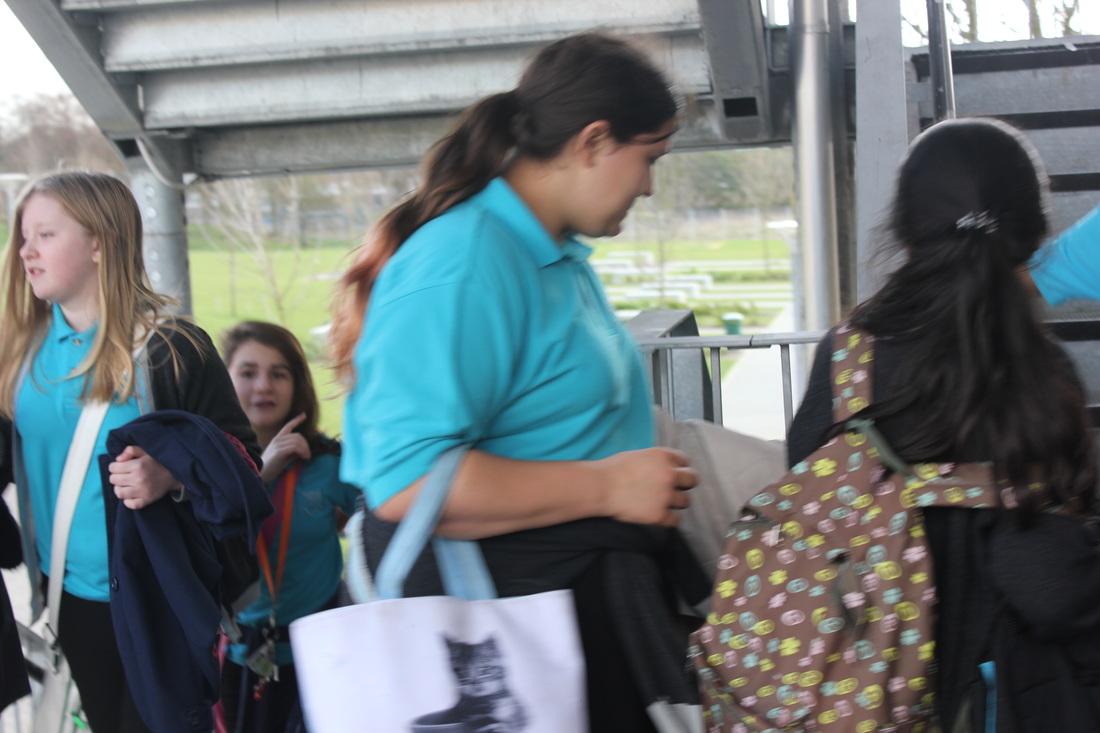
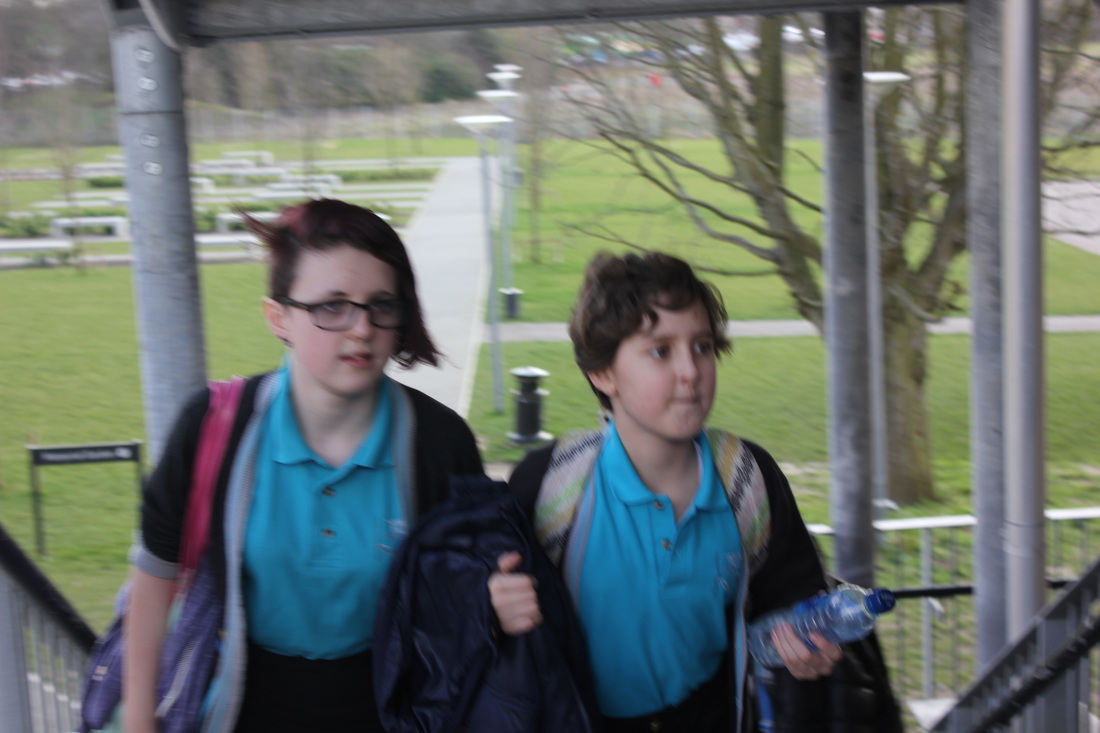
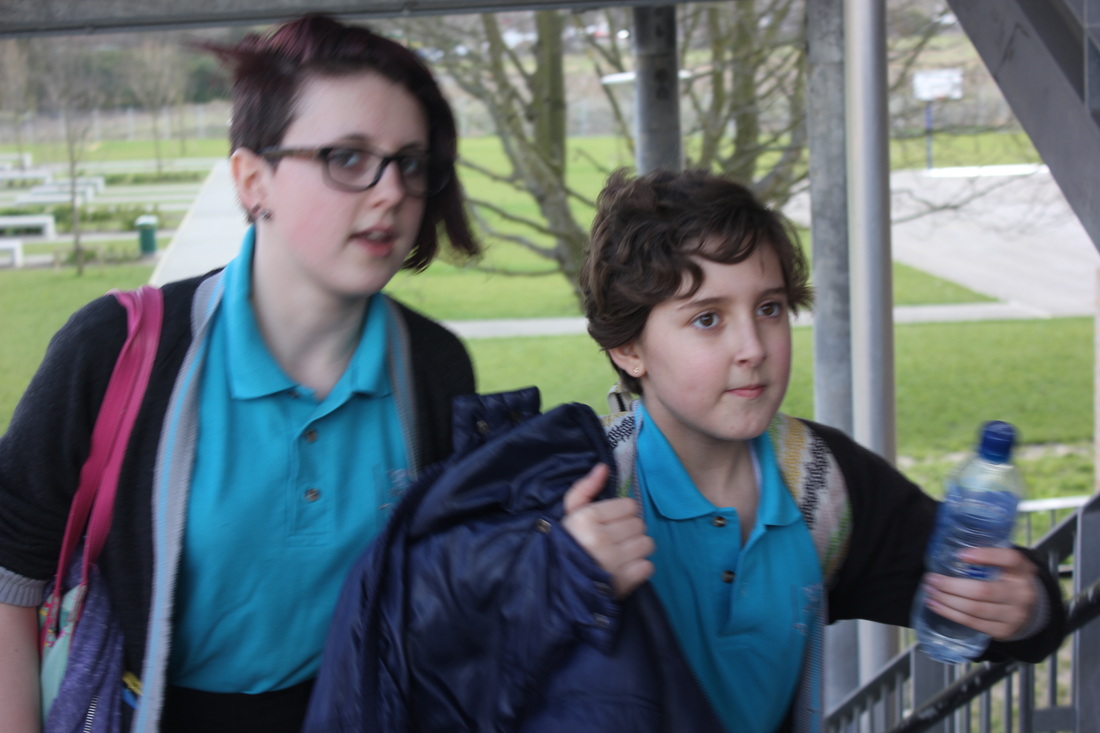
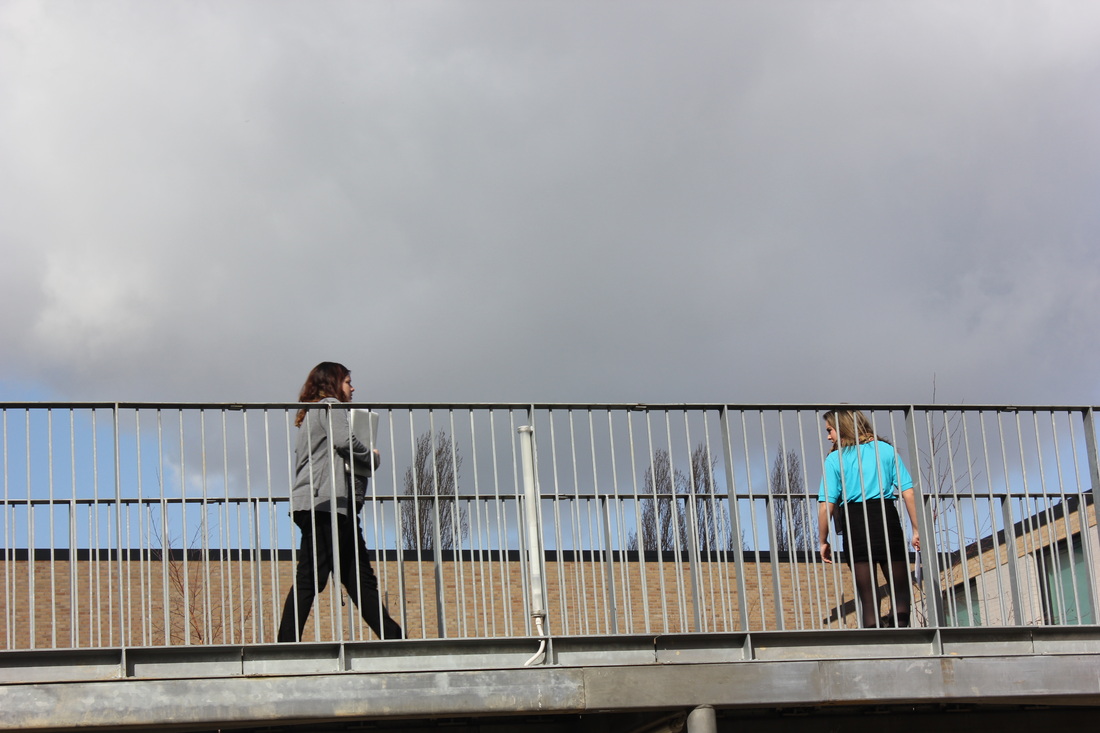
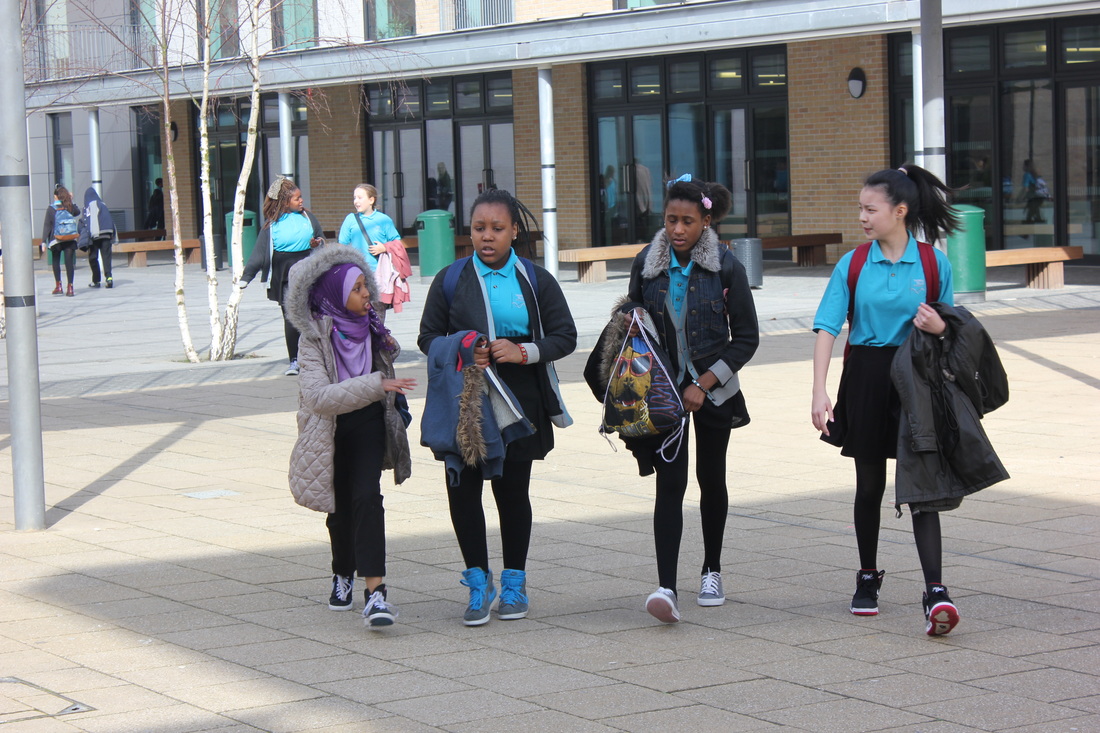
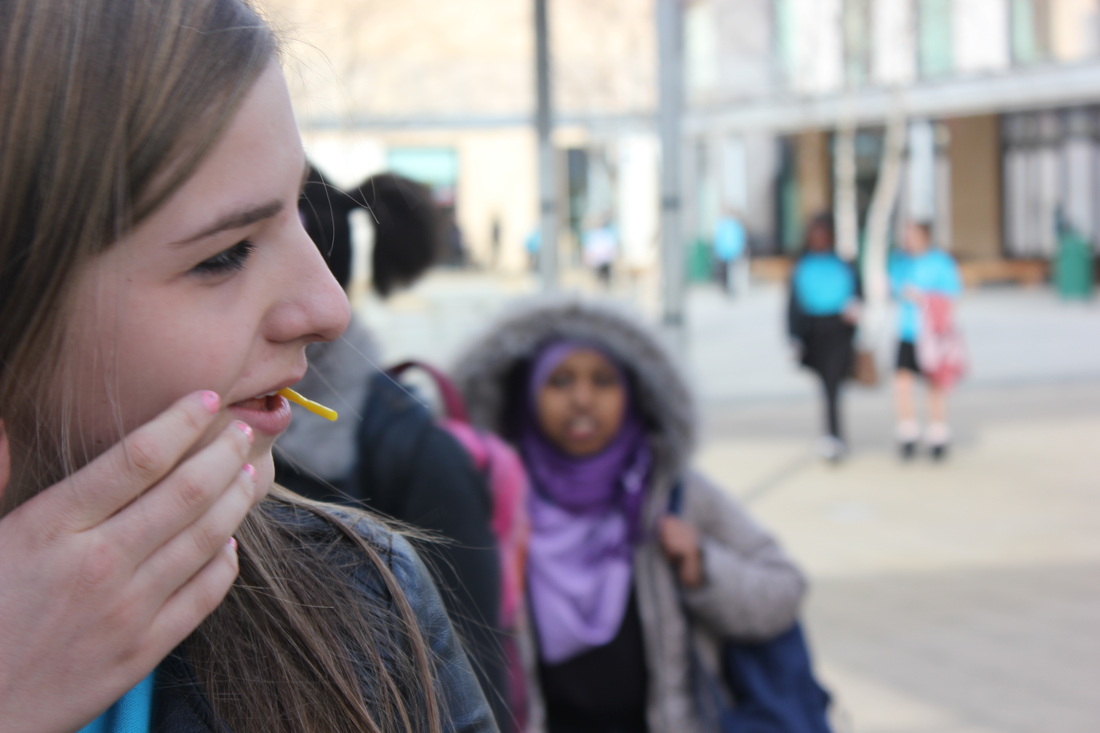
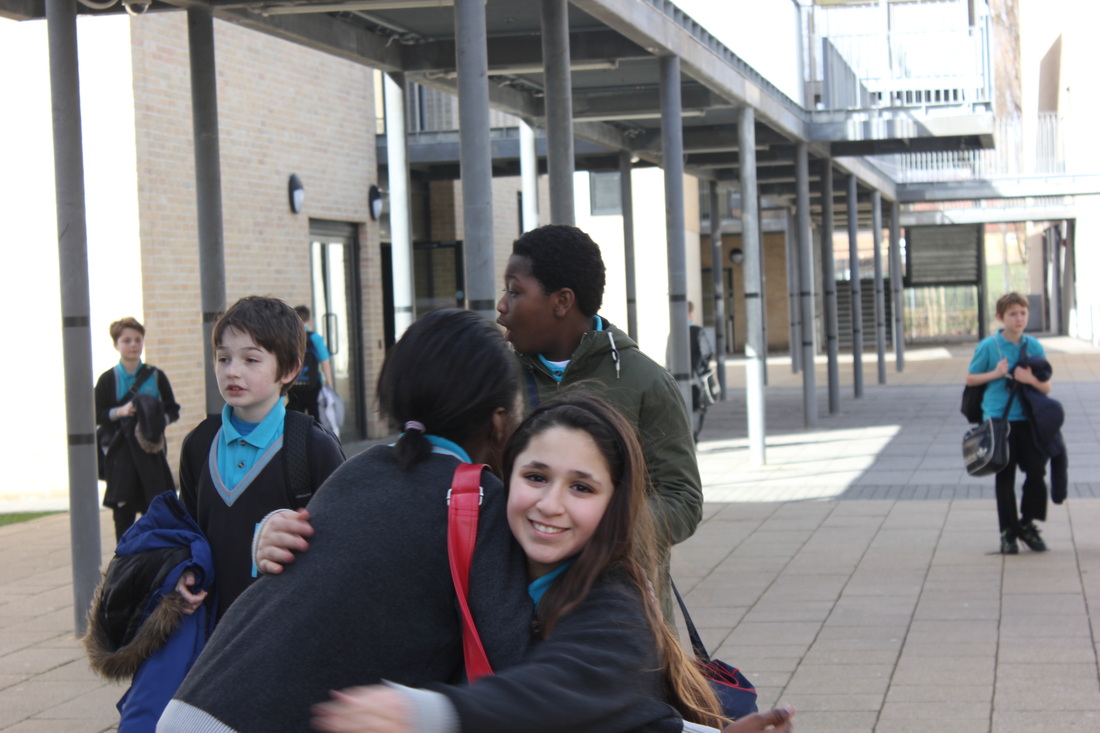
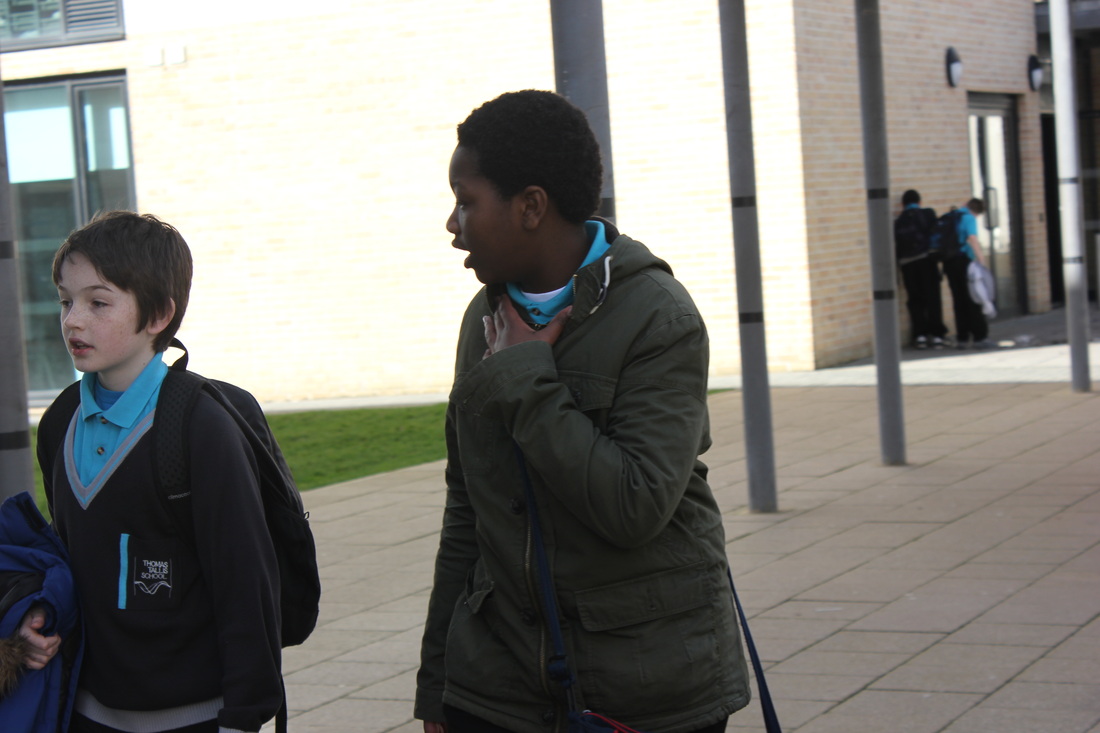
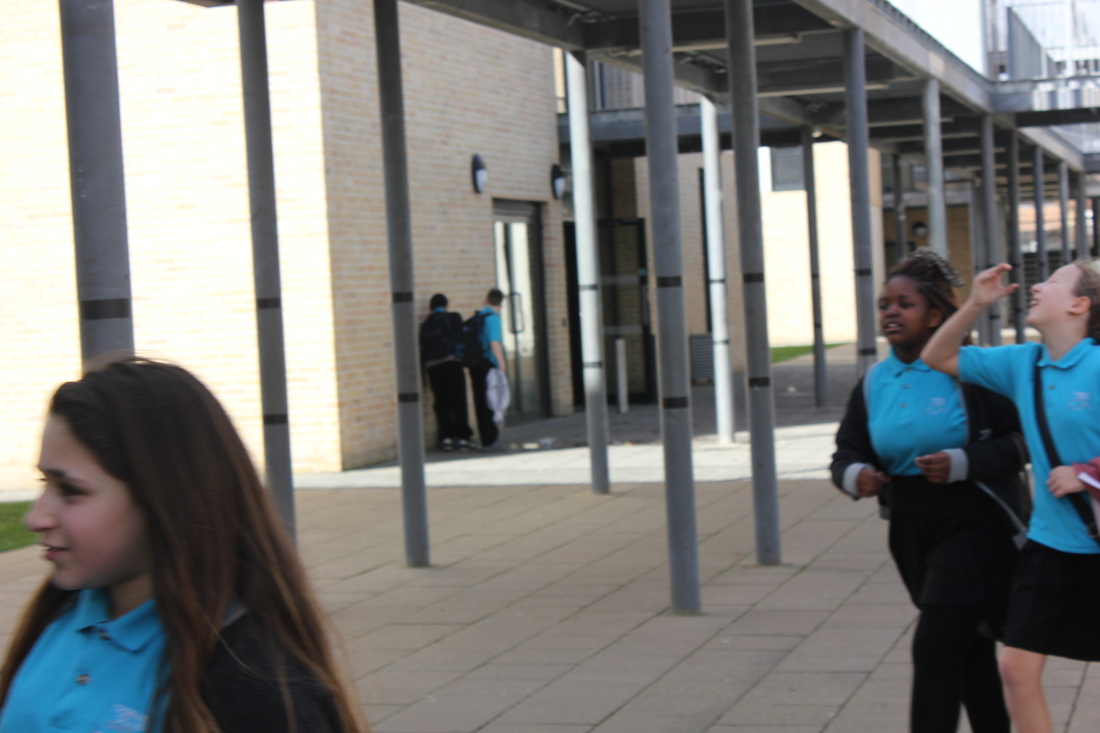
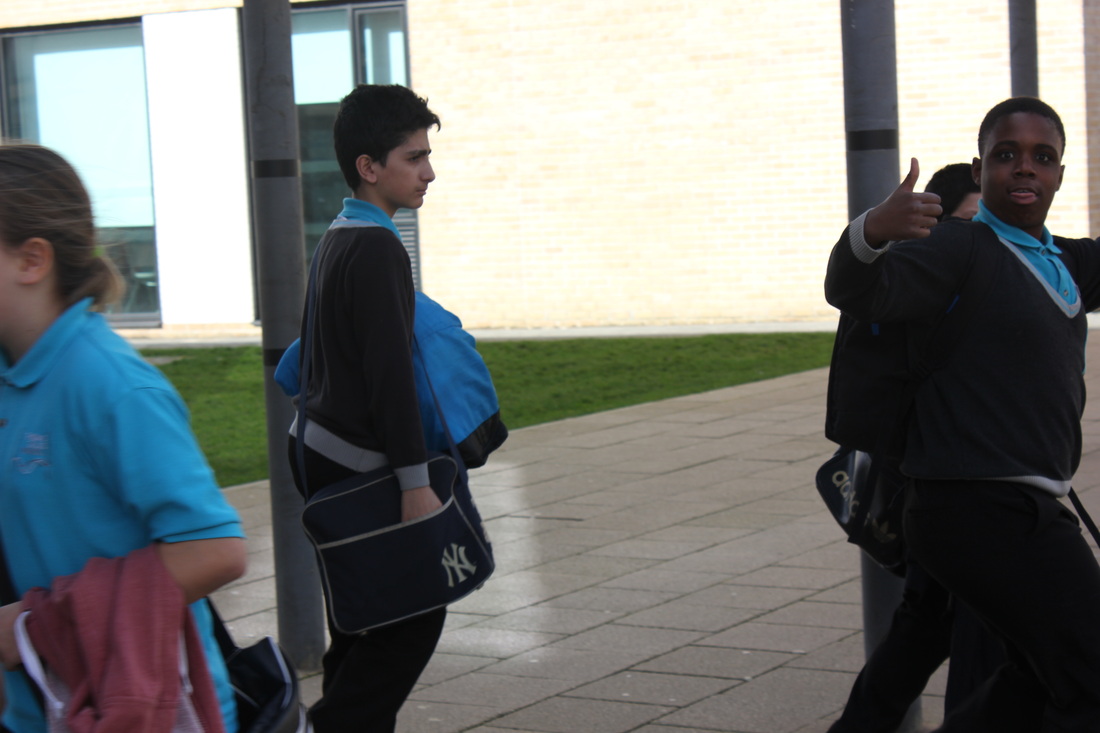
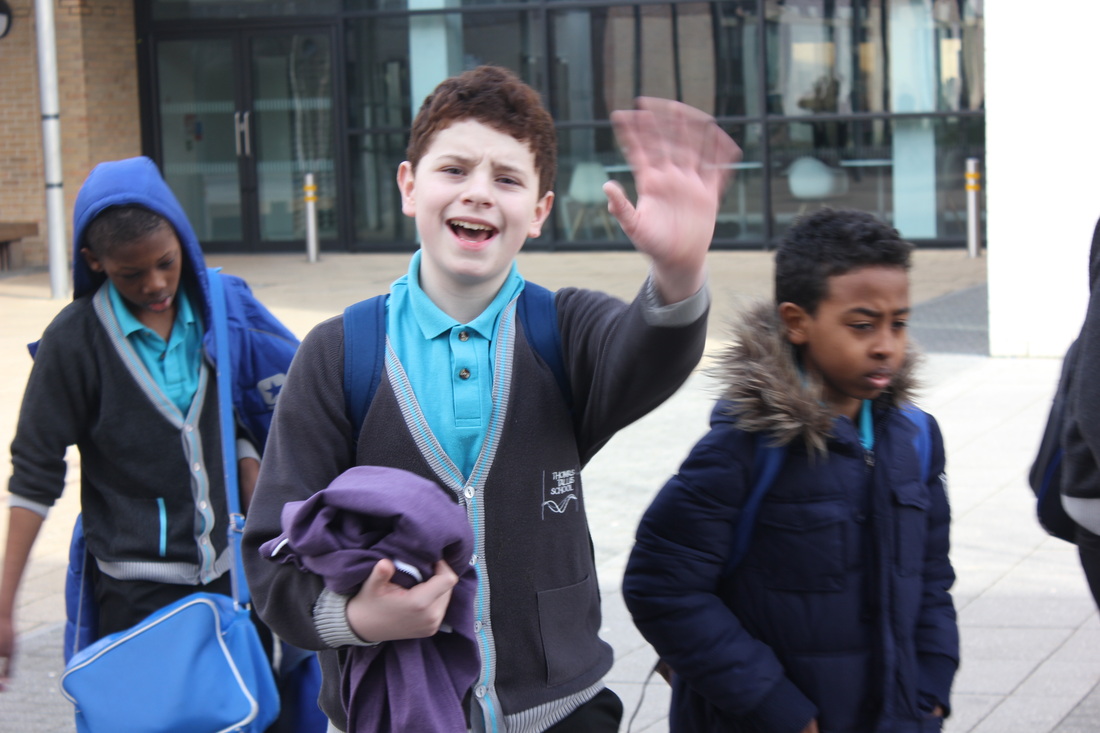
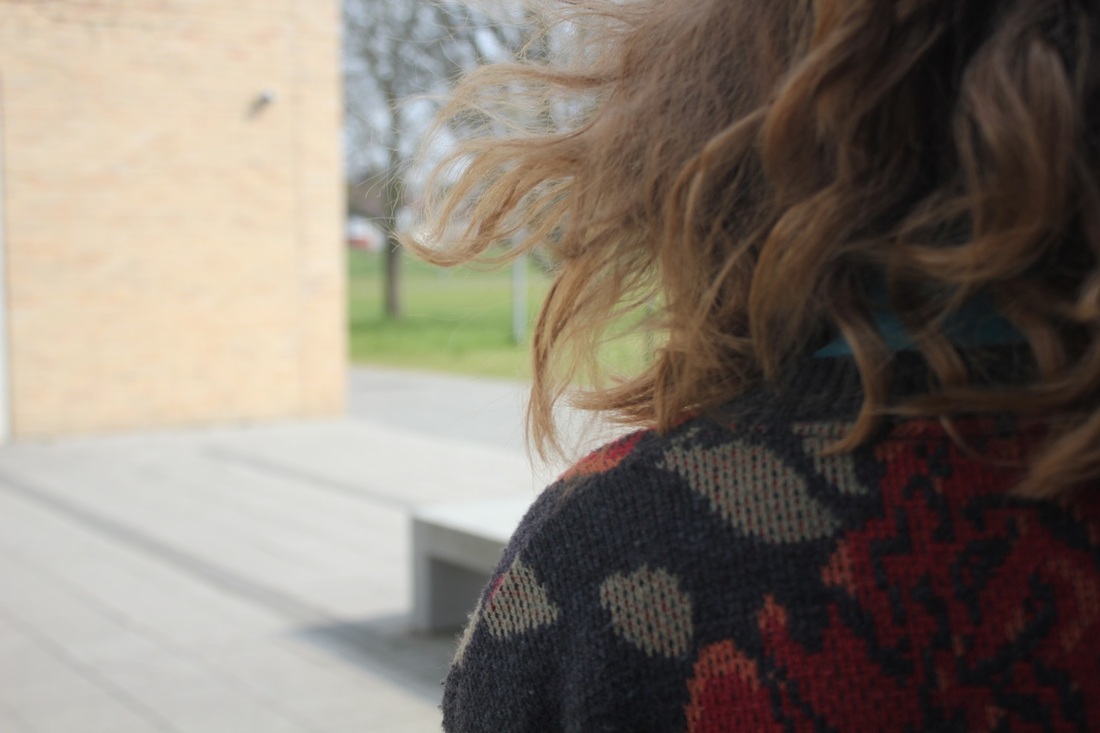
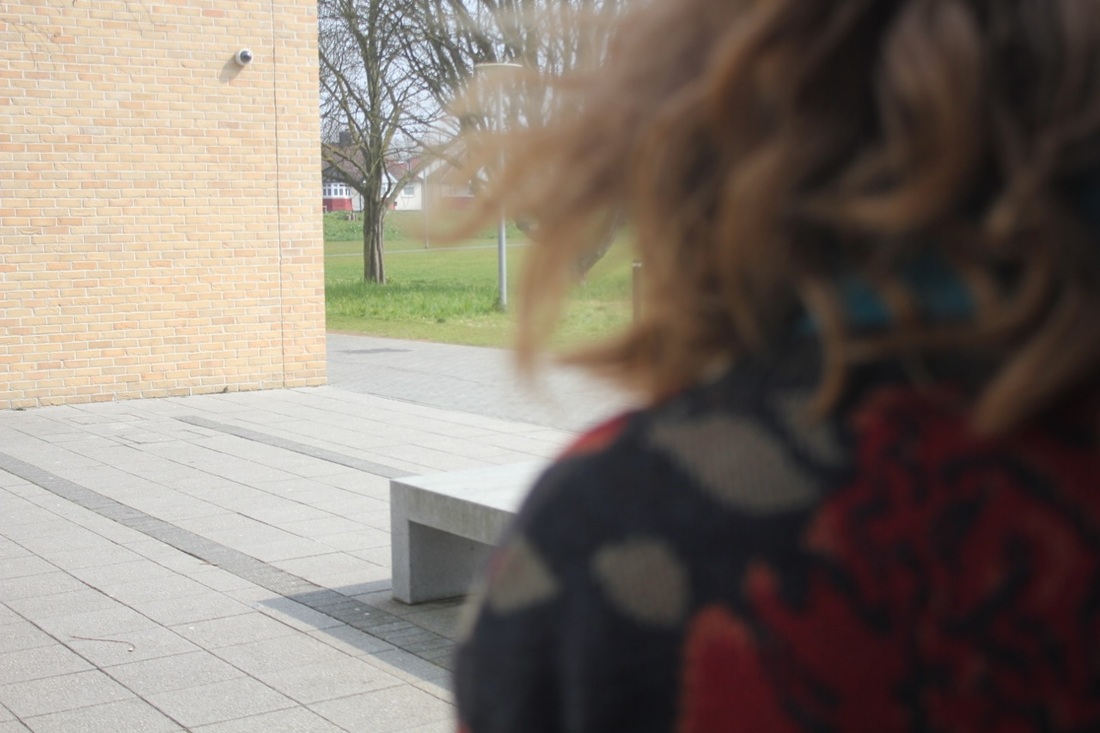
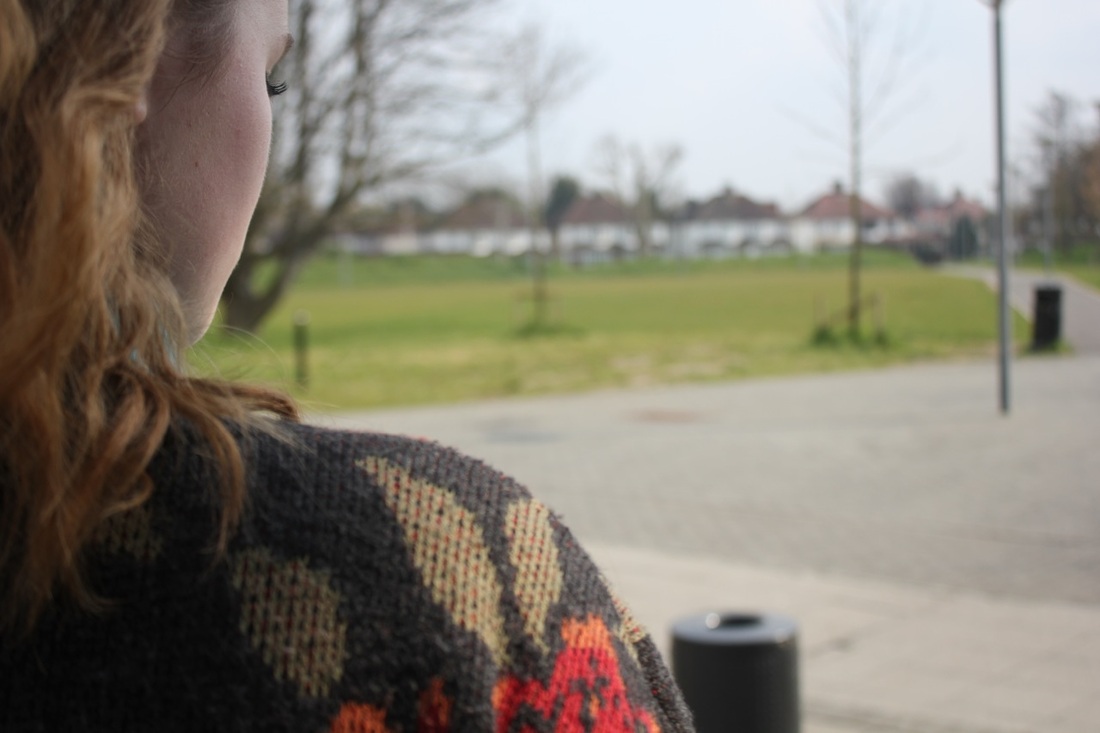
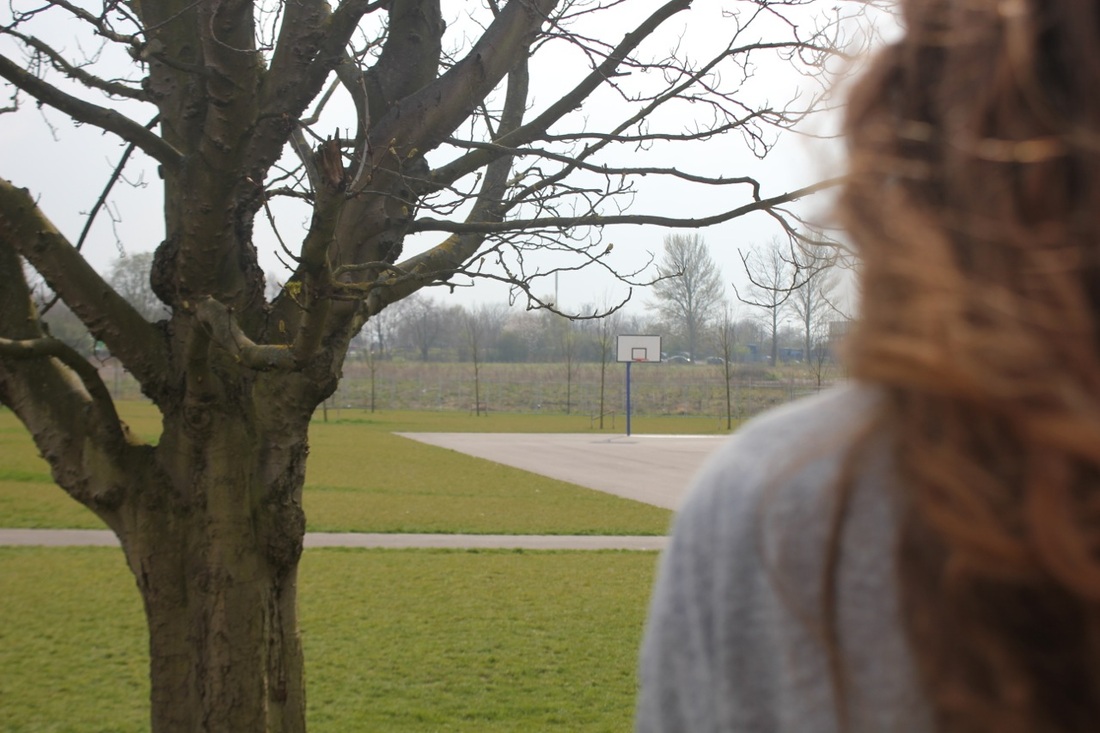
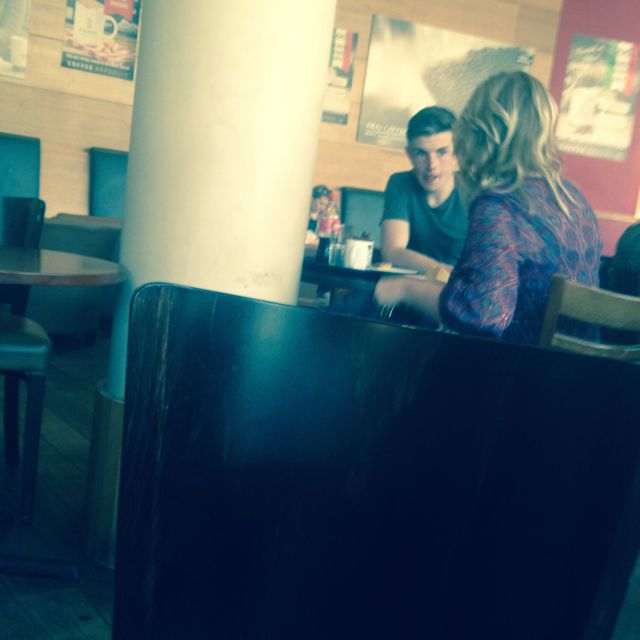
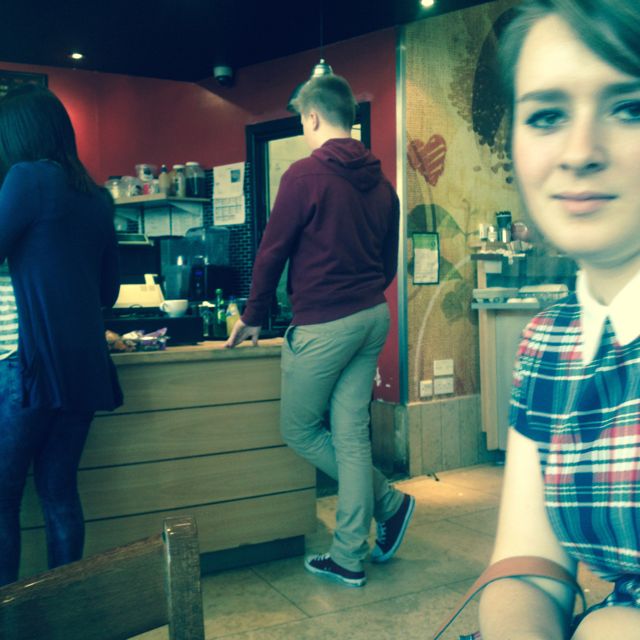
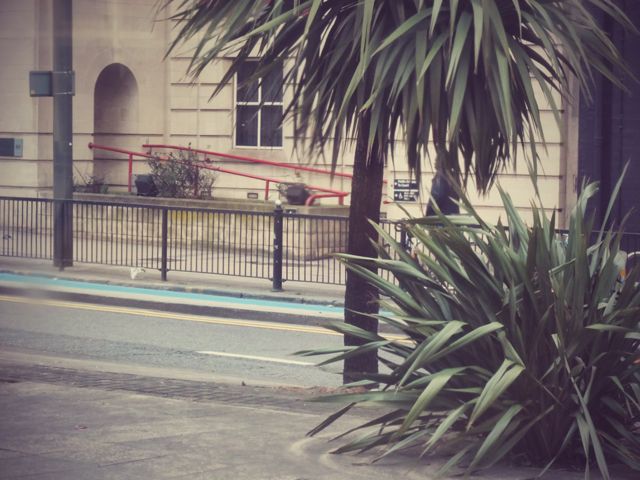
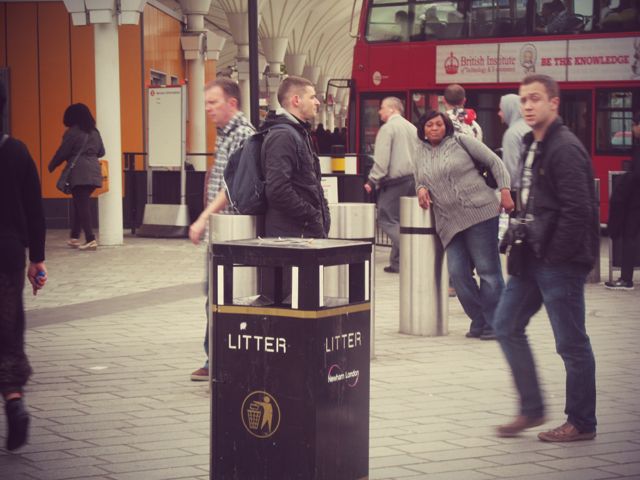
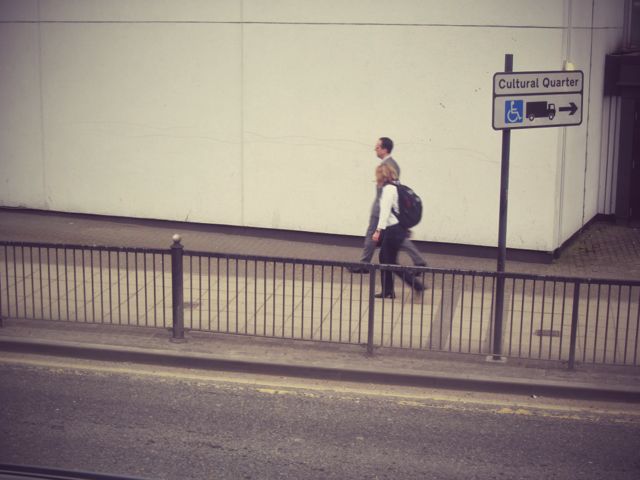
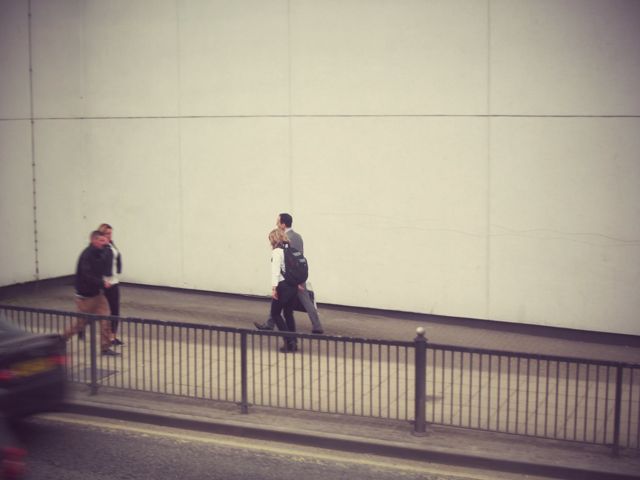
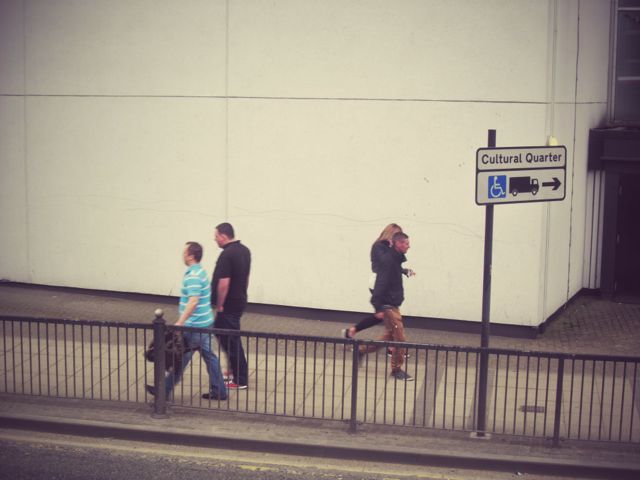
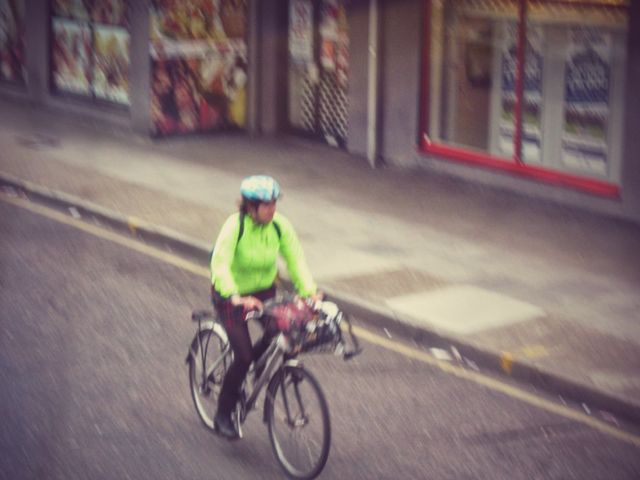
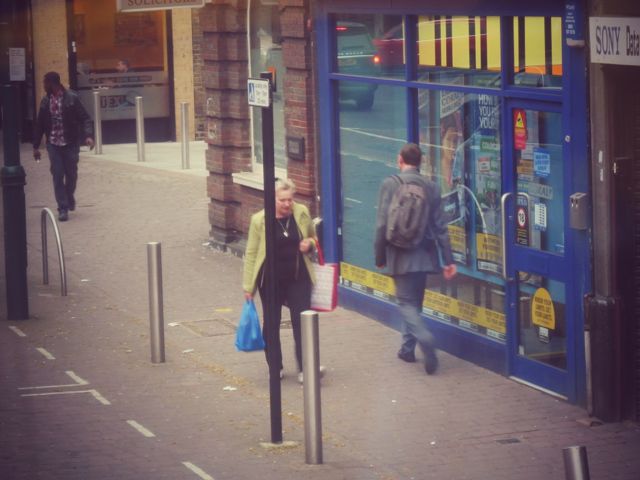
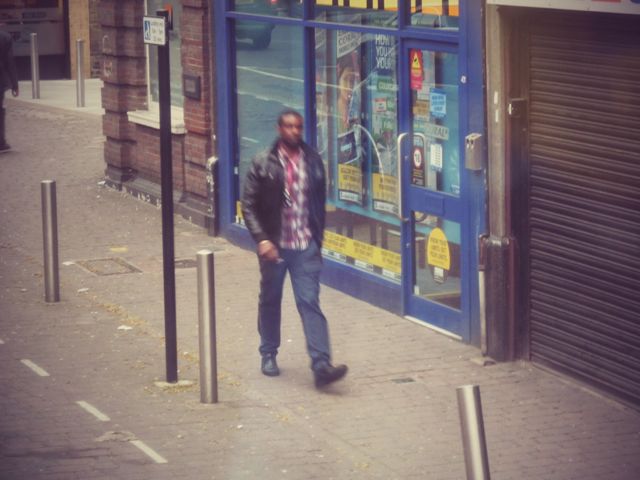
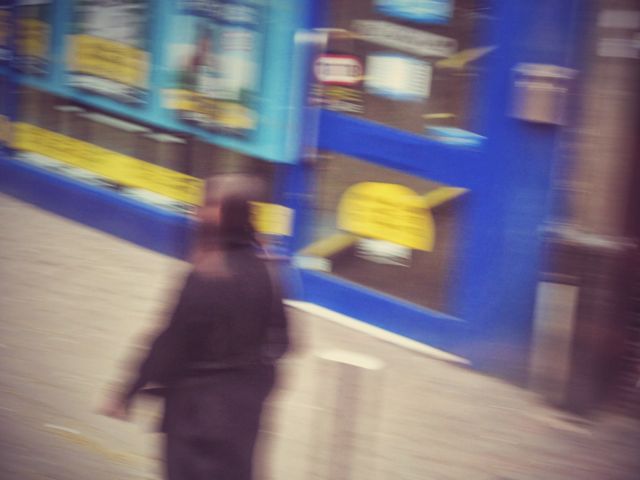
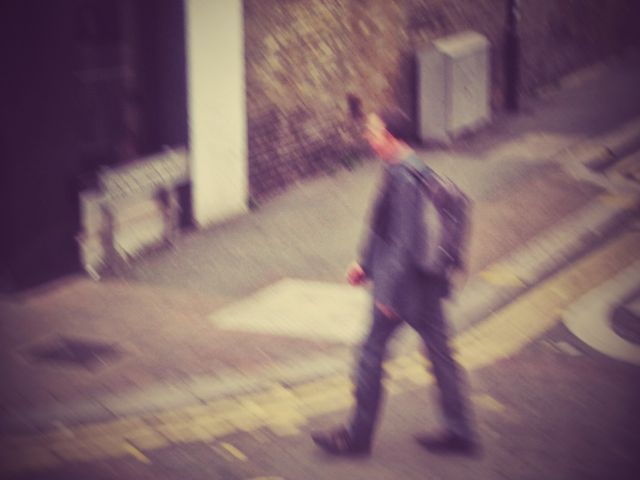
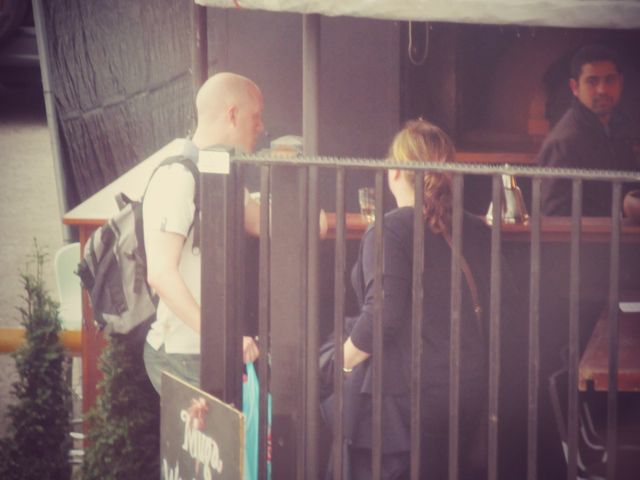
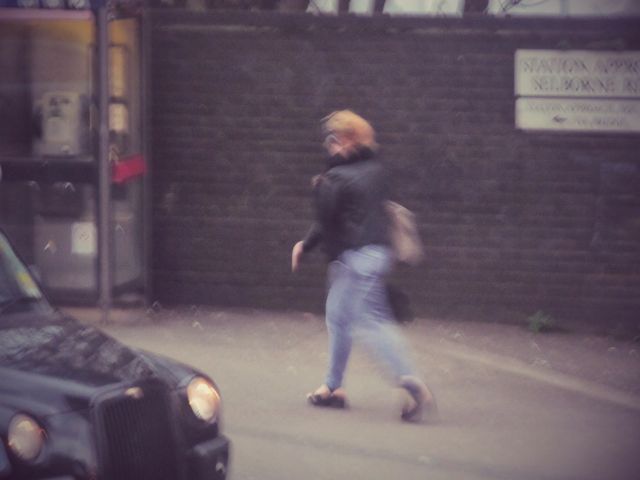
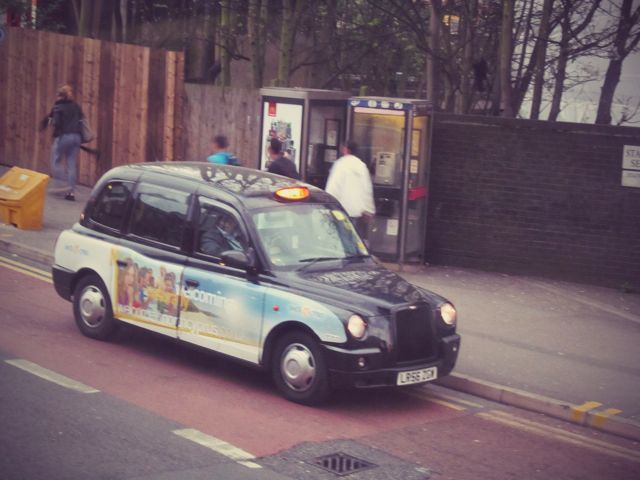
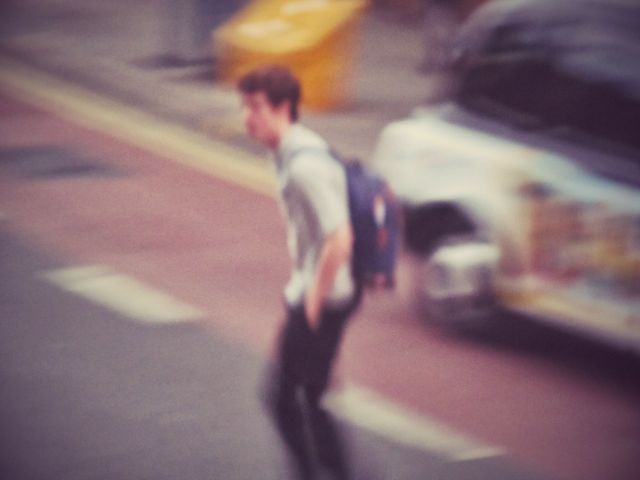
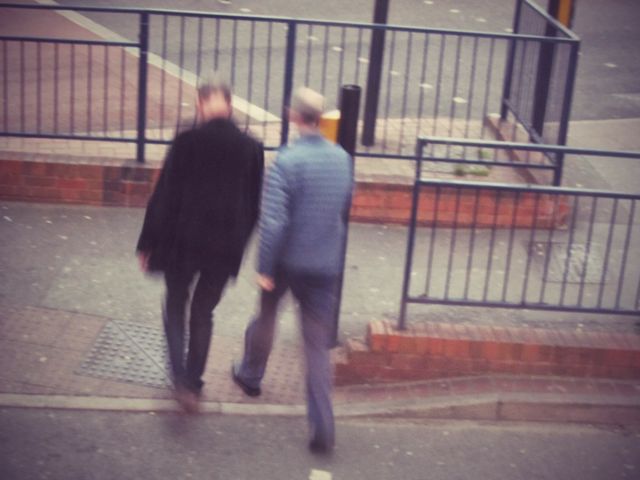
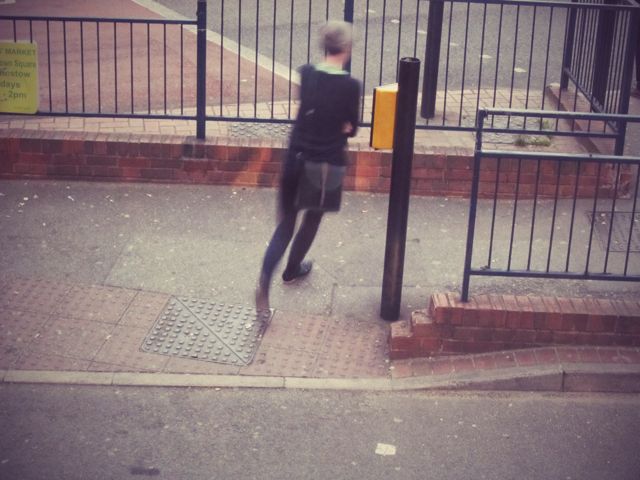
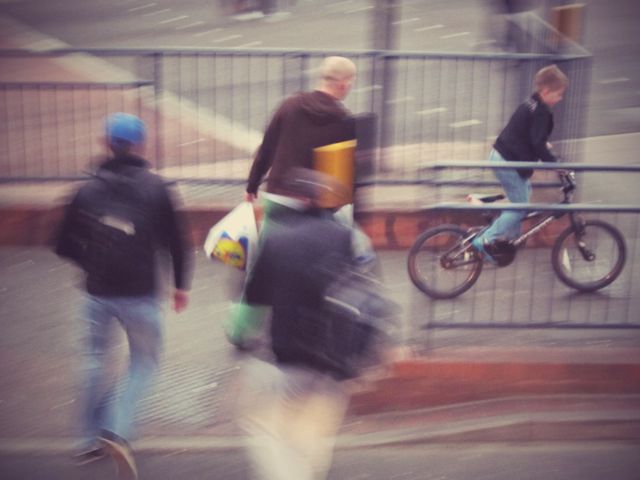
My Second Set of Images
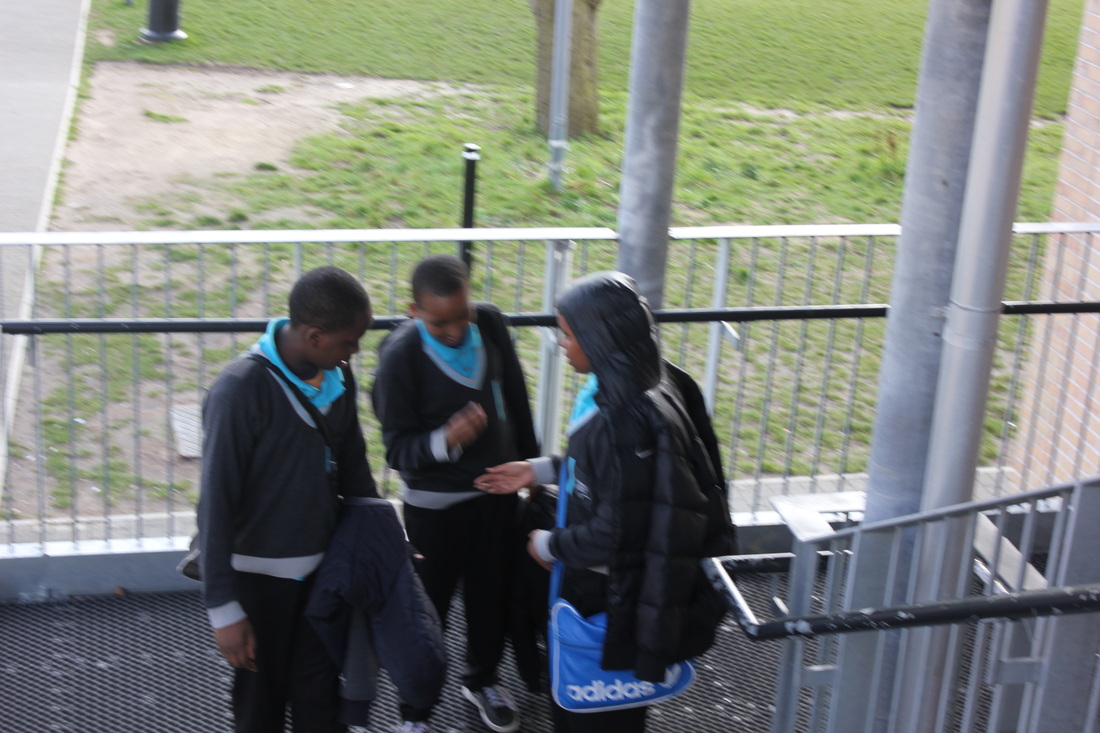
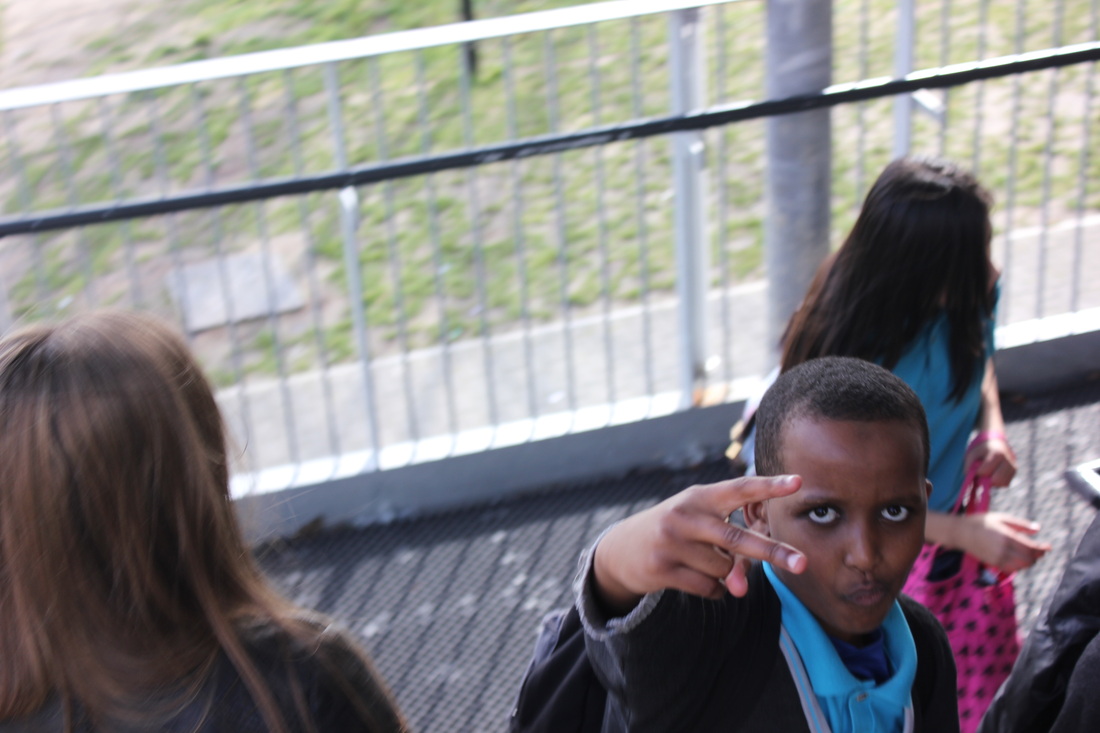
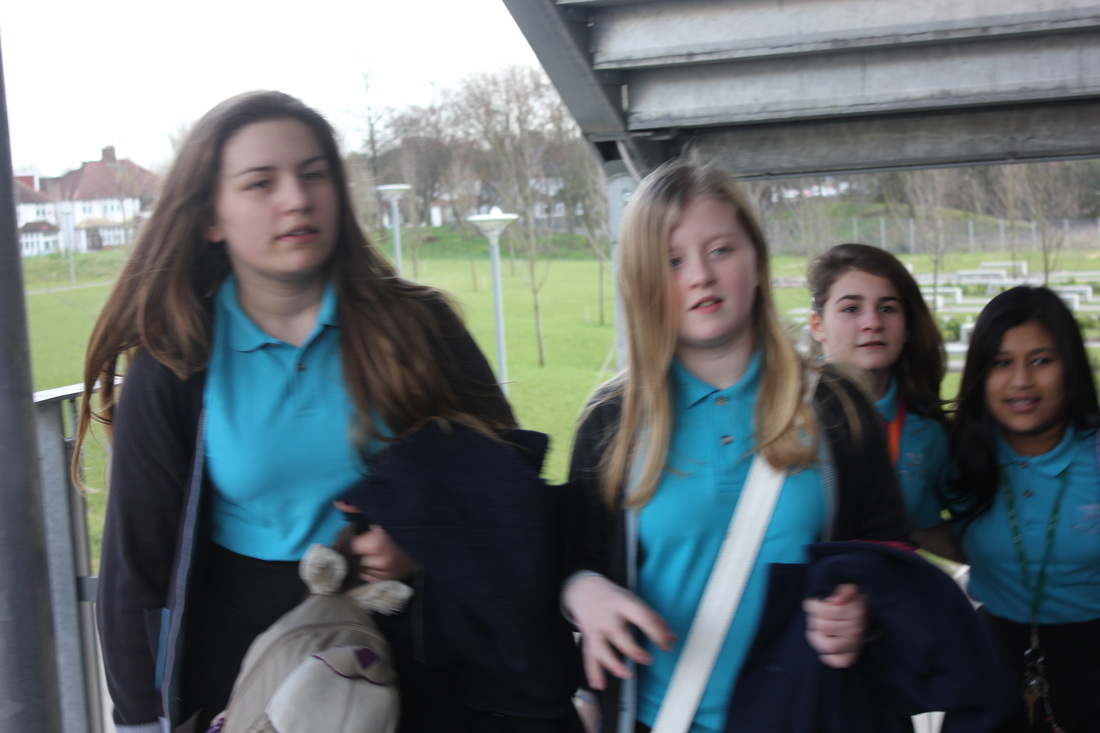
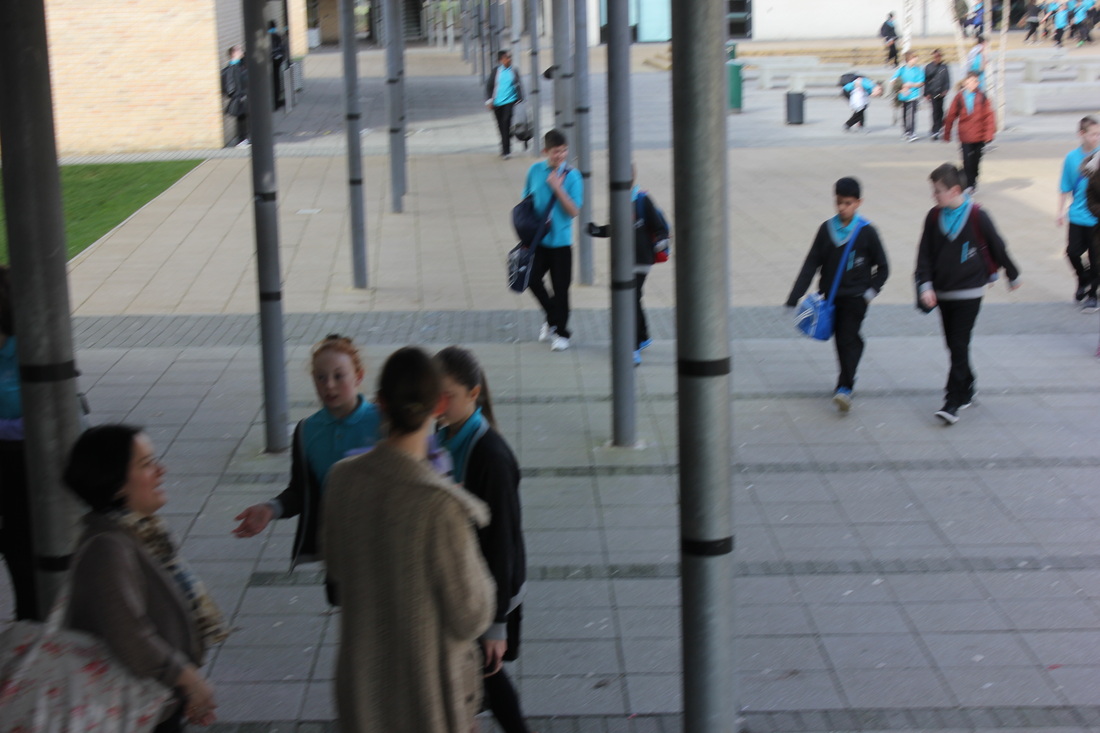
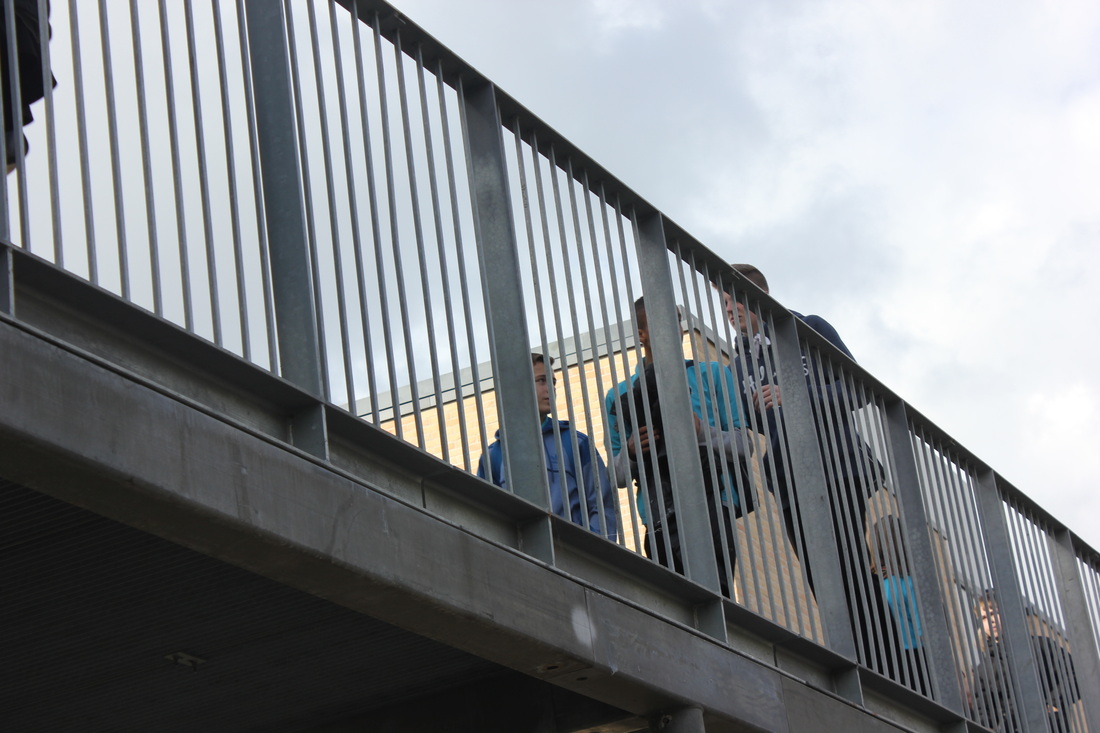
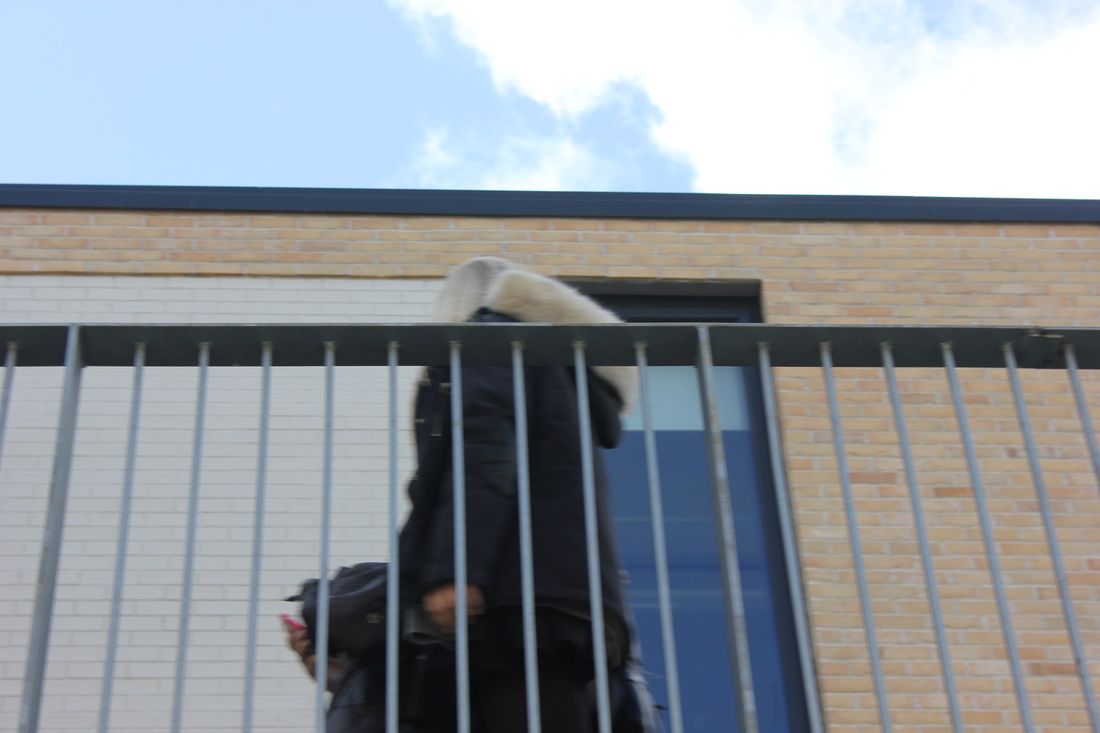
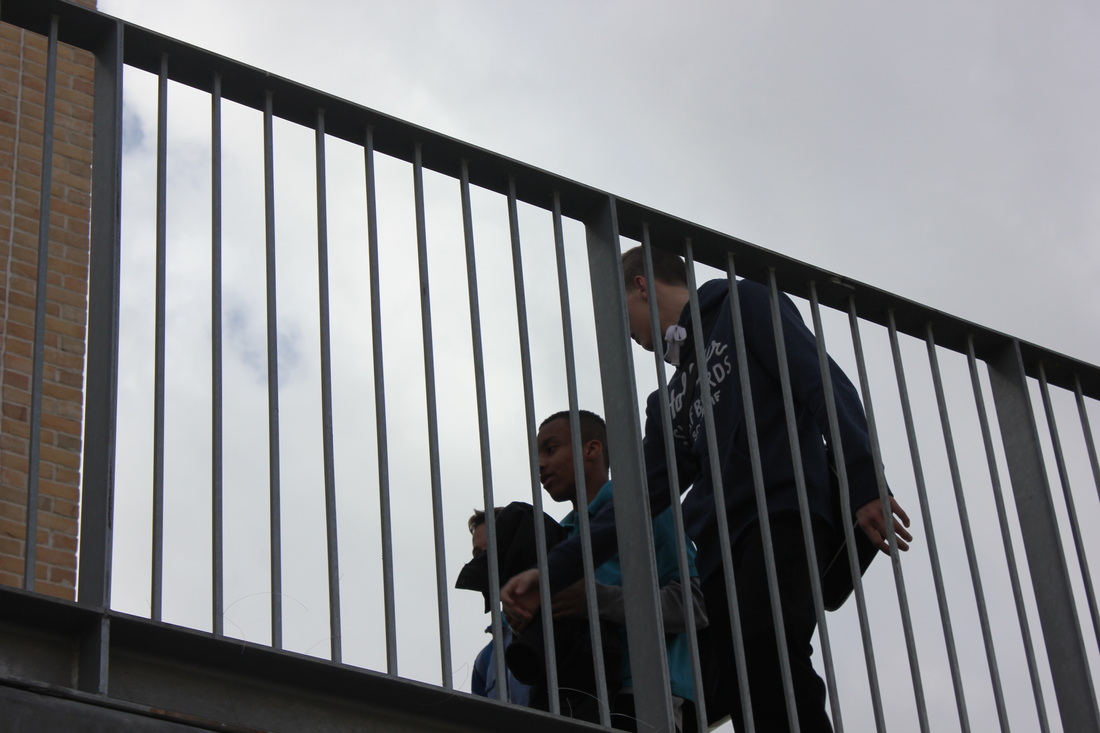
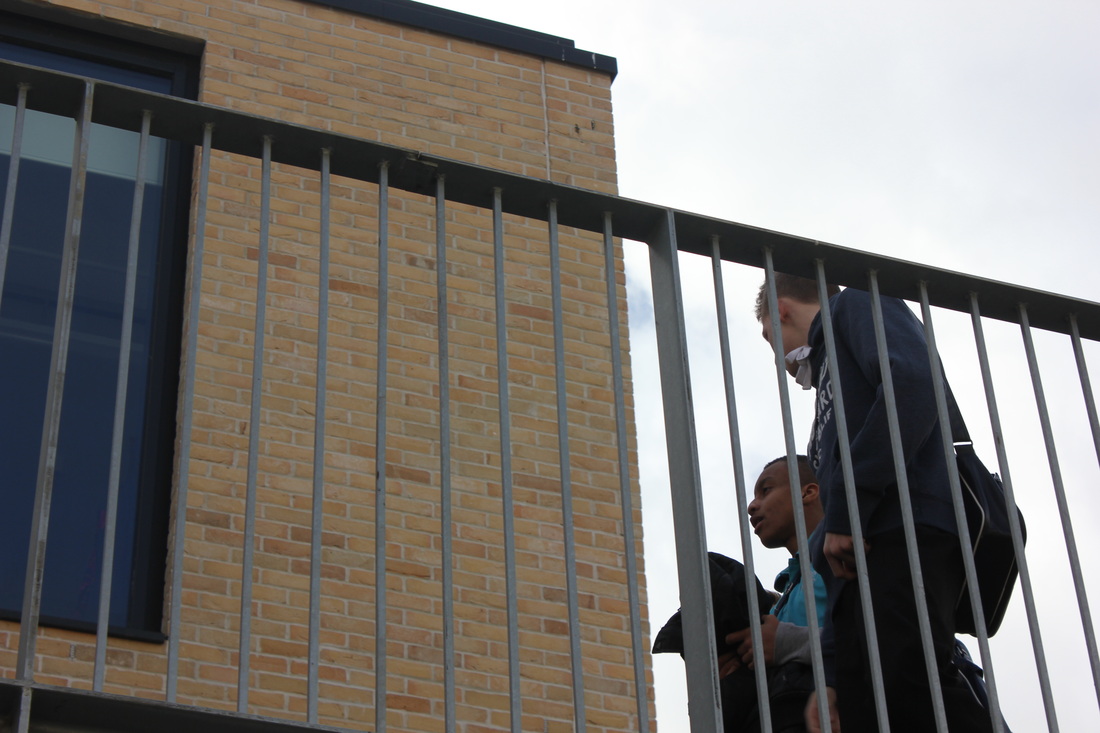
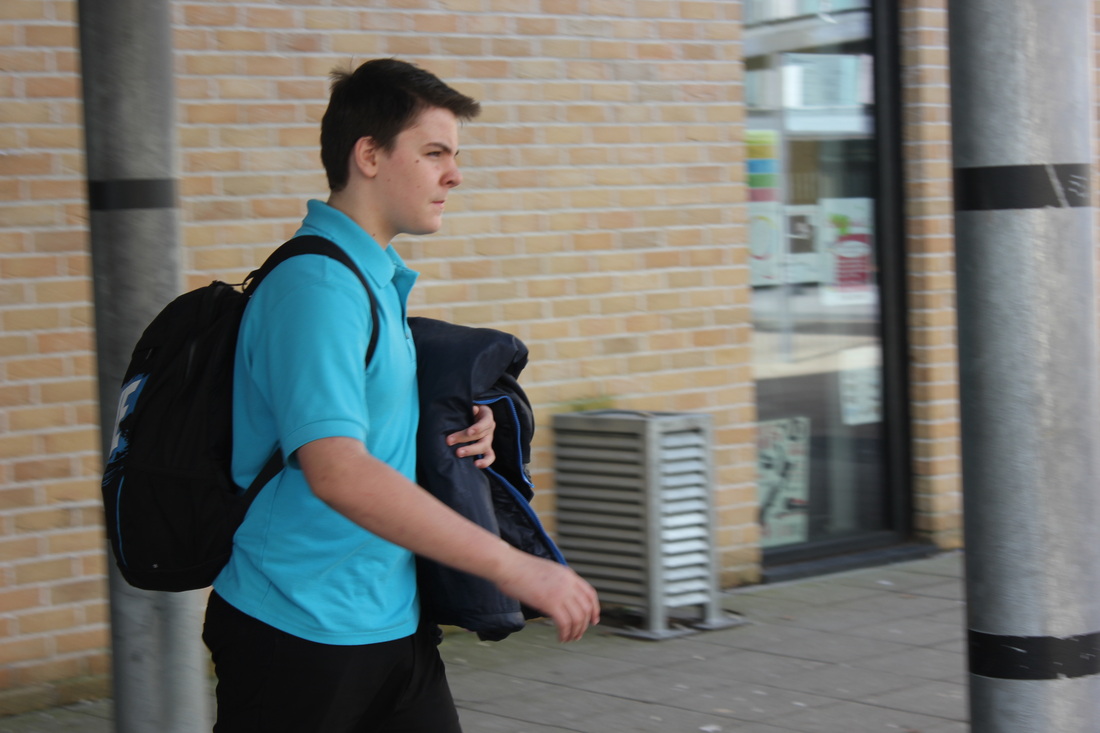
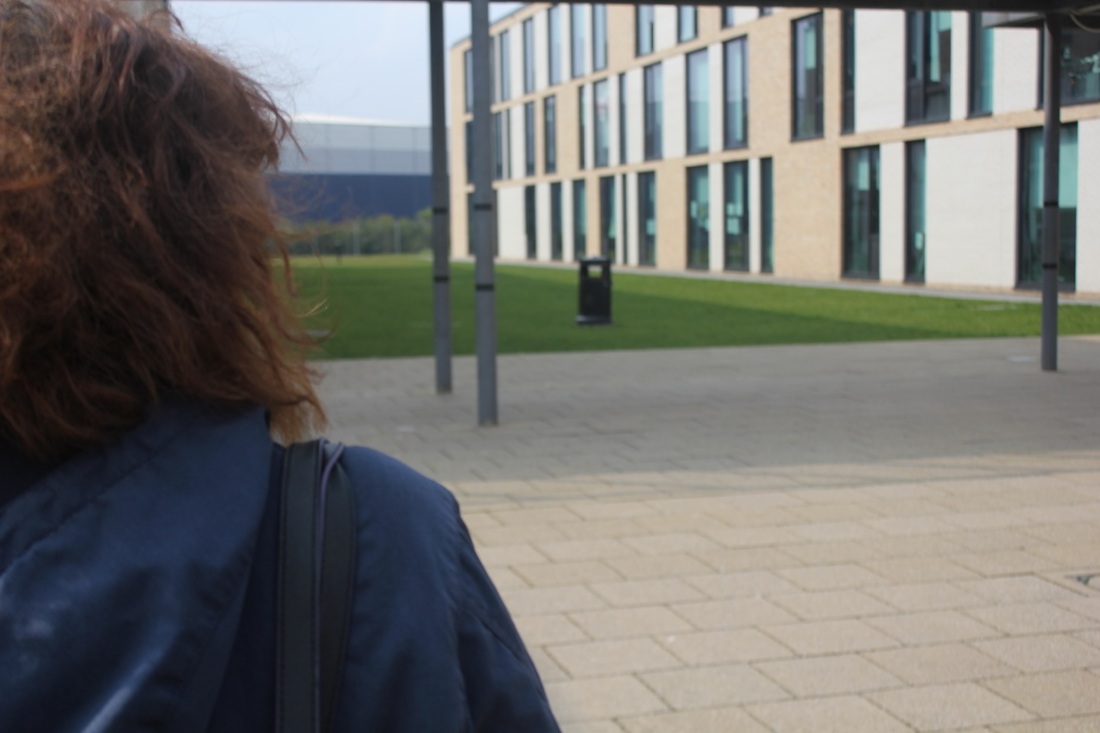
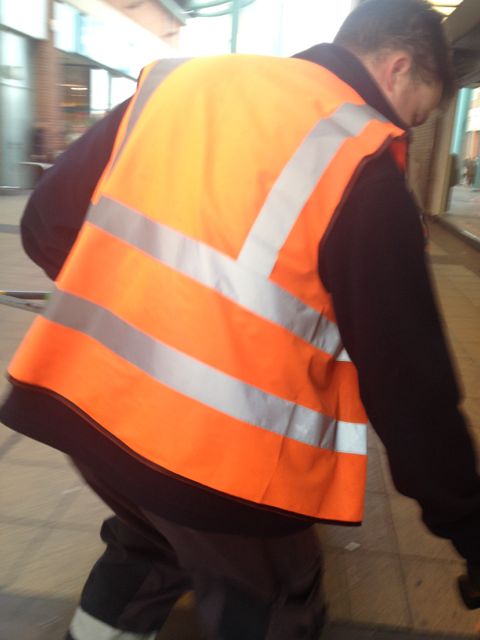
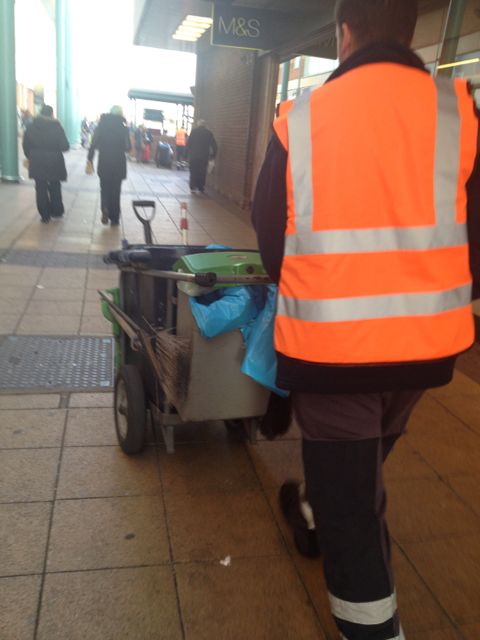
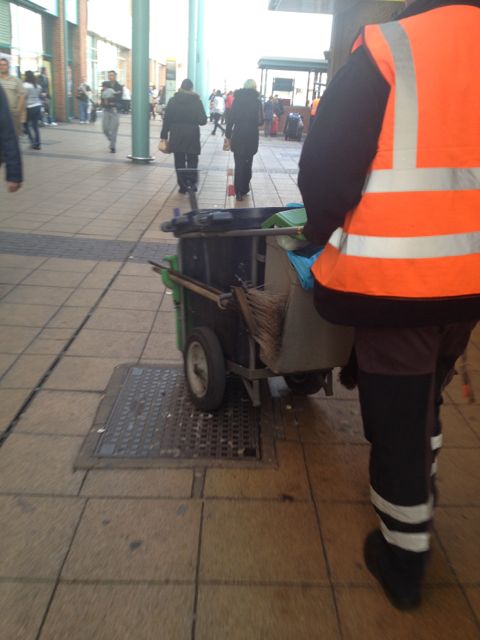
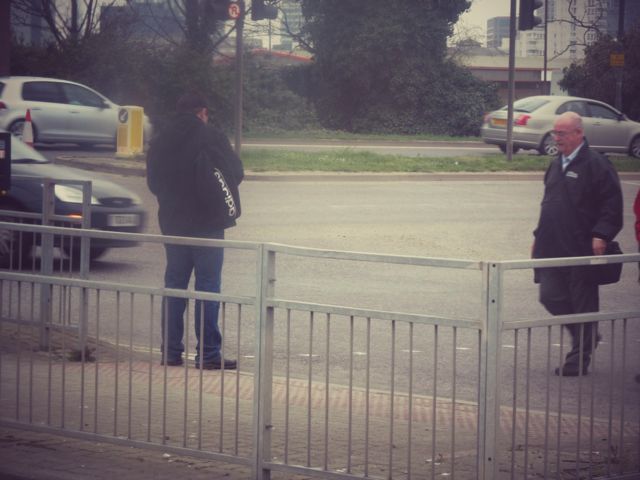
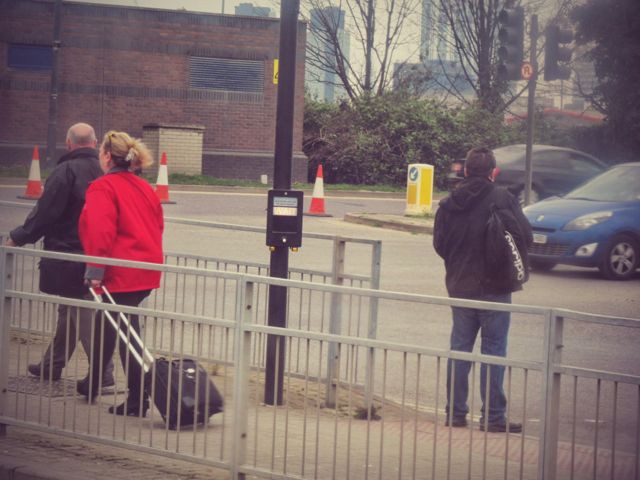
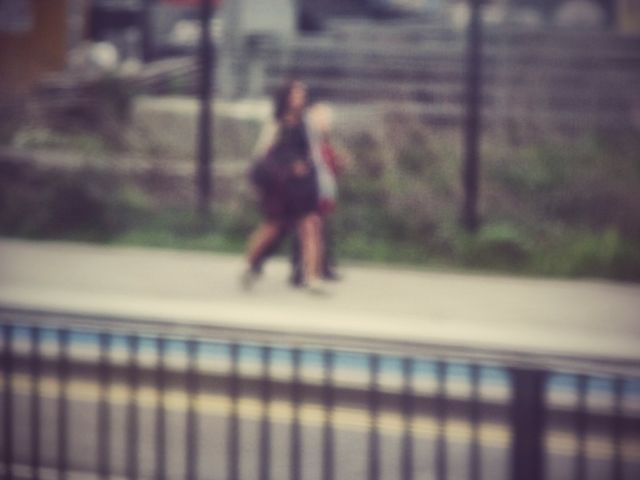
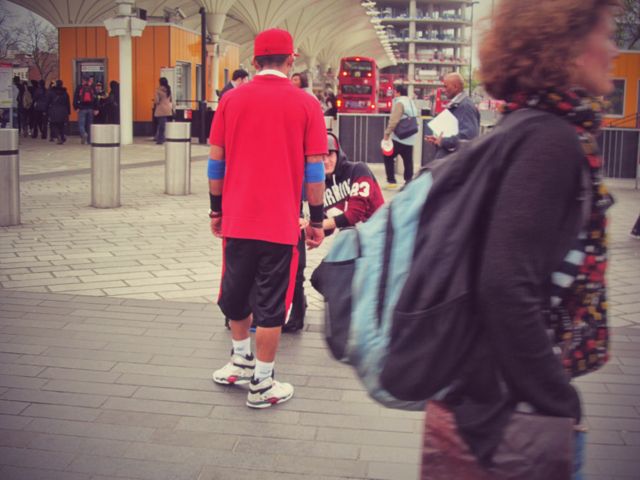
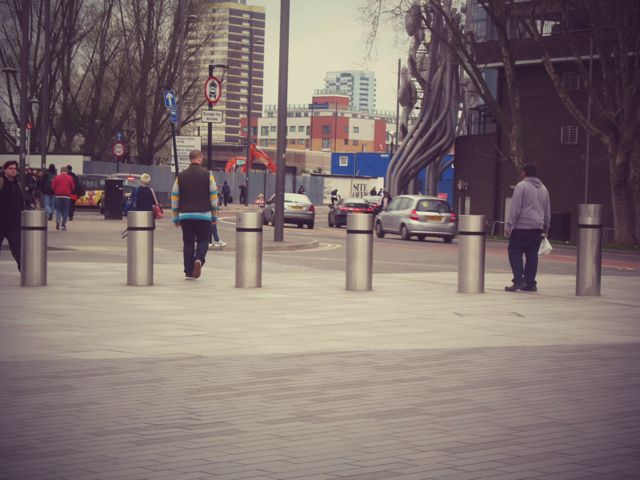
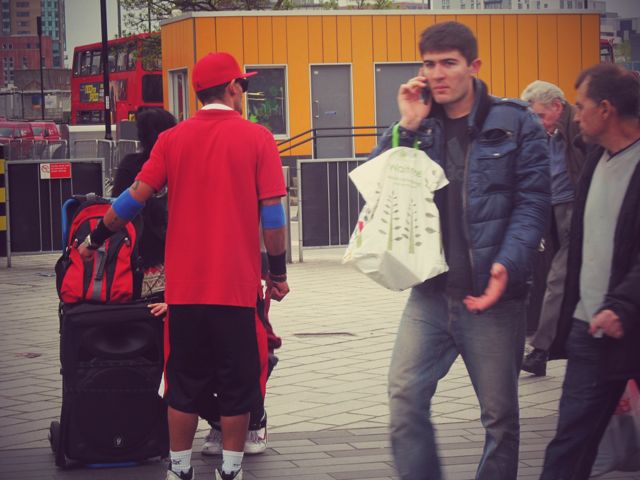
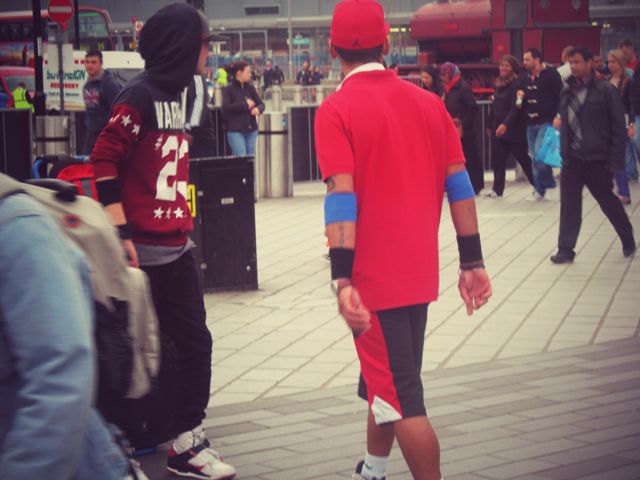
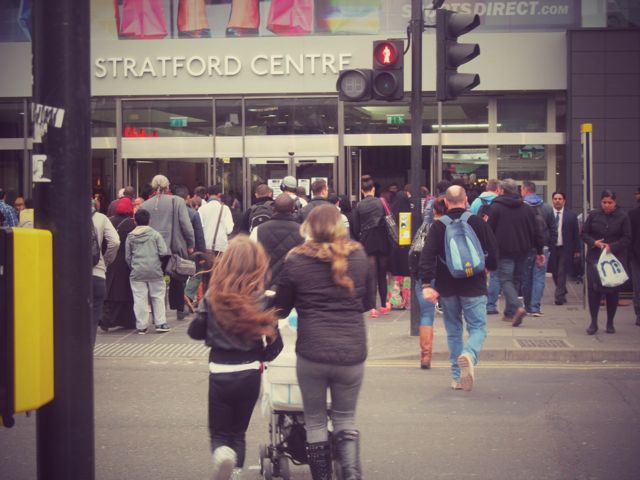
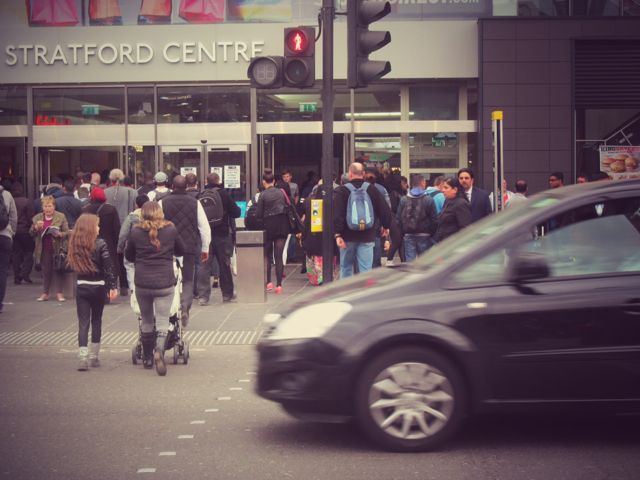
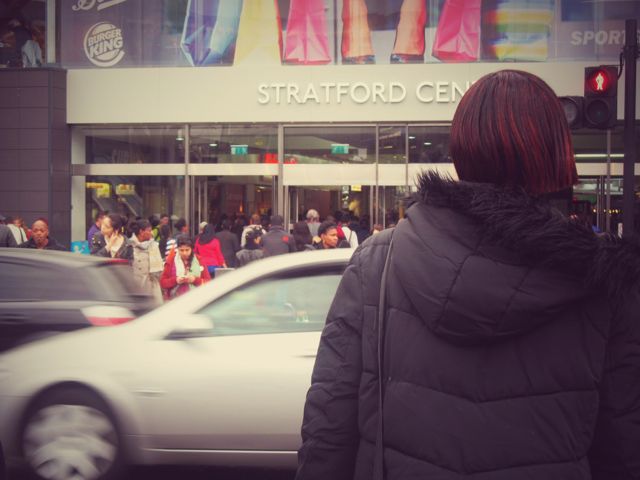
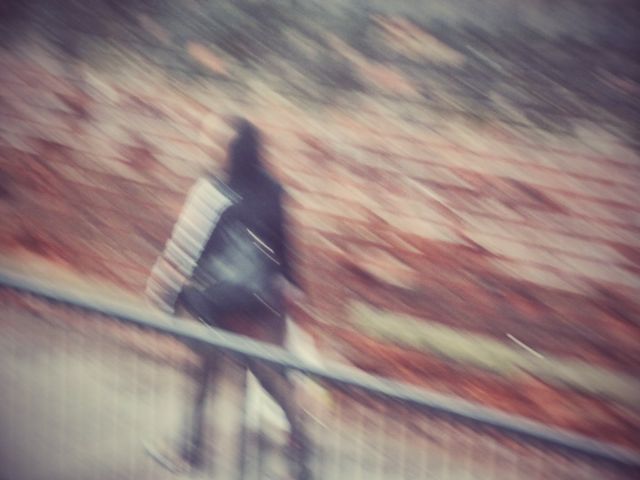
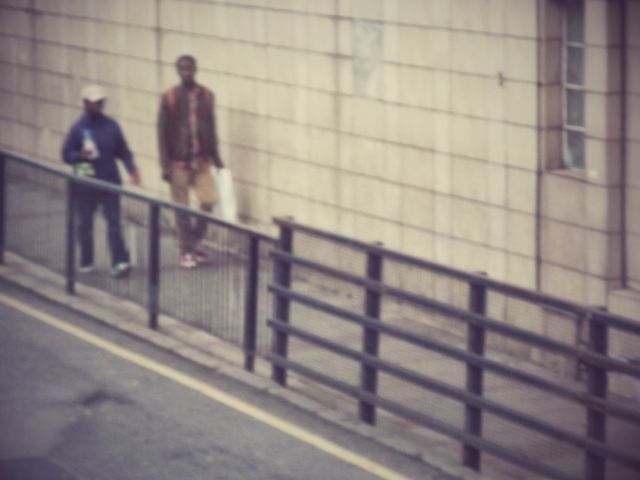
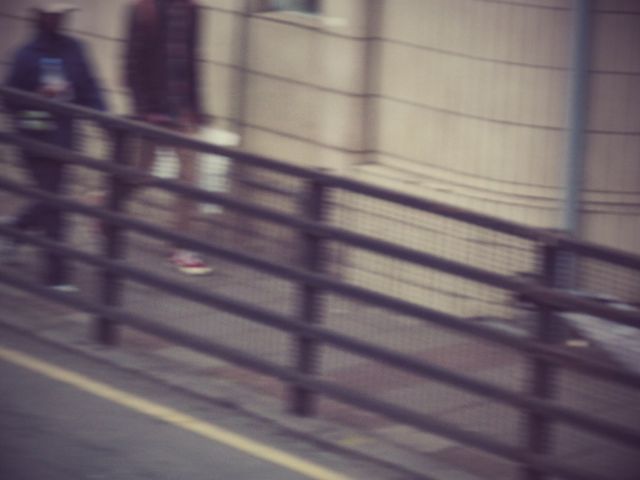
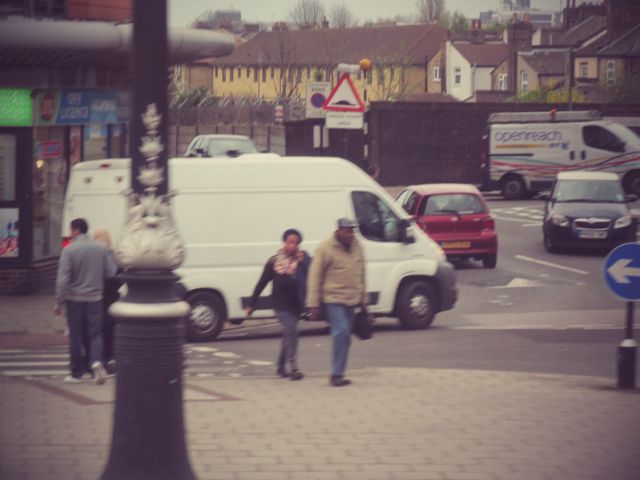
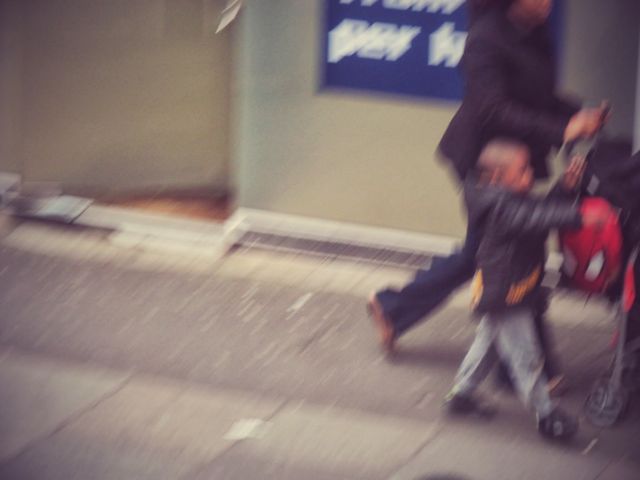
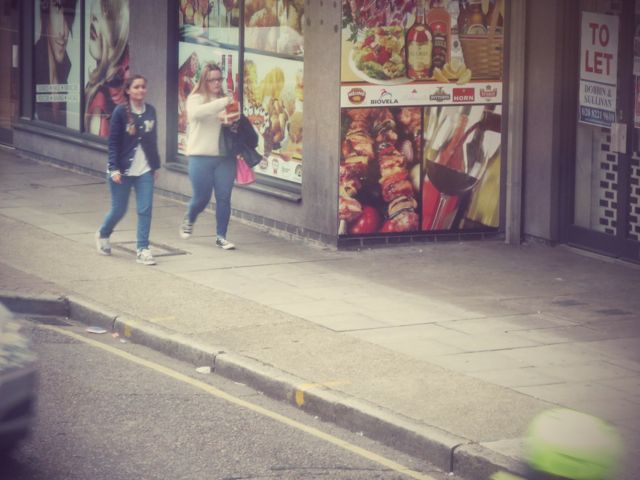
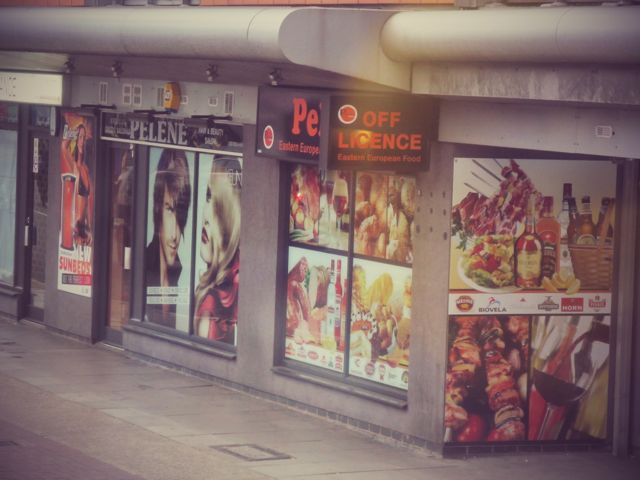
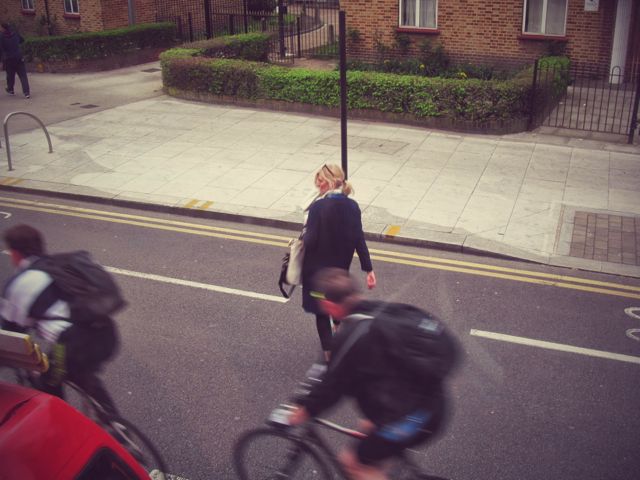
For my second set of images I decided to leave them in colour, in relation to the work of Joel Meyerowitz (the first photographer I looked at). Once again, I took these images at the changeover period and I think that they came out quite well, despite the fact that I wasn't actually in a properly public area like street photographers generally are in. In these images I focused on using a few of the different styles of street photography images, much like I did in my first set of images which is elaborated on below.


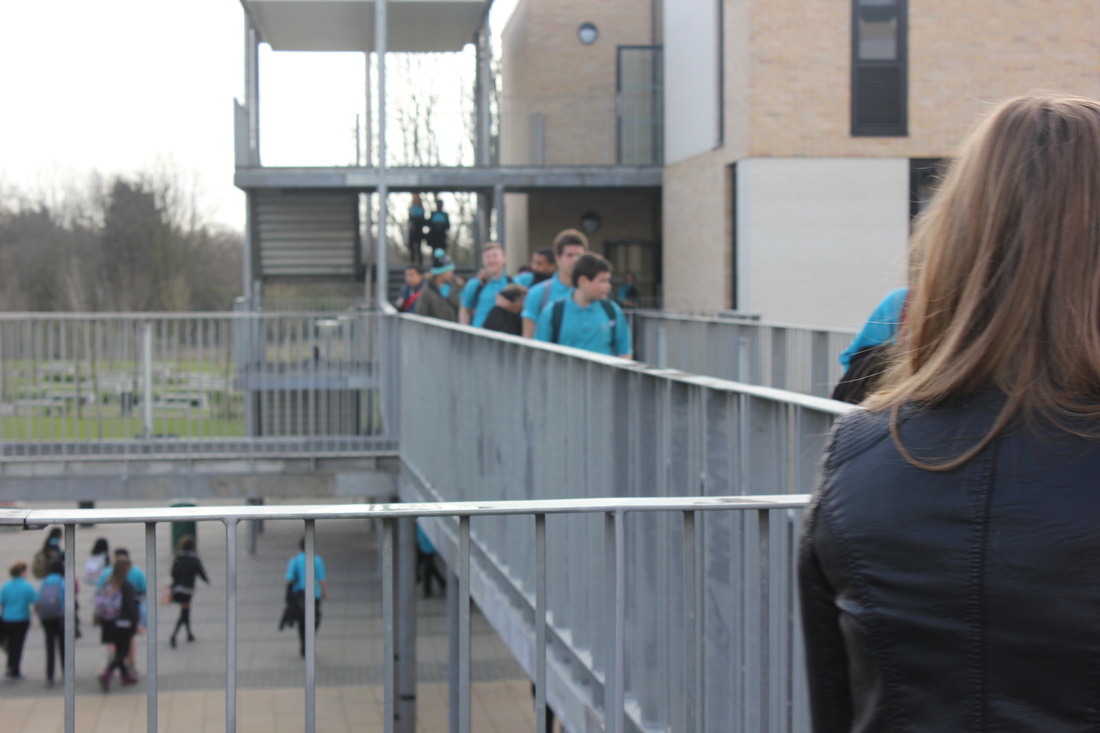

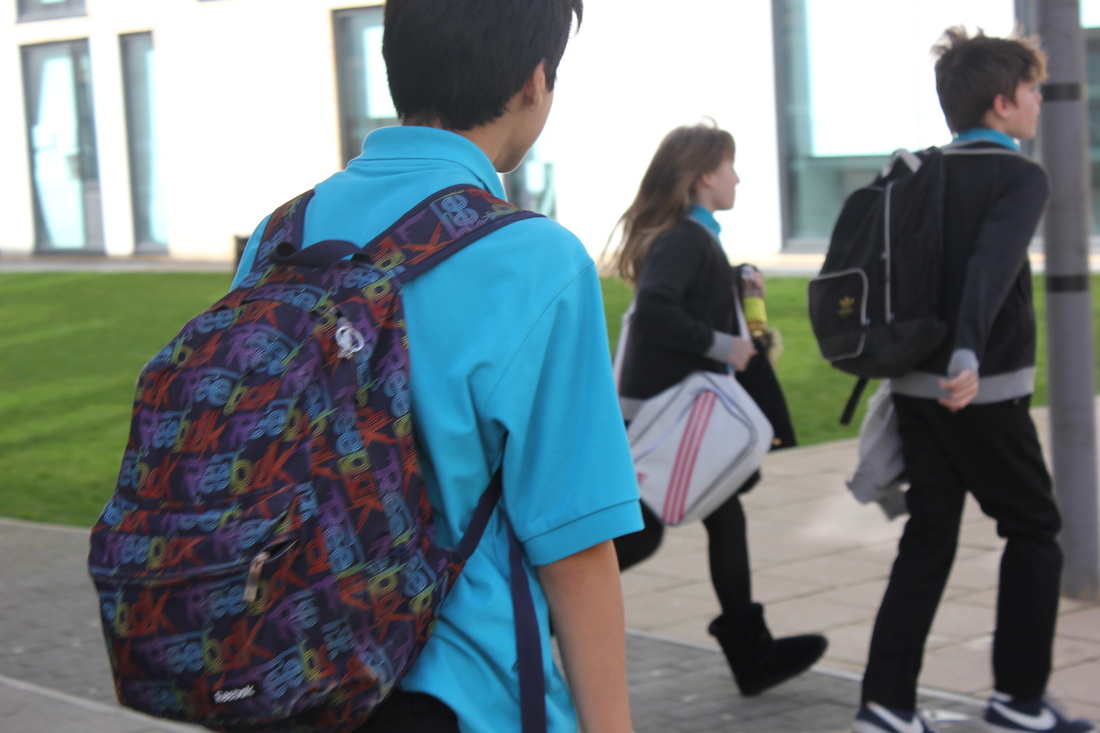

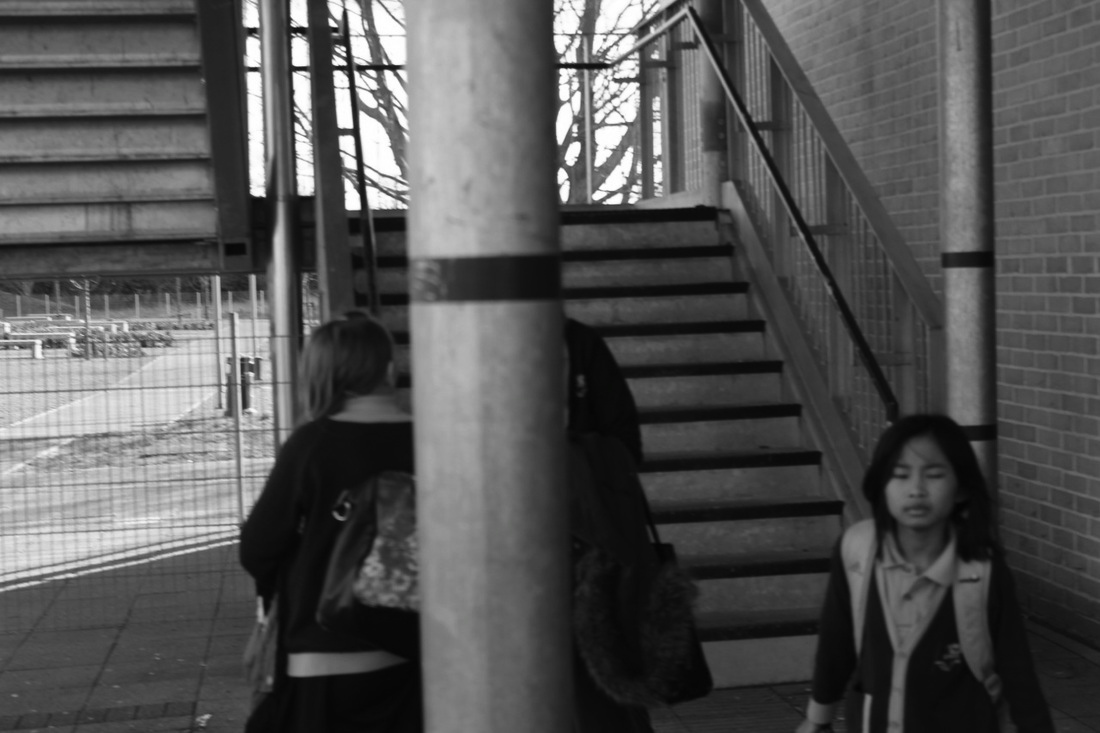
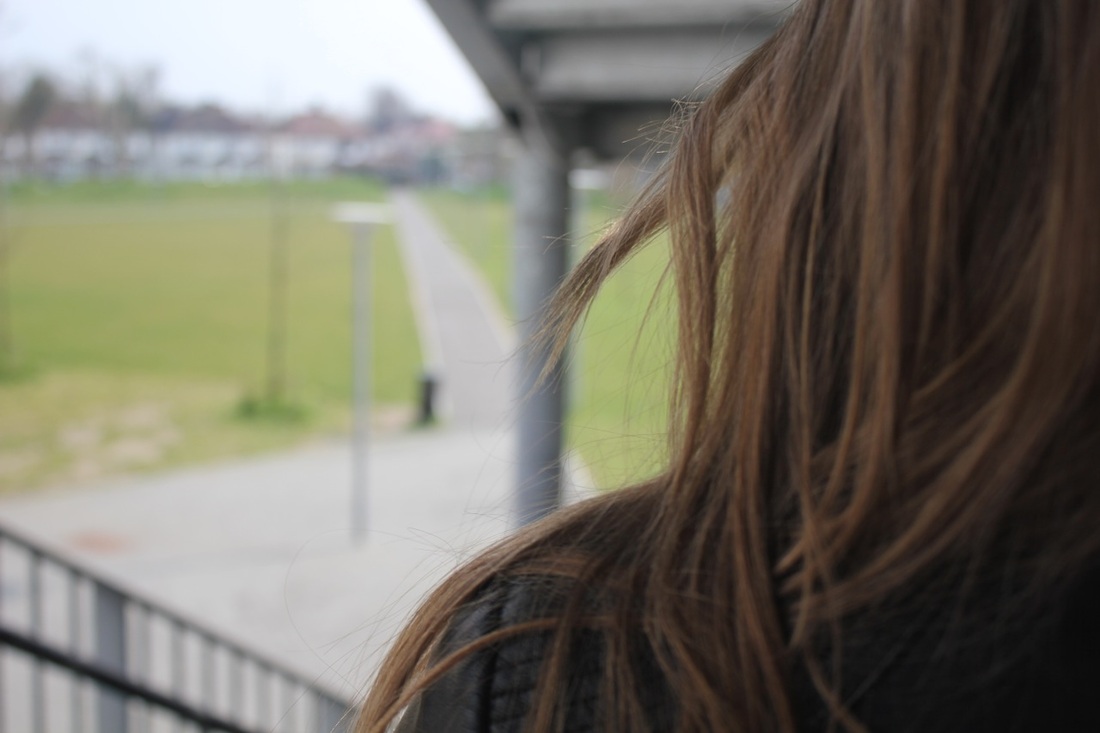
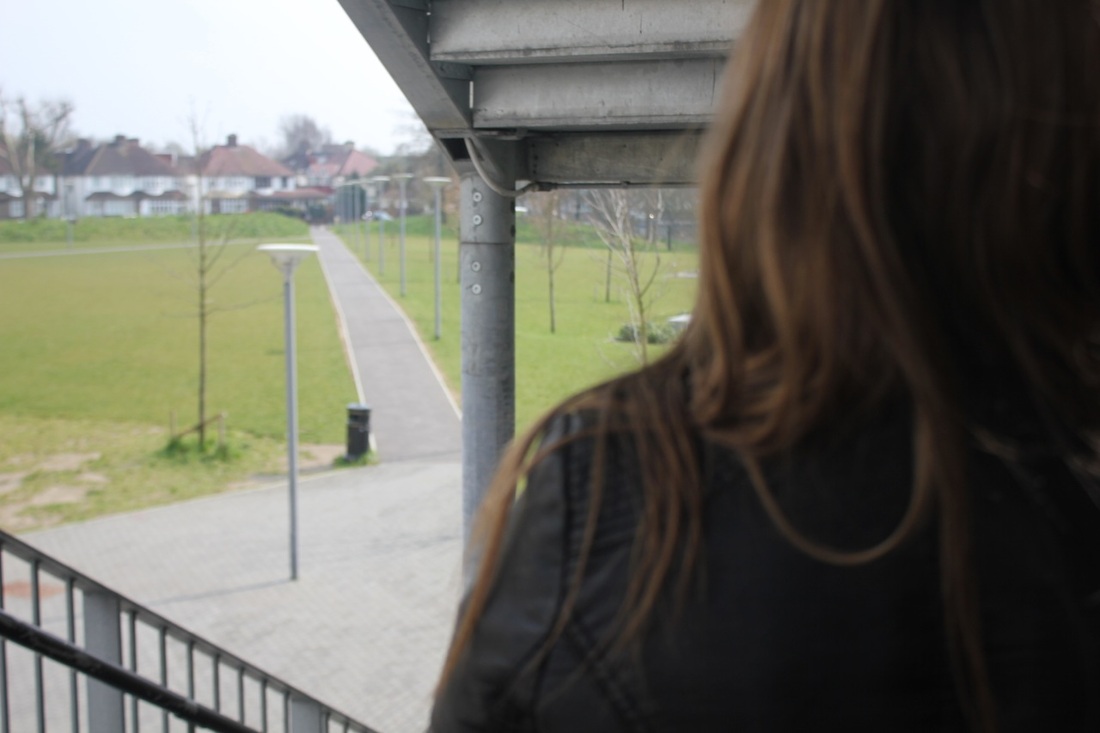
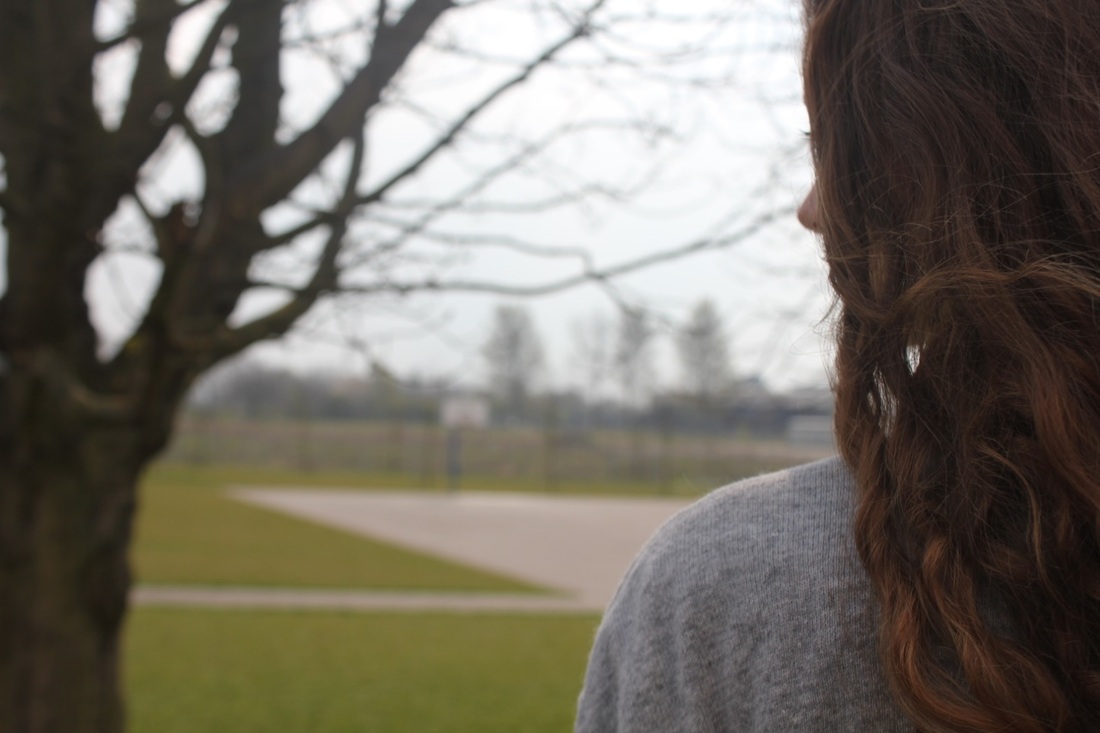
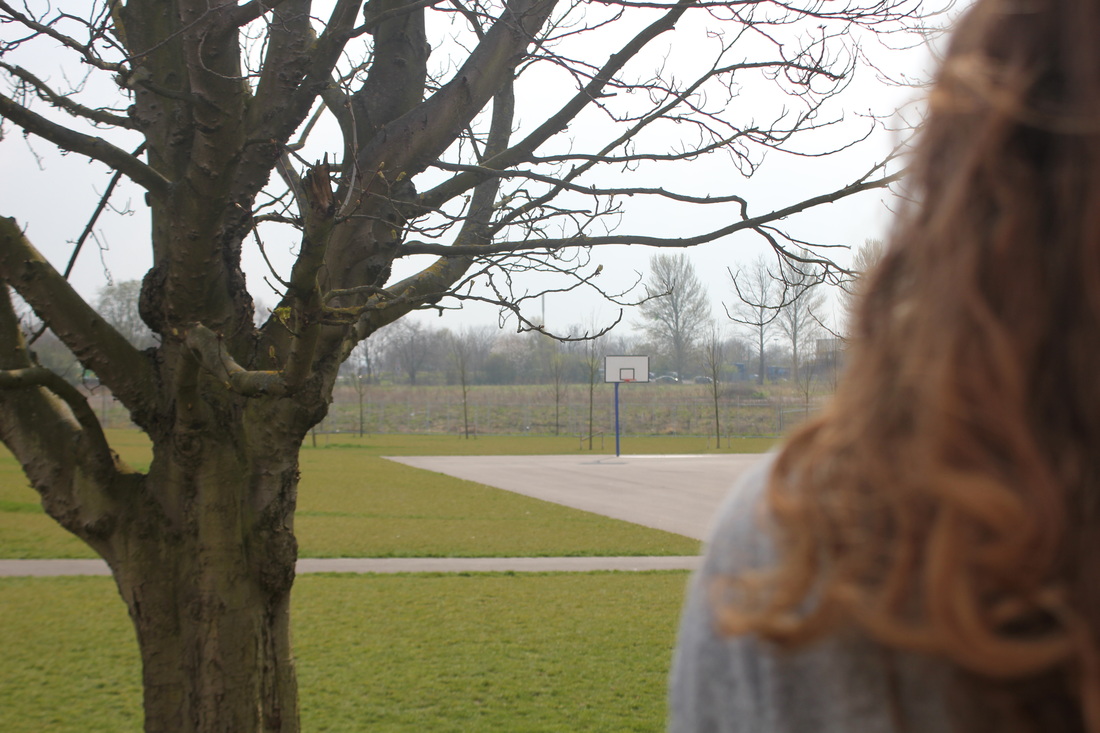
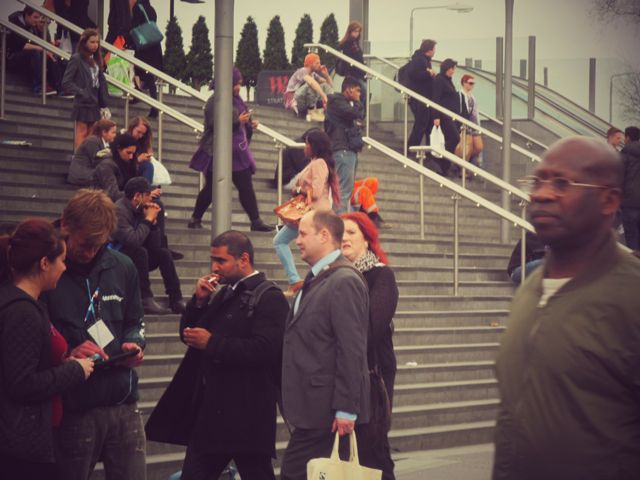
My Favourite Images from Both Sets
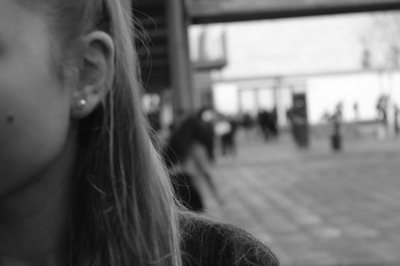
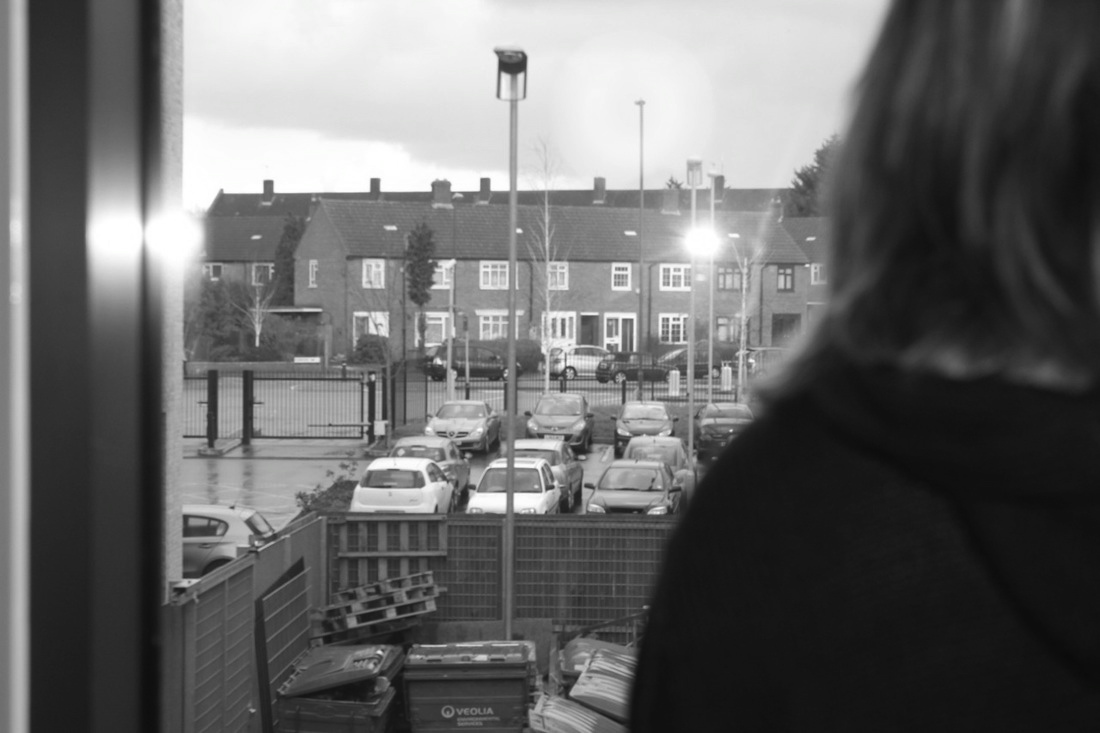
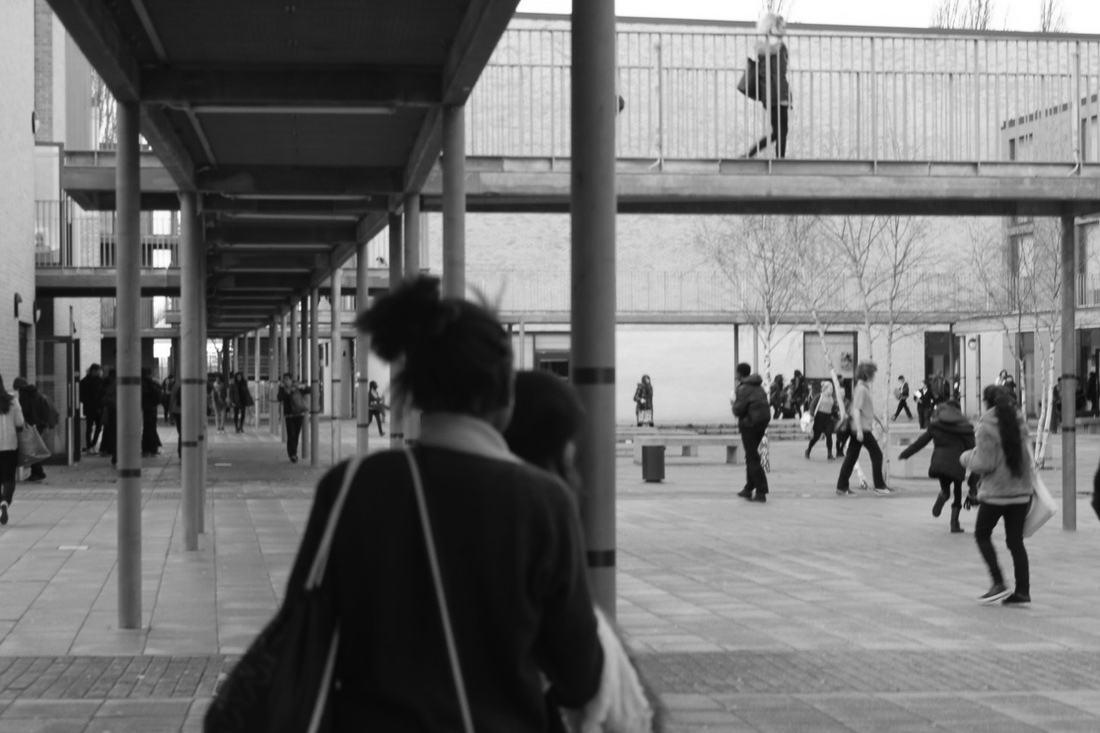
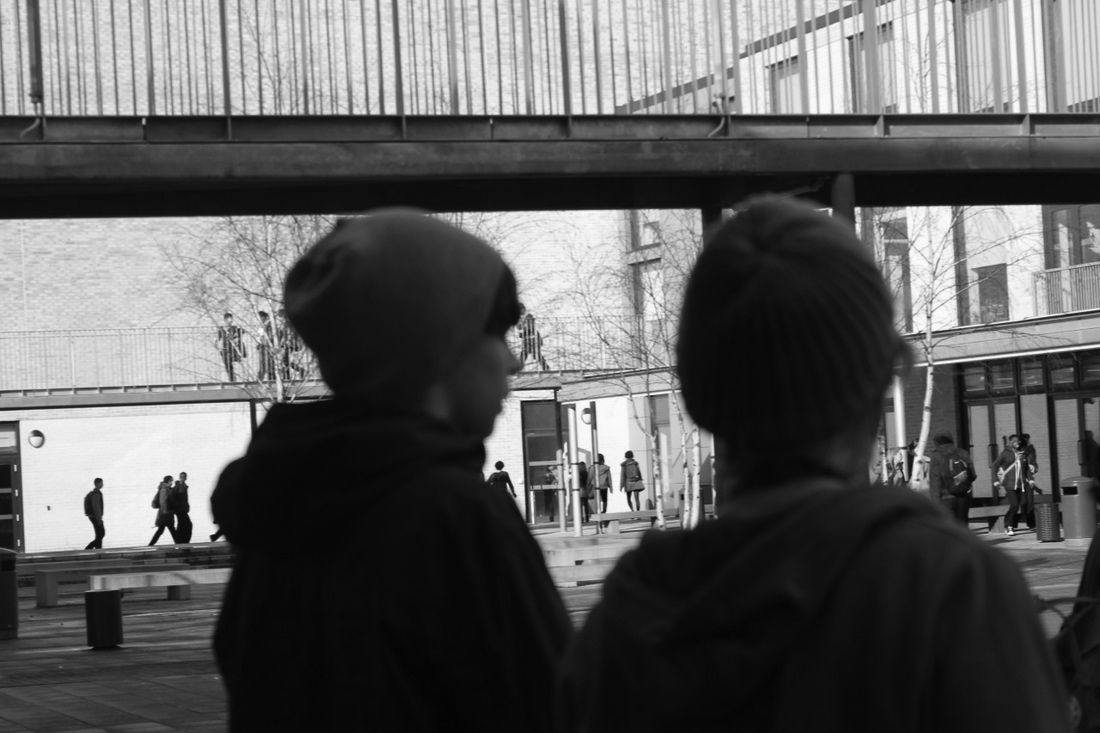
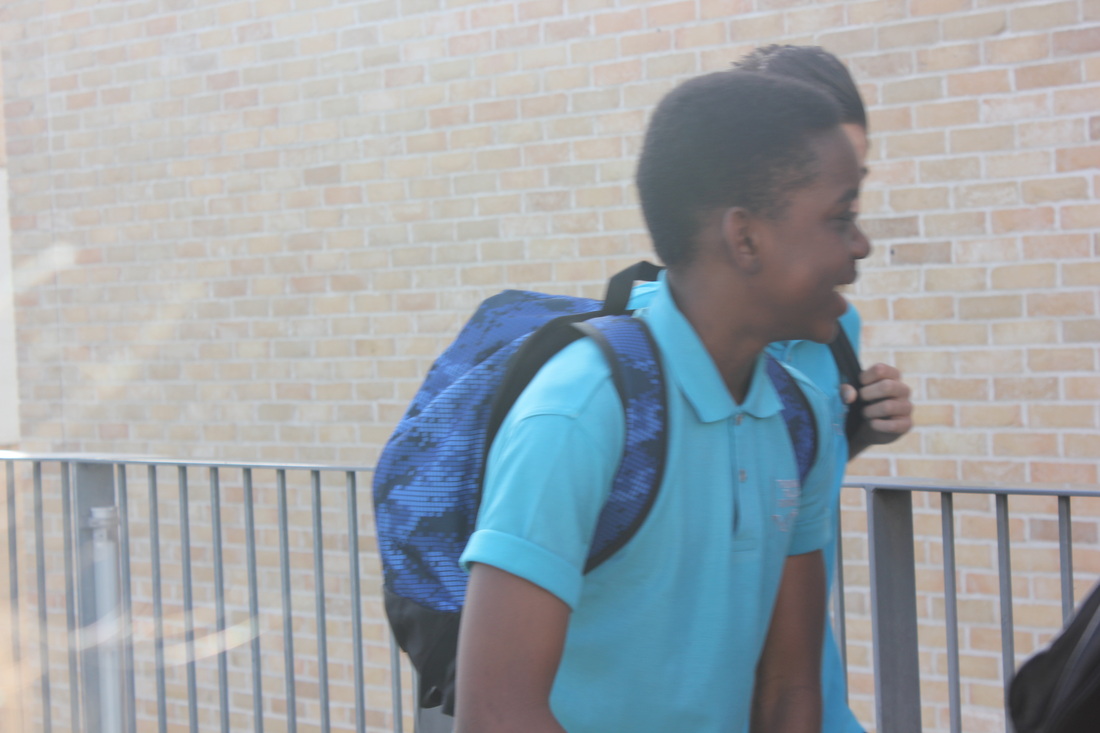
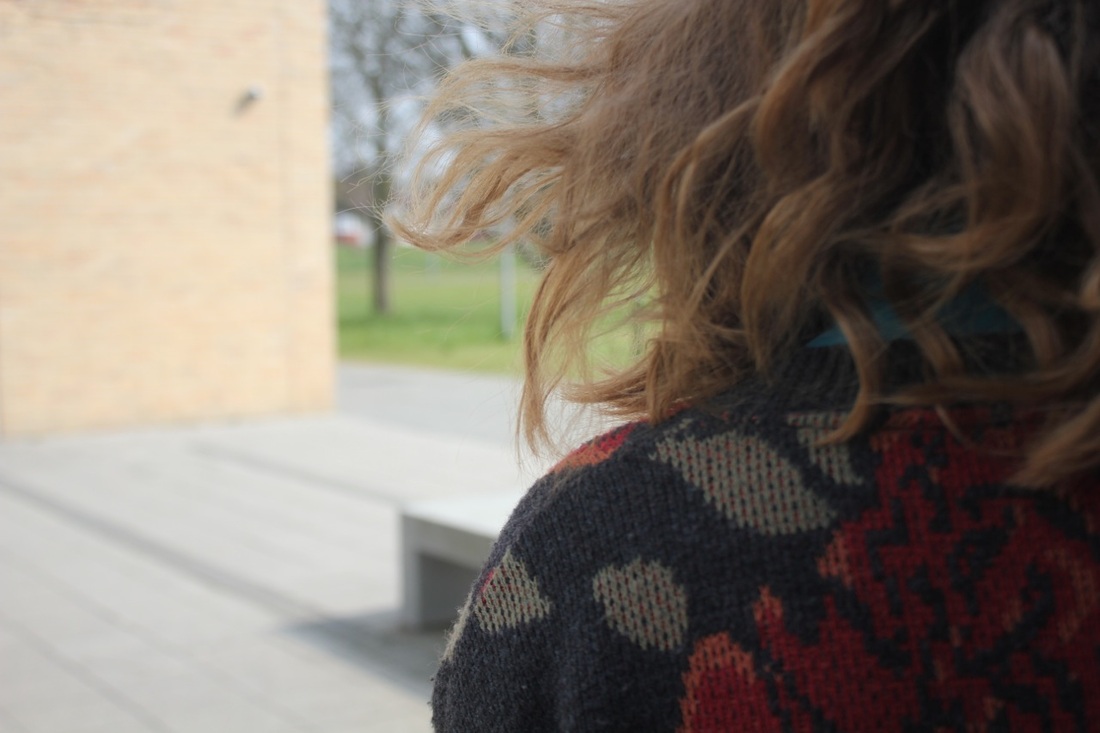
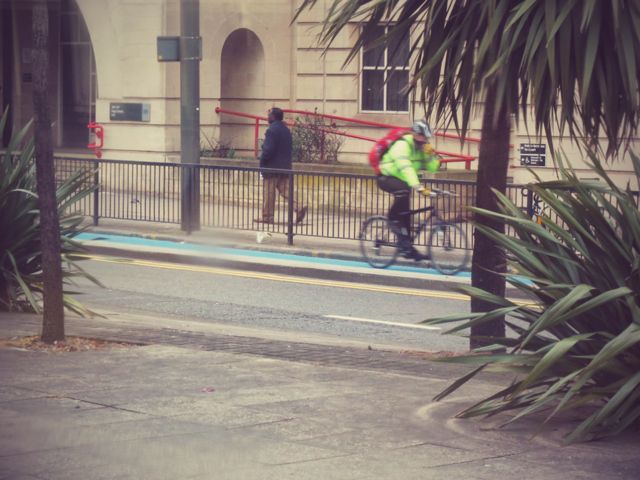
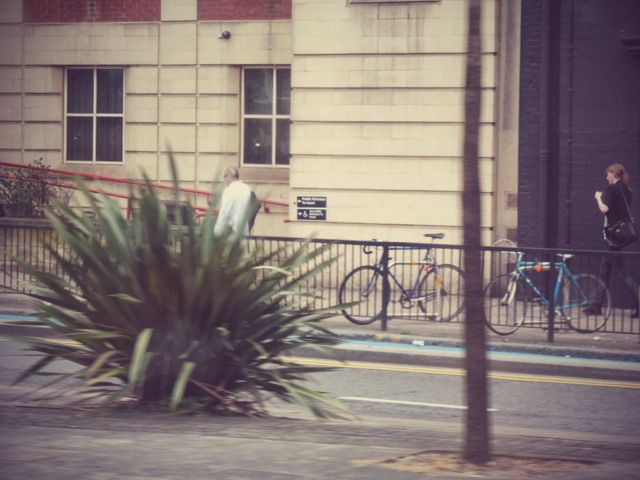
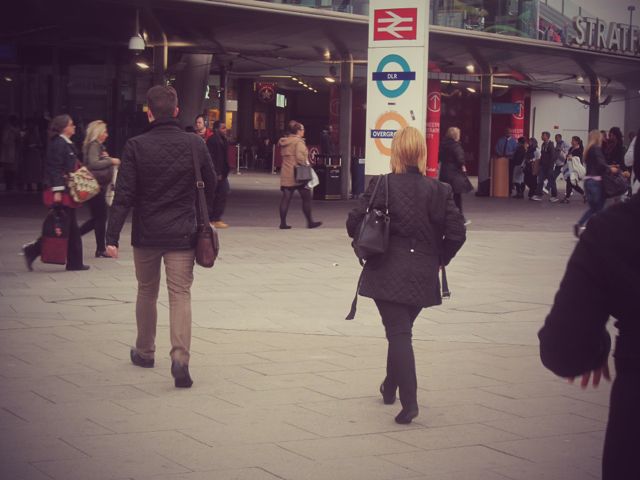
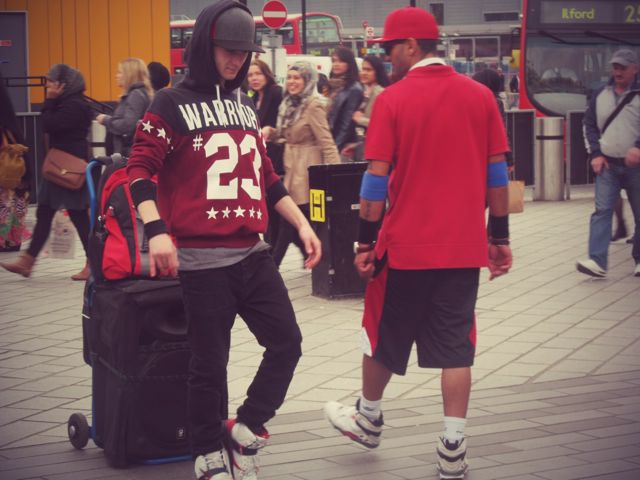
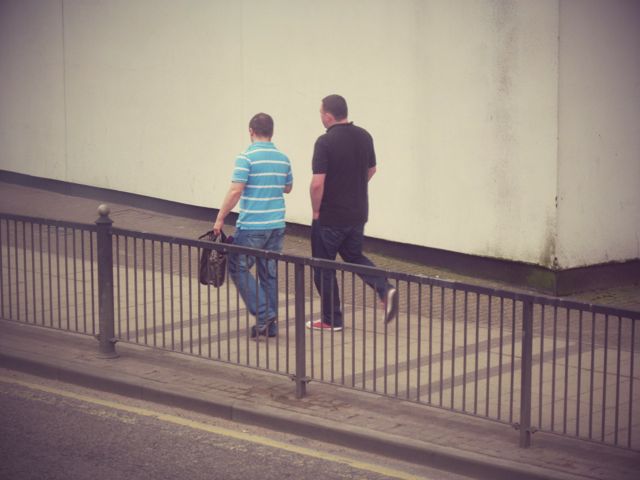
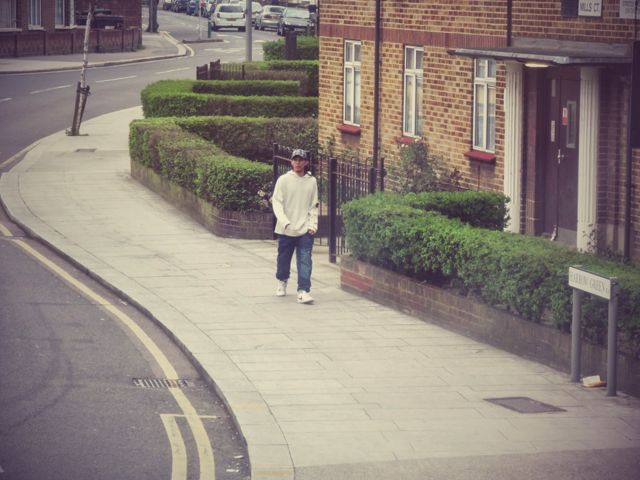
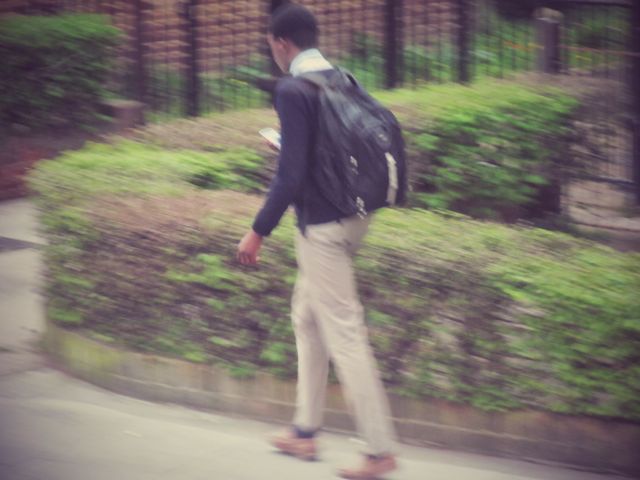
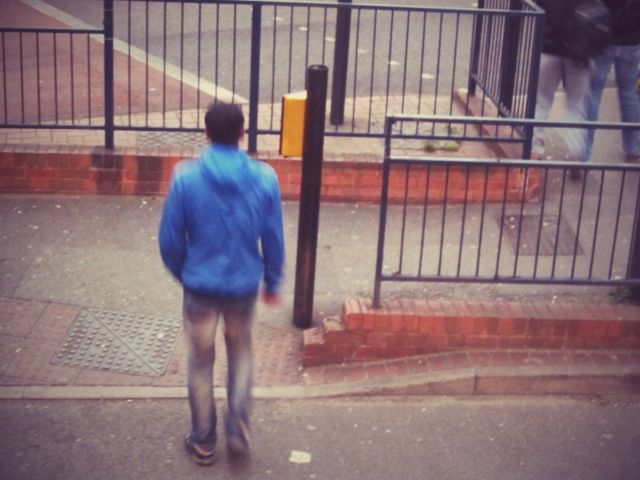
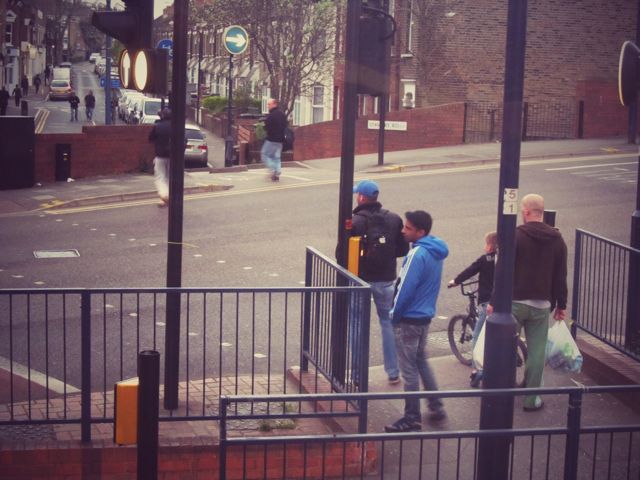
Looking back over the two sets of images that I took, I decided that these two photographs were the ones that I liked the most. Both images are over the shoulder shots which I think each work well in their own different ways. In the first image, I particularly like that the subject is in focus but the background isn't. I think it works especially well due to the fact that the image has a black and white filter on it, making it easier to notice that the background is blurry. I also like the fact that a fraction of someone's face can be seen in the image, it makes me feel like I'm seeing the world through the eyes of the other person involved in the conversation - seeing what they (in this case; me) see, experiencing what they experience. I like the second image also because of a few different factors. I like the fact that the image has been left in colour because it makes every detail in the image stand out a lot more. I also like that the view that can be seen over the shoulder is looking down; I feel as though it gives off a sense of superiority.
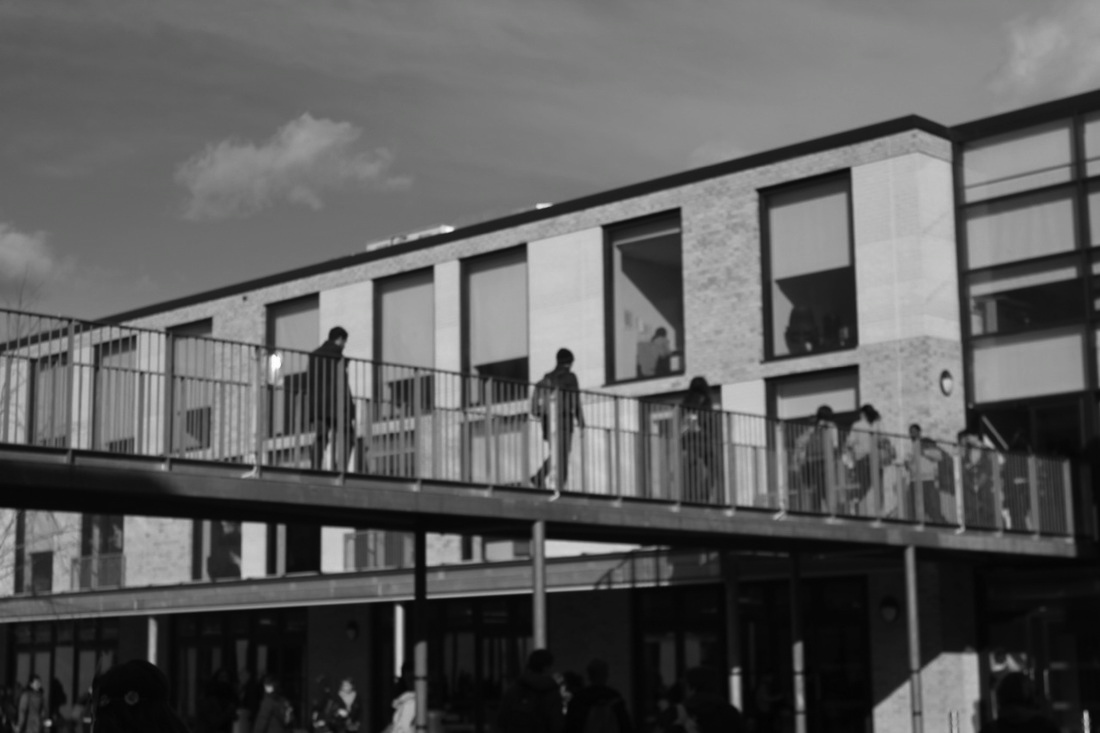
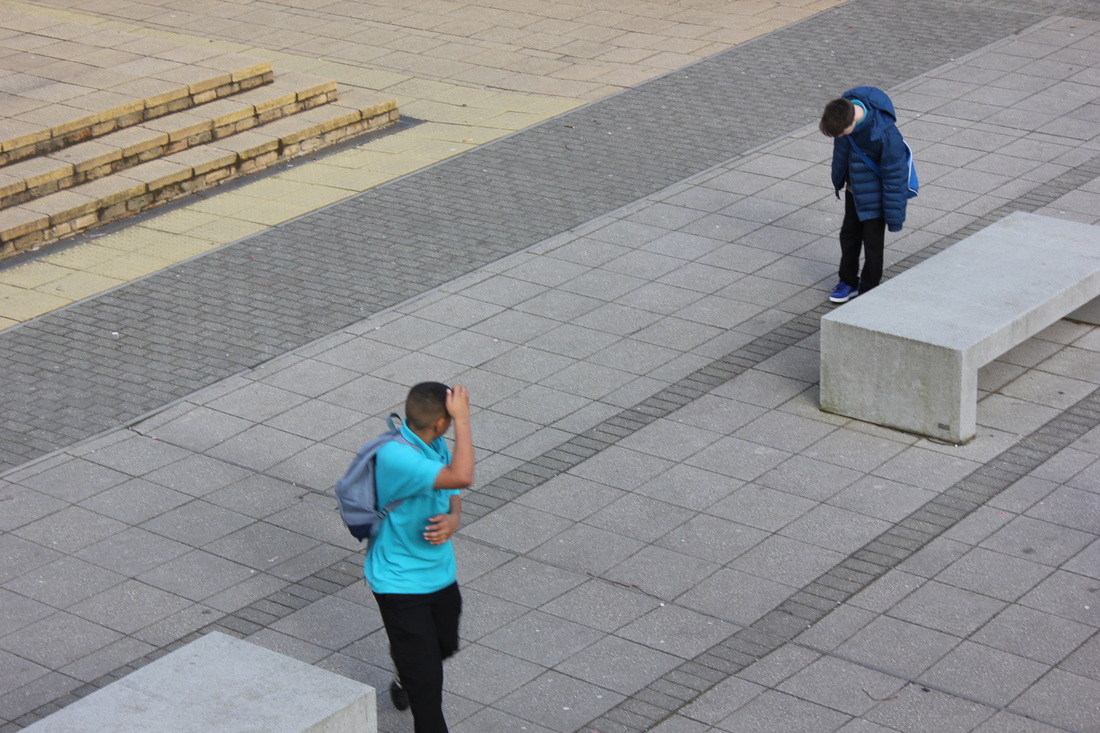
The Different Styles
|
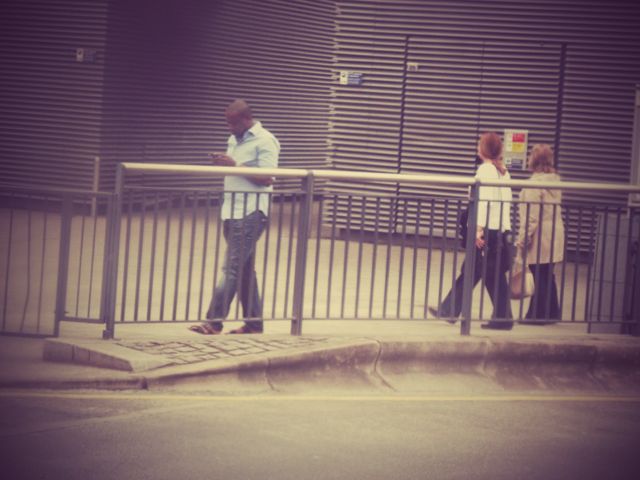
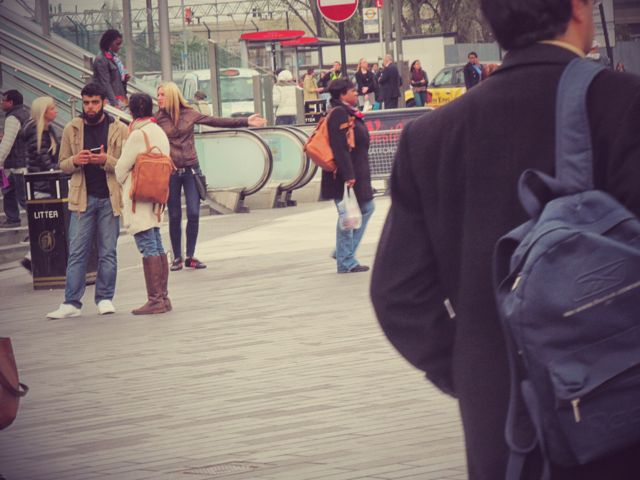
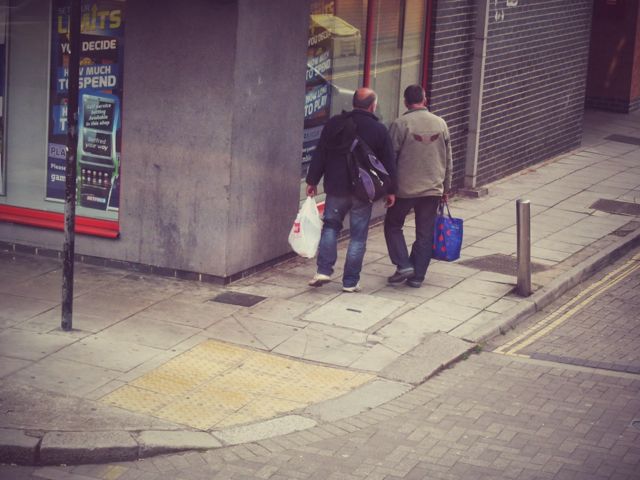
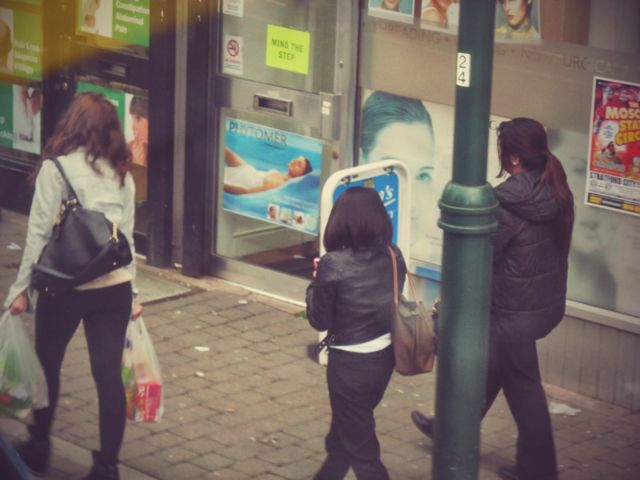
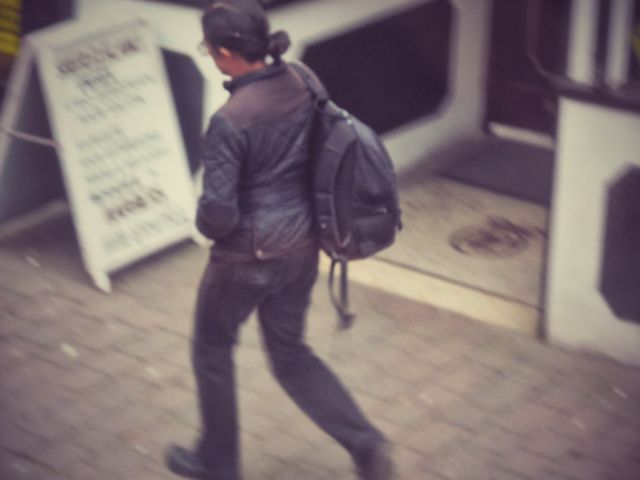
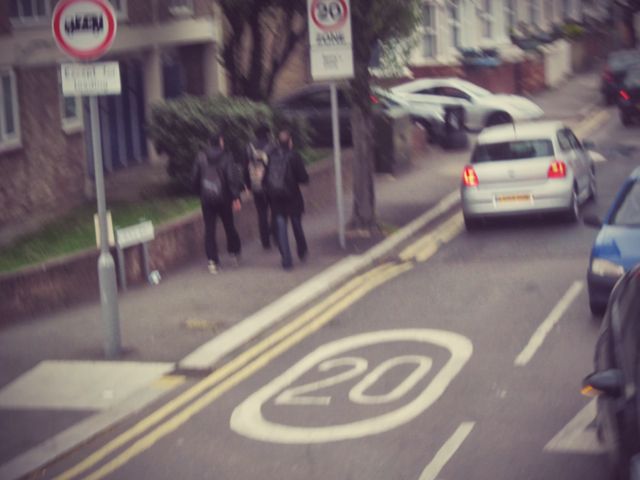
Over the Shoulder
Looking Down
|
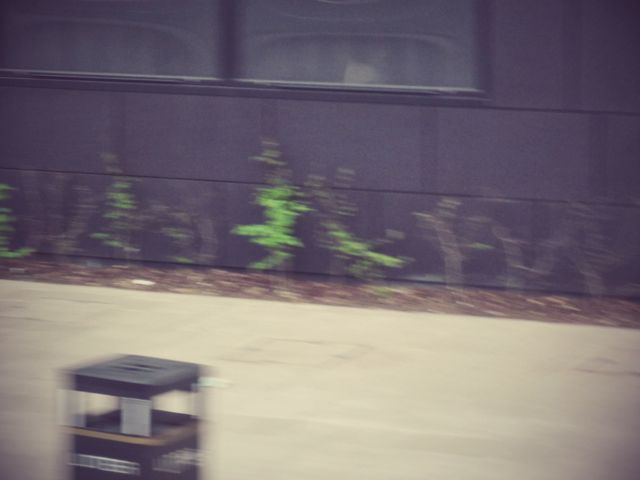
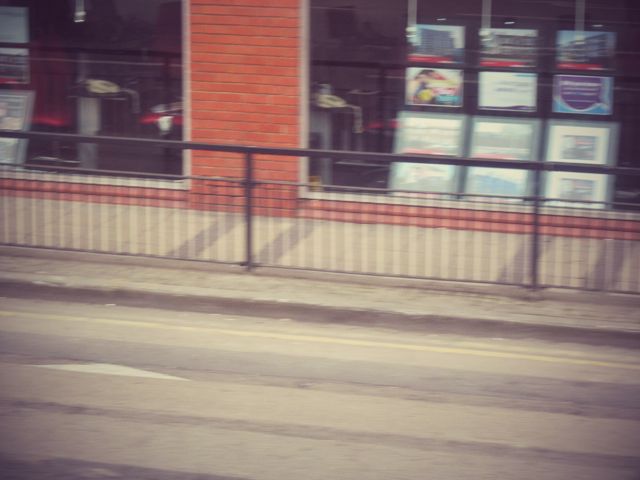
Shadows and Reflections
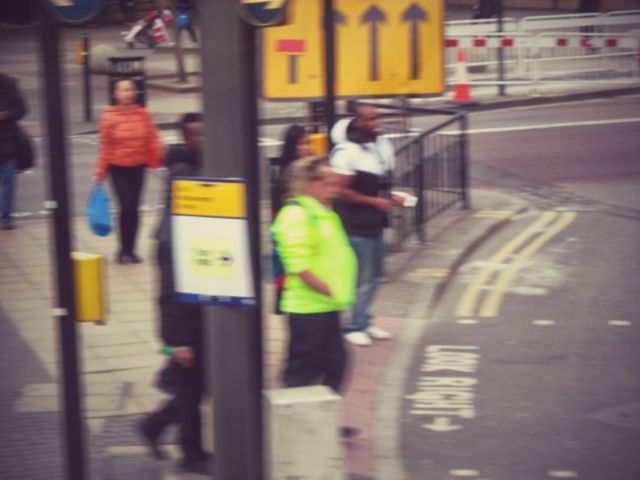
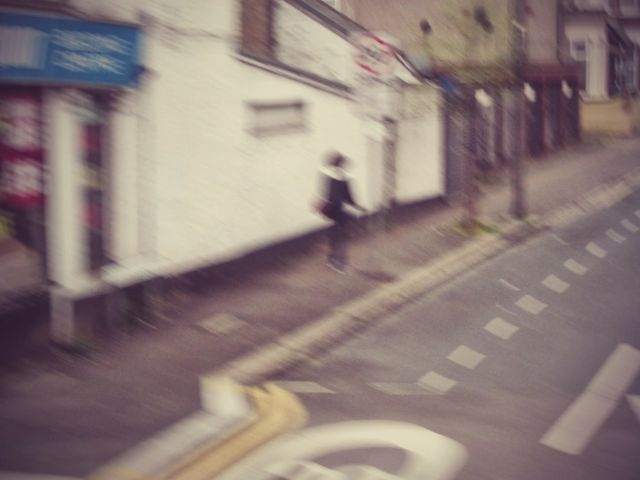
Walk On By
|
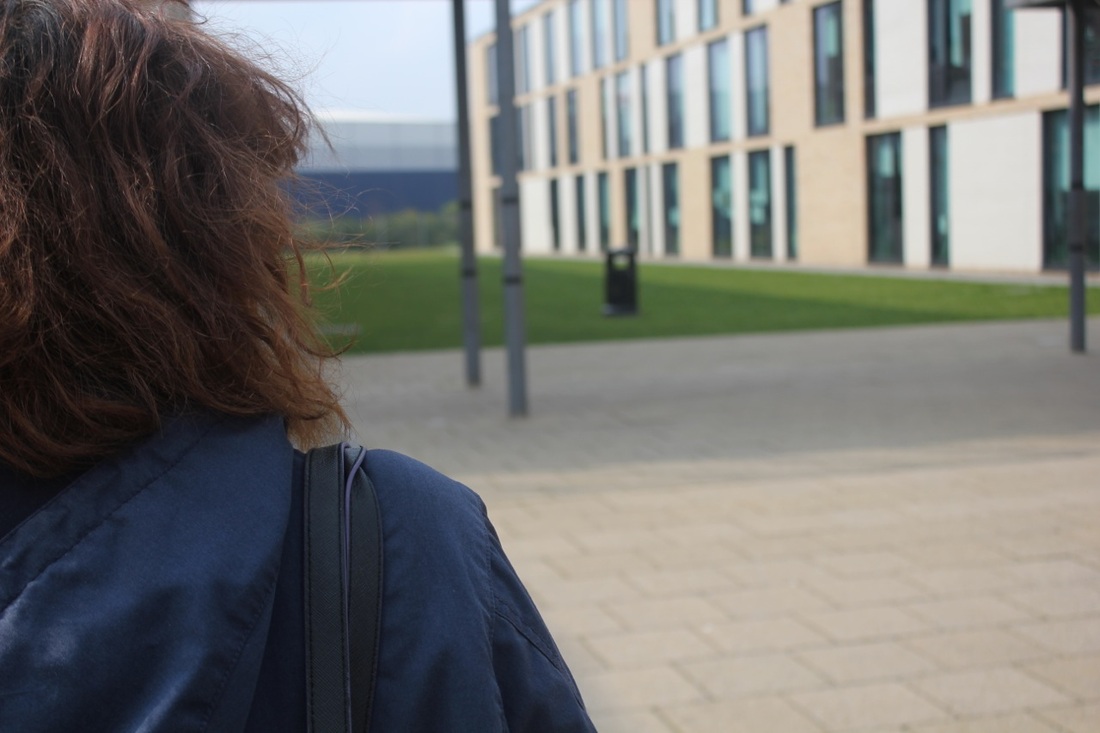
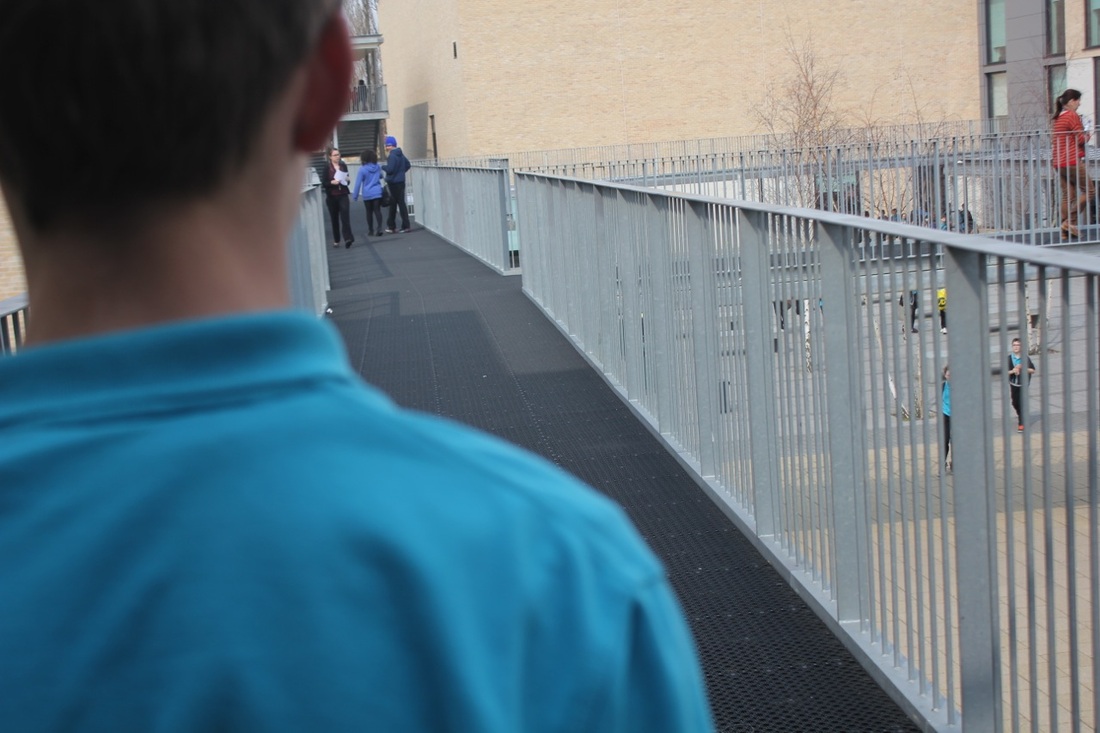
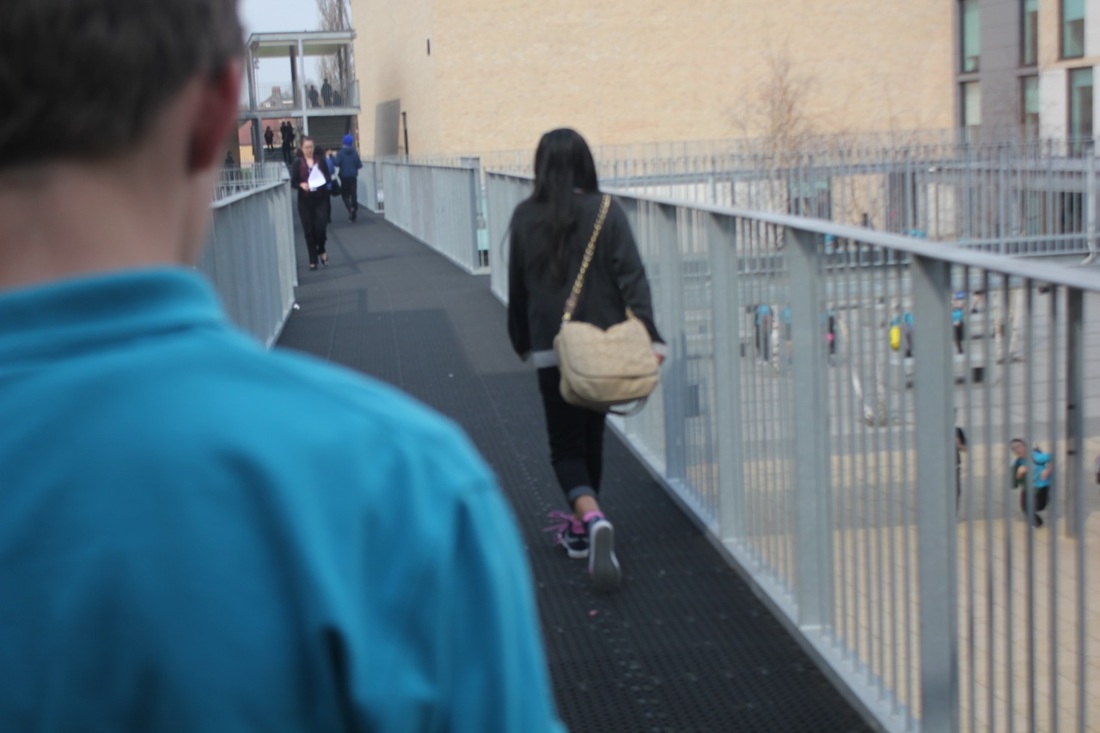
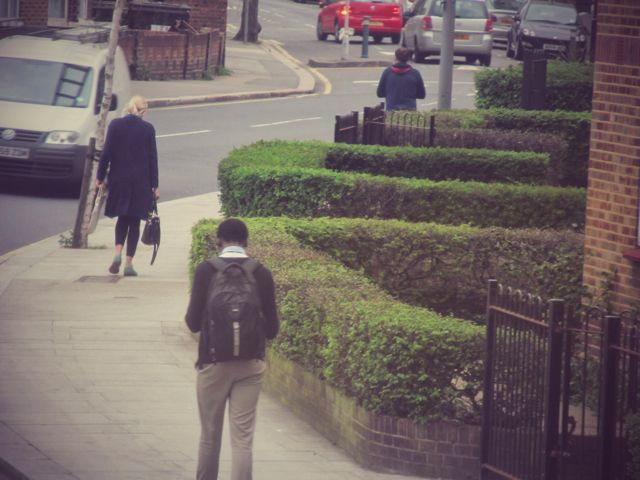
More "Over the Shoulder" Shots
|
|
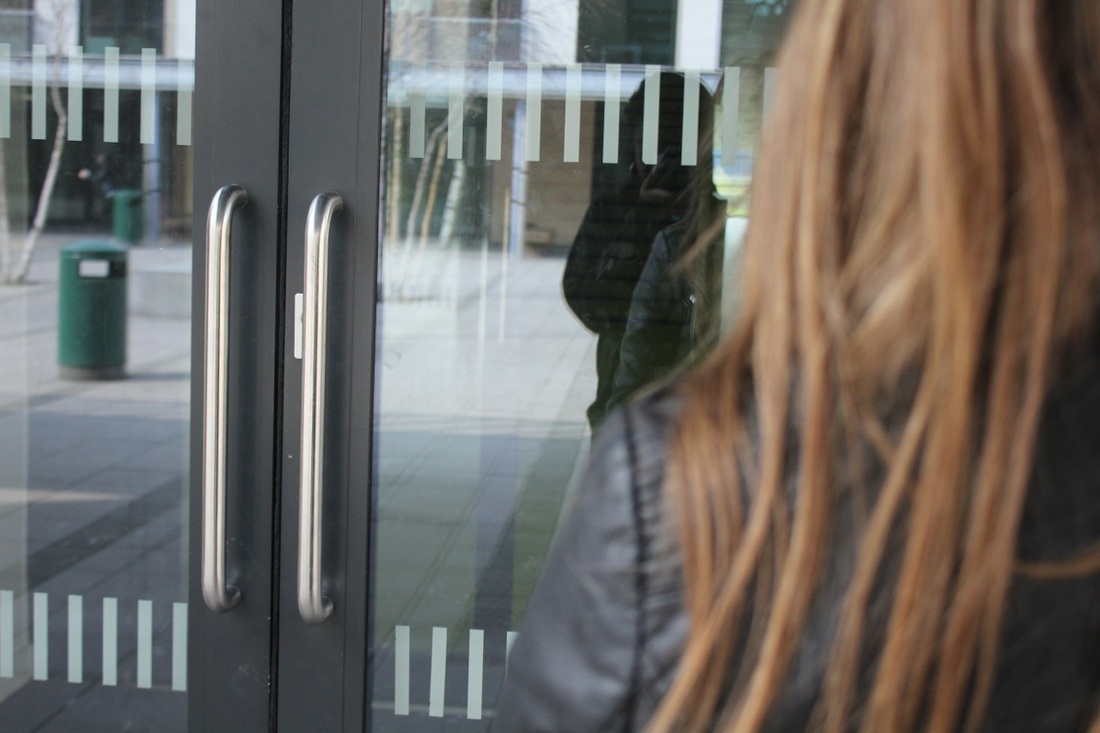
The over the shoulder shot was the one in which I found the most interesting to look at. Because of this, I decided to take a few more to experiment with the different angles and landscapes. Out of the many that I took, I decided that this was my favourite.
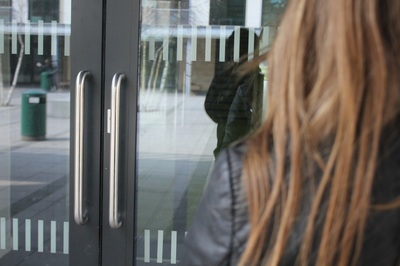
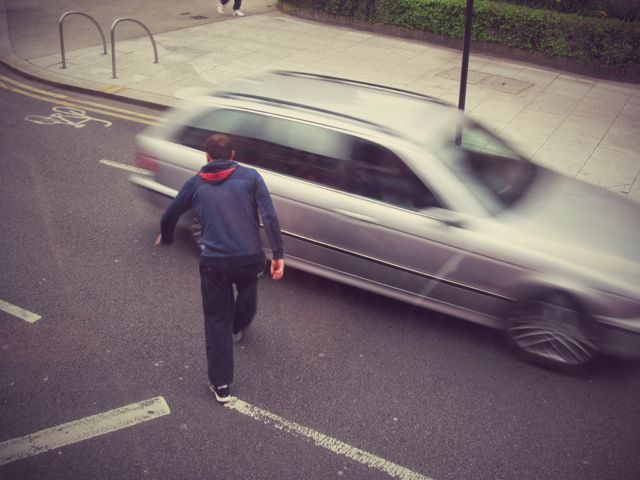
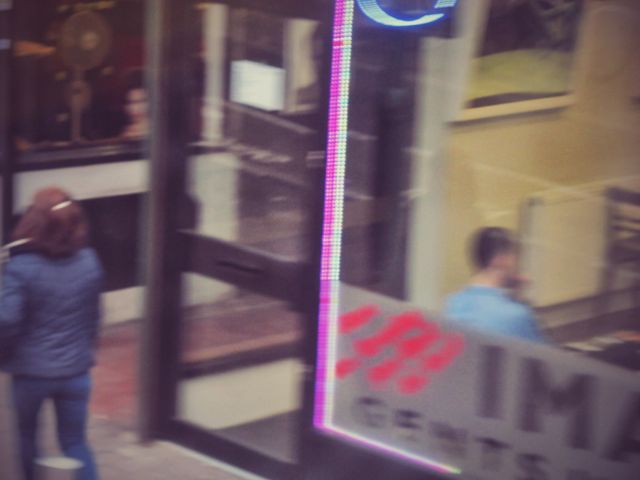
This is the image I like the most because it features the classic over the shoulder technique but it also shows a reflection which I think makes it more interesting to look at. I think what went well with this image is the fact that the reflection was caught unintentionally but it still worked out well. However, I would have preferred it if when I took the image, I wasn't caught in the reflection taking the photograph as I think it takes away the overall effect from the picture. |

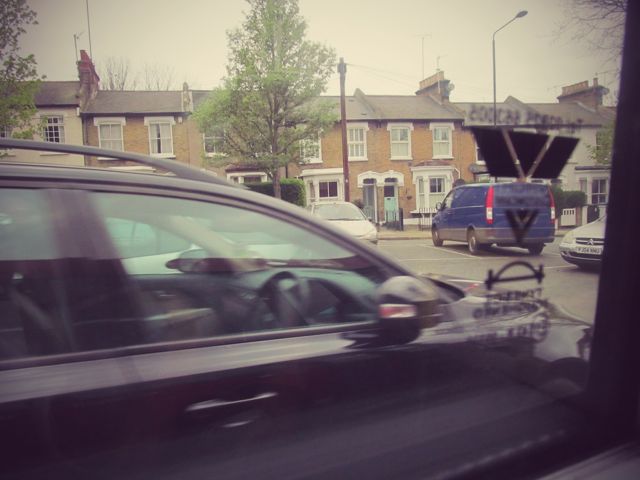
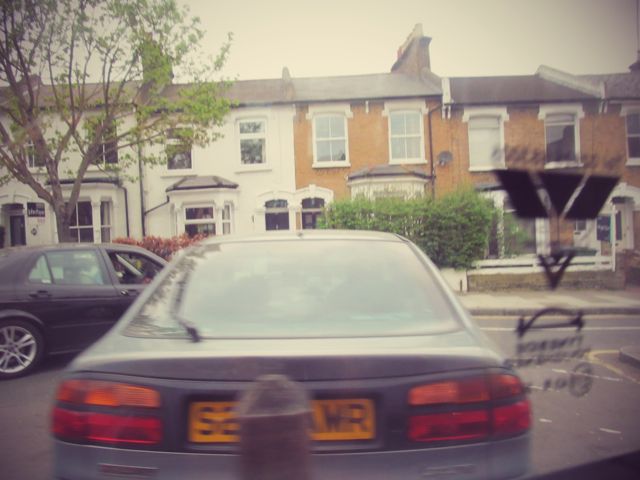
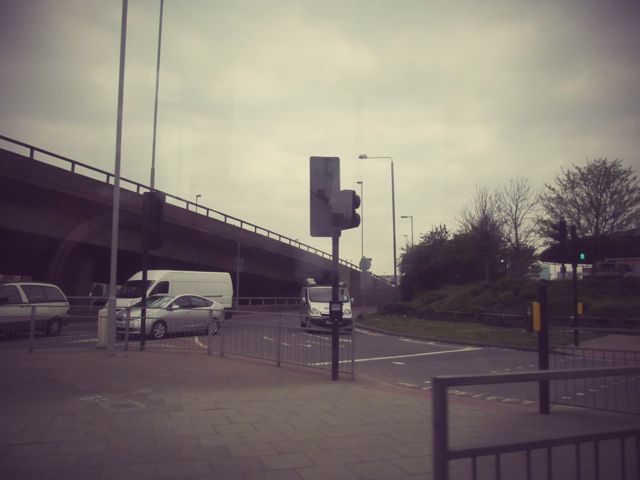
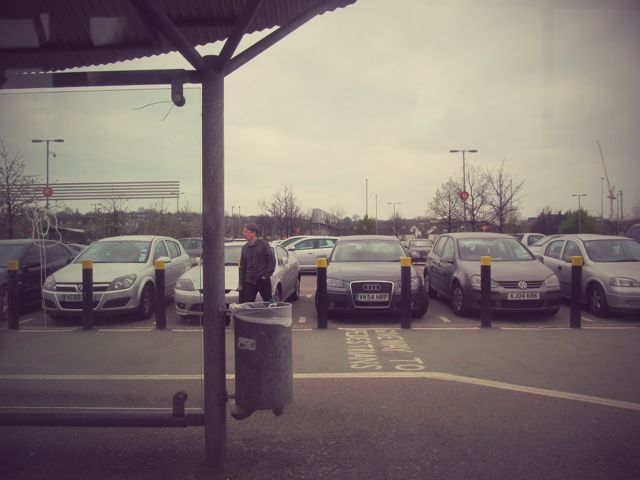
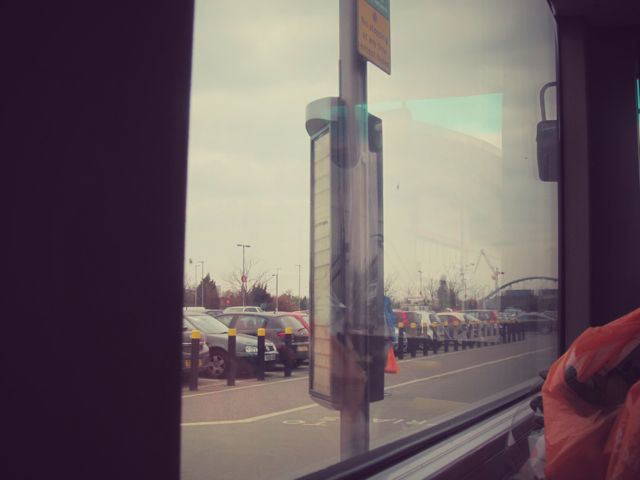
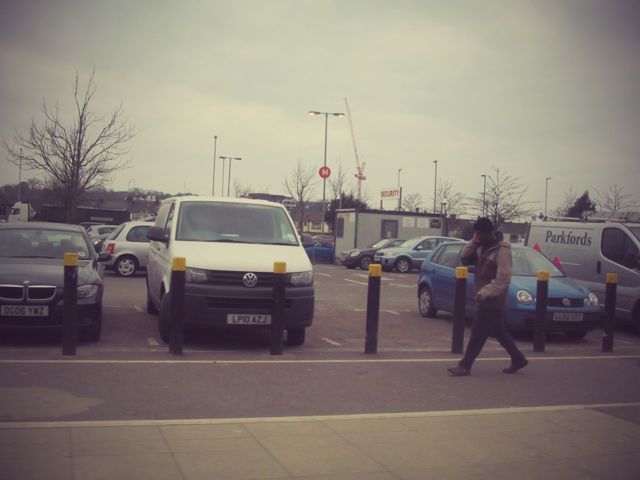
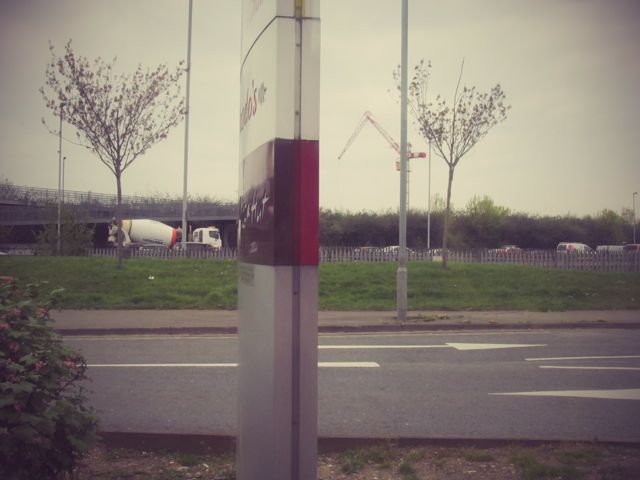
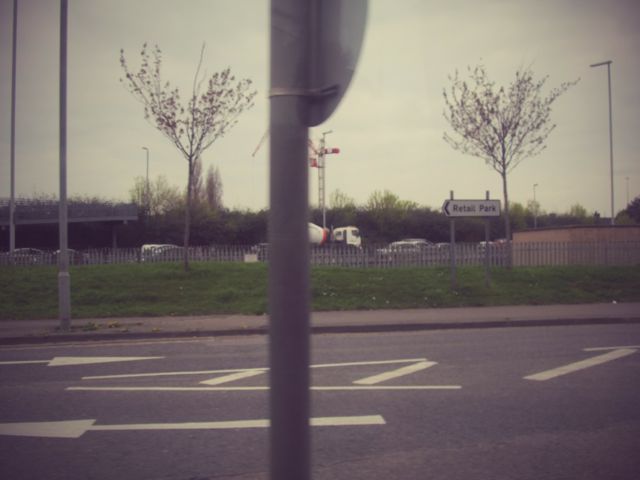
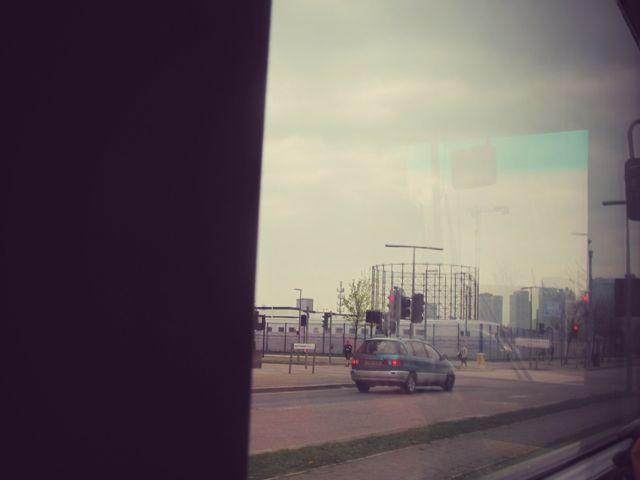
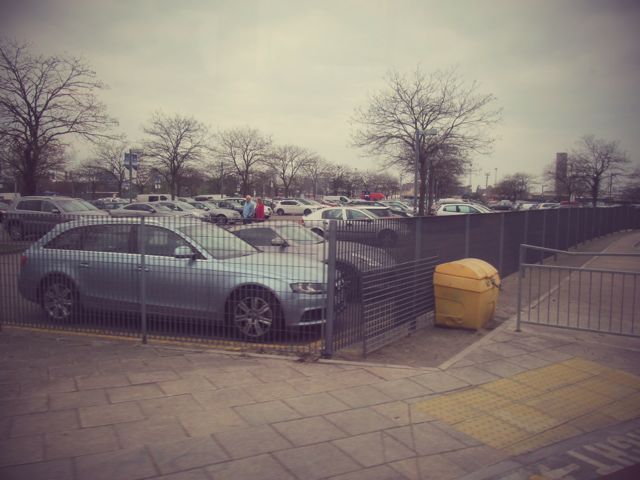
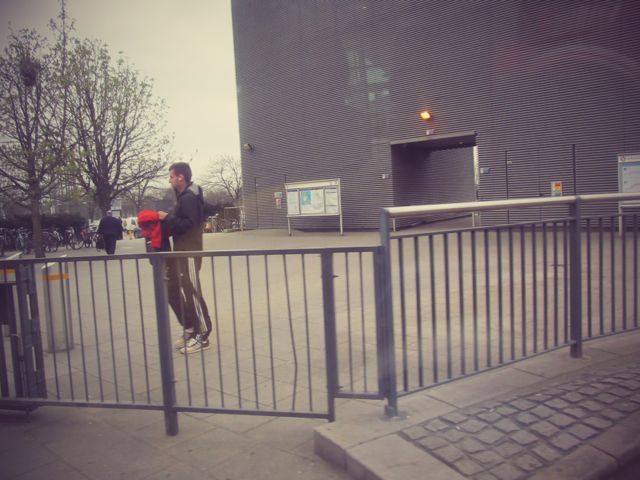
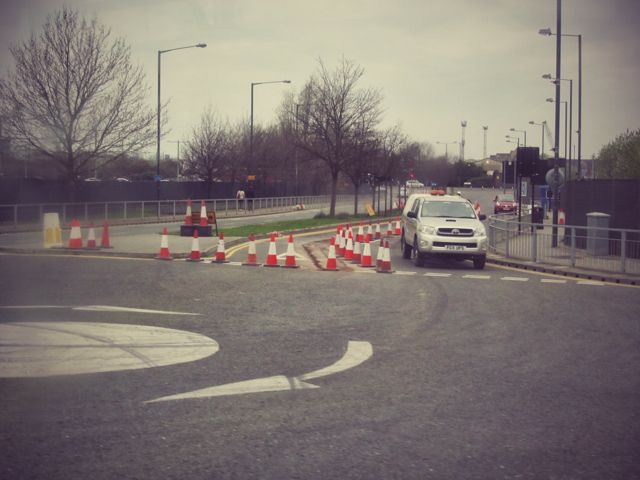
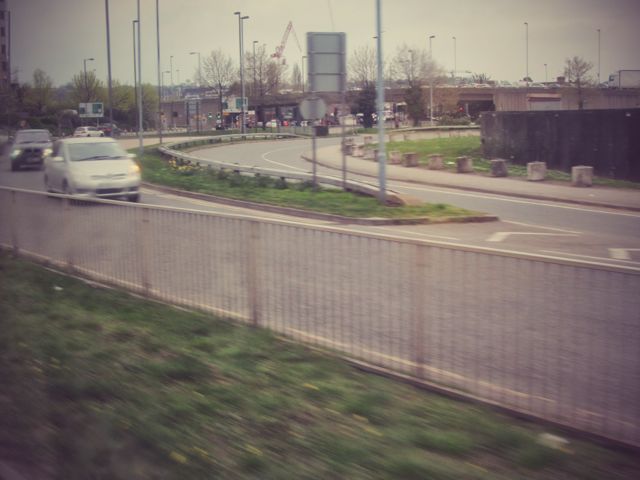
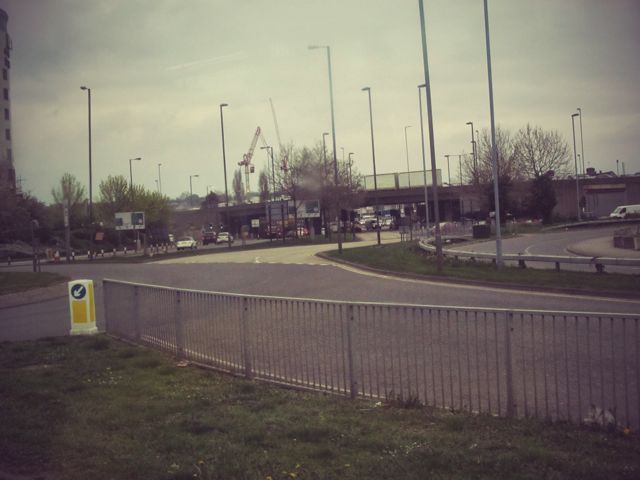
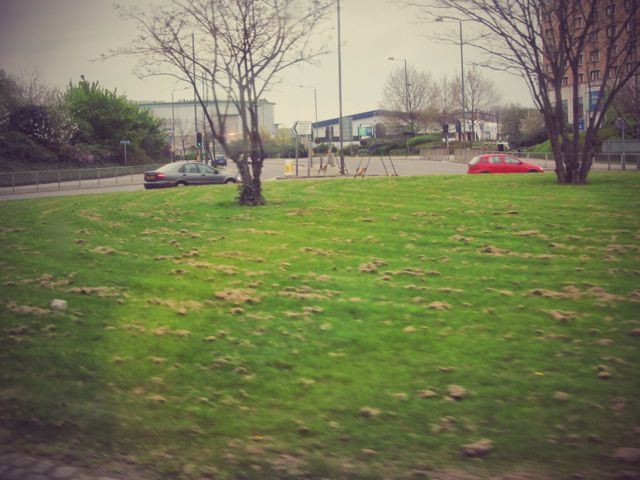
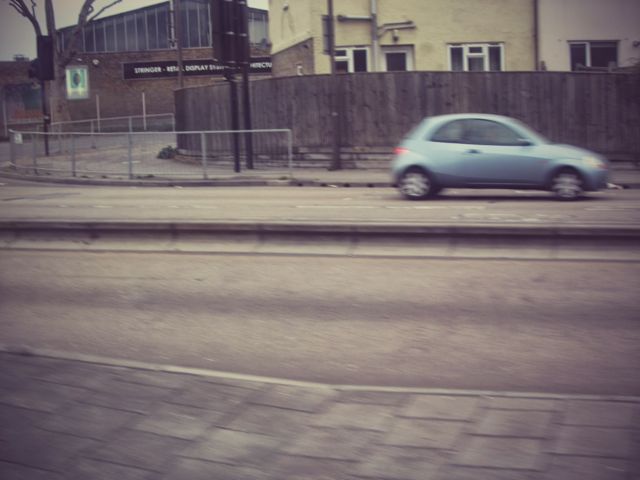
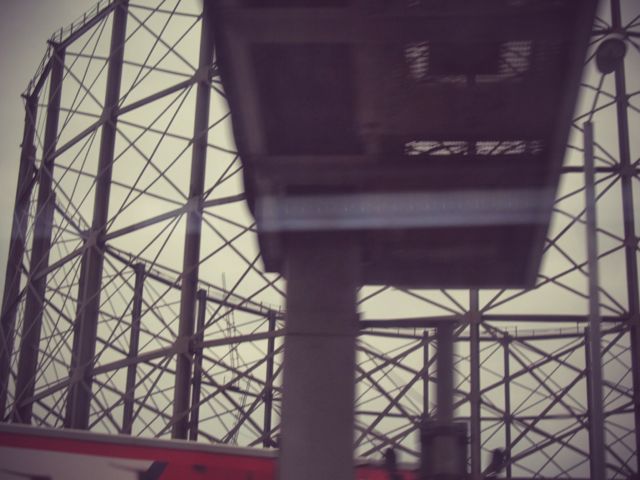
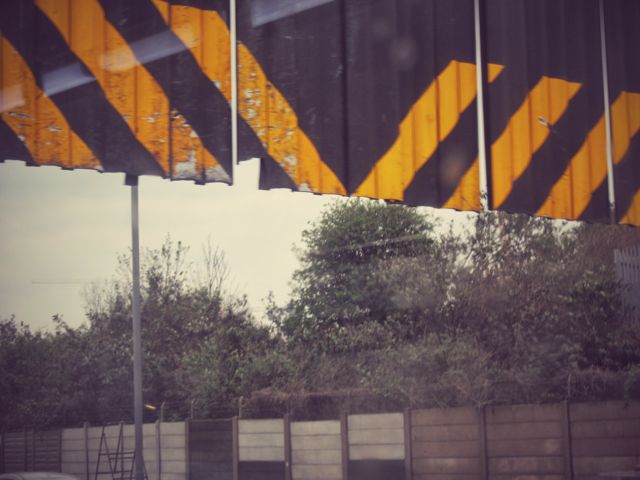
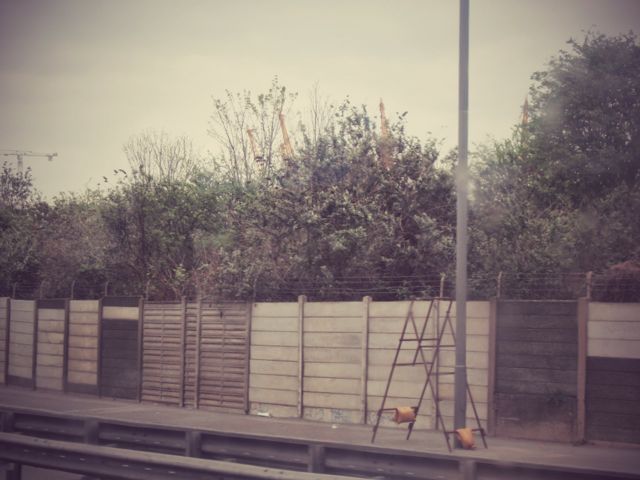
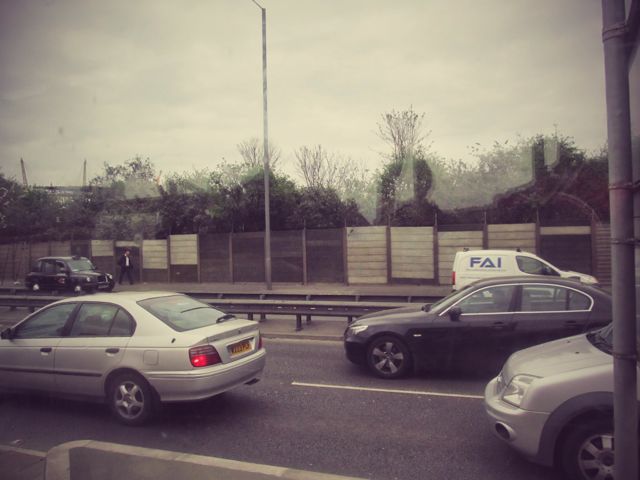
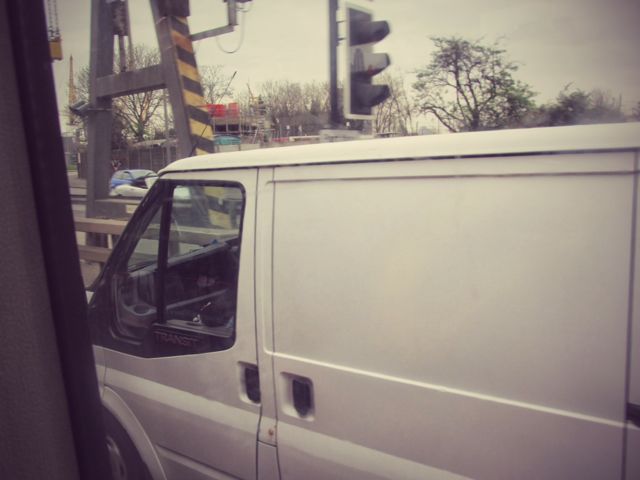
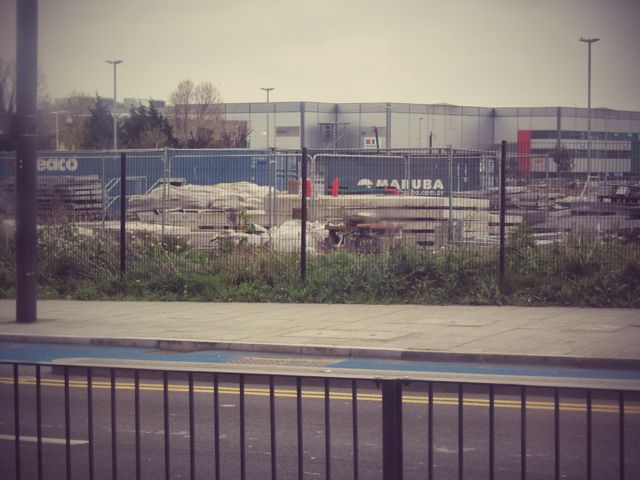
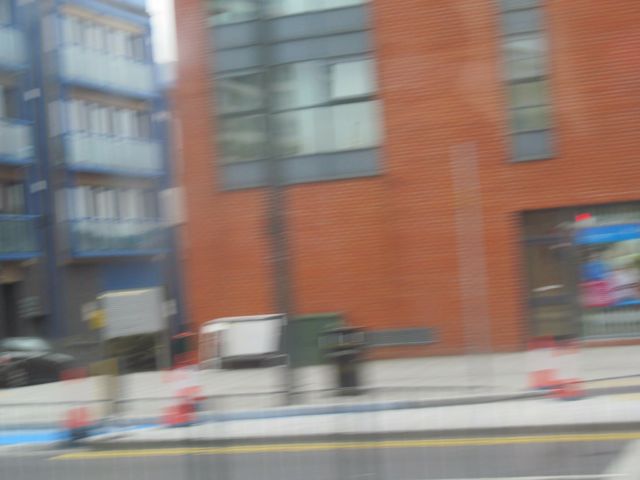
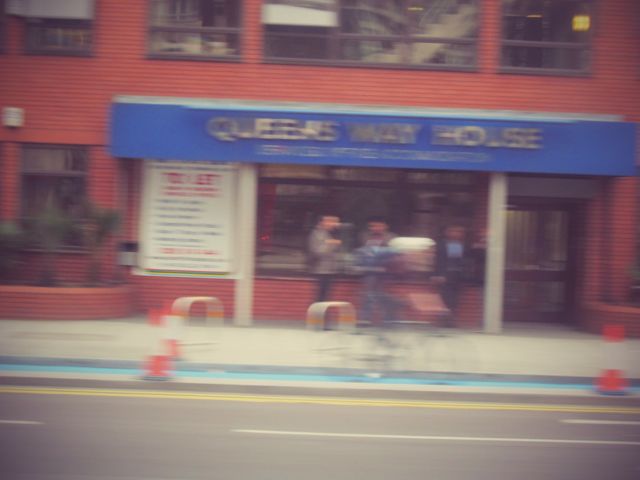
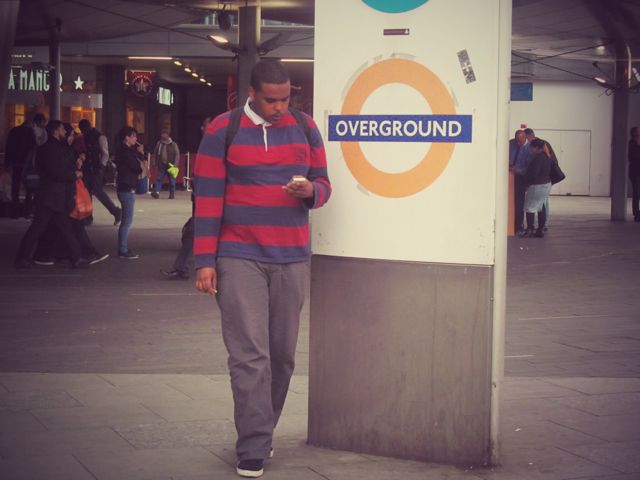
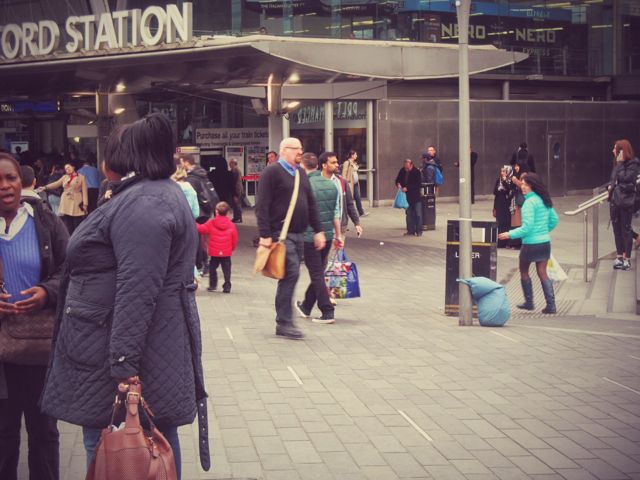
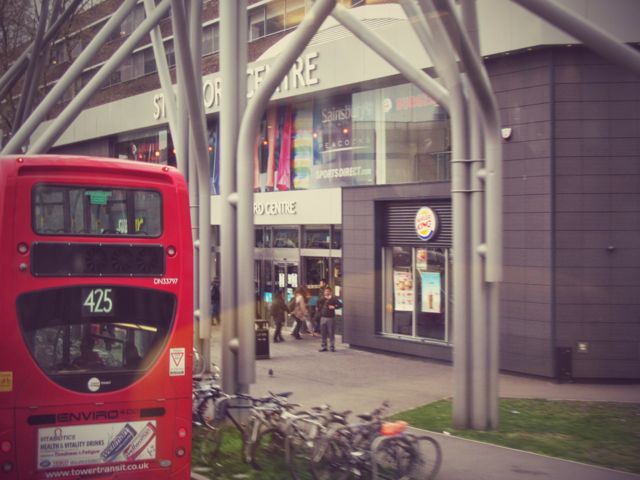
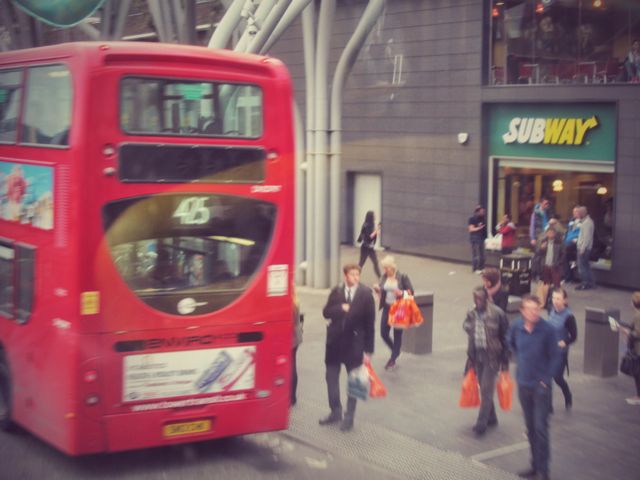
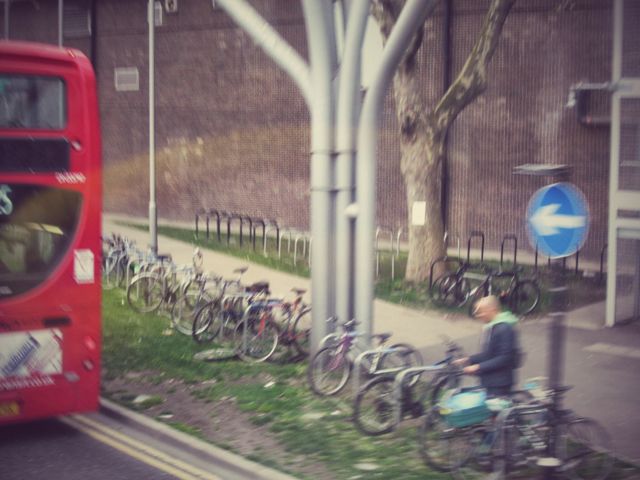
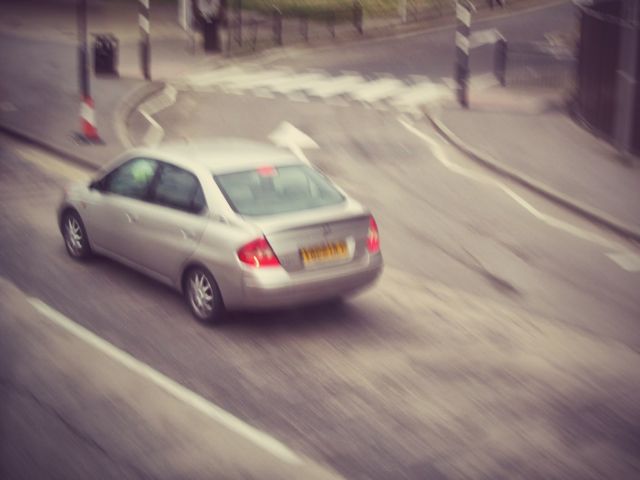
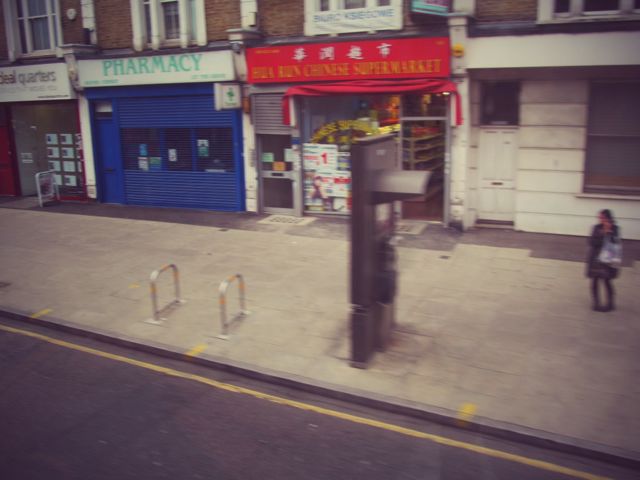
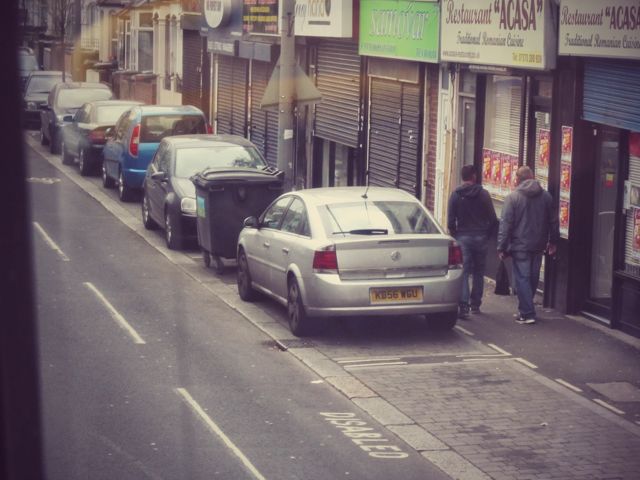
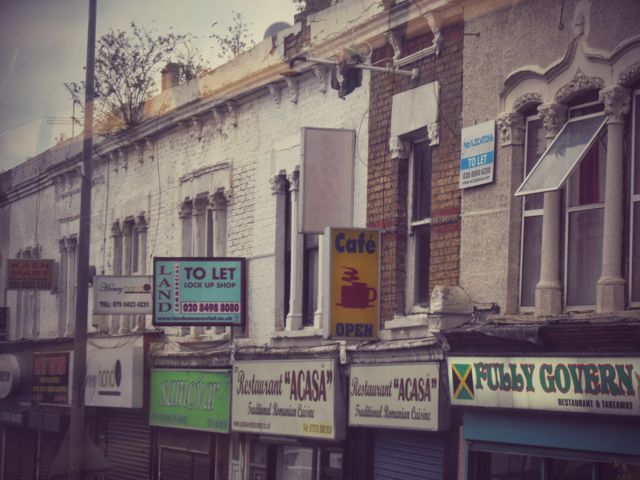
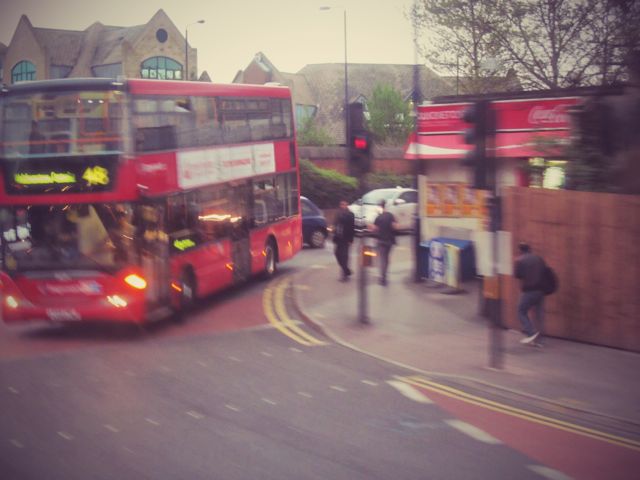
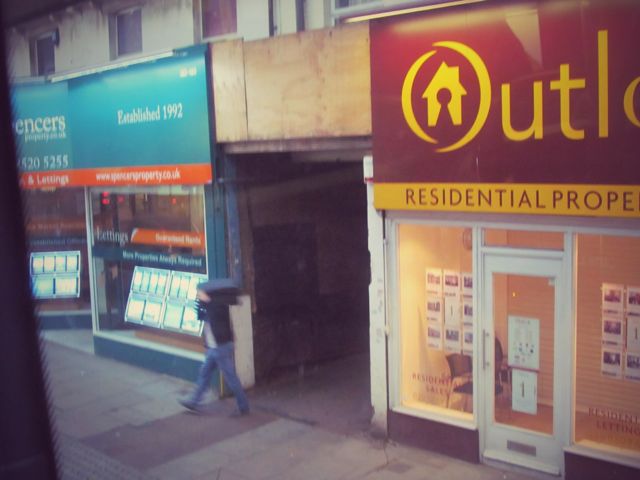
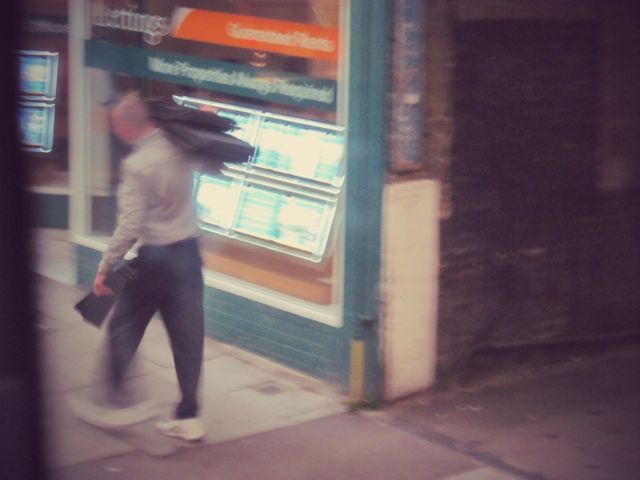
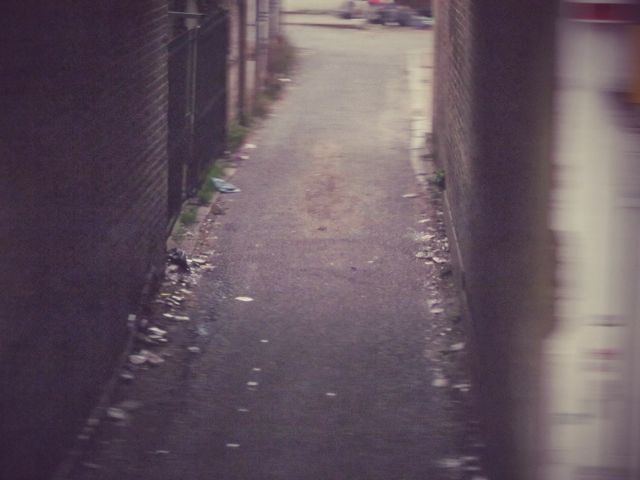
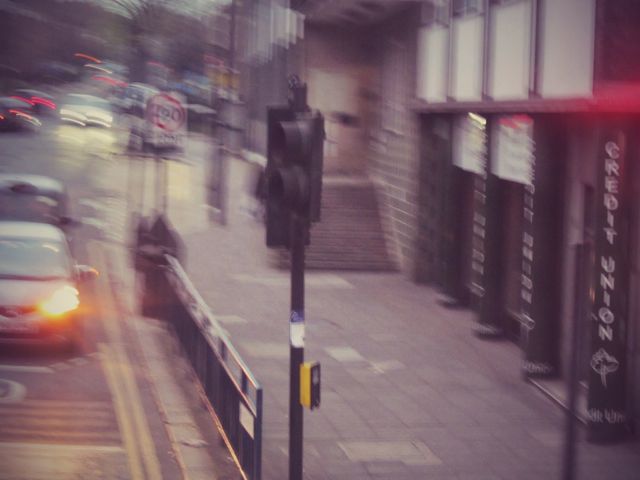
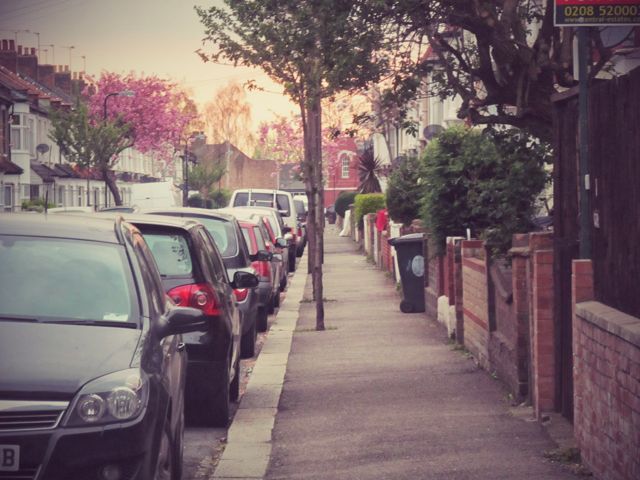
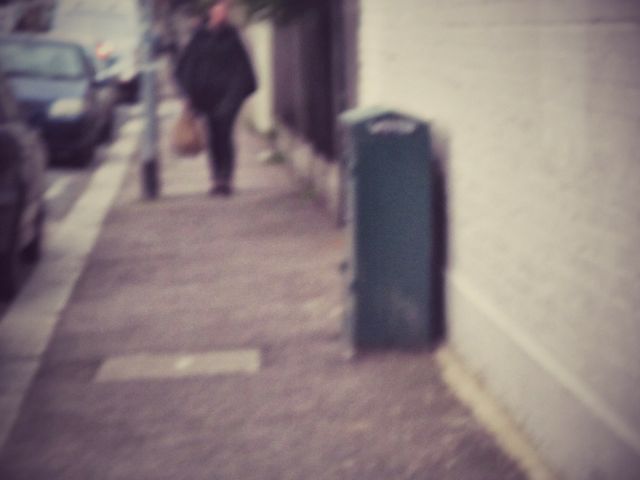
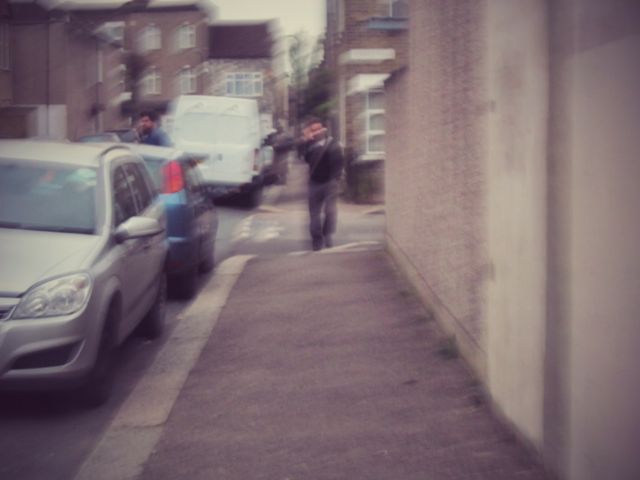
Bluewater Journey


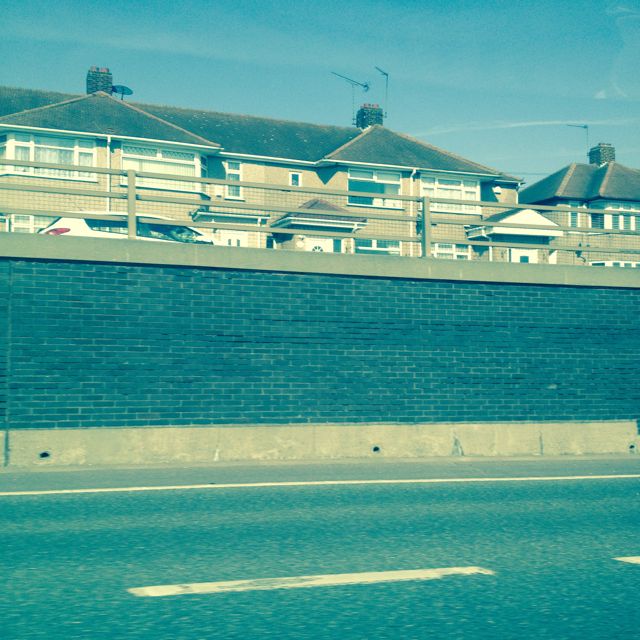
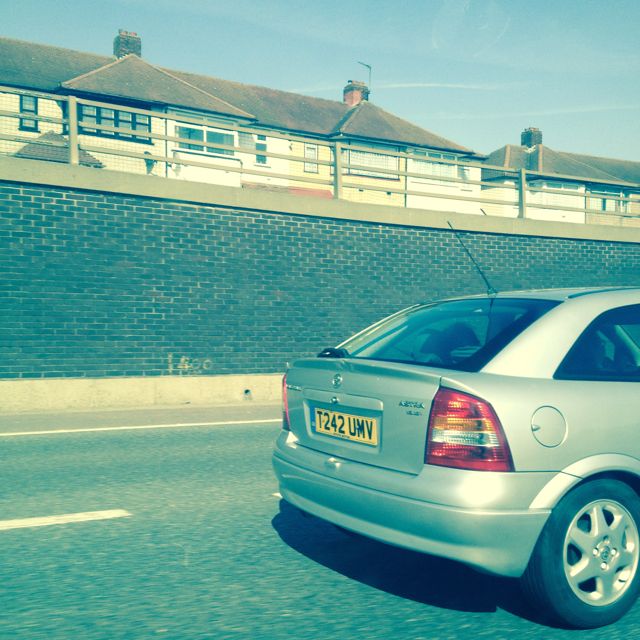
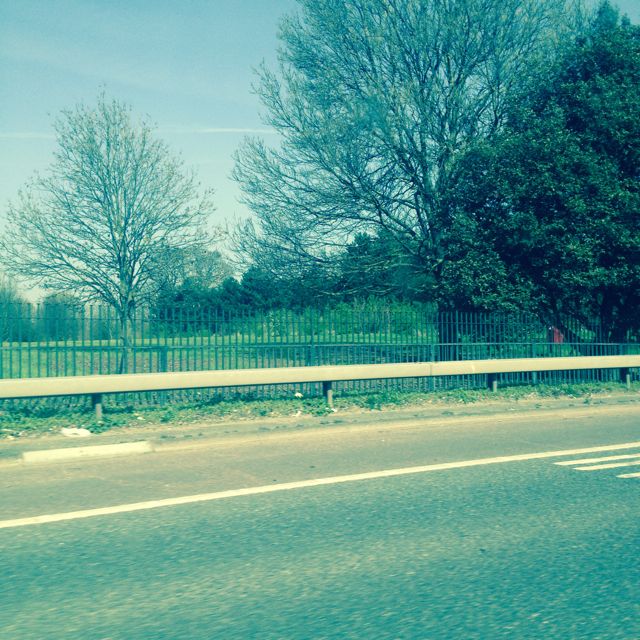
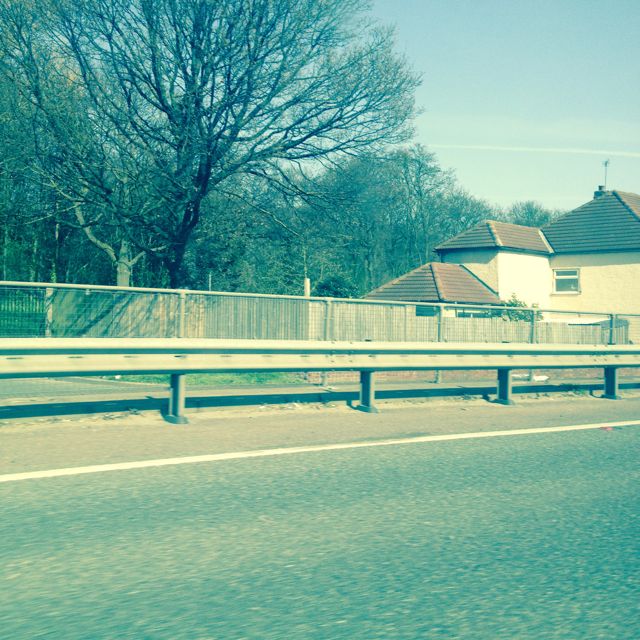
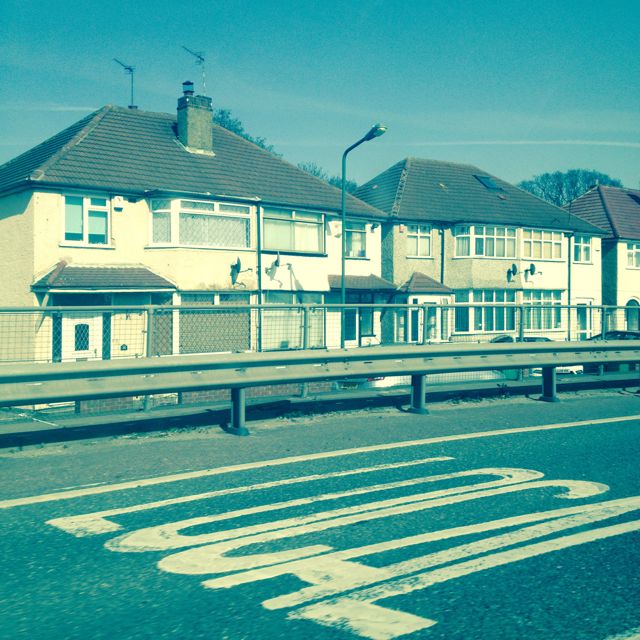
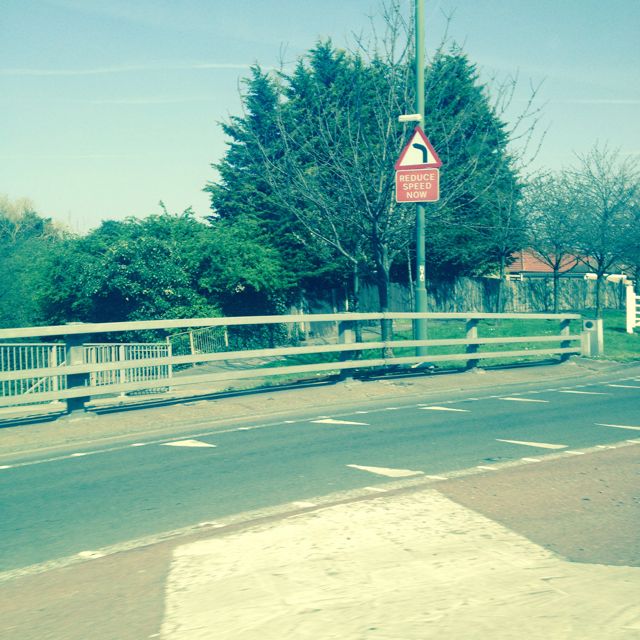
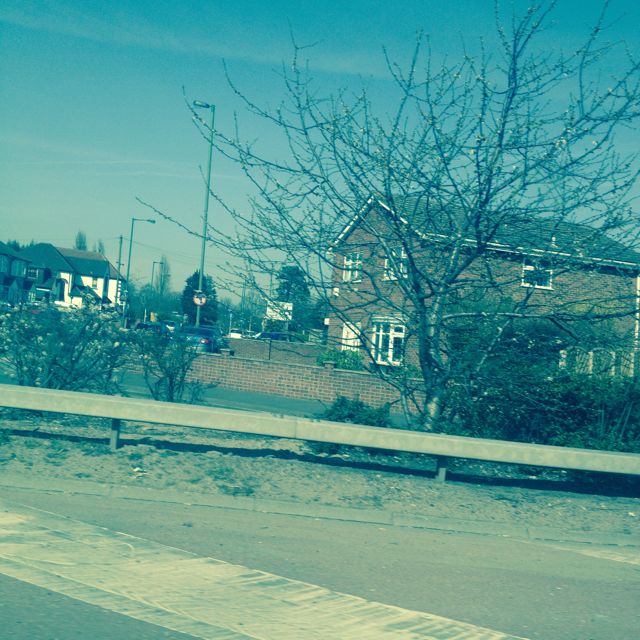
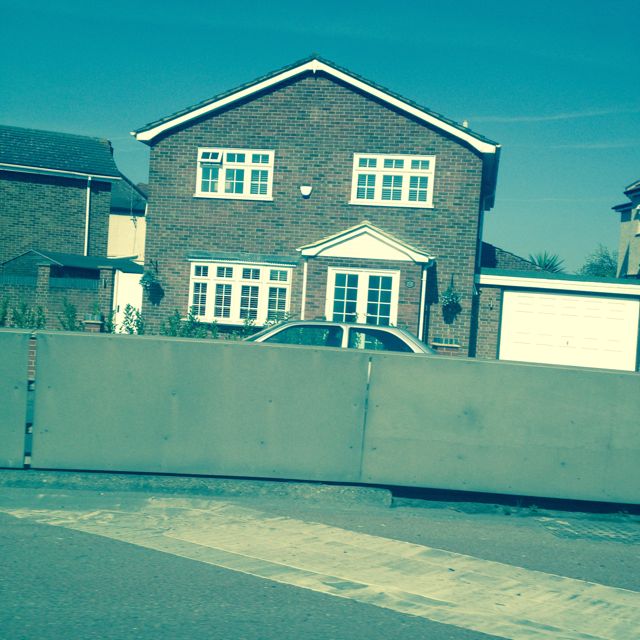
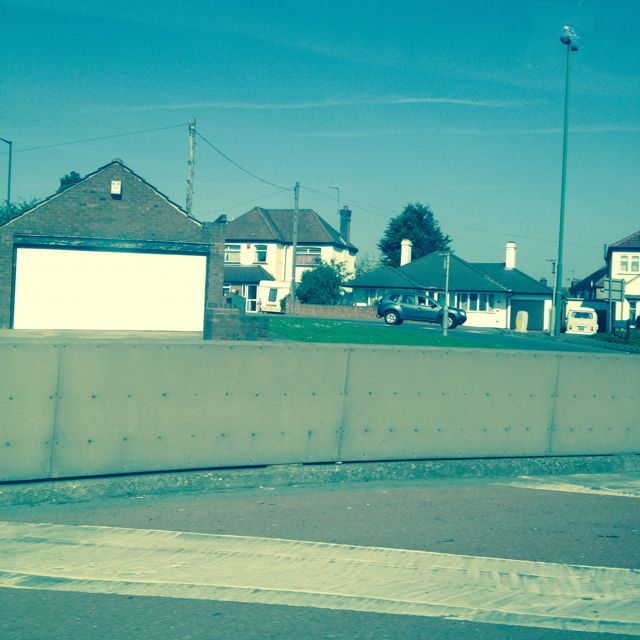
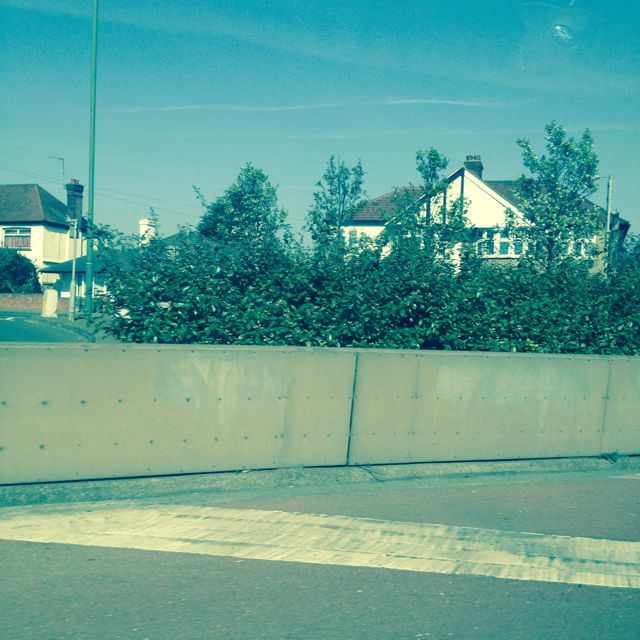

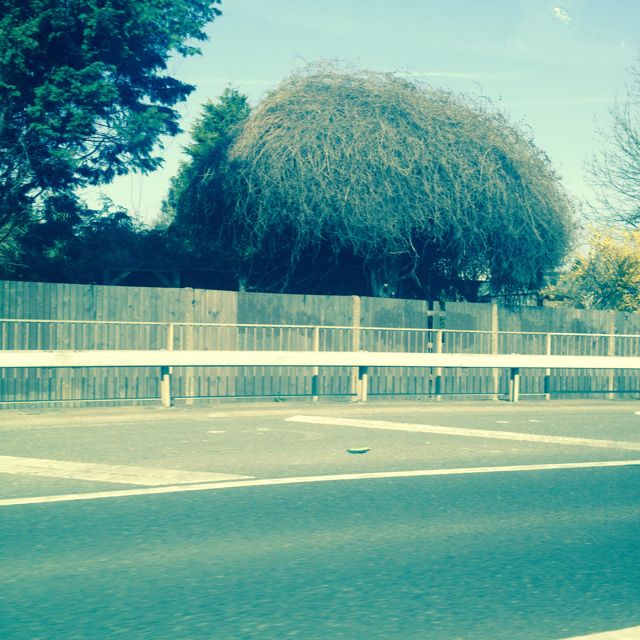
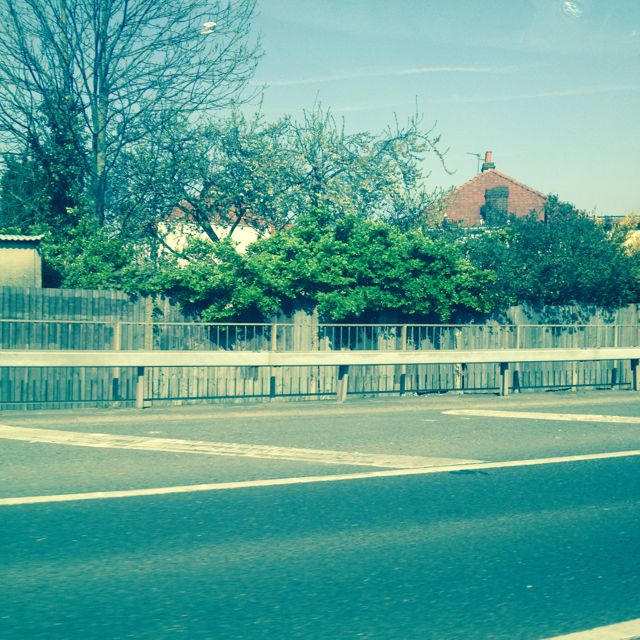
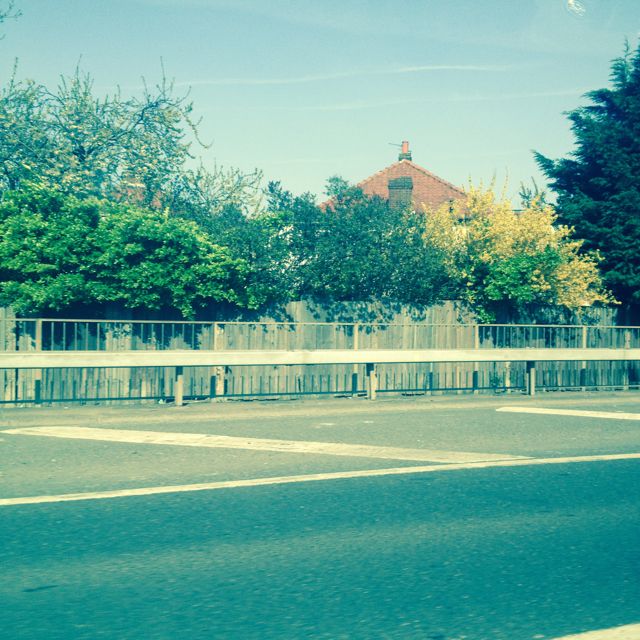

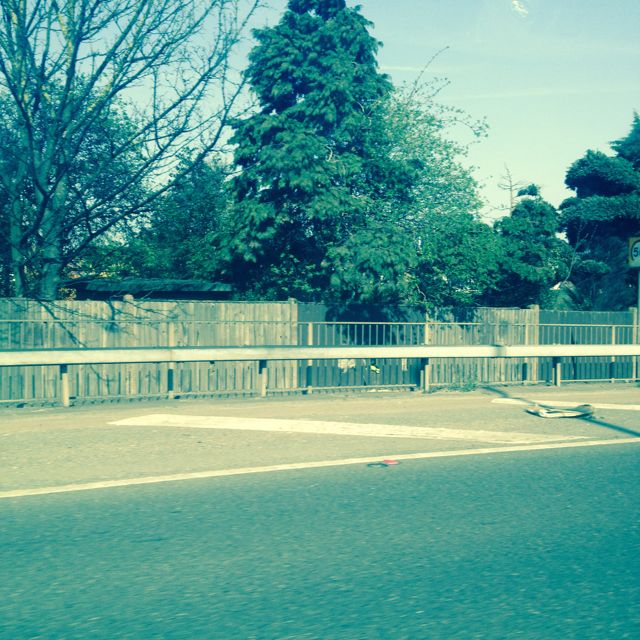
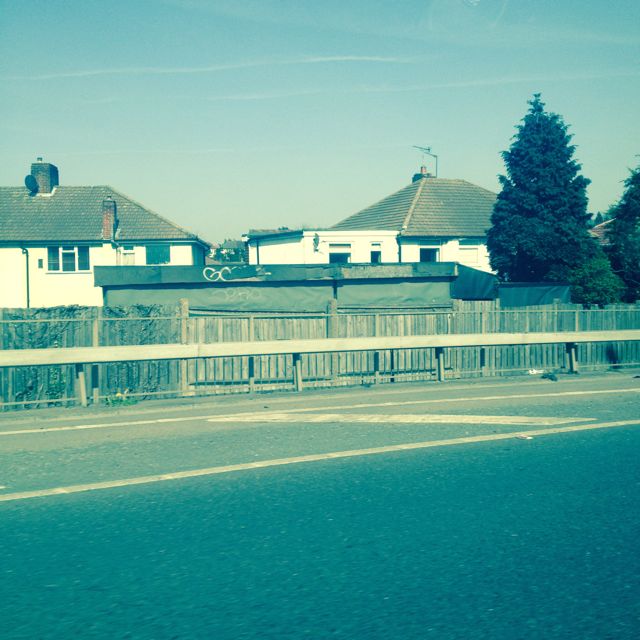
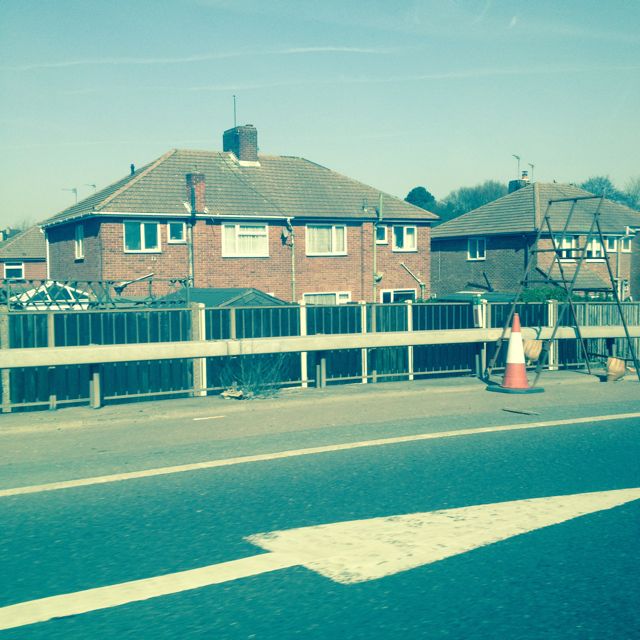
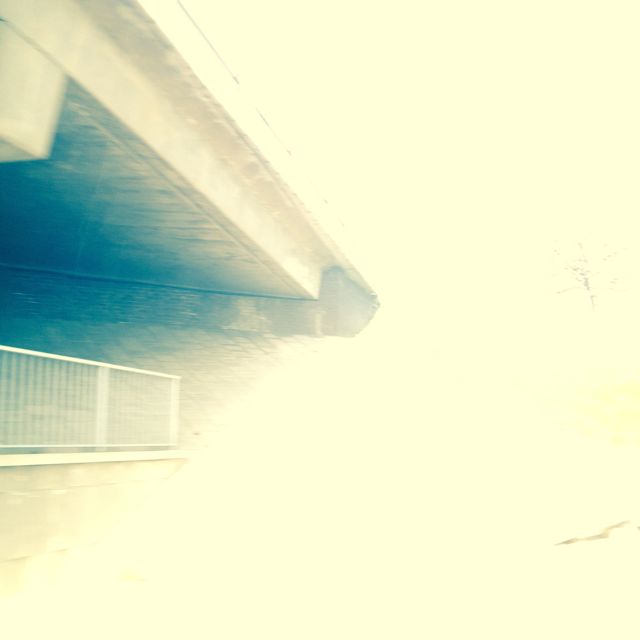


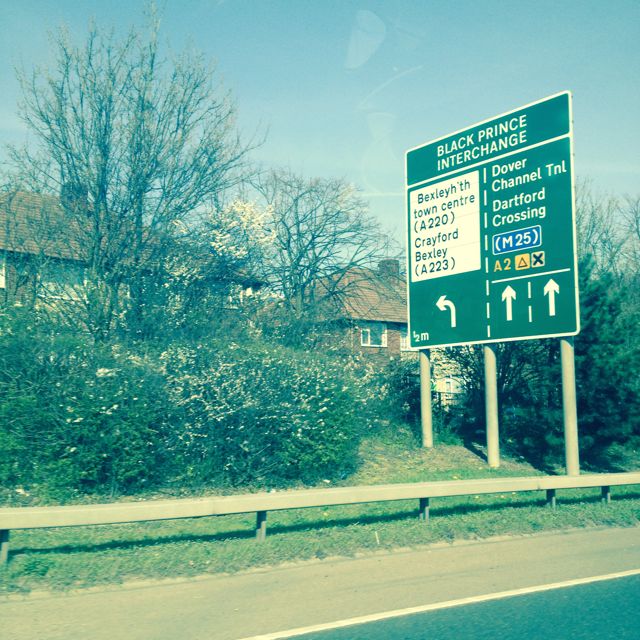

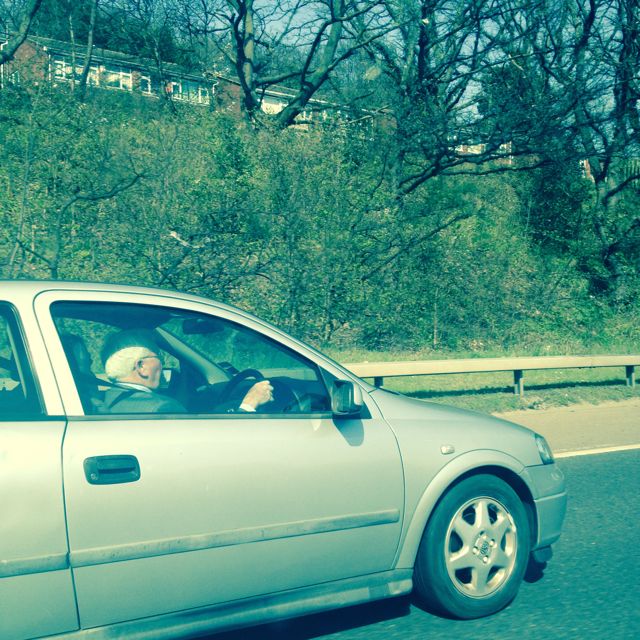
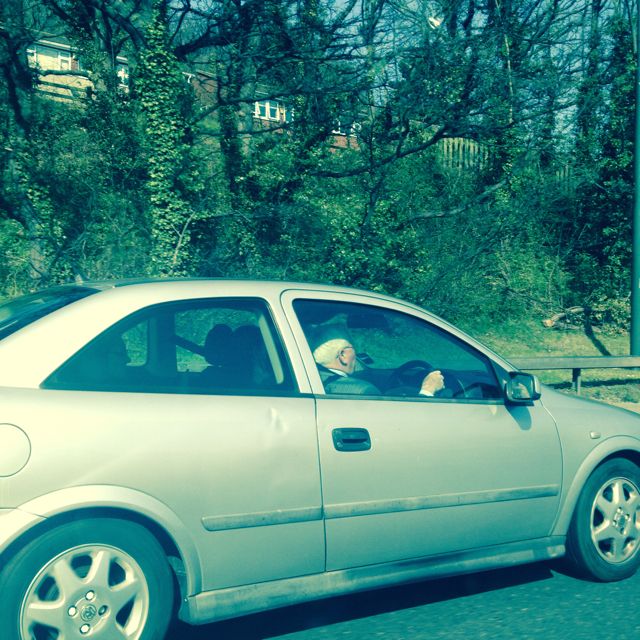
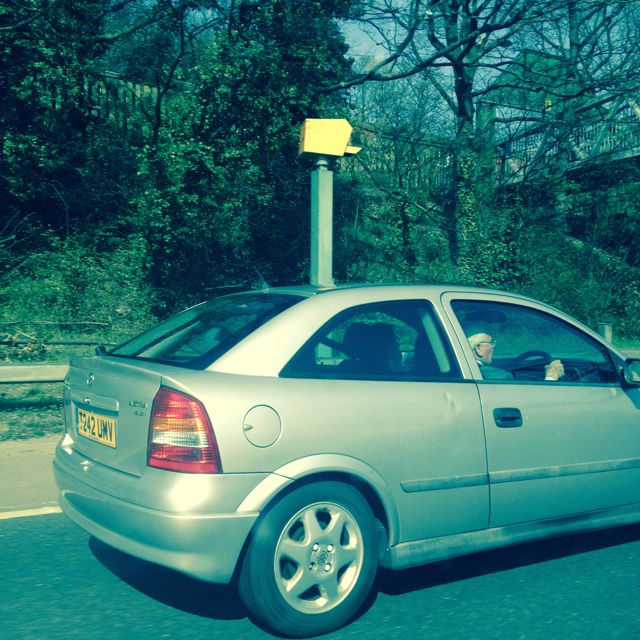
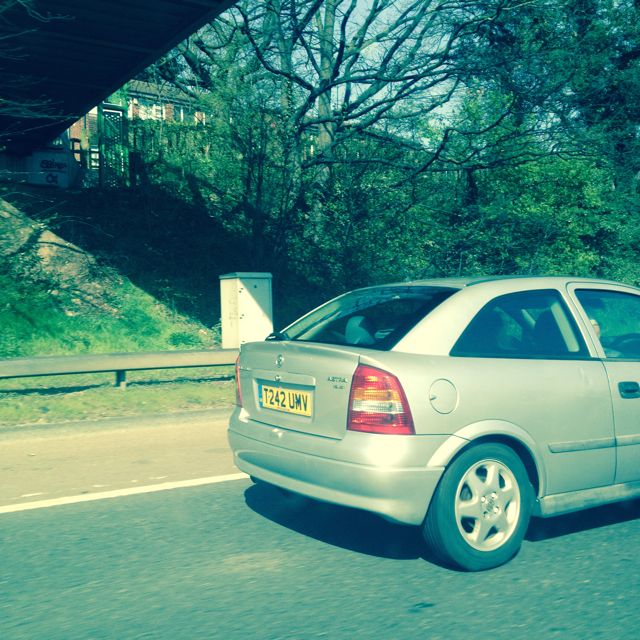
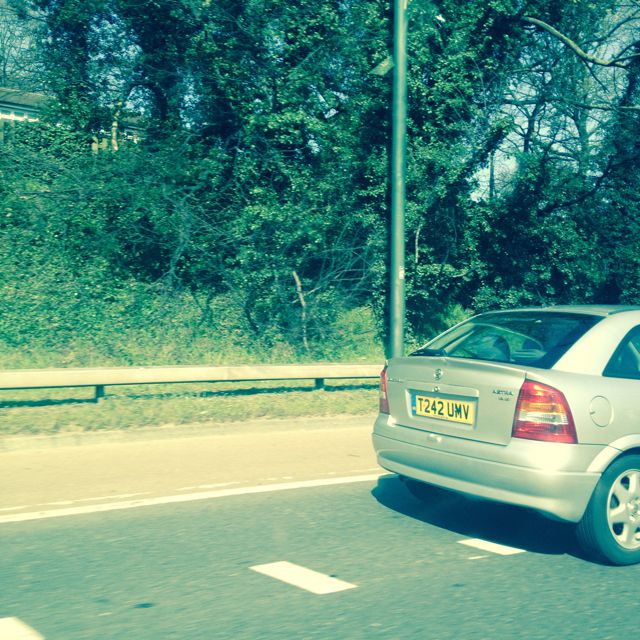
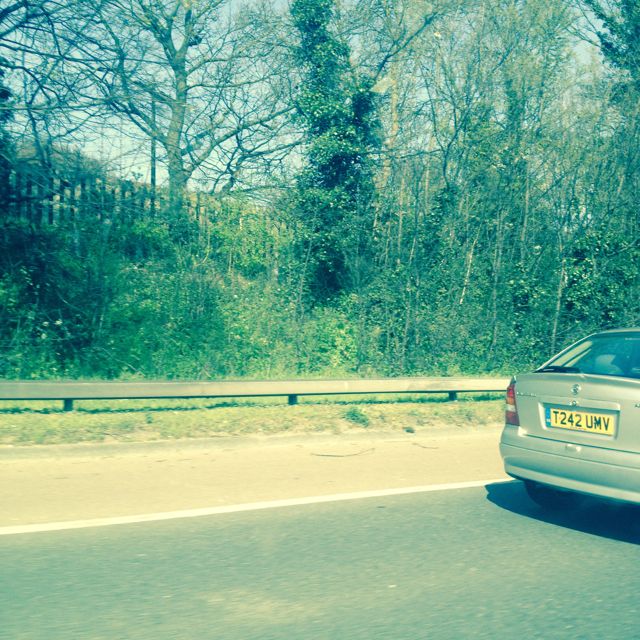
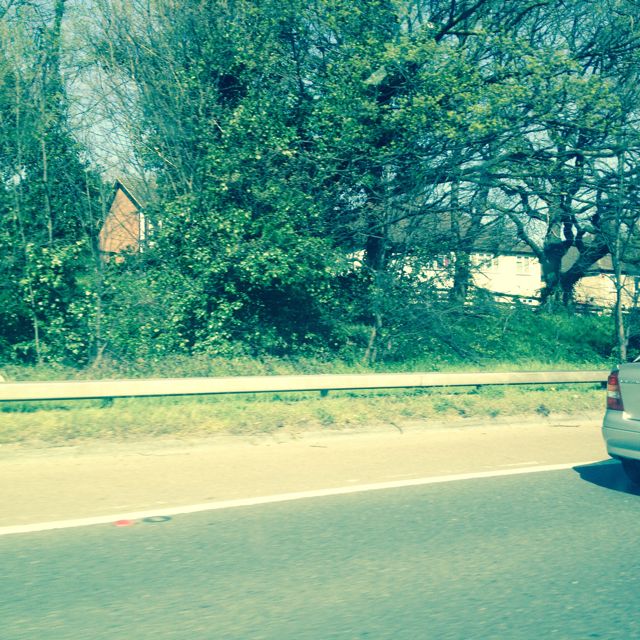
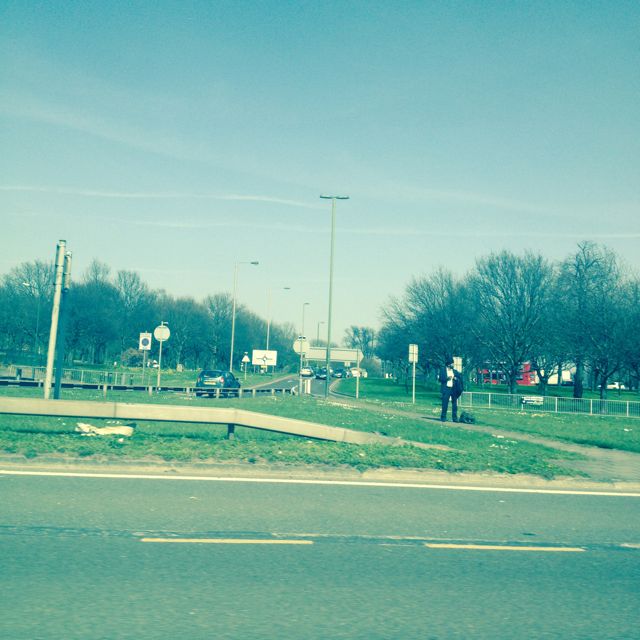
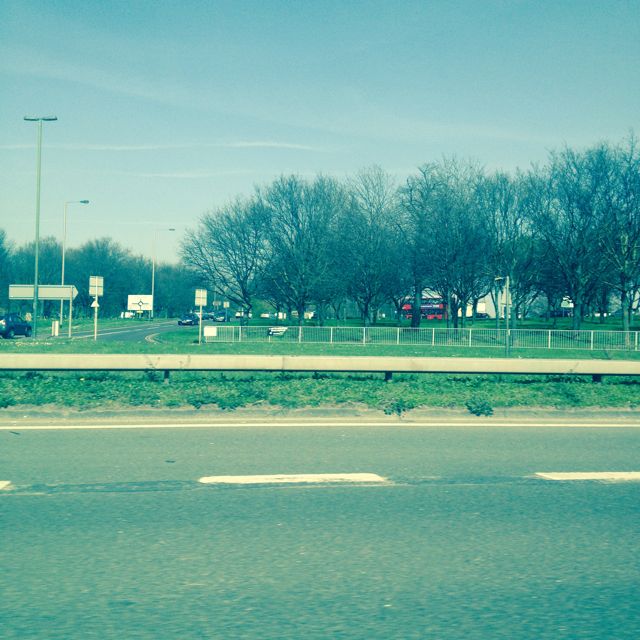
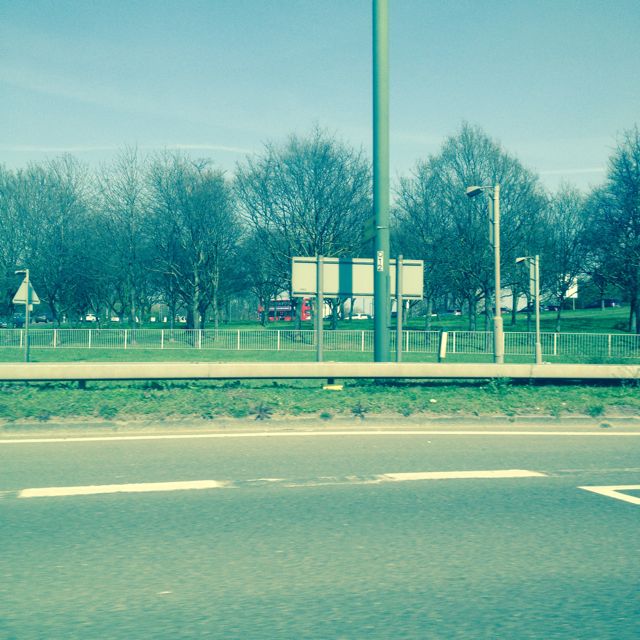

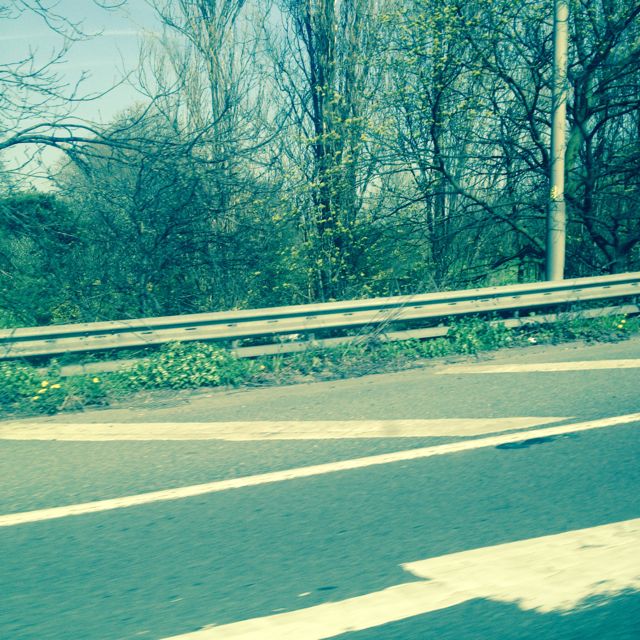
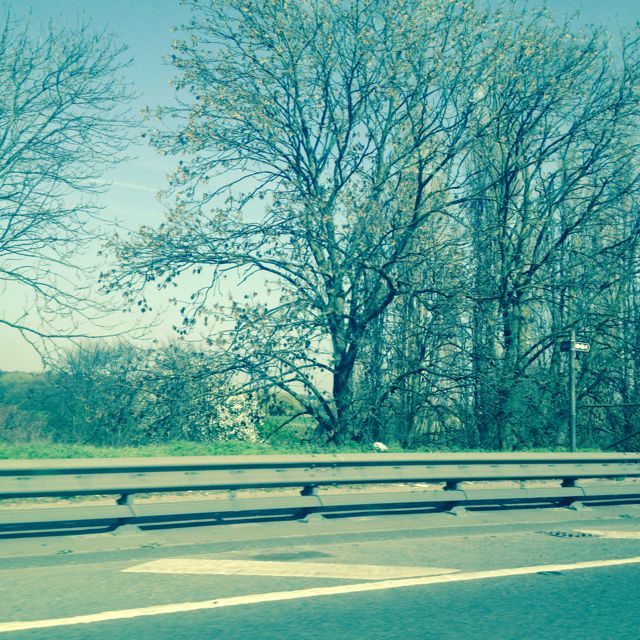
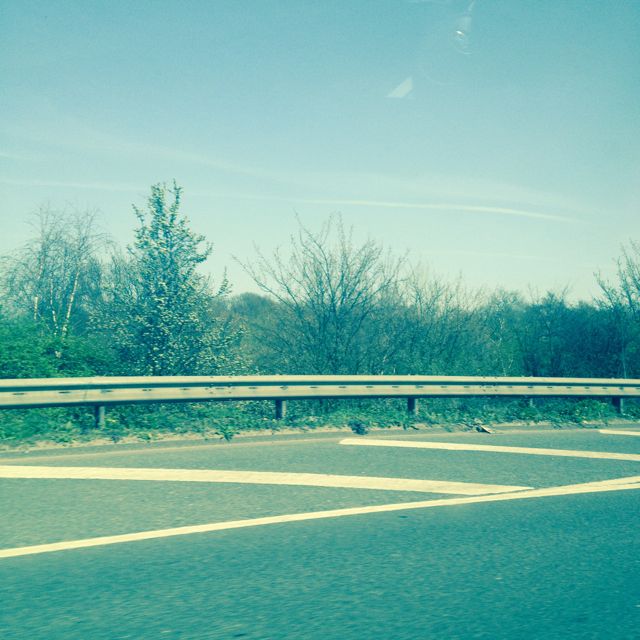
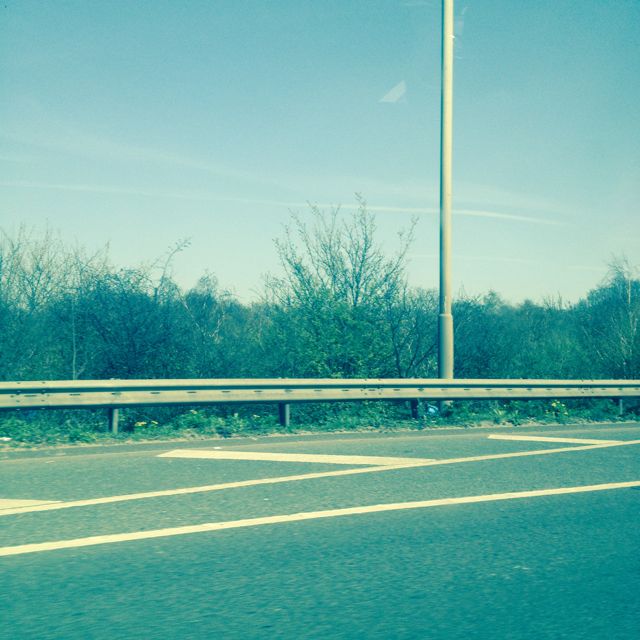
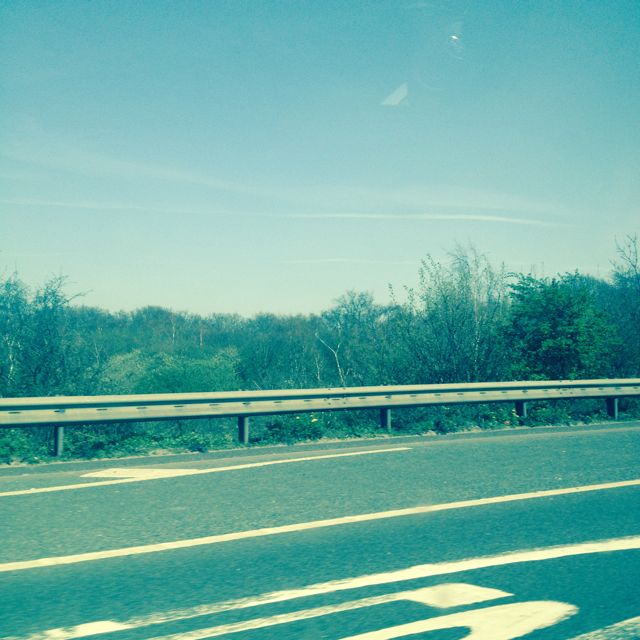
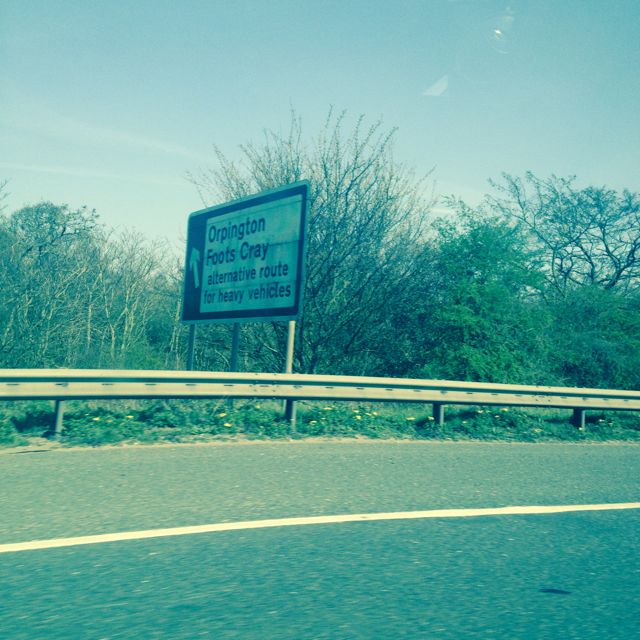
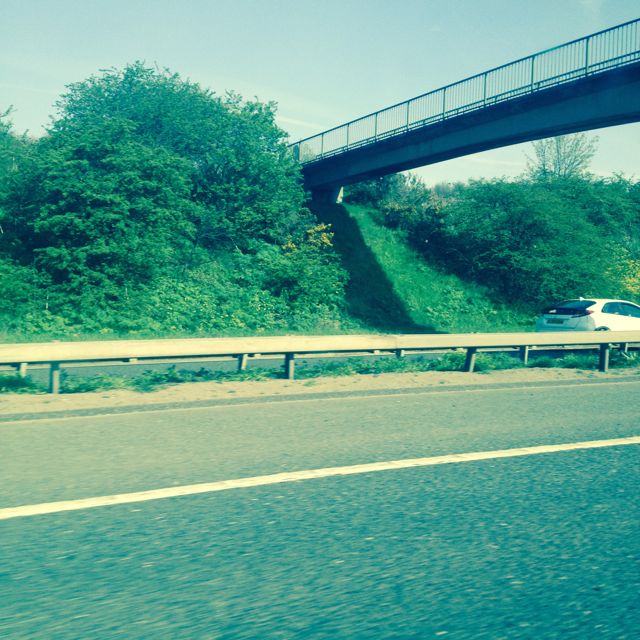
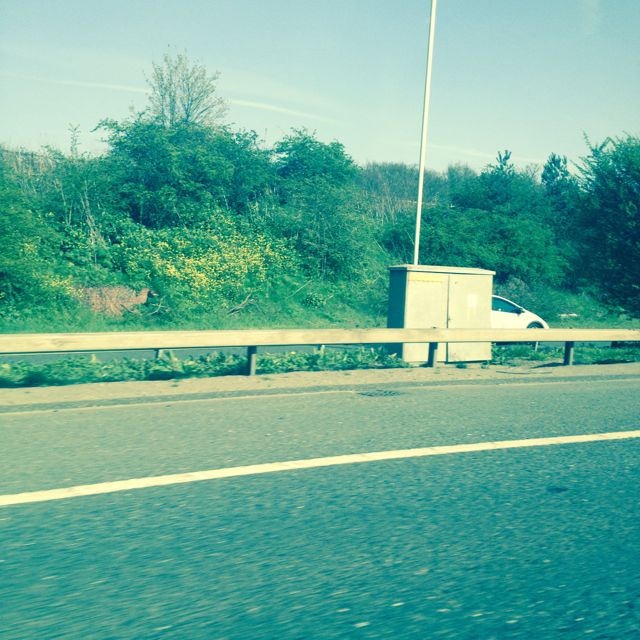
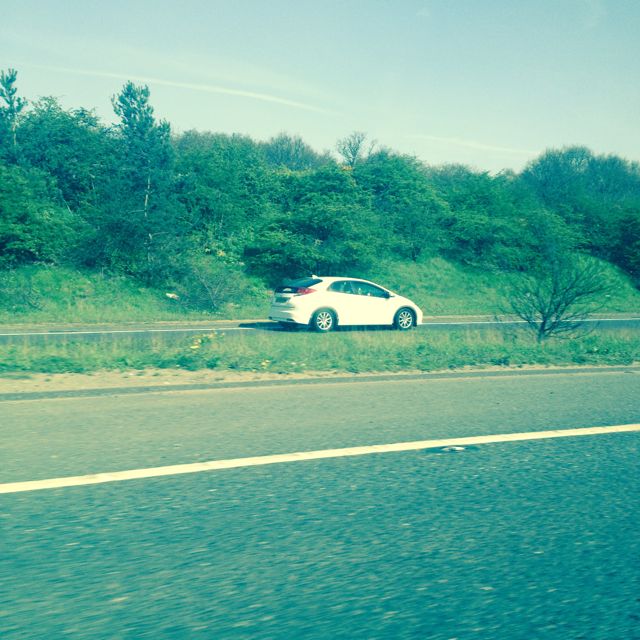

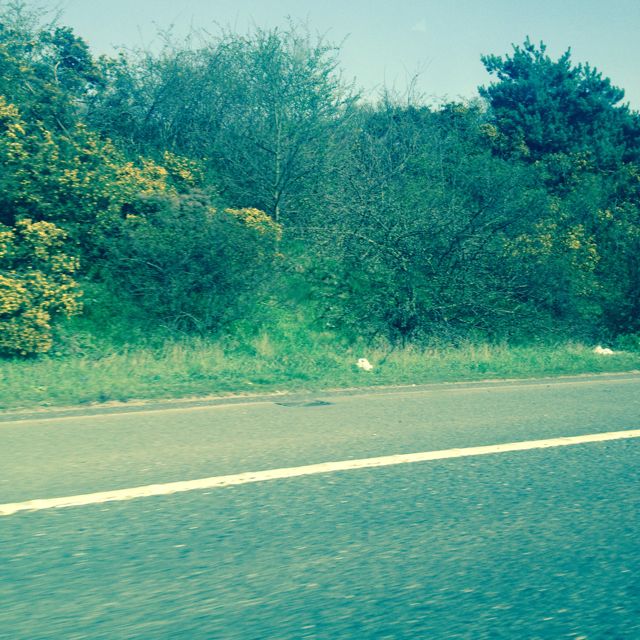
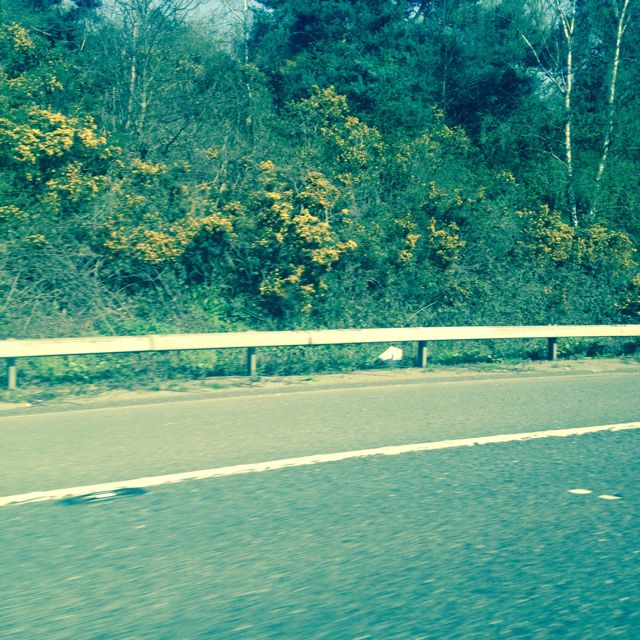
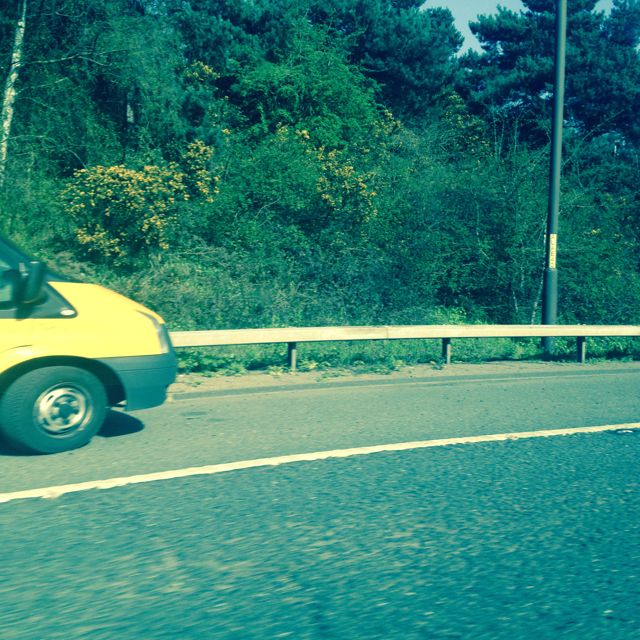
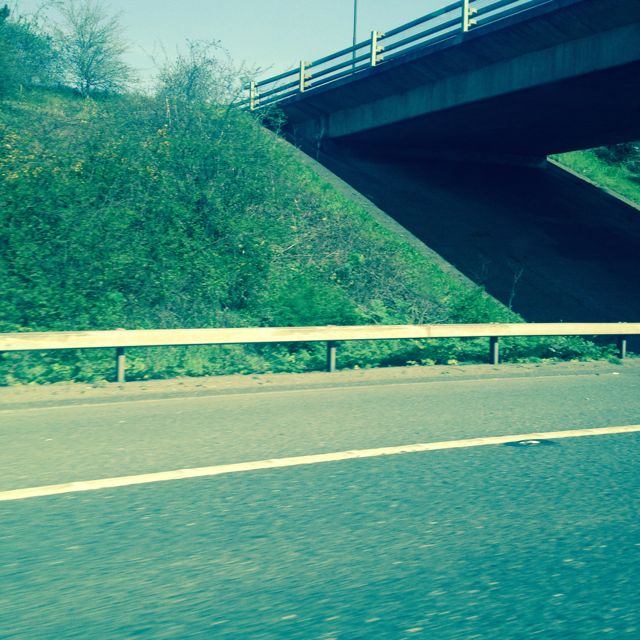
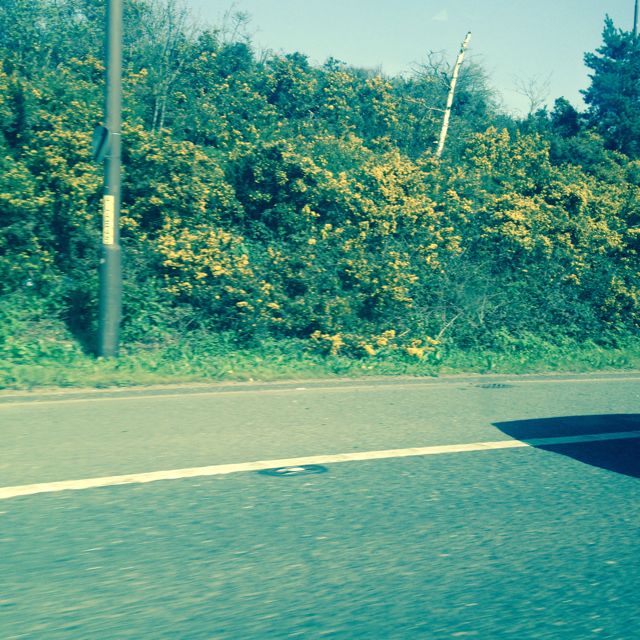
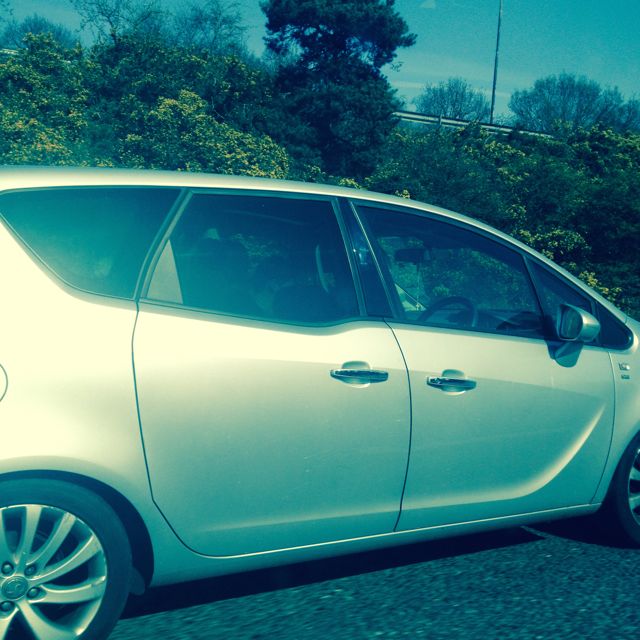
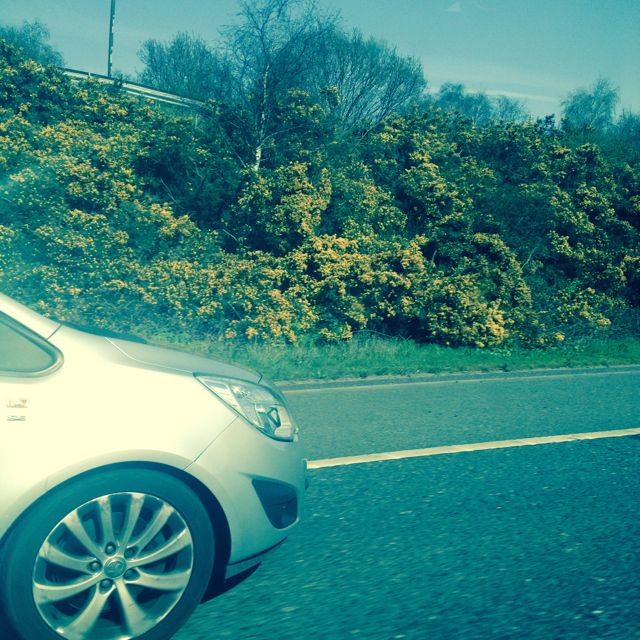
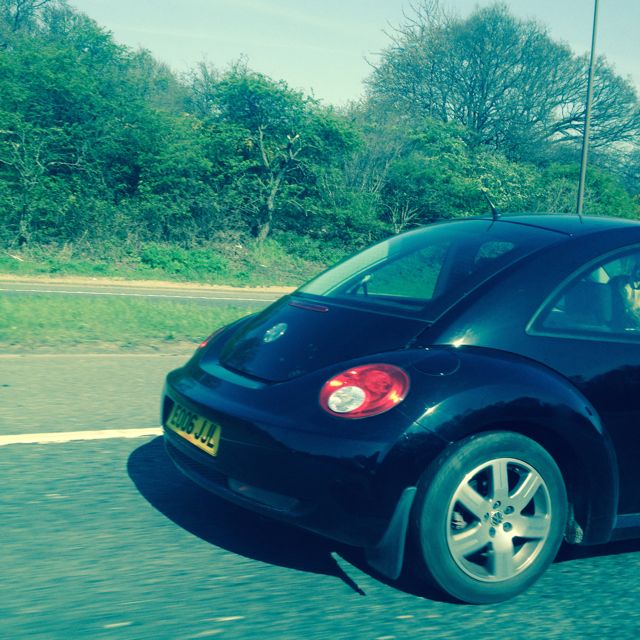
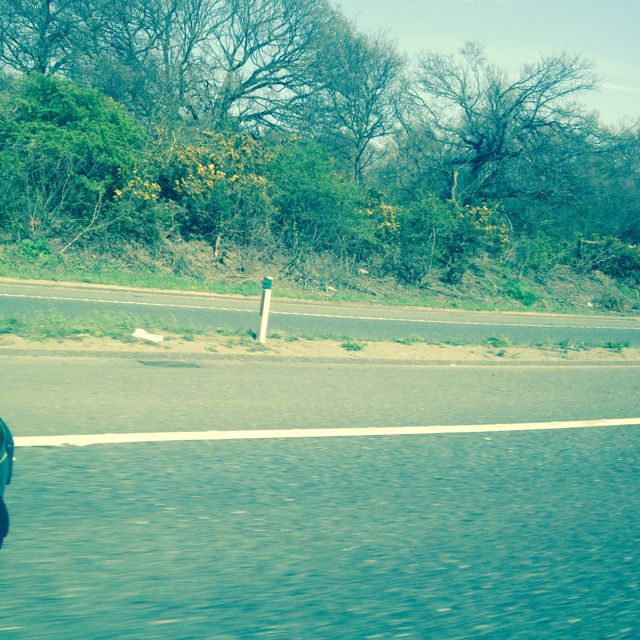
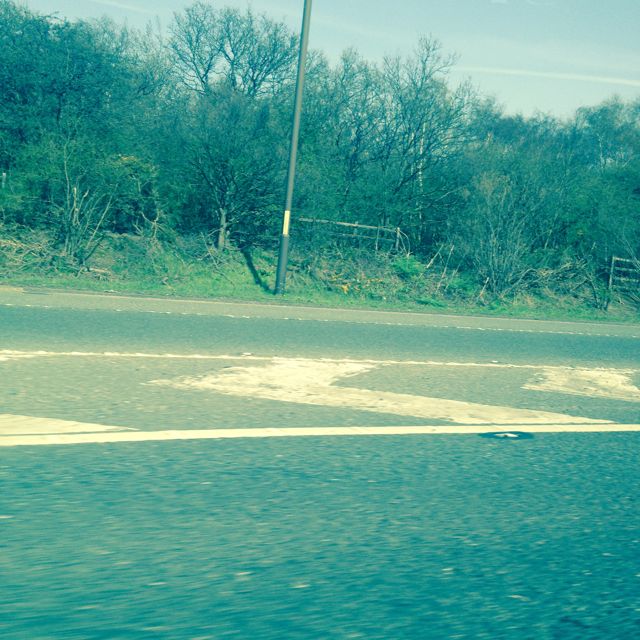
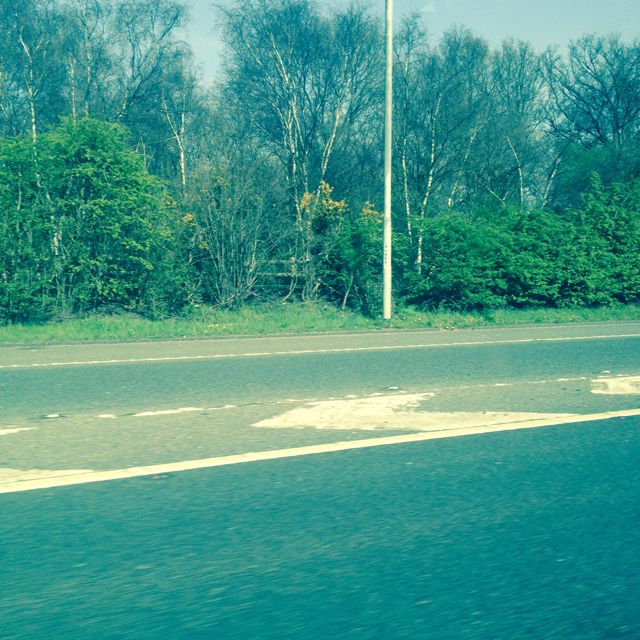
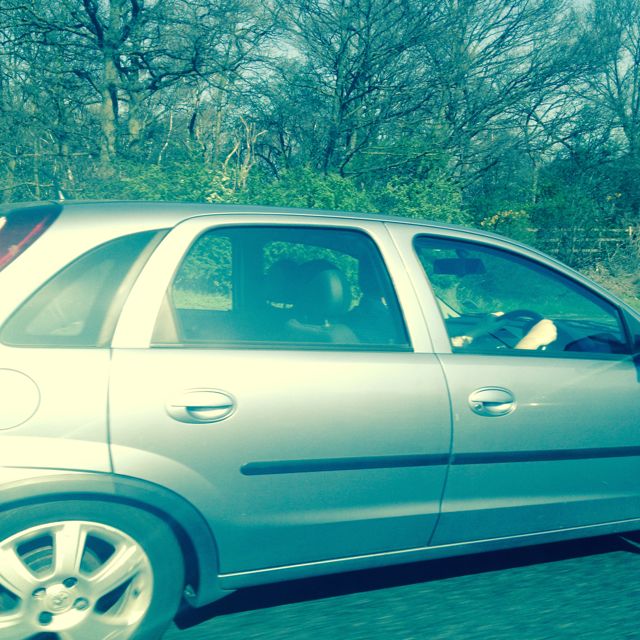
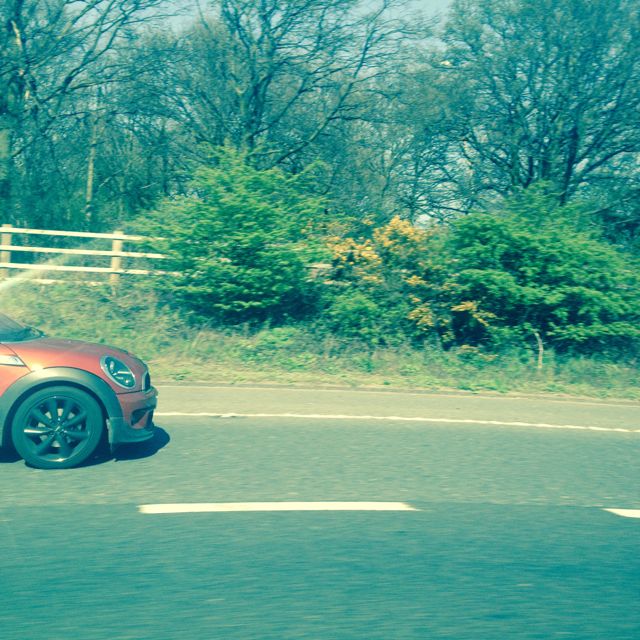
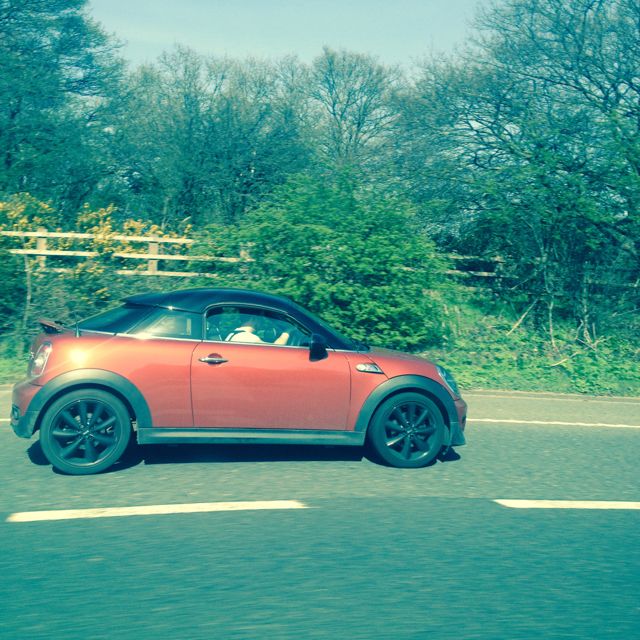
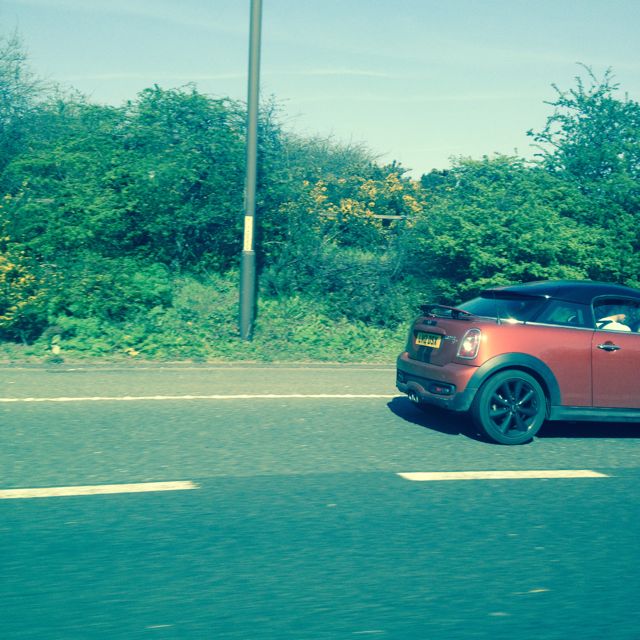
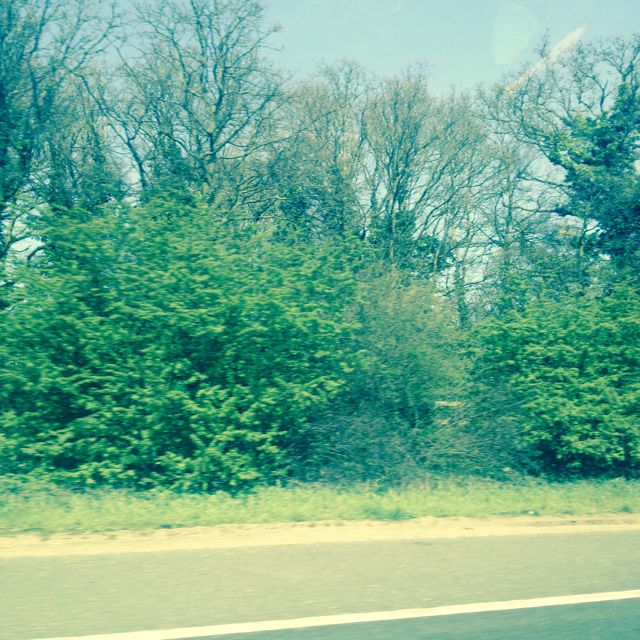
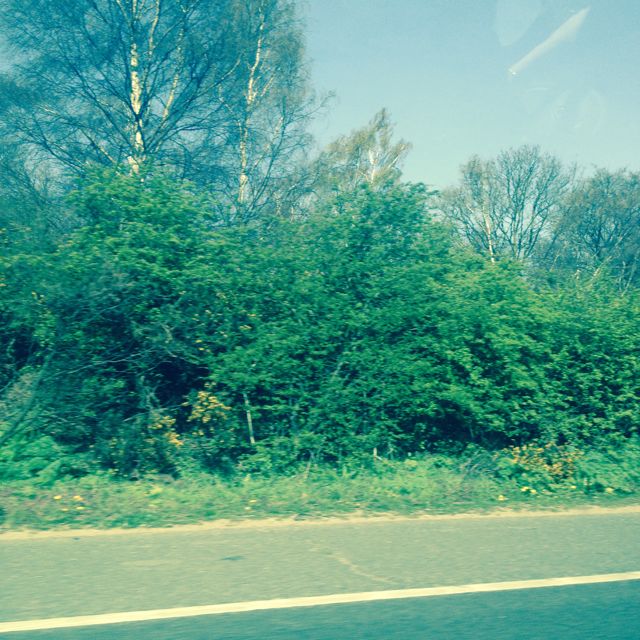
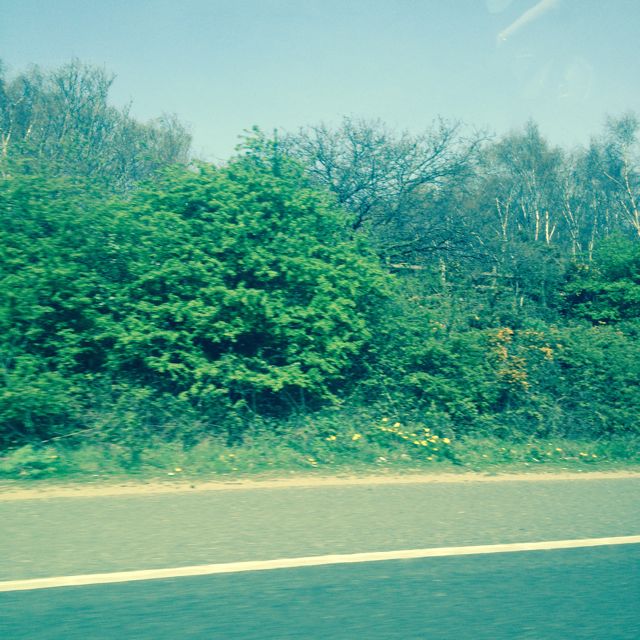
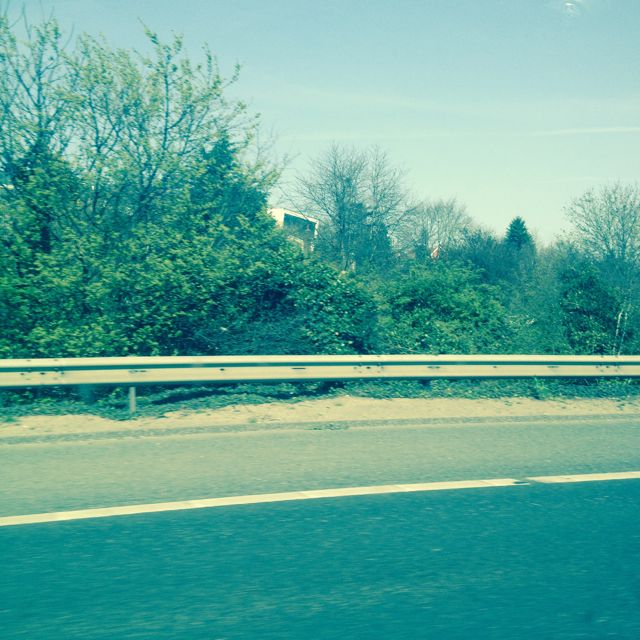
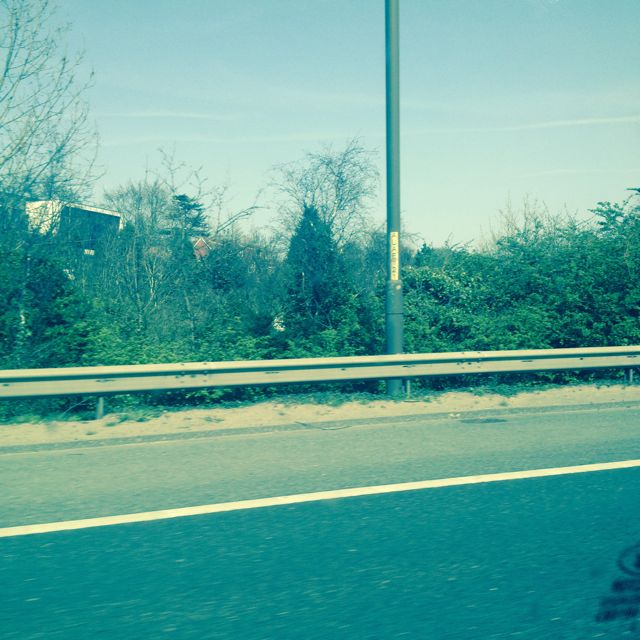
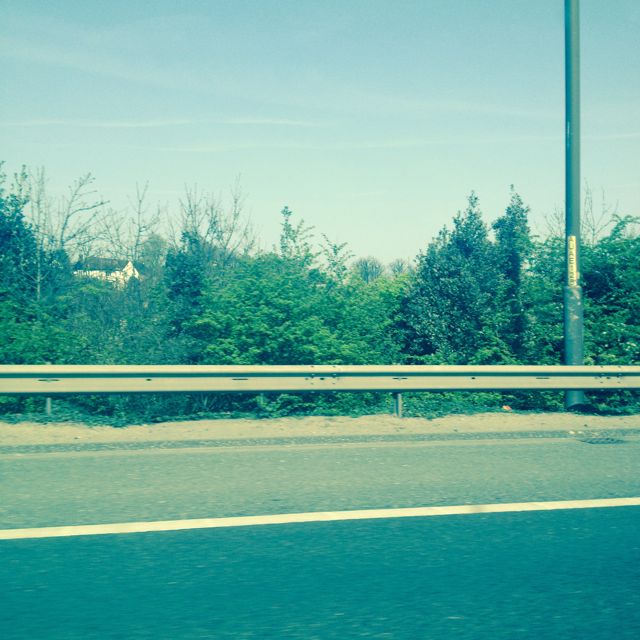
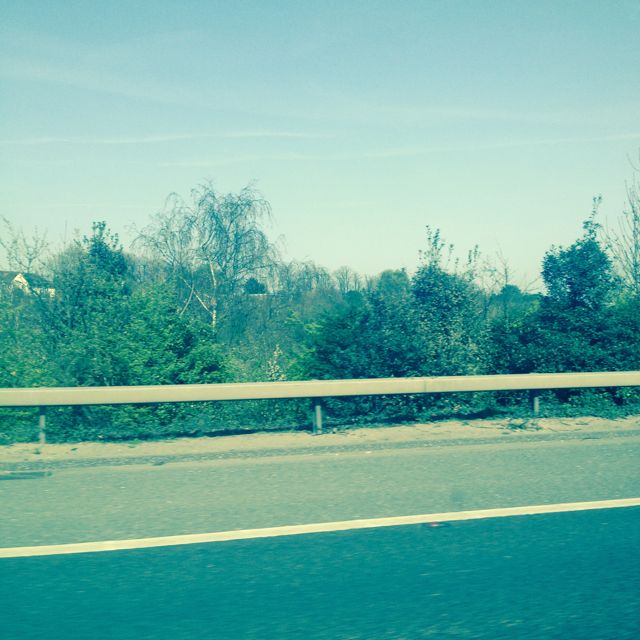
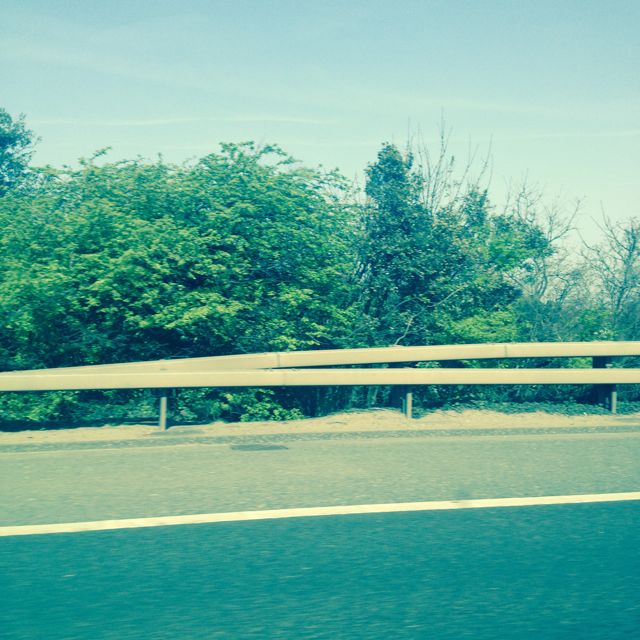
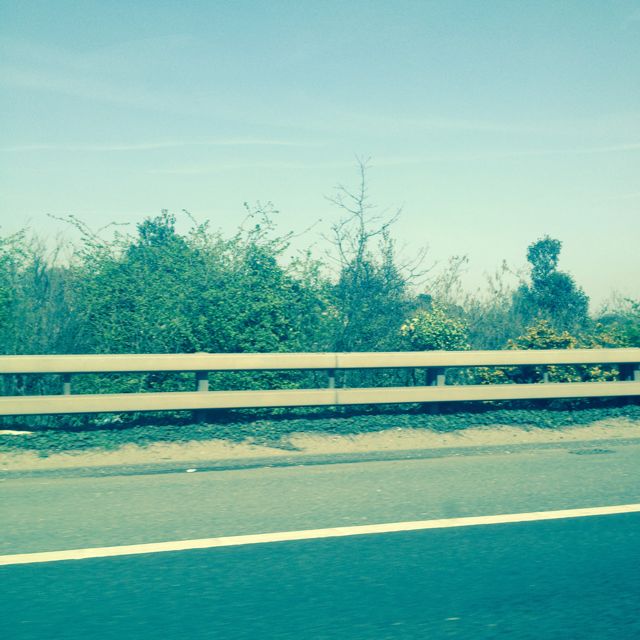
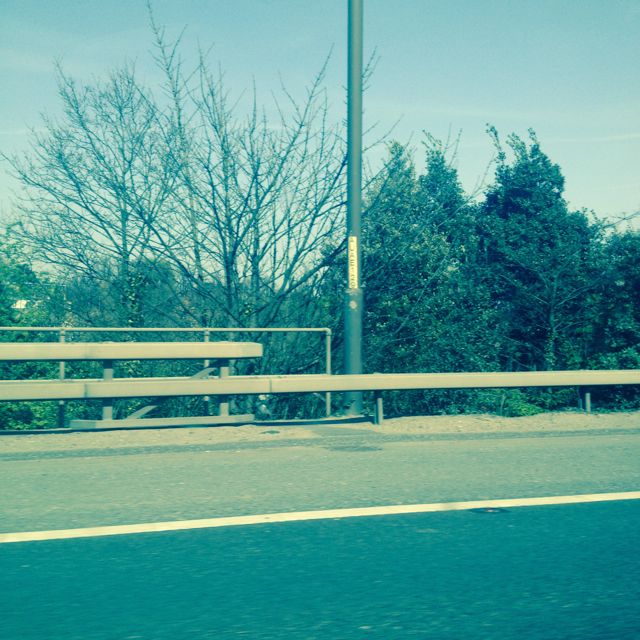
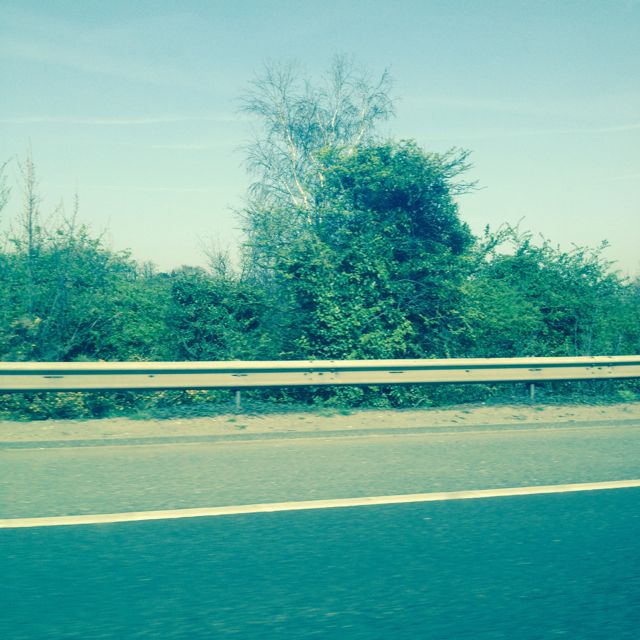
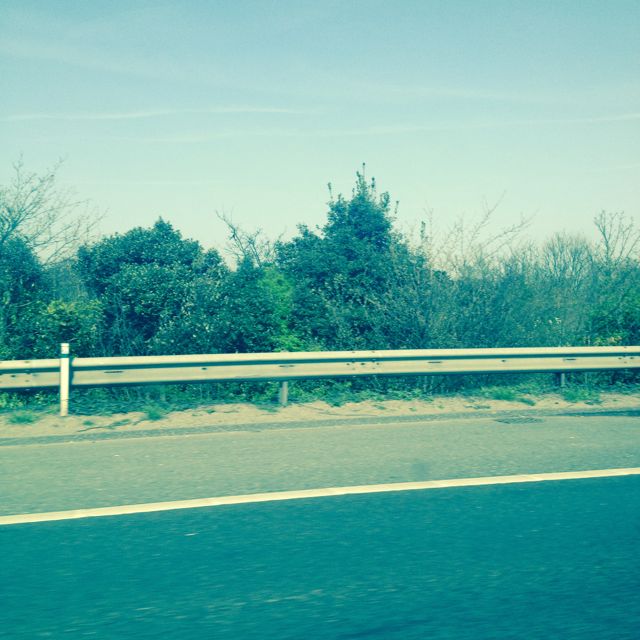
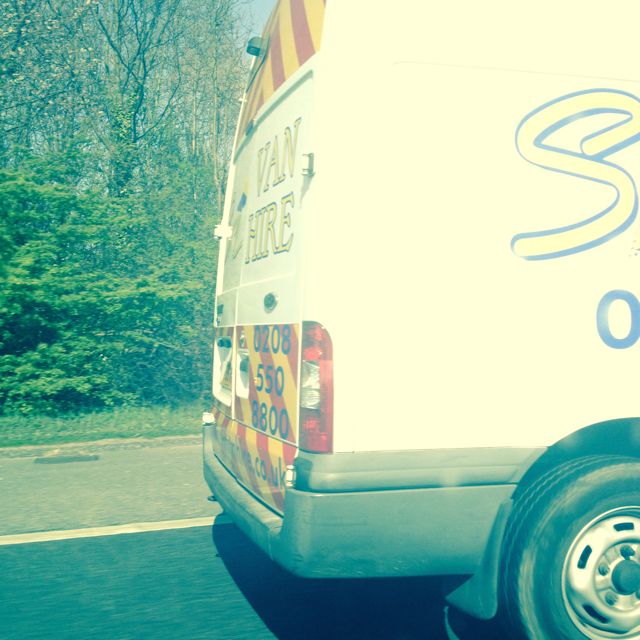
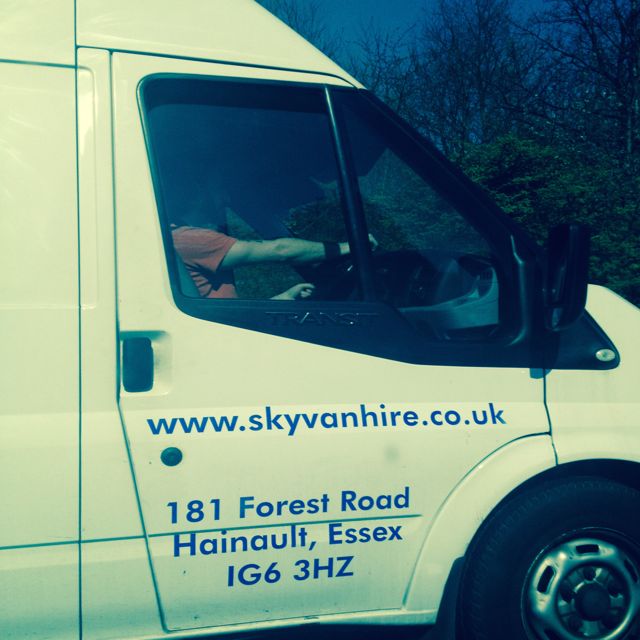
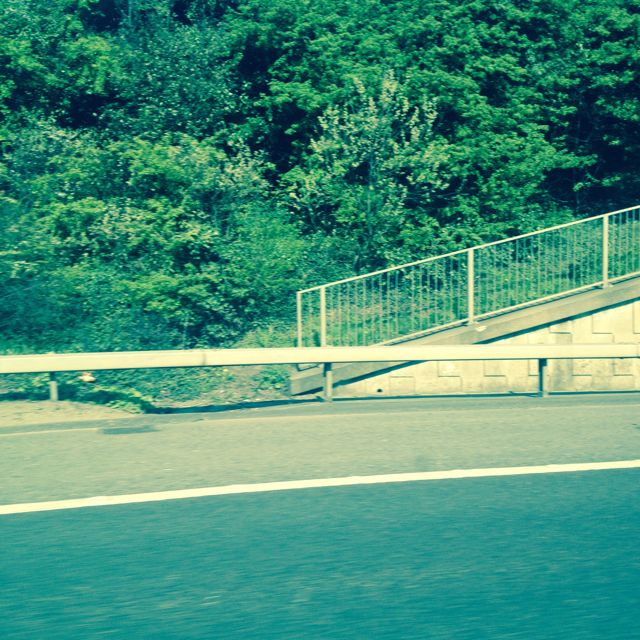
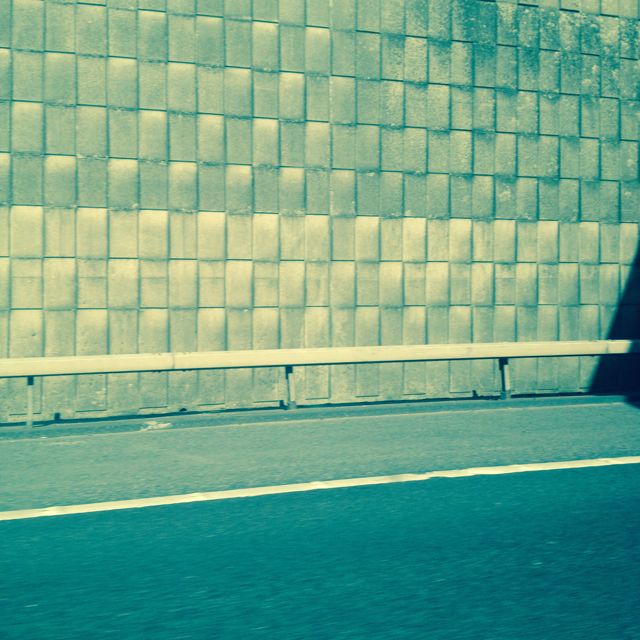
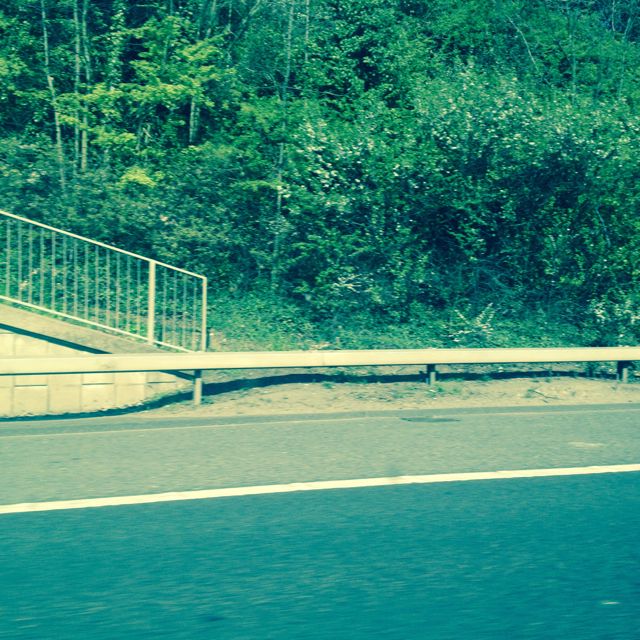
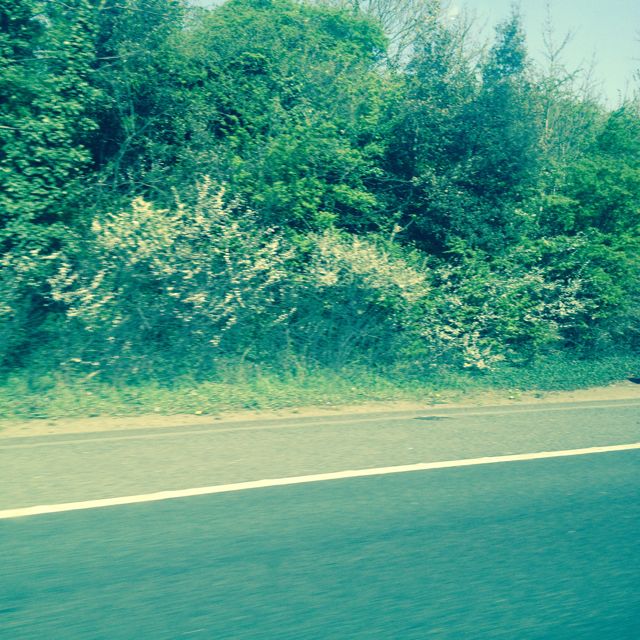
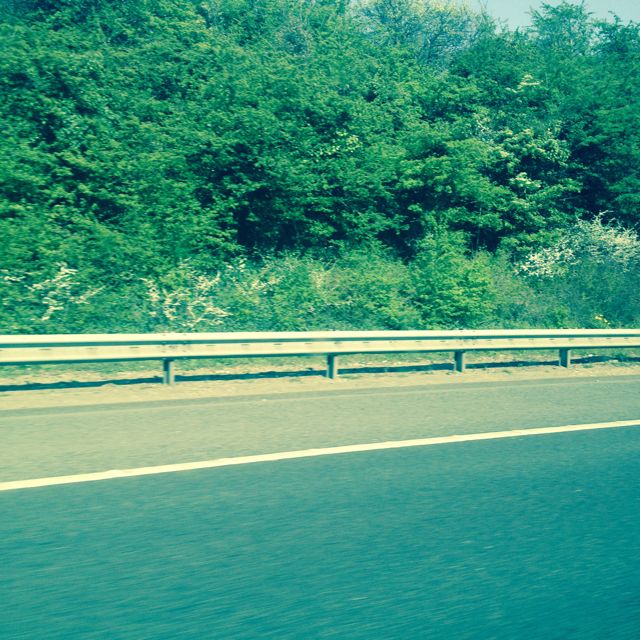
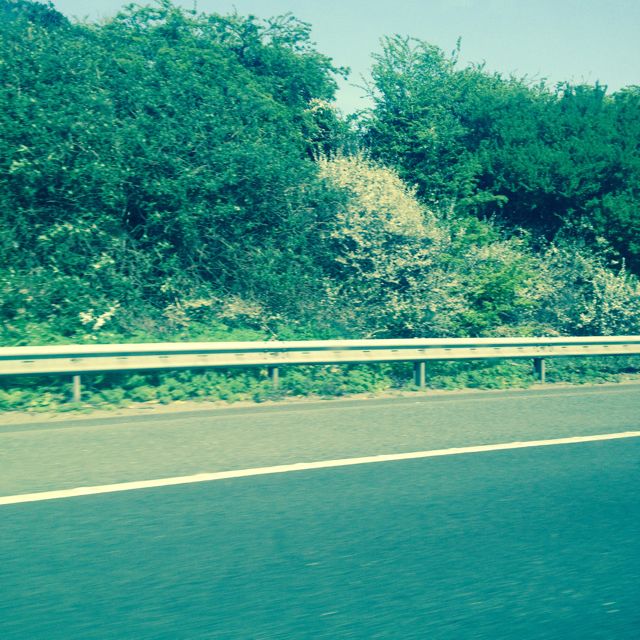
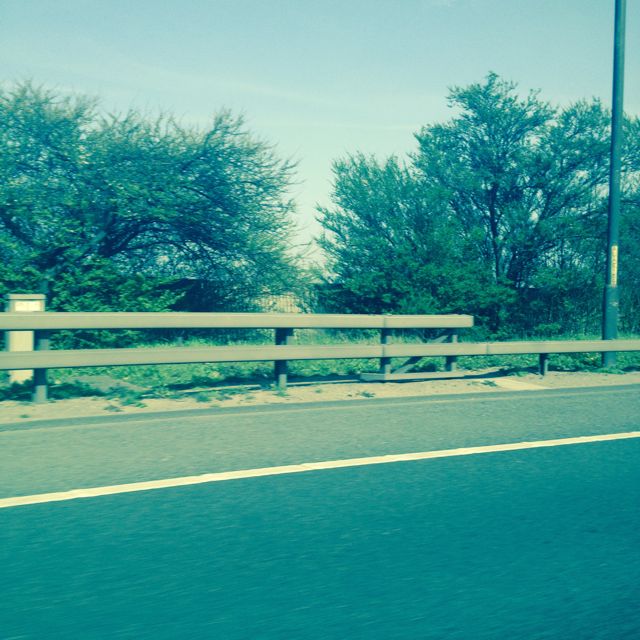
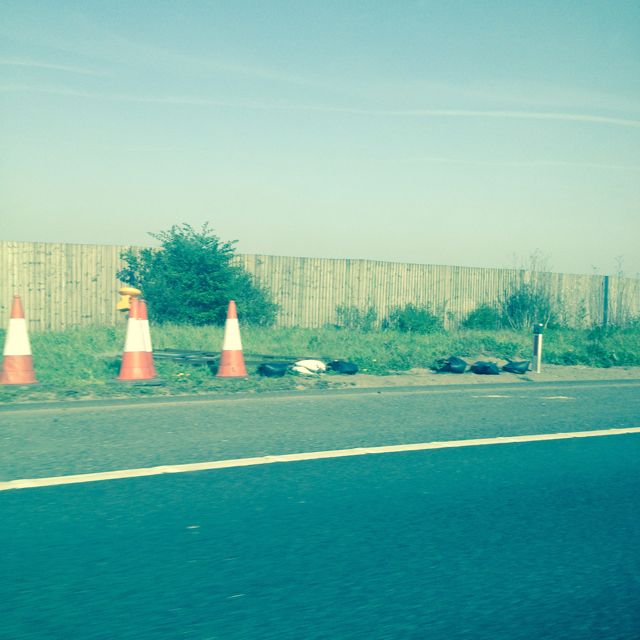
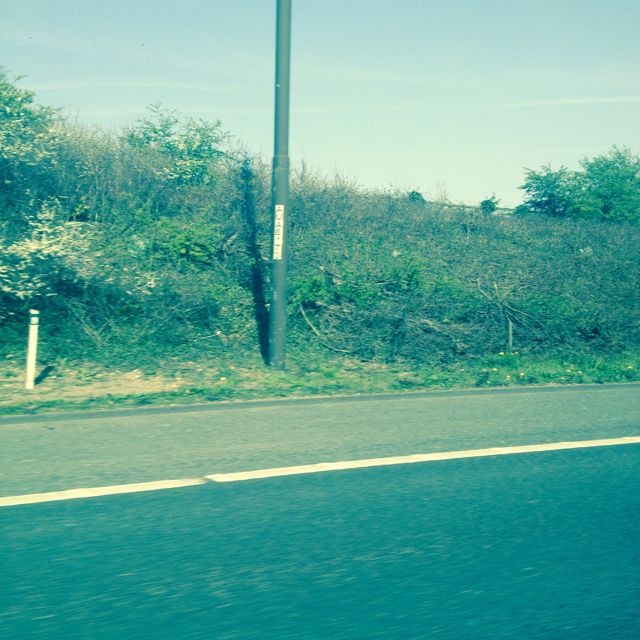
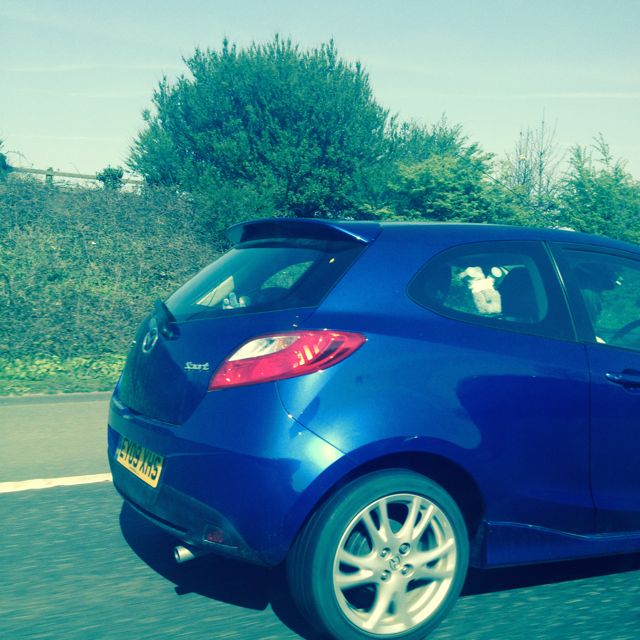
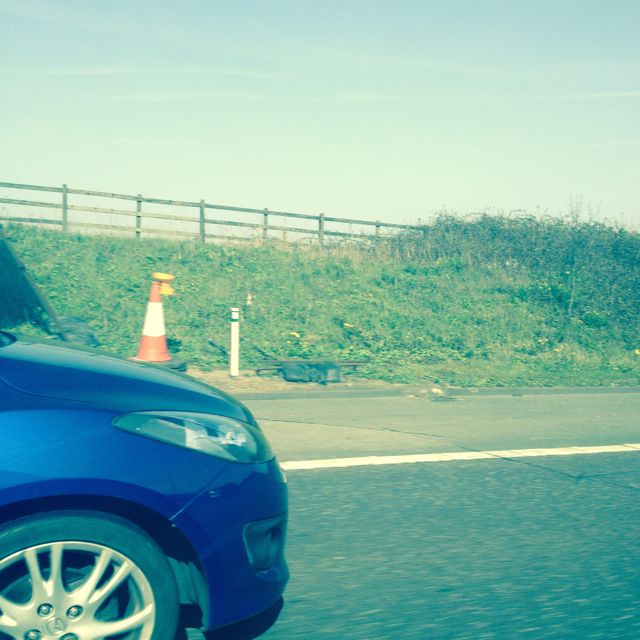
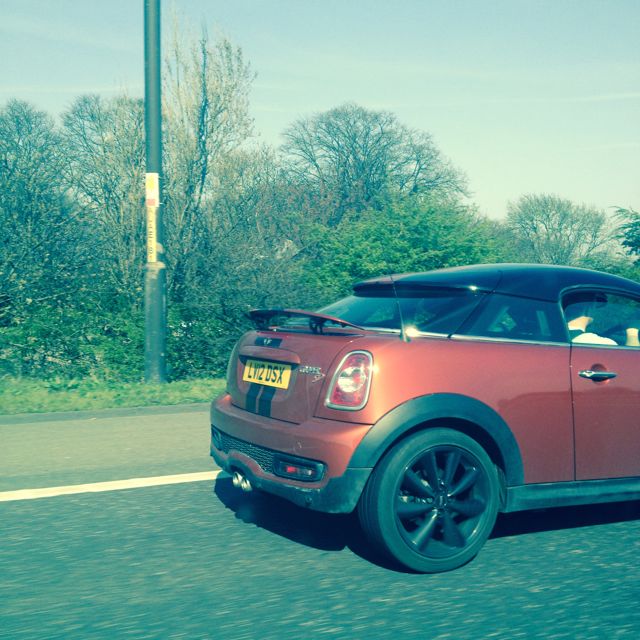
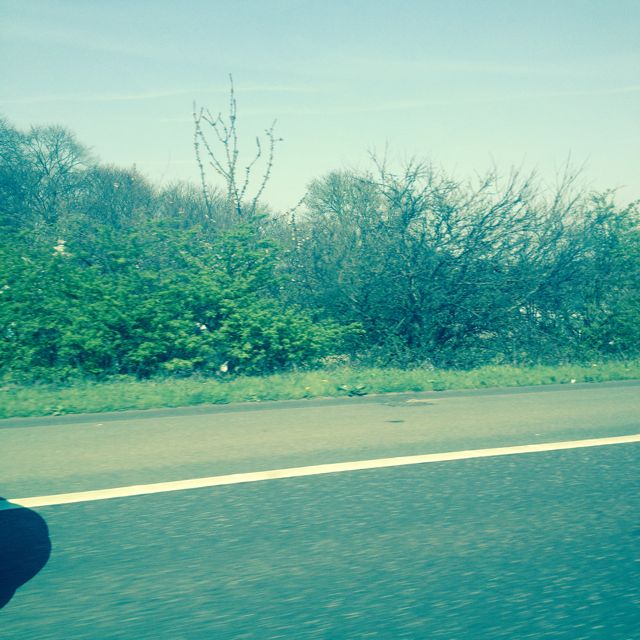
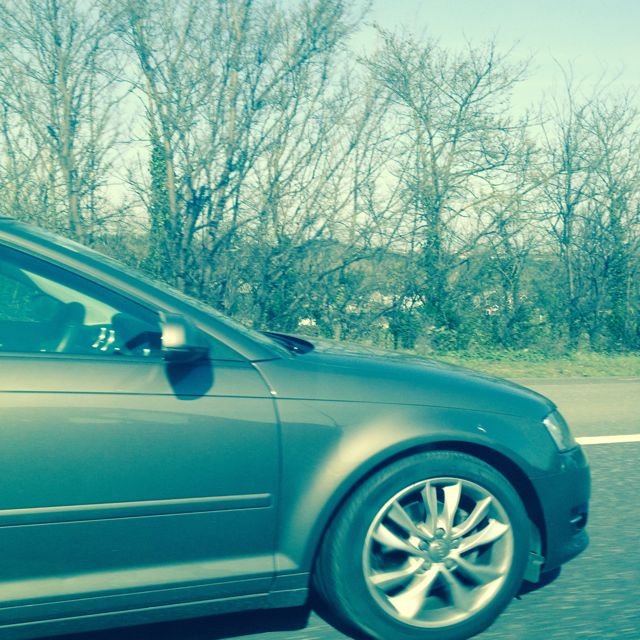
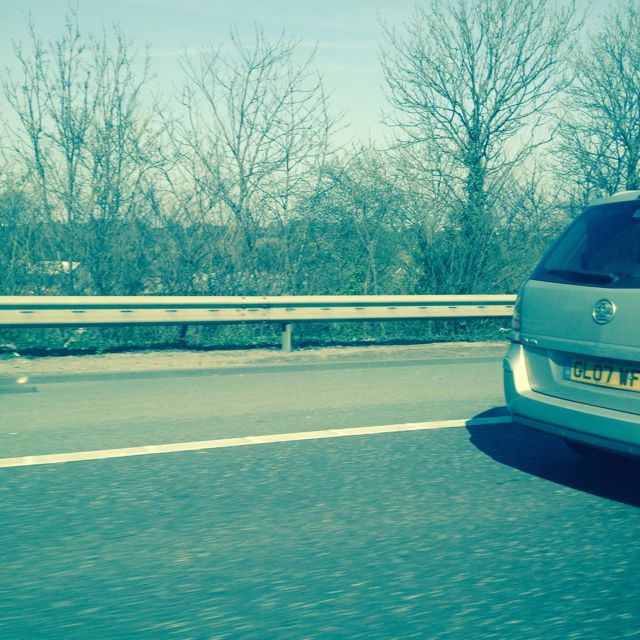
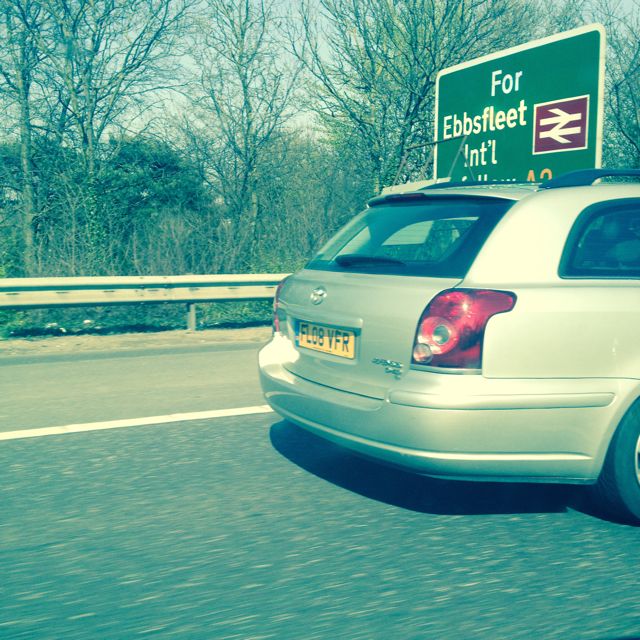
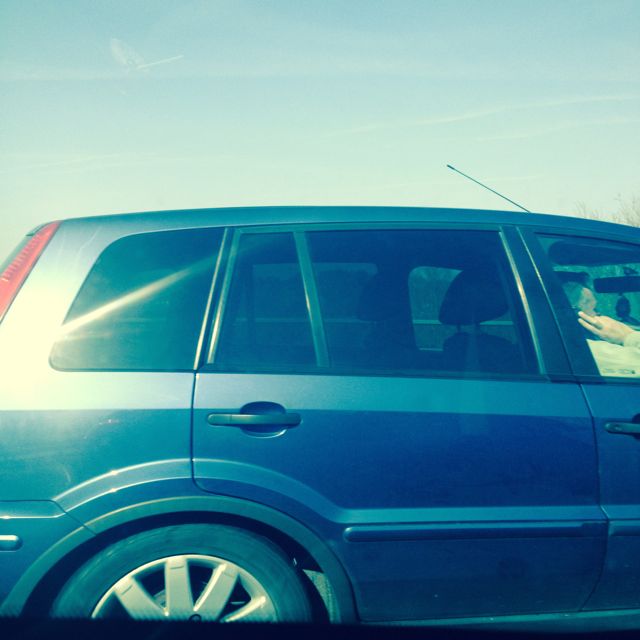
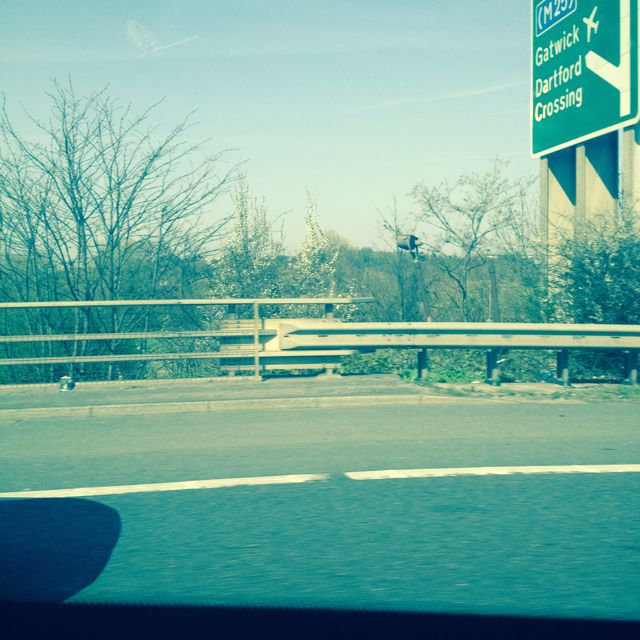
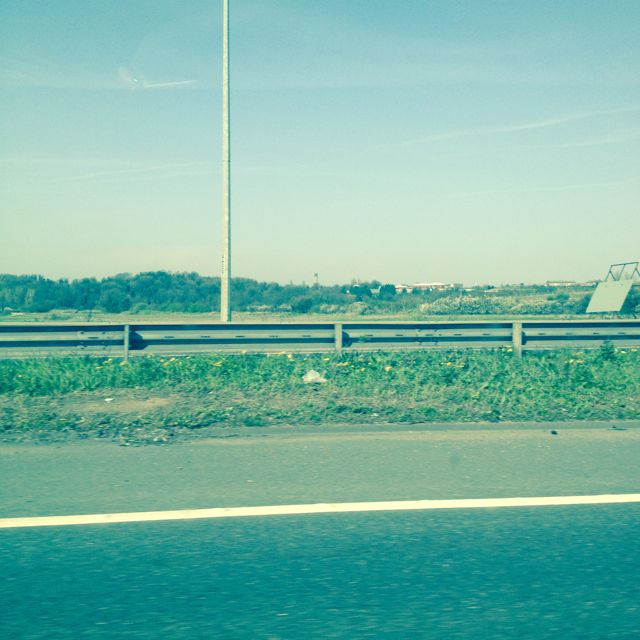
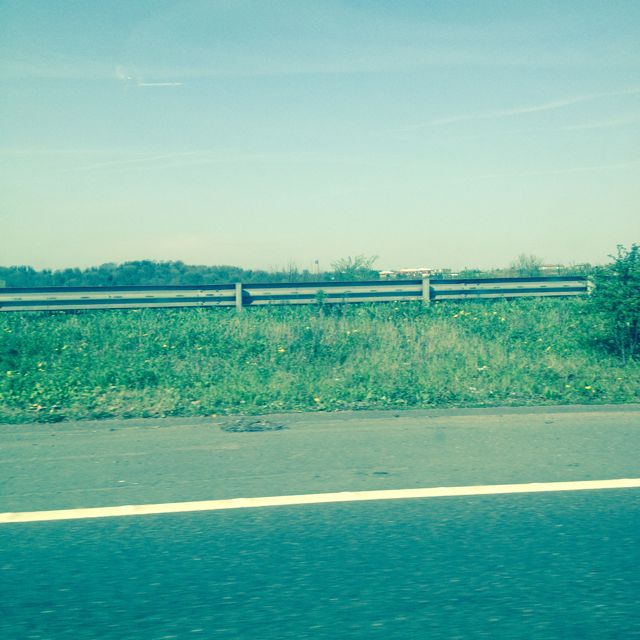
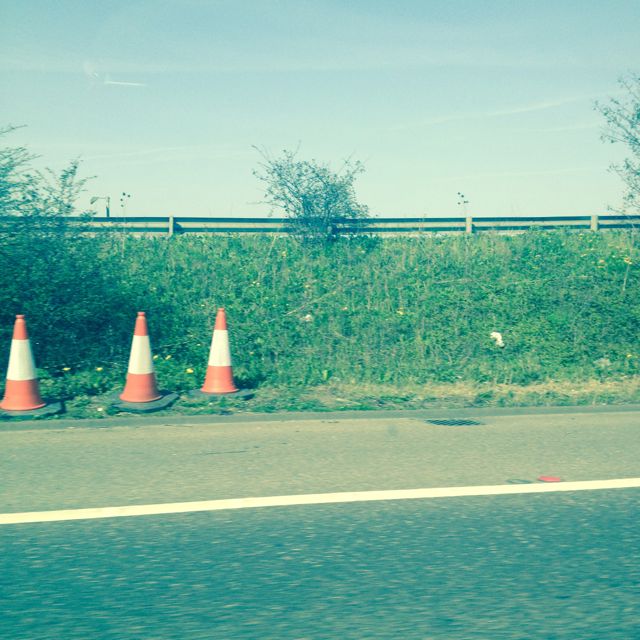
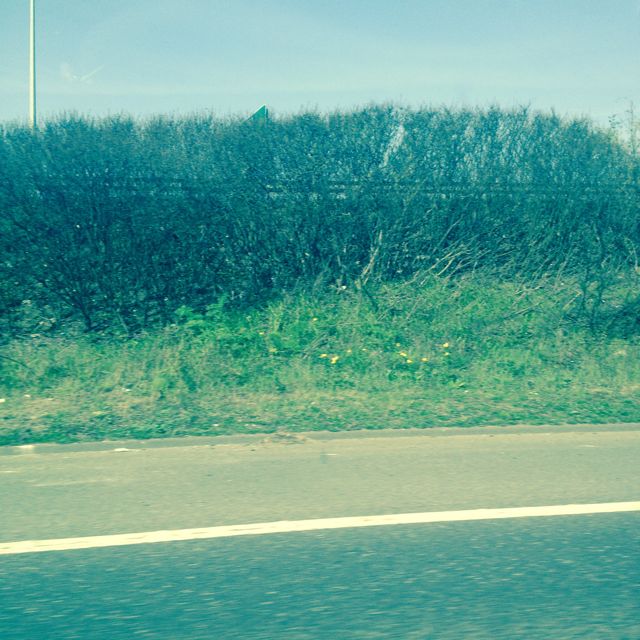


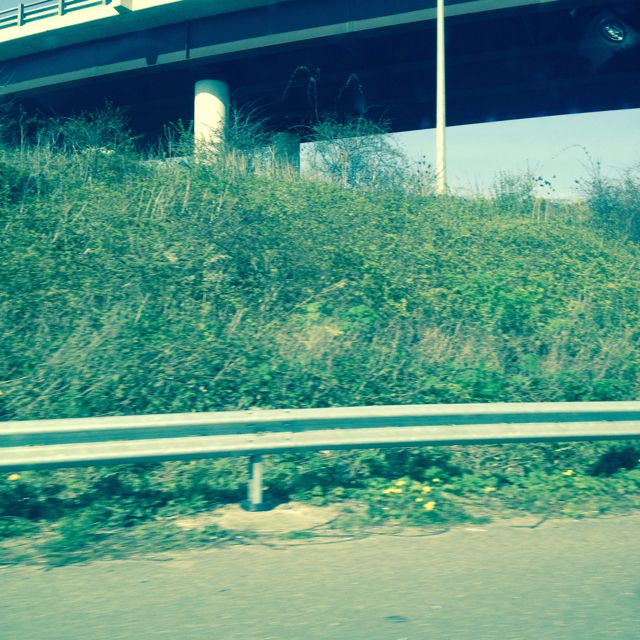
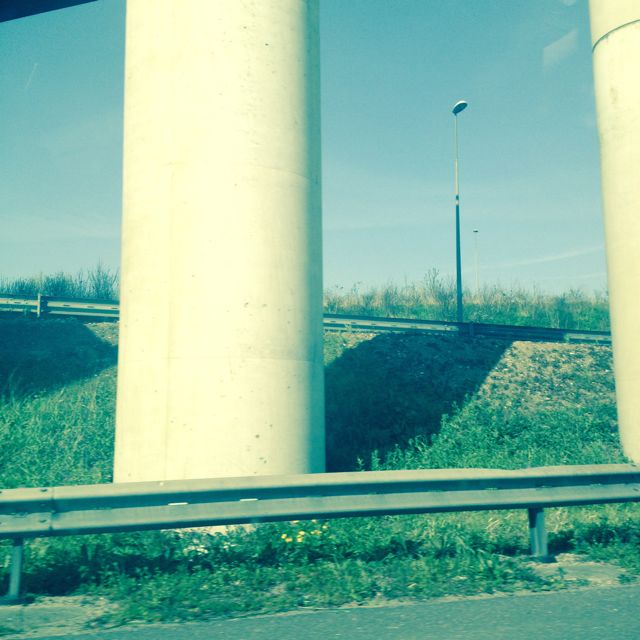
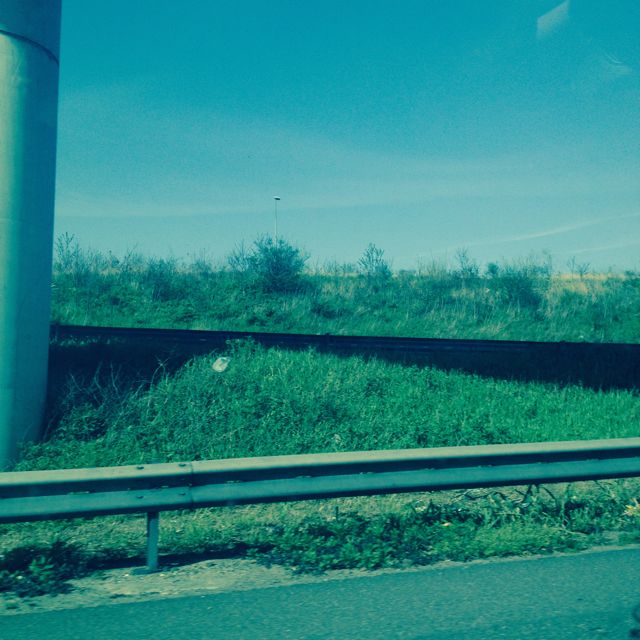
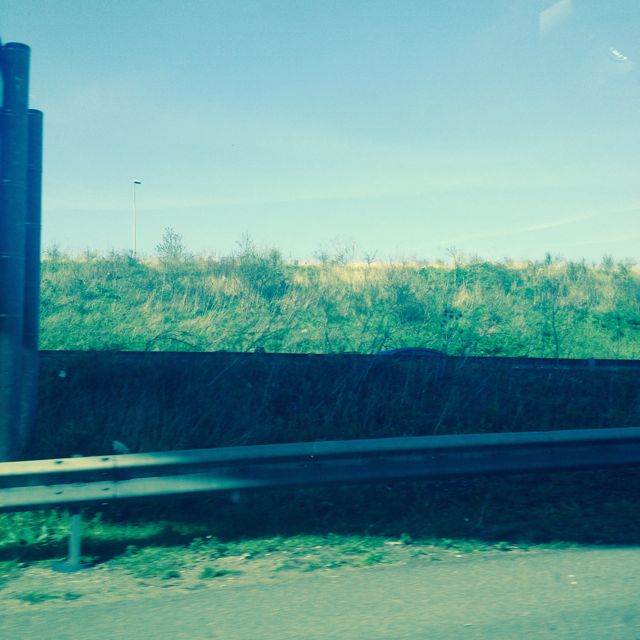

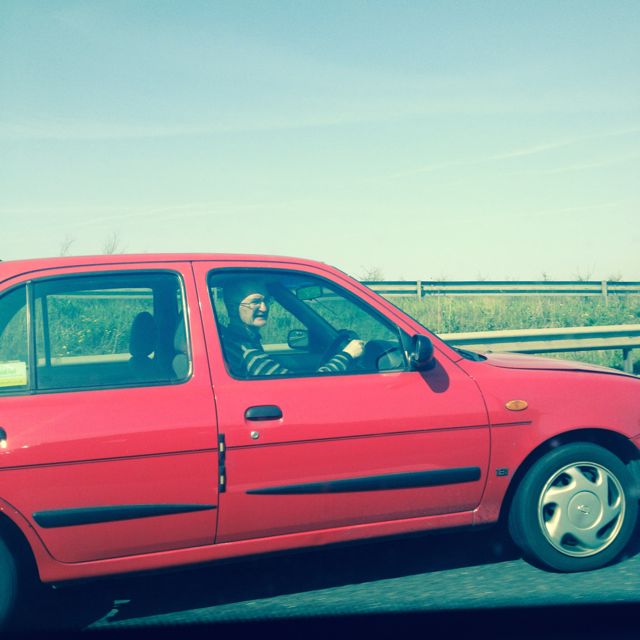
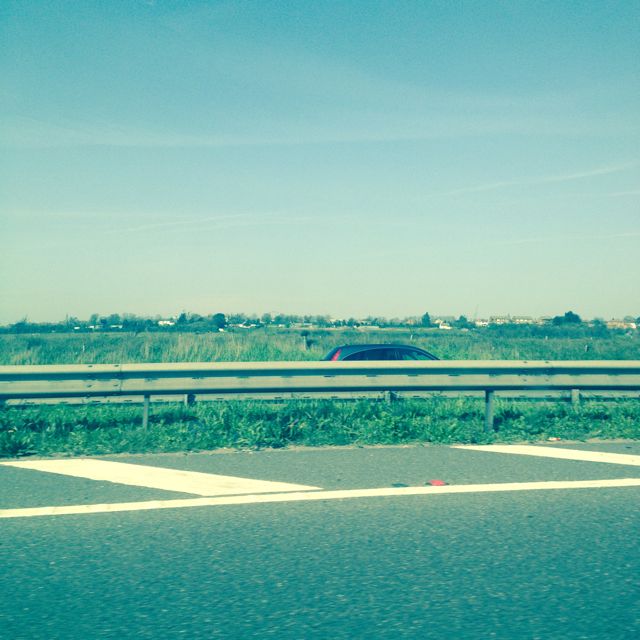
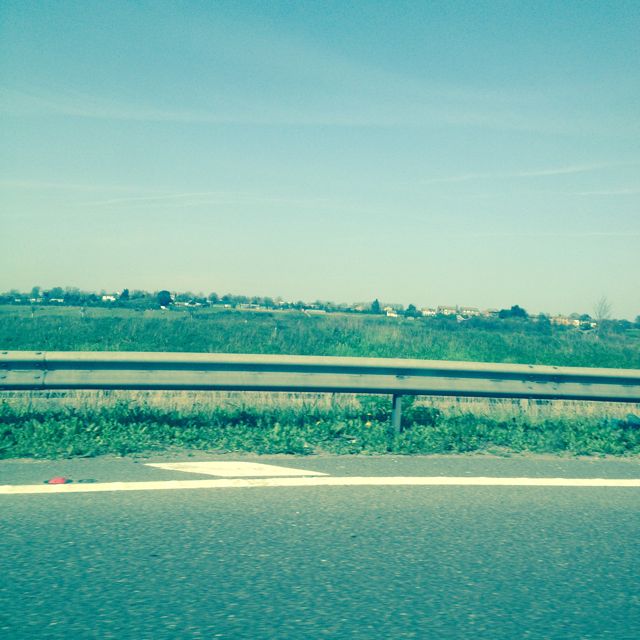
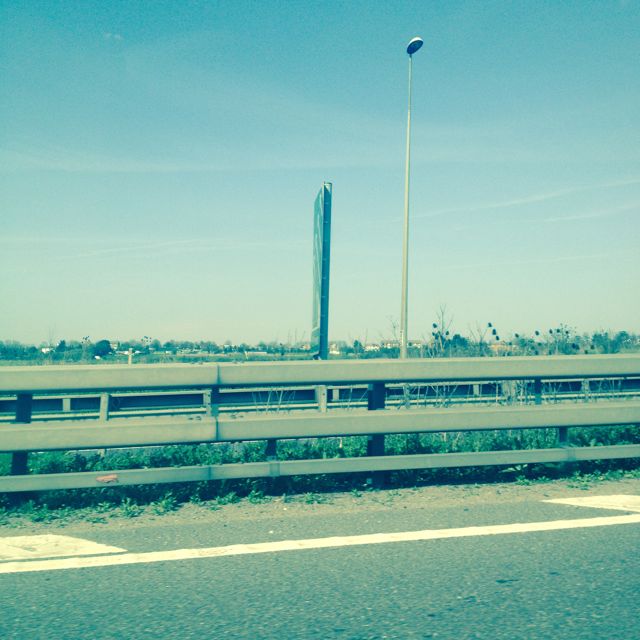
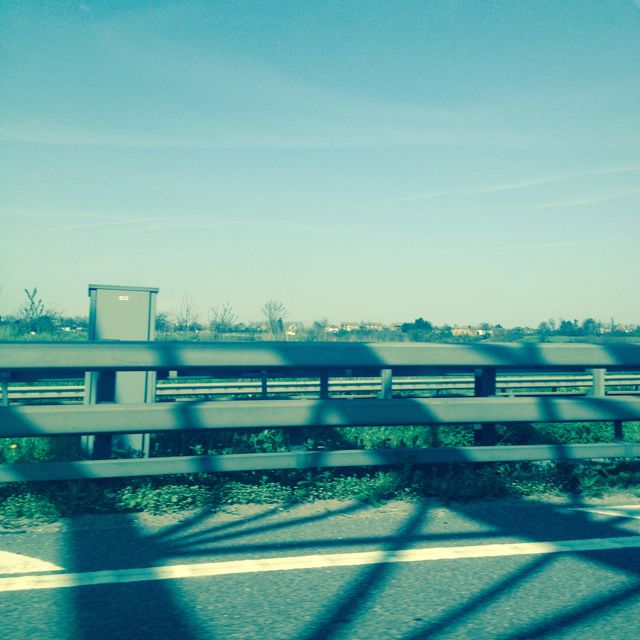
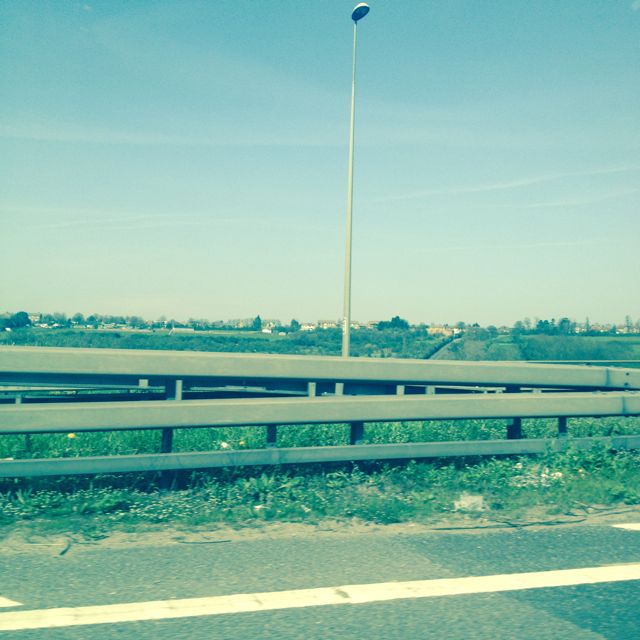
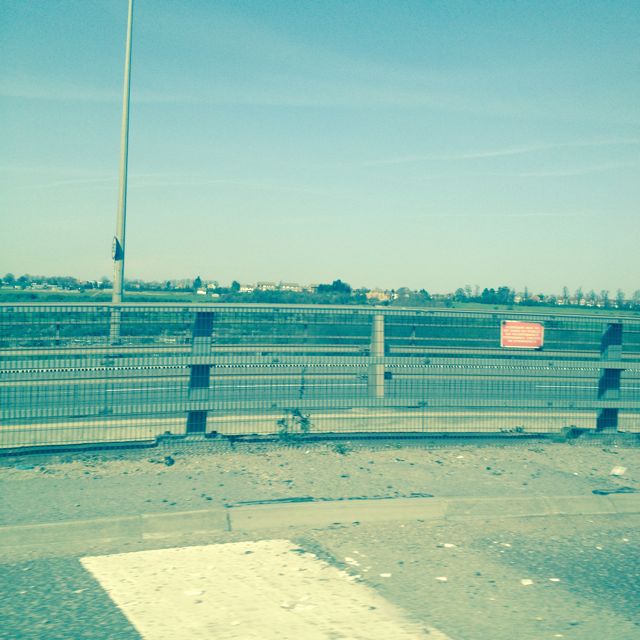

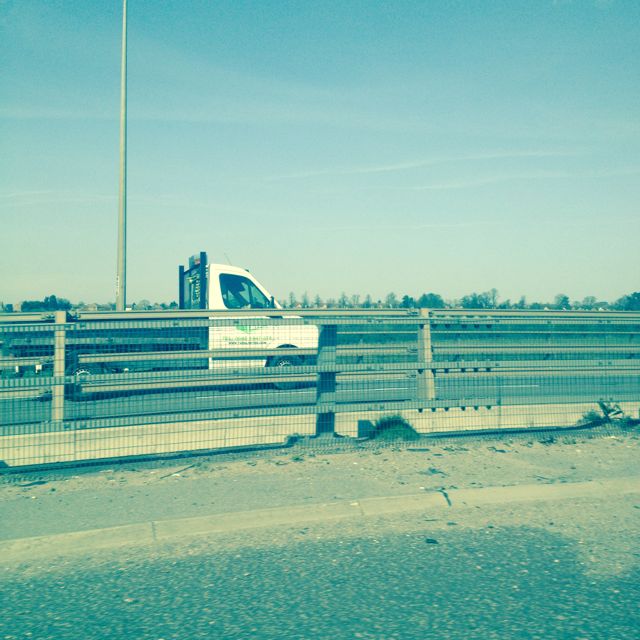
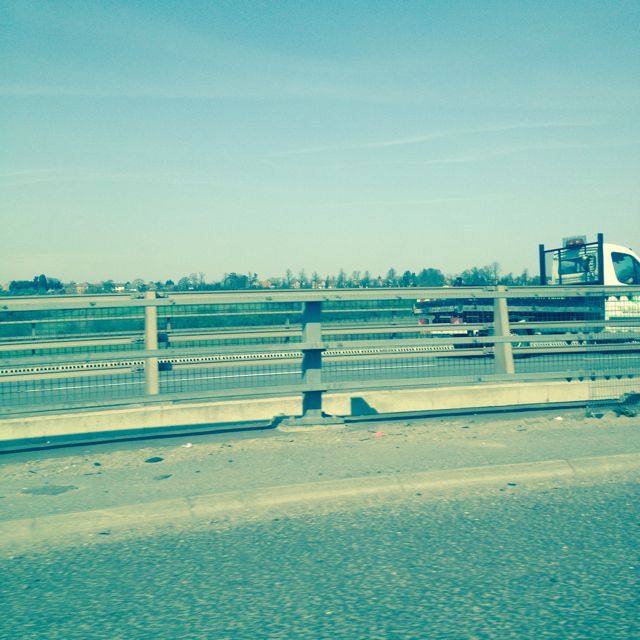
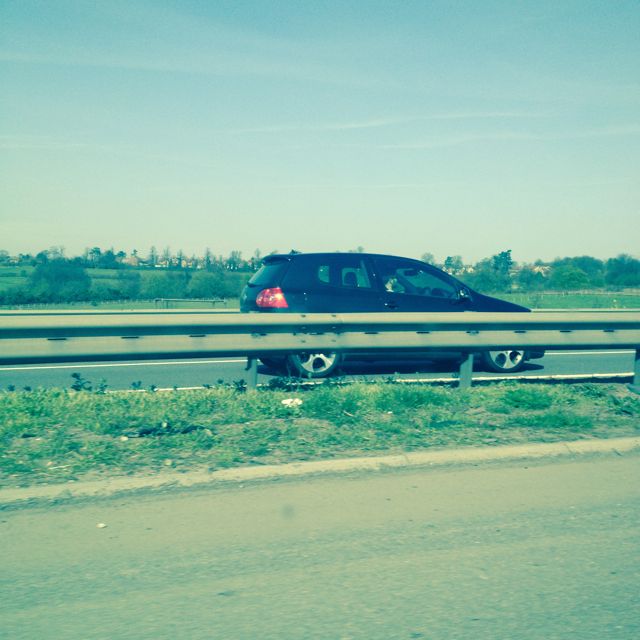

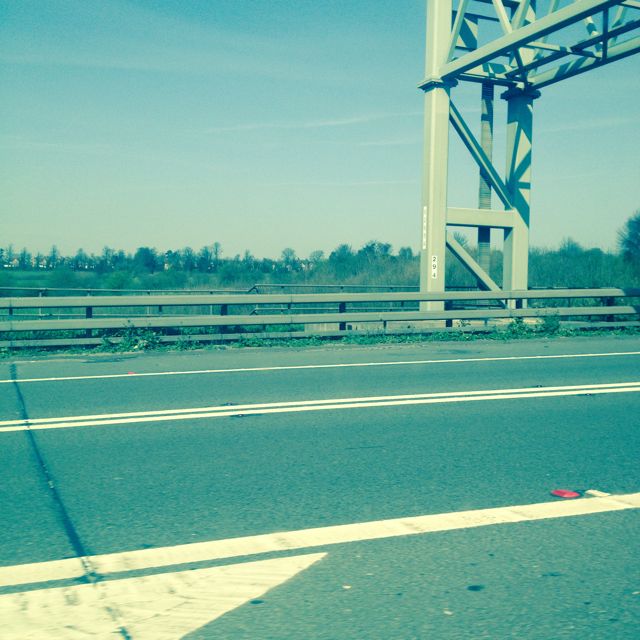
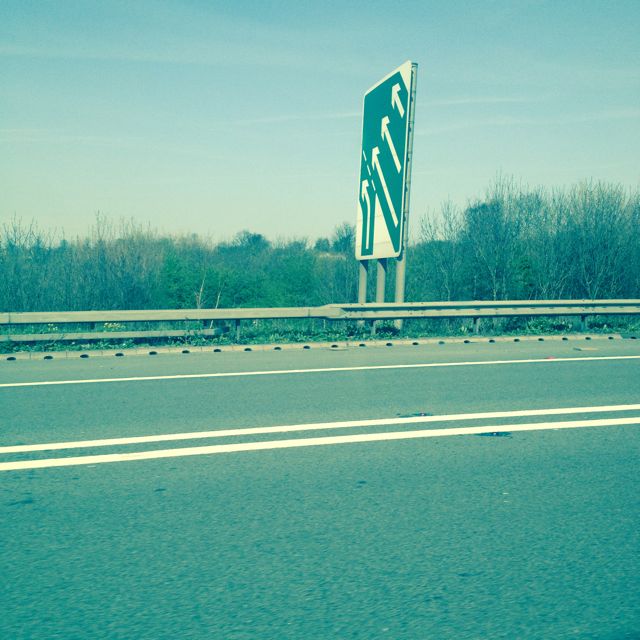
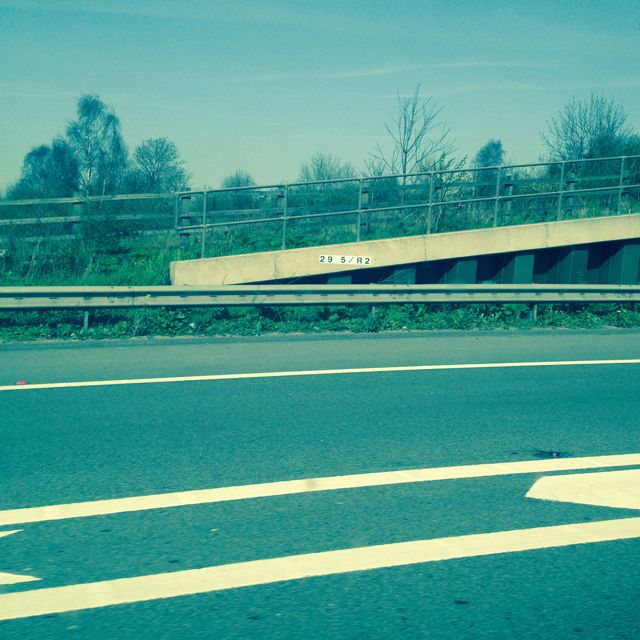
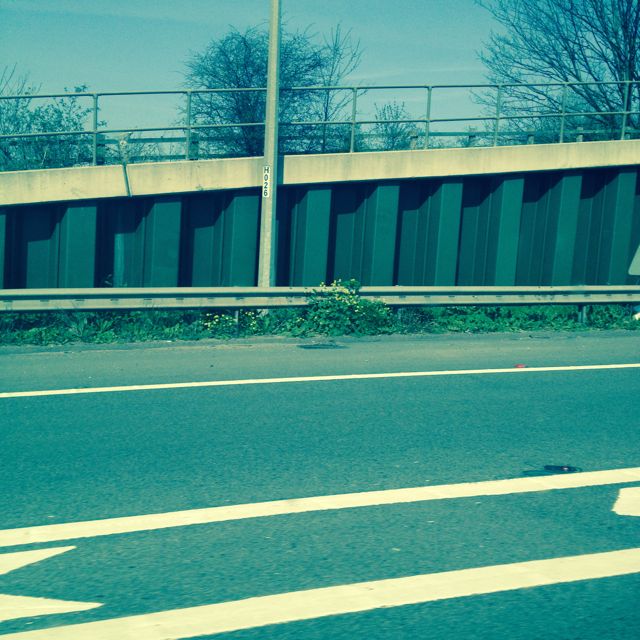
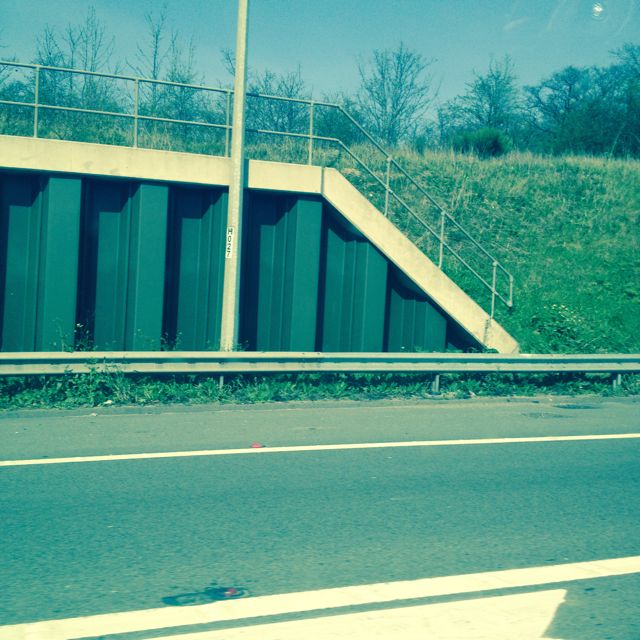
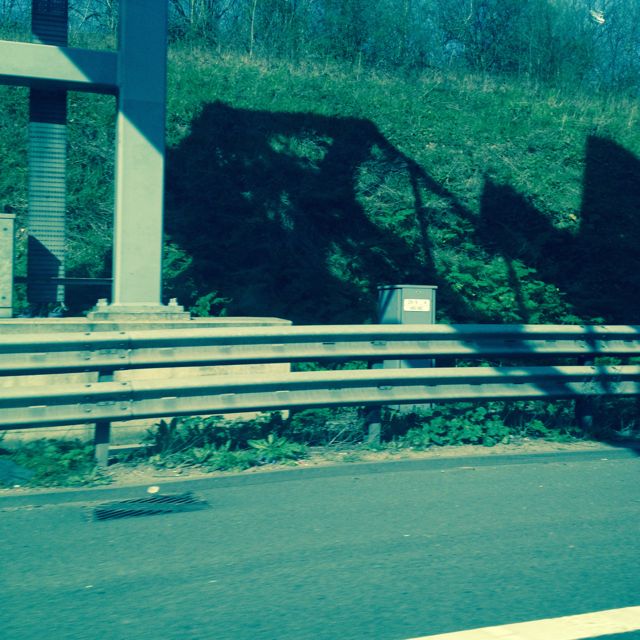
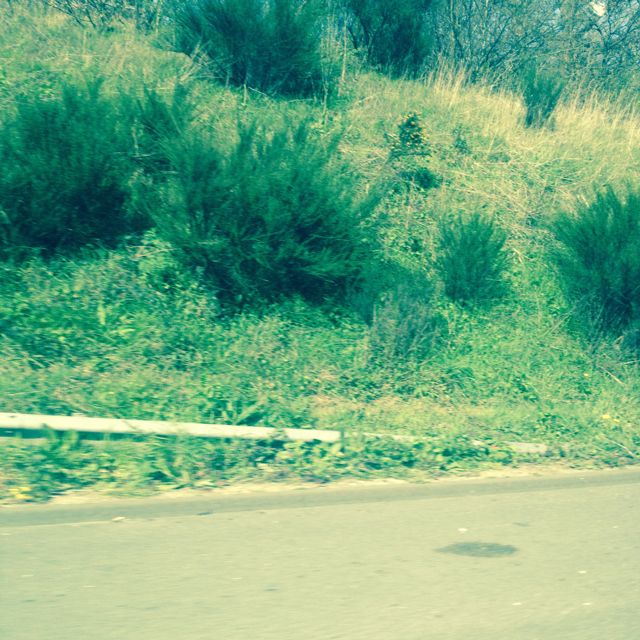

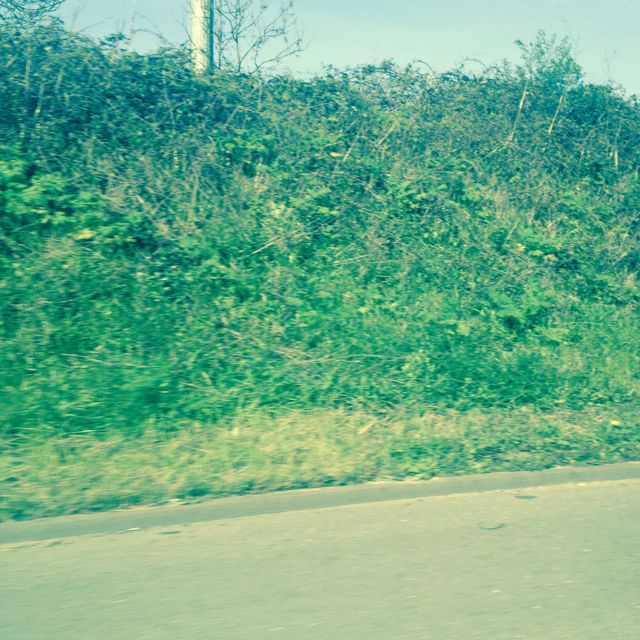
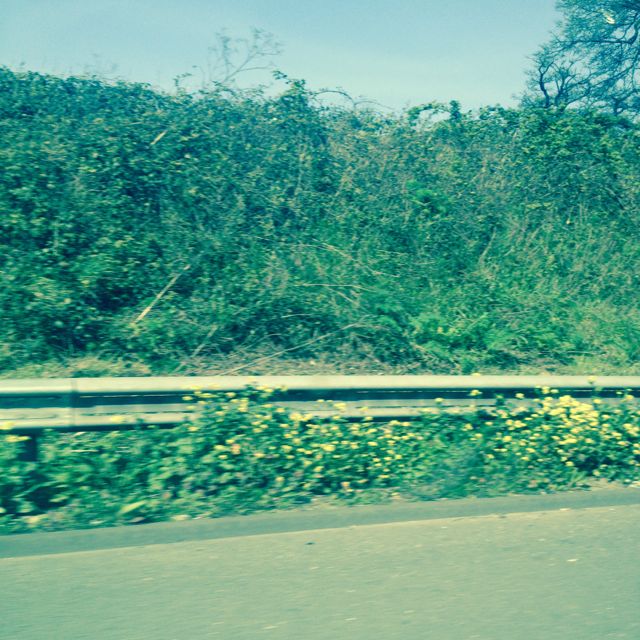

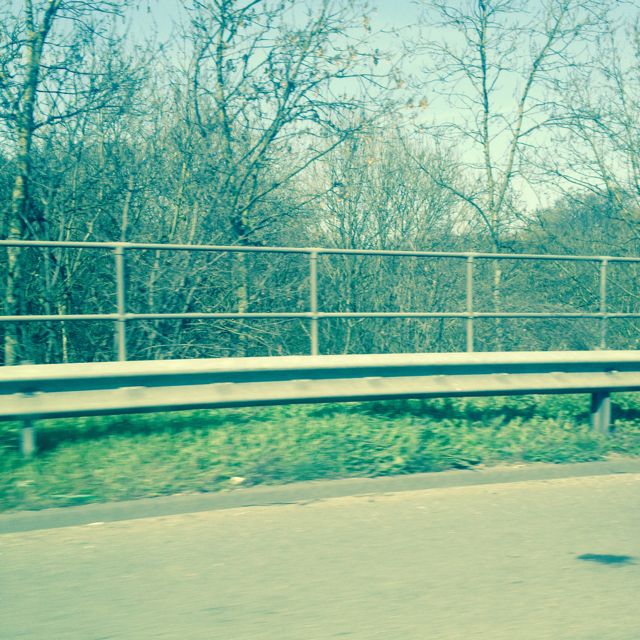
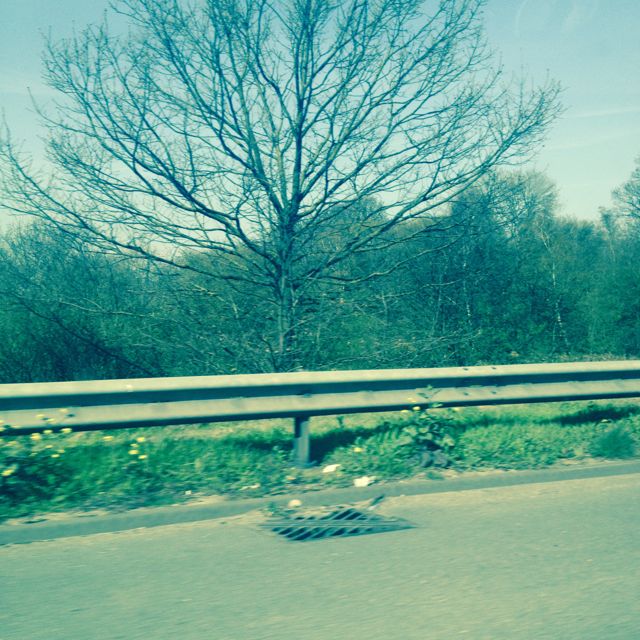
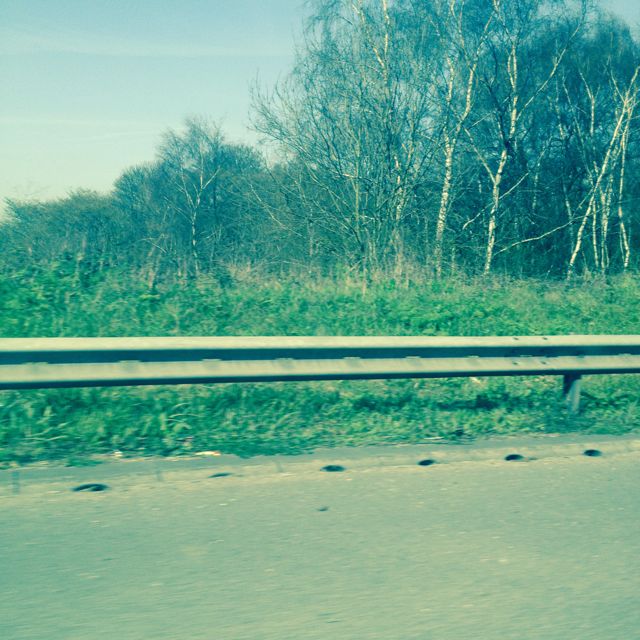
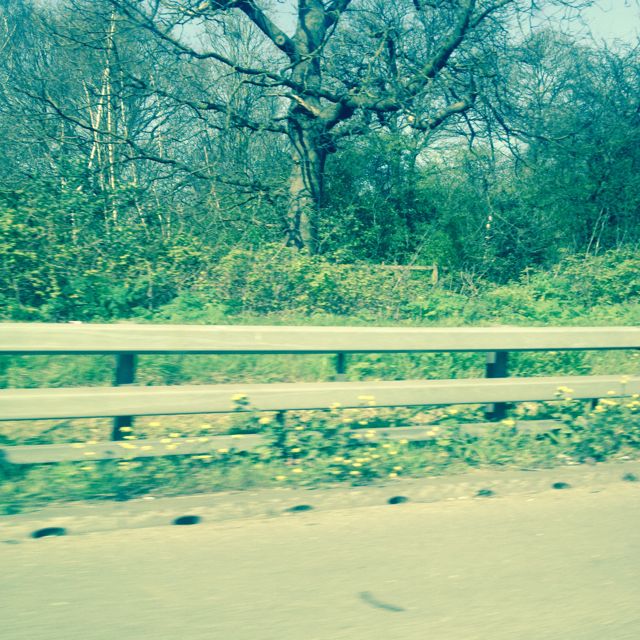
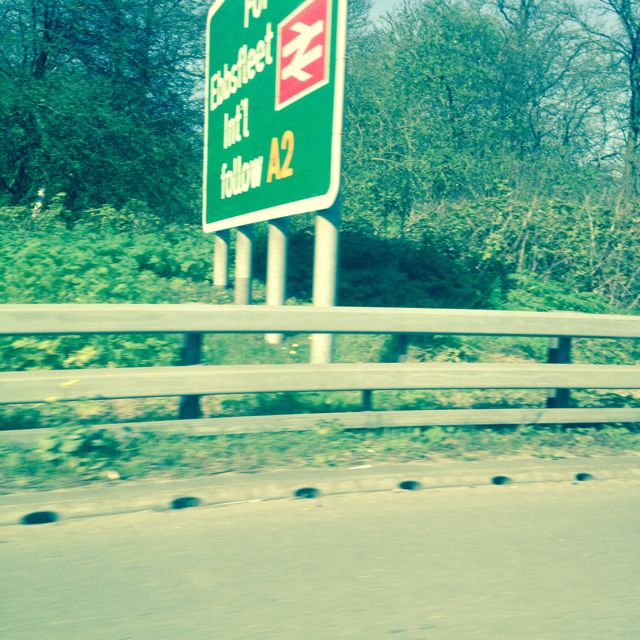
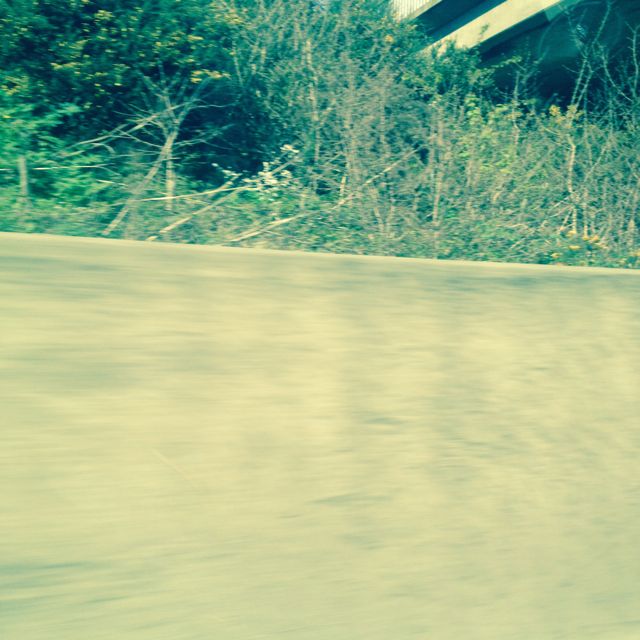


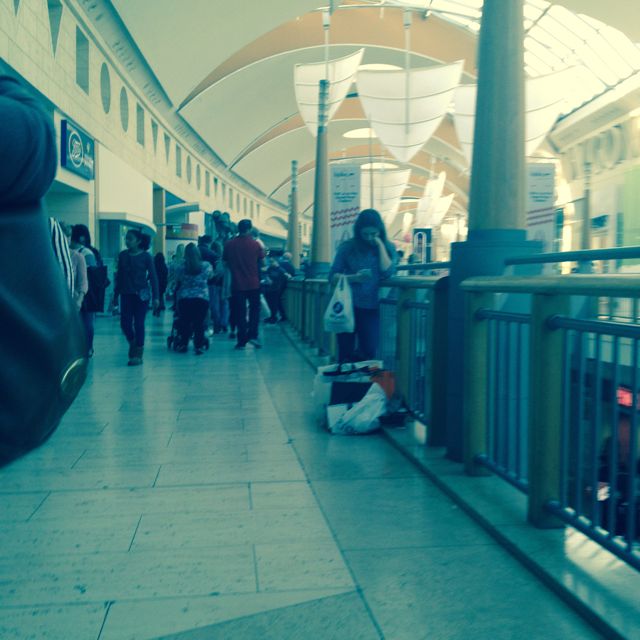
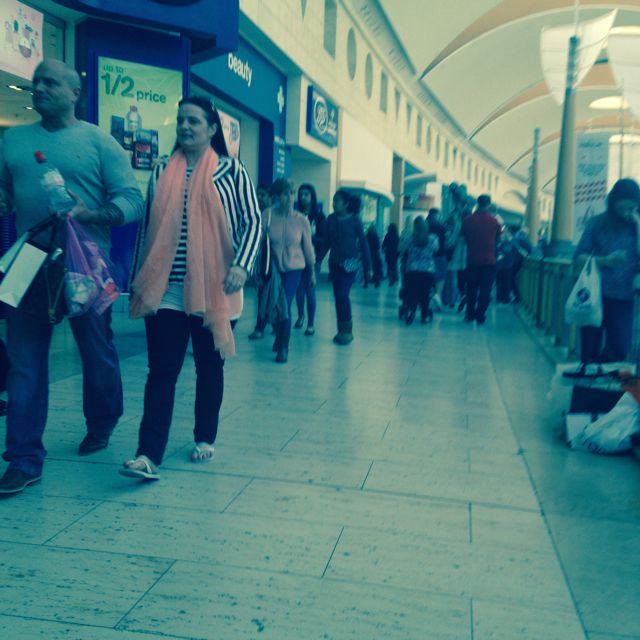
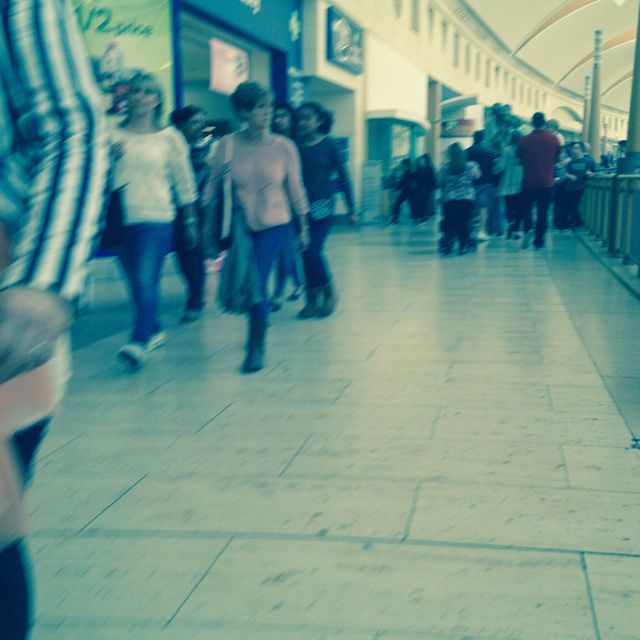
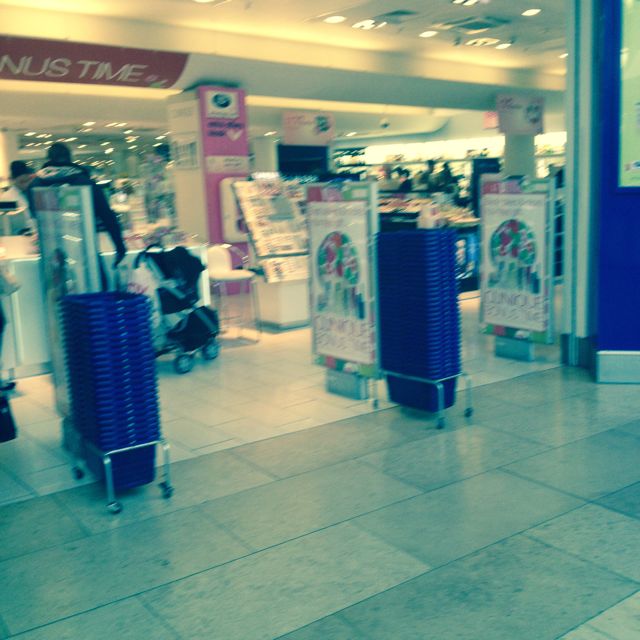
These are some images that I took on the way to Bluewater as a first attempt of taking some real street photographs. I decided to take these images as I hadn't yet properly gone out and taken some.To take these images, I used the cross process effect on an iPhone camera to make the images look less bland. However, I didn't particularly like this set of images as they were all pretty much the same thing and so weren't very interesting to look at. Despite of this, I realised I liked the idea of documenting a journey and so I made the decision to do some further research into documentations in photography and then go out and take some more images.
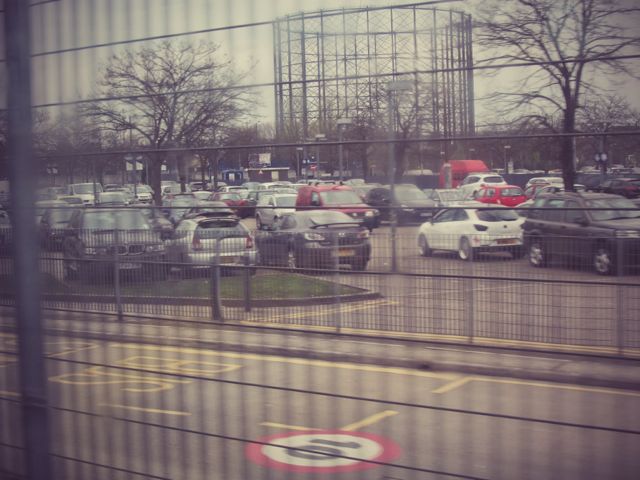
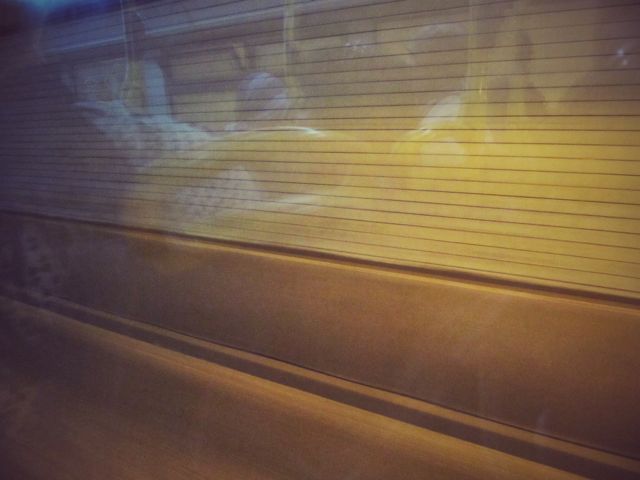
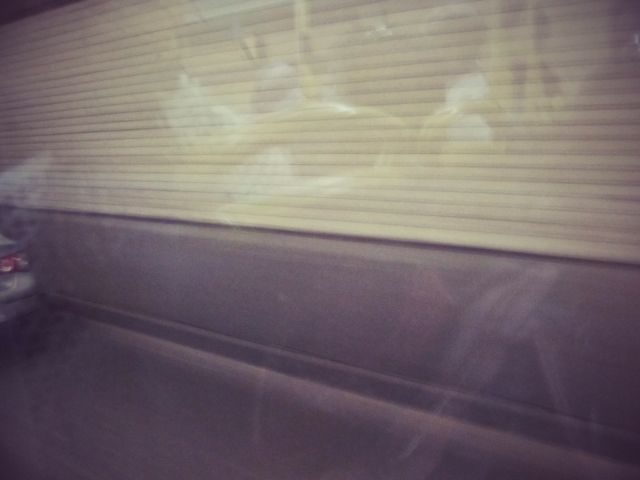
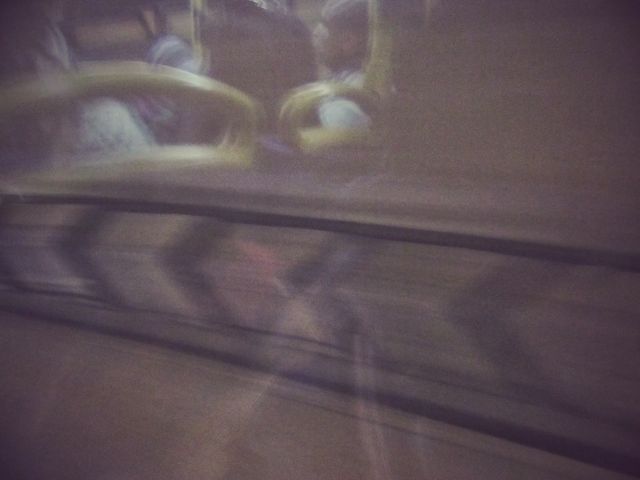
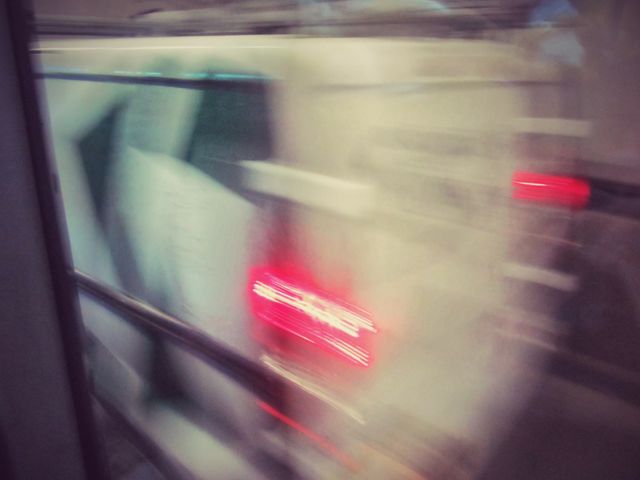
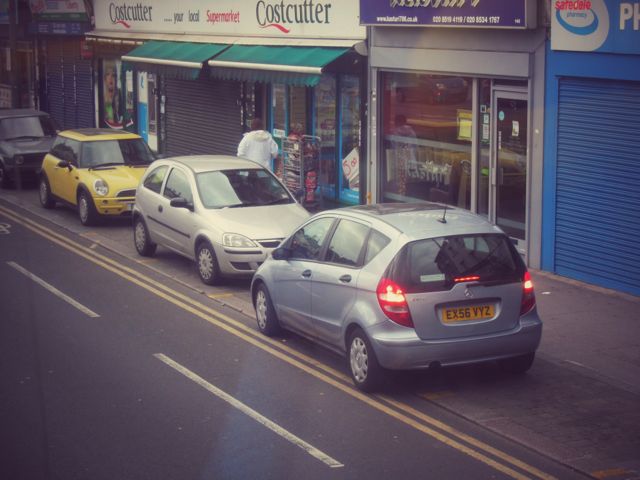
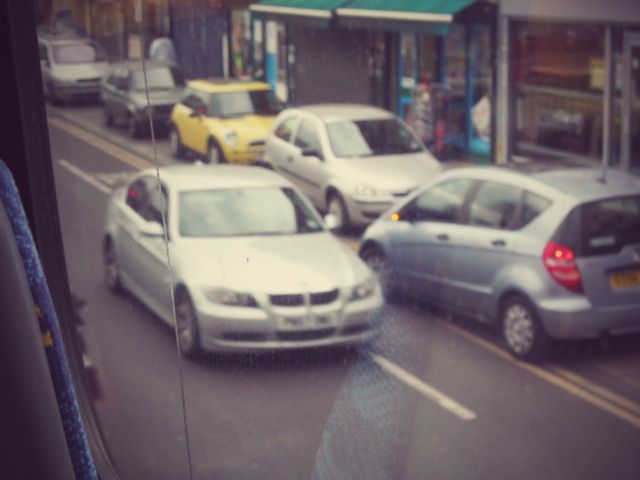
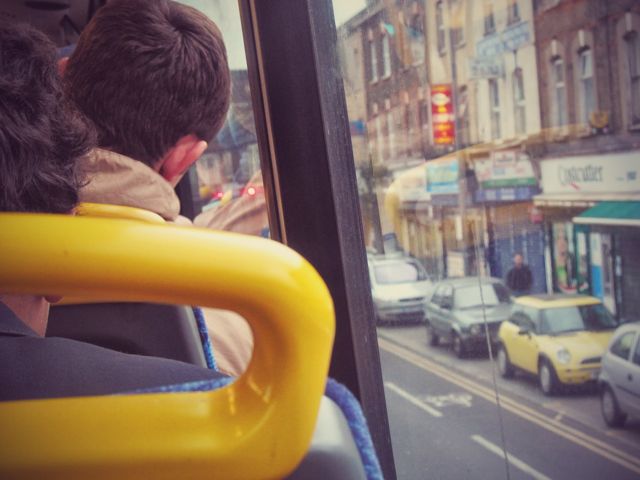
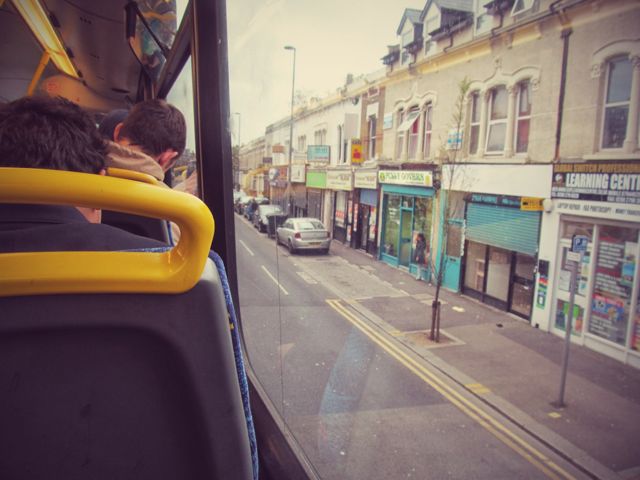
Robert Frank
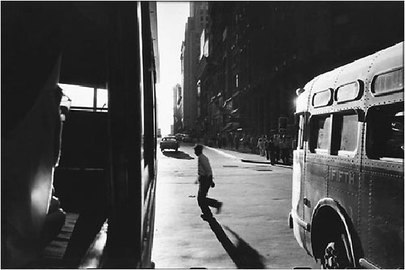
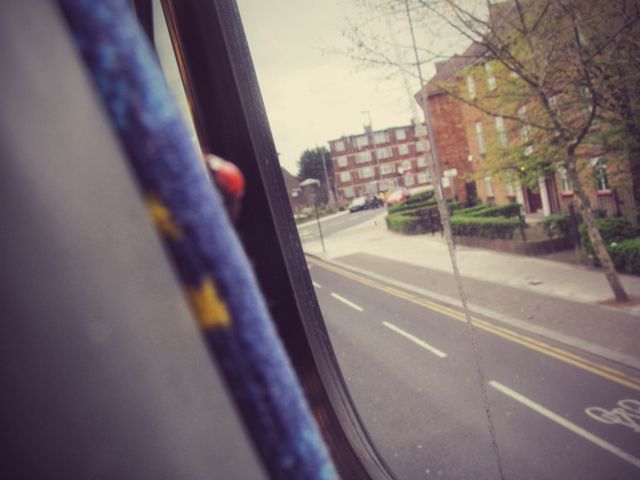
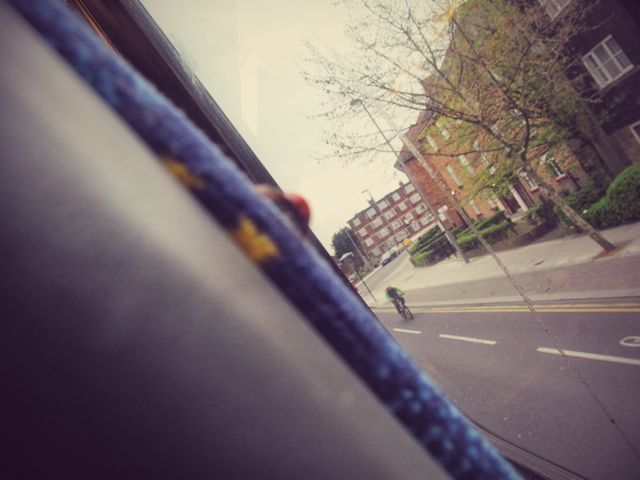
Robert Frank is quite an iconic figure in terms of American photography and film and is most famously known for his book "The Americans". I am particularly interested is his "From the Bus" work which he created in New York,1958. The images in this series were taken through the window of a bus driving through the streets of NYC. Looking through some of the photographs, I think the thing I like the best about them is that they're un-posed and each picture is different because of the fact that every scene is captured due to coincidence.
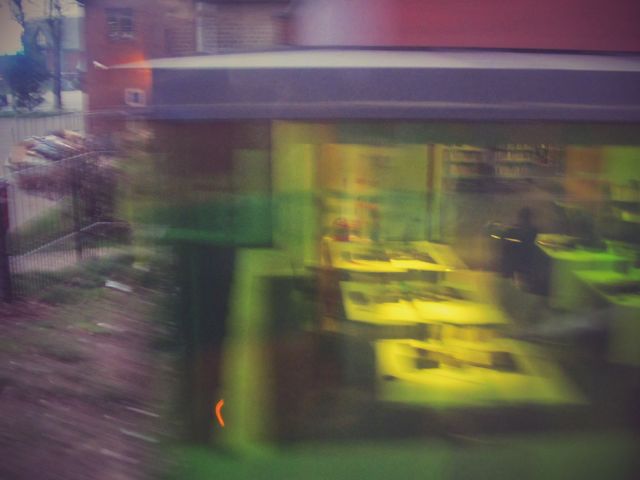
The image to the side is my favourite of all the Robert Frank bus series image. I like the image because the way the photographer has used a black and white filter on the image I feel gives off a sense of isolation to the subject - the man crossing the street. I also like the way there is a parallel gap in between the buildings and the fragment of the bus that we can see in the image. This is because even though the image is in black and white, we can clearly see the almost blinding glare of the sunlight shining down on the man, like a spotlight enhancing the focus on the subject.
“Quality doesn't mean deep blacks and whatever tonal range. That’s not quality, that’s a kind of quality. The pictures of Robert Frank might strike someone as being sloppy – the tone range isn’t right and things like that – but they’re far superior to the pictures of Ansel Adams with regard to quality, because the quality of Ansel Adams, if I may say so, is essentially the quality of a postcard. But the quality of Robert Frank is a quality that has something to do with what he’s doing, what his mind is. It’s not balancing out the sky to the sand and so forth. It’s got to do with intention.” -Elliot Erwitt
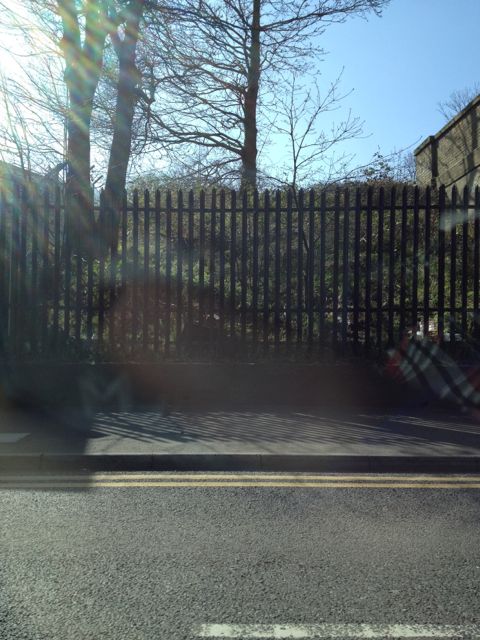
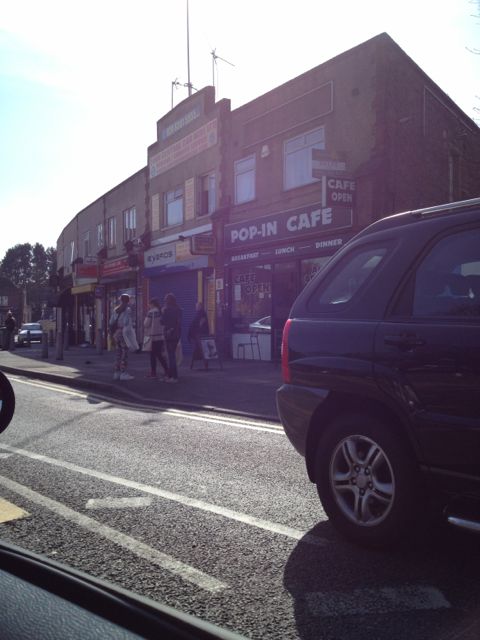
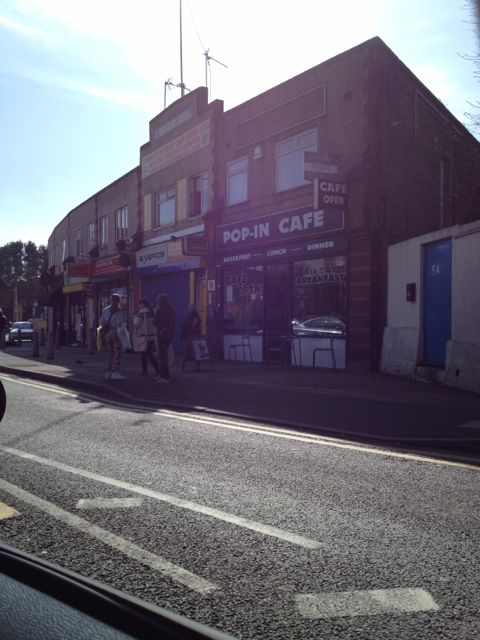
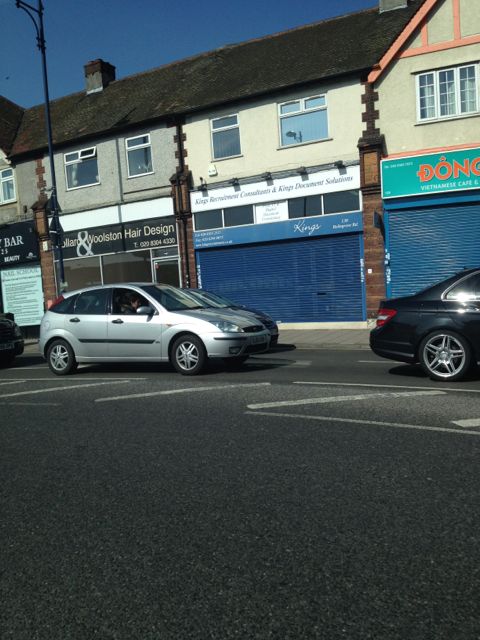
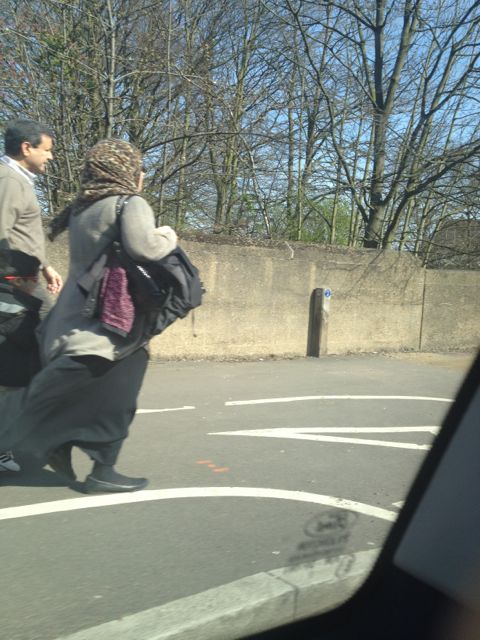
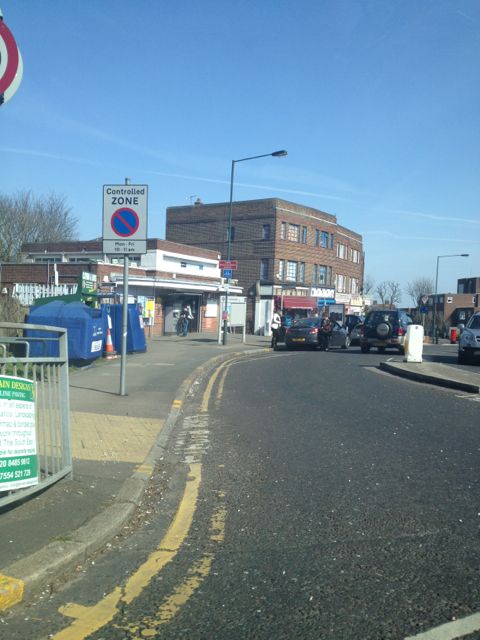
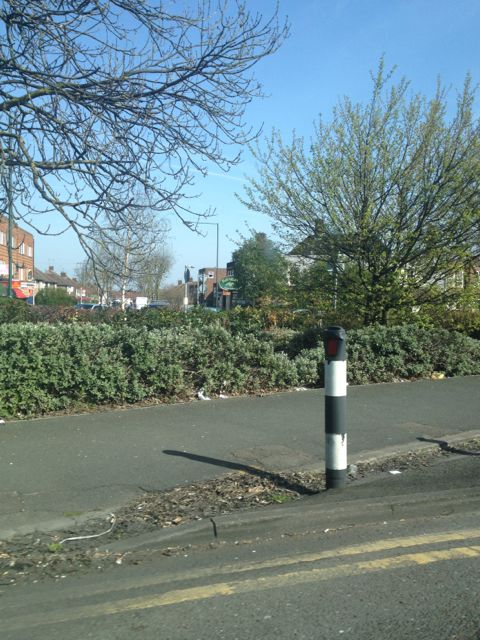
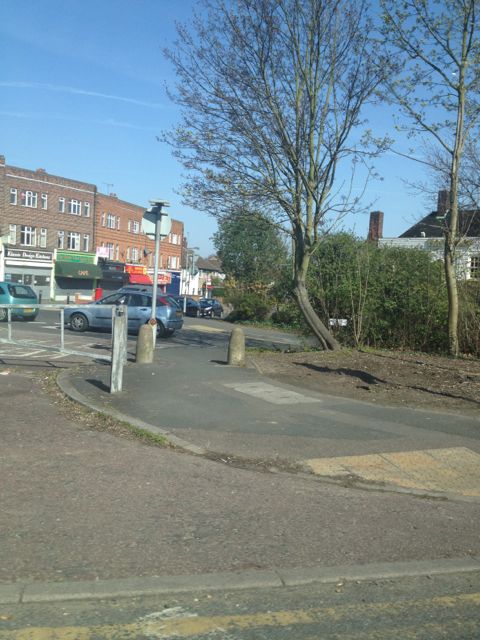
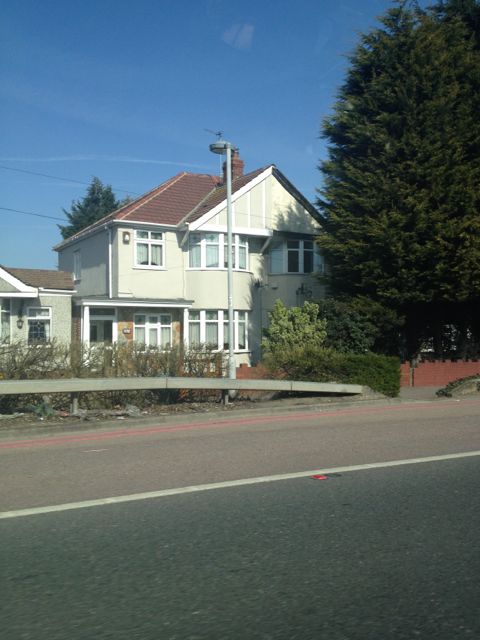
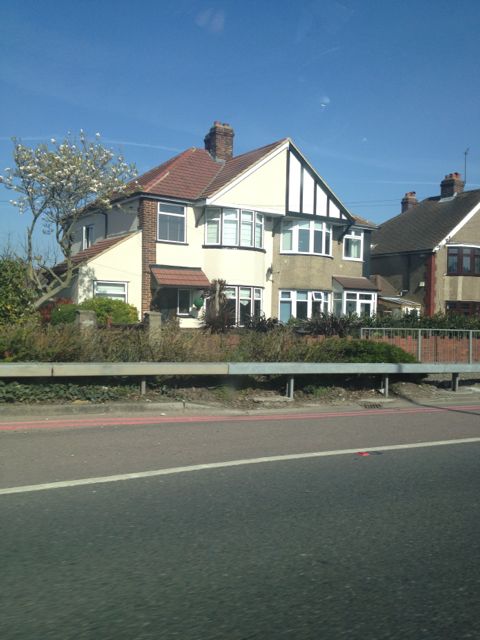
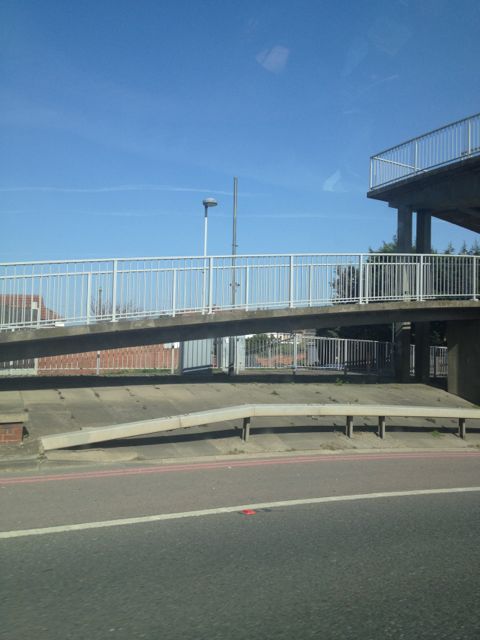
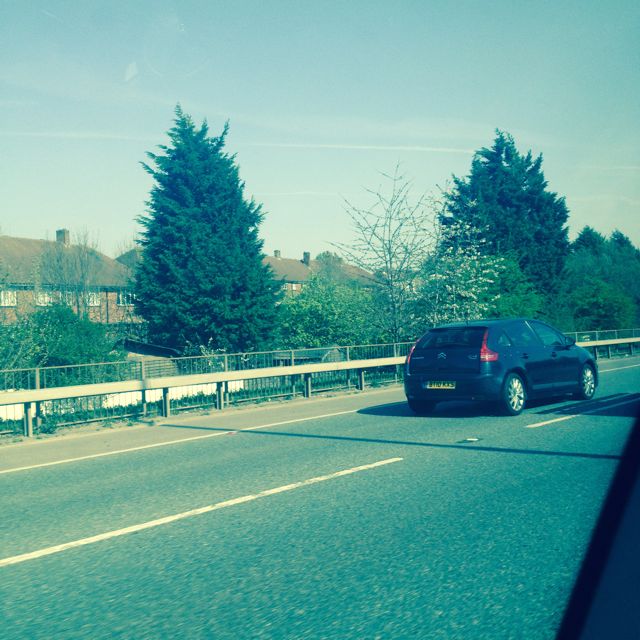
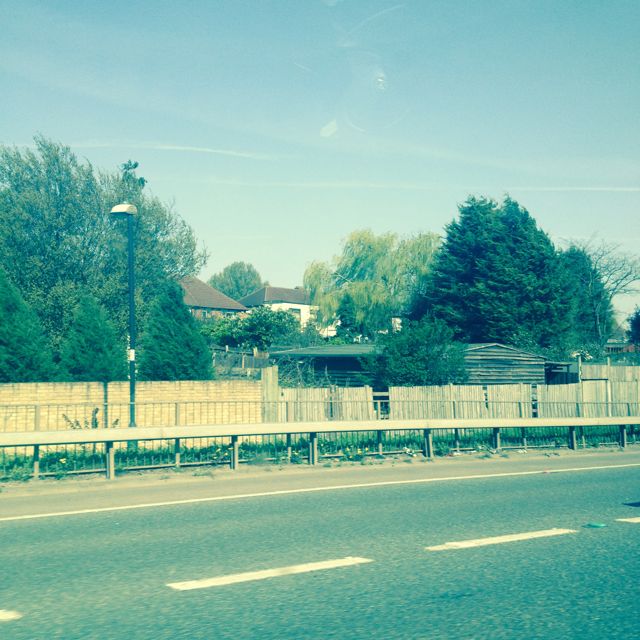
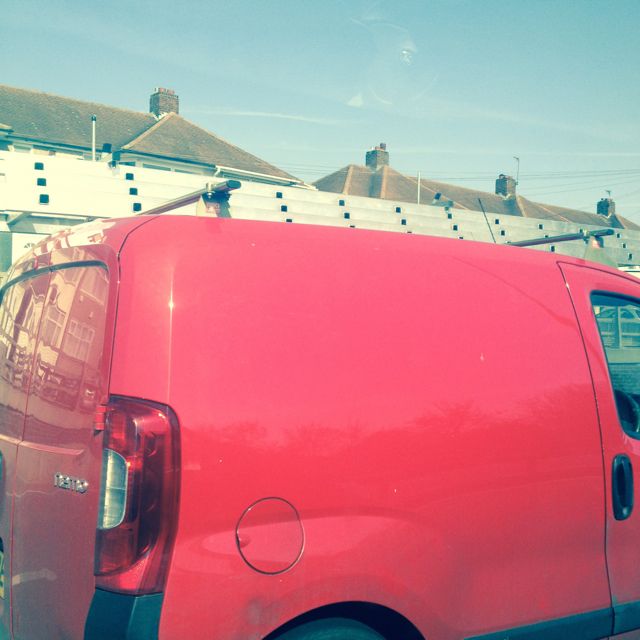
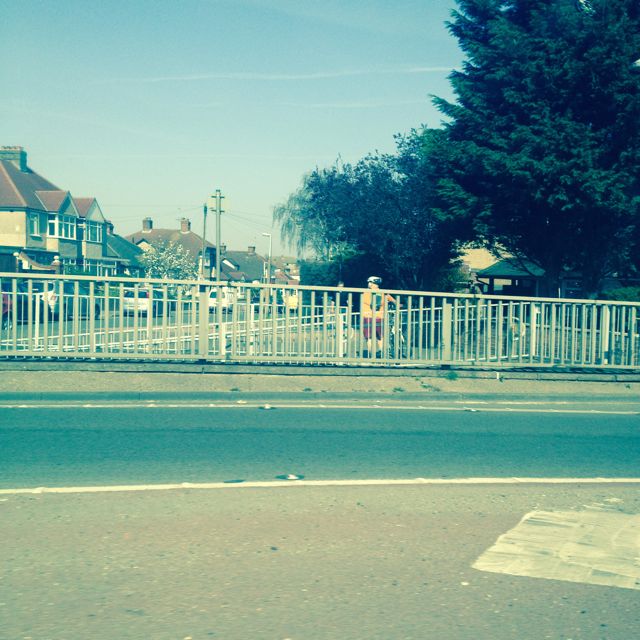
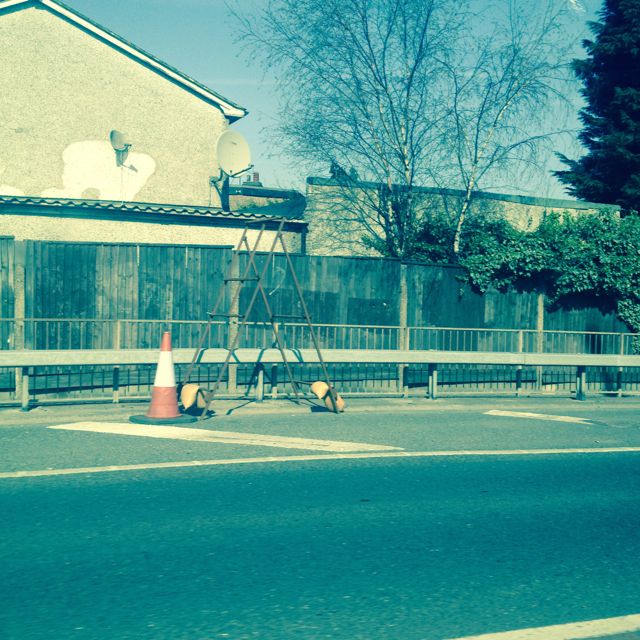
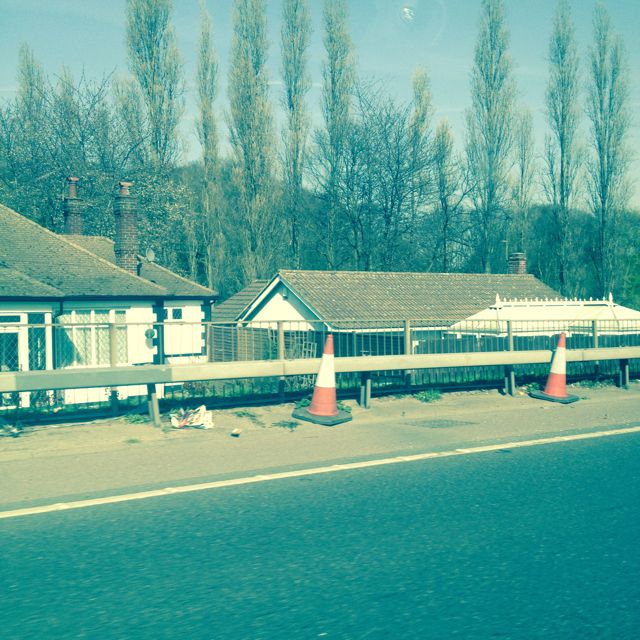
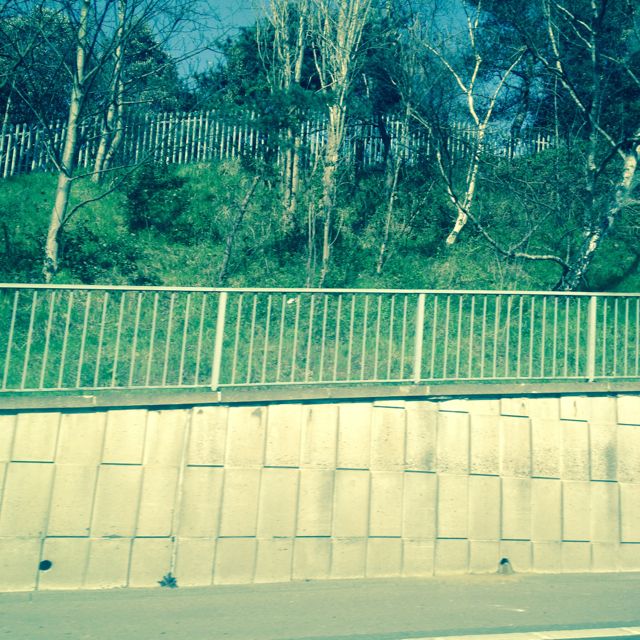
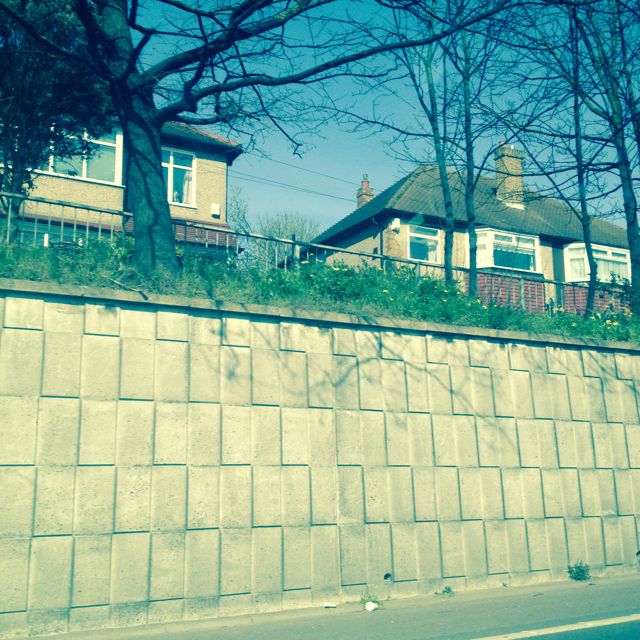
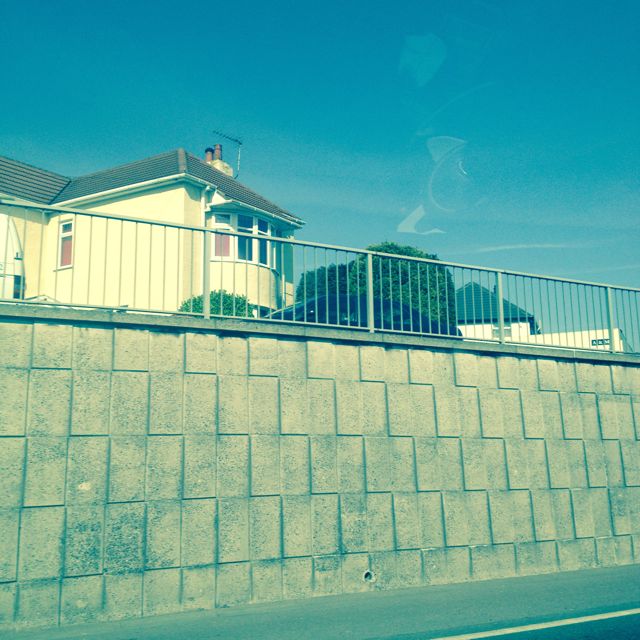
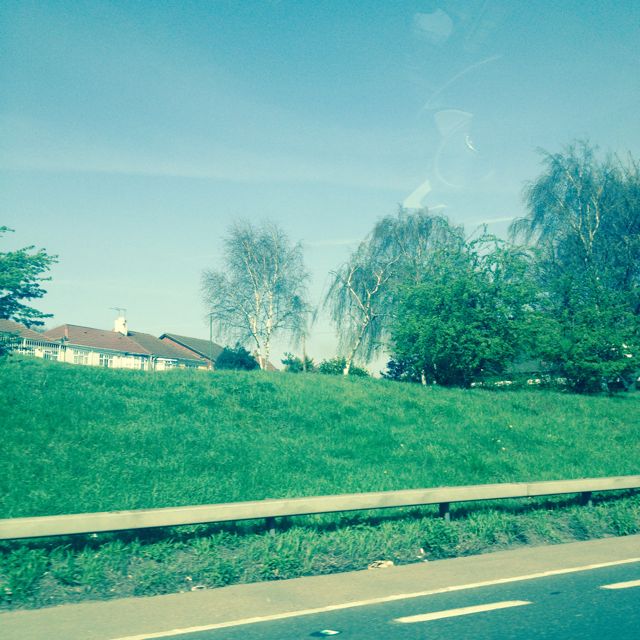
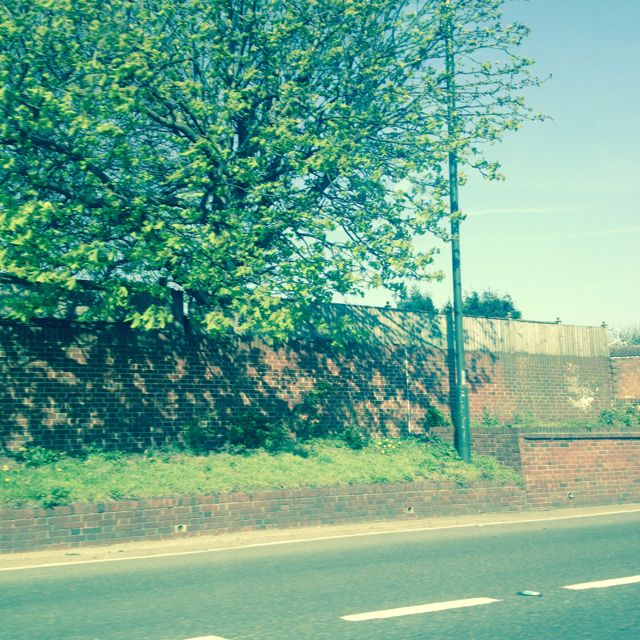
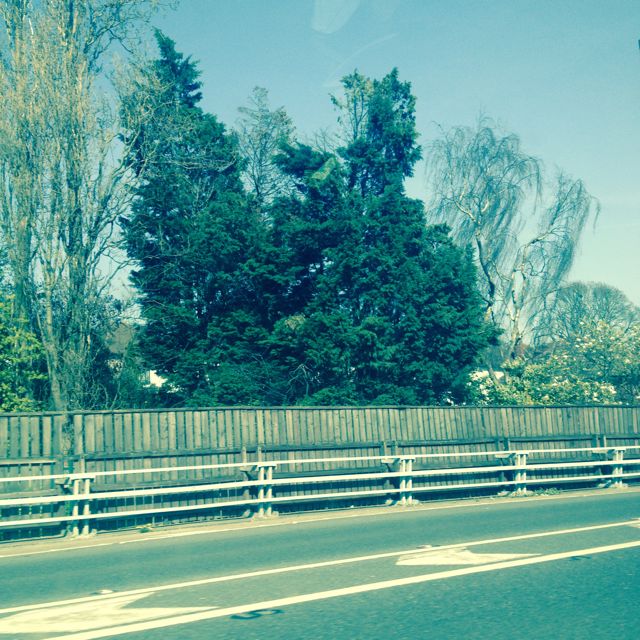
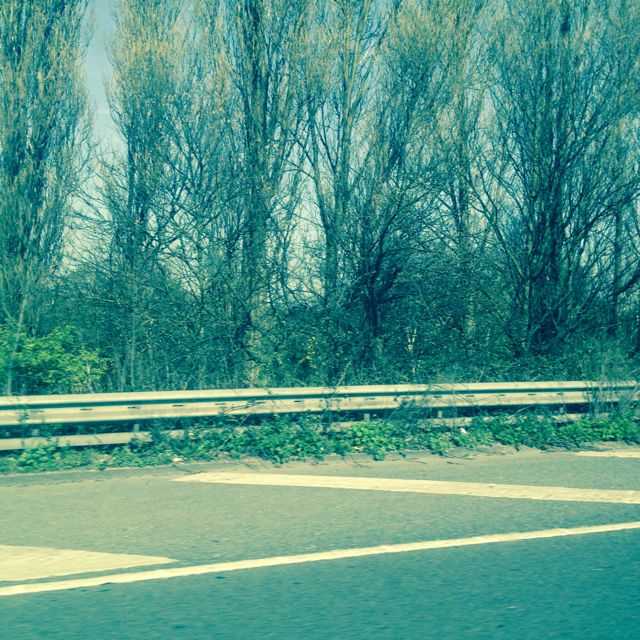
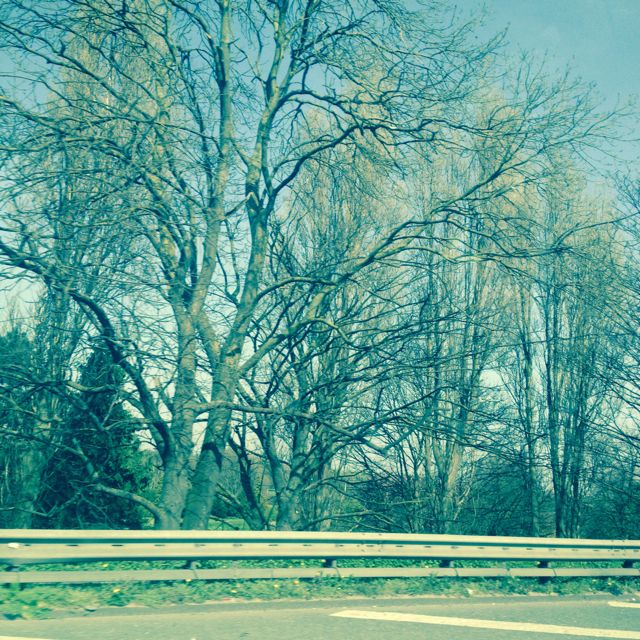
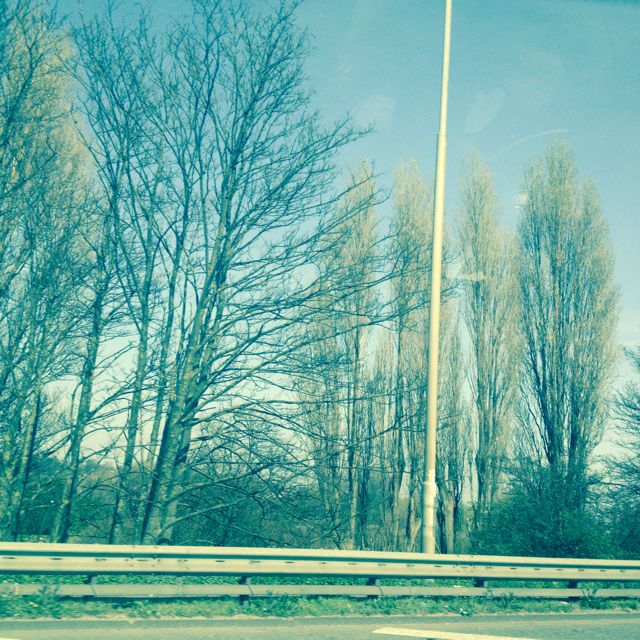
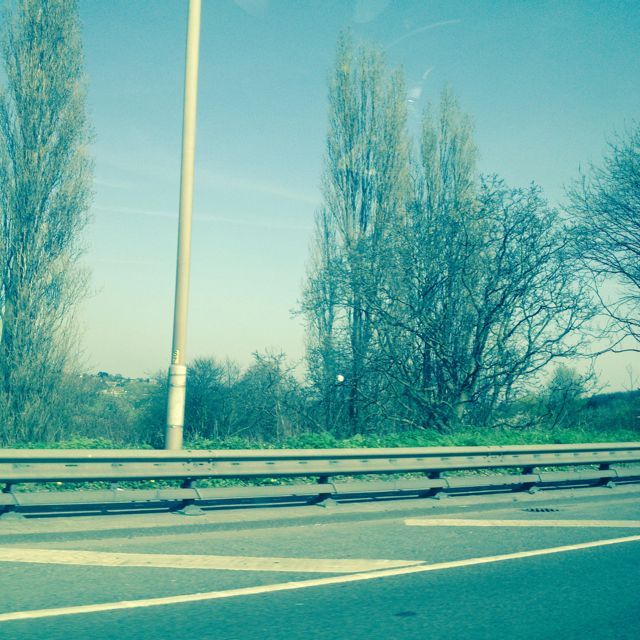
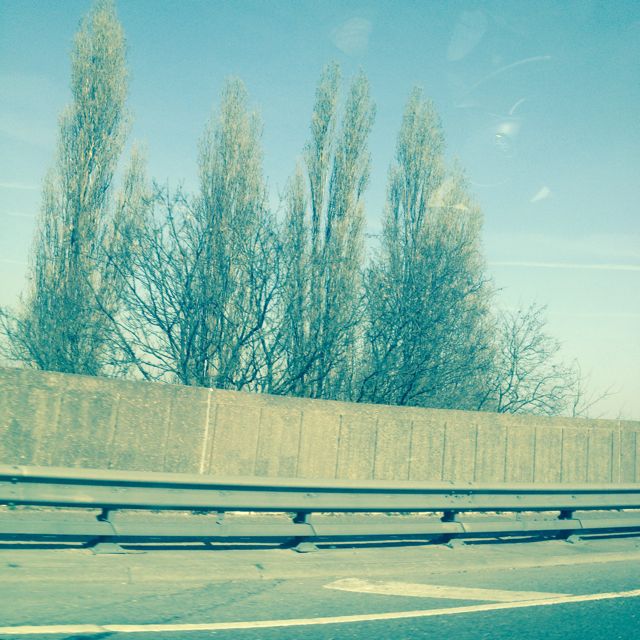
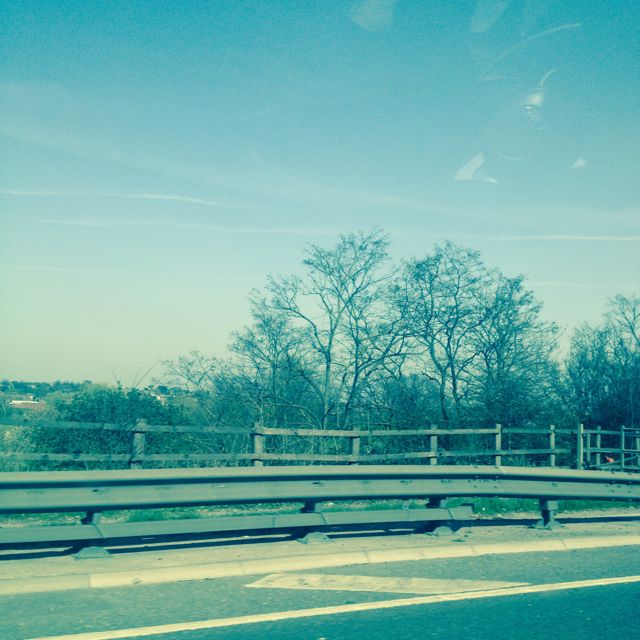
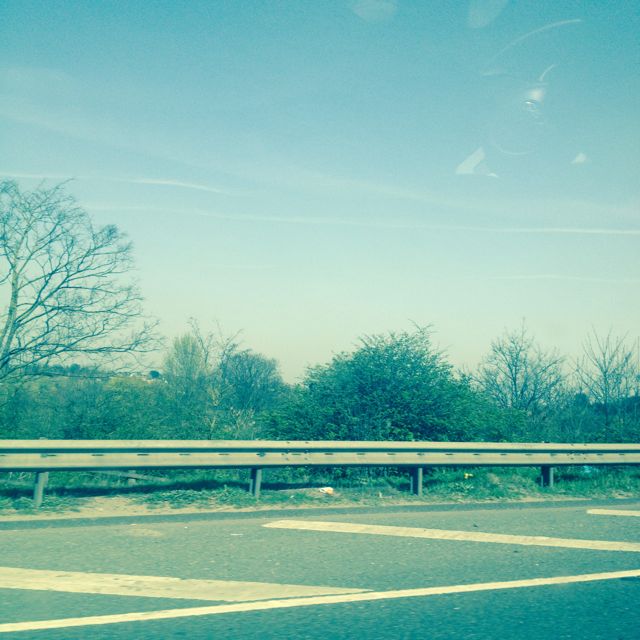
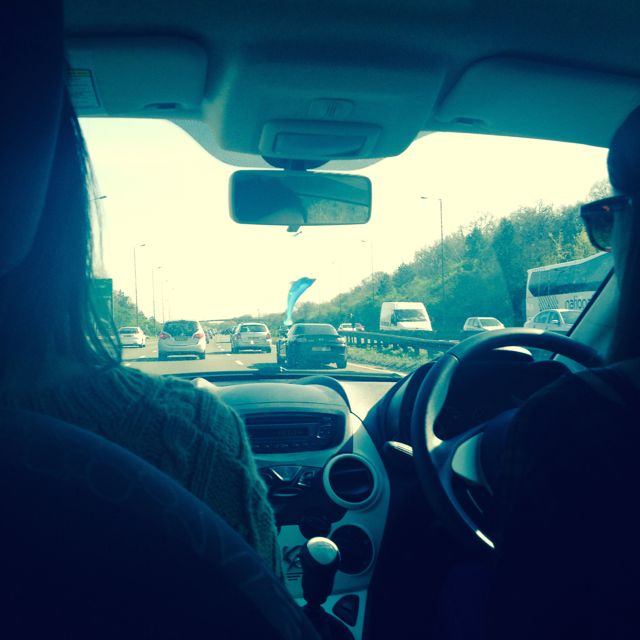
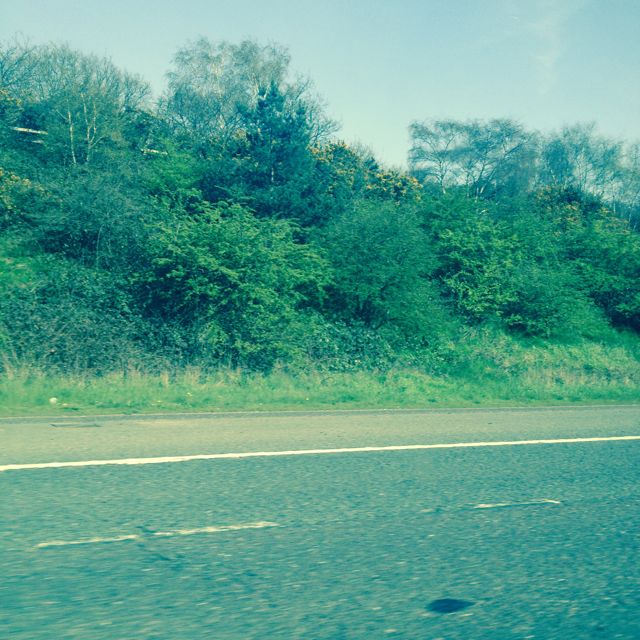
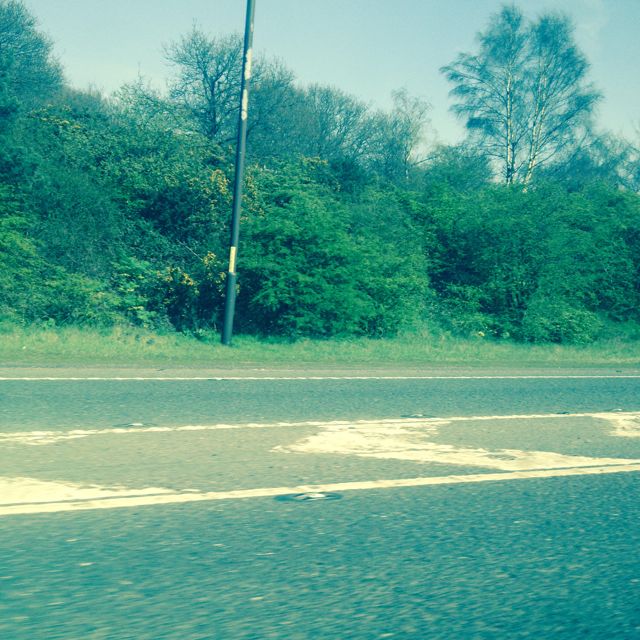
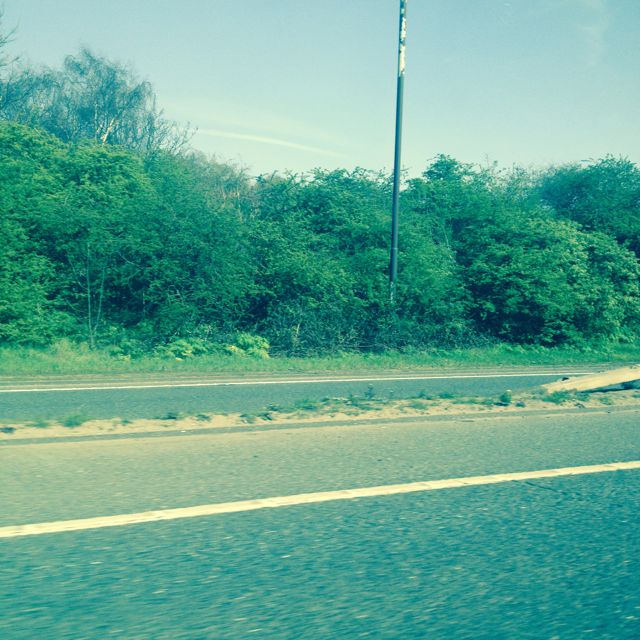
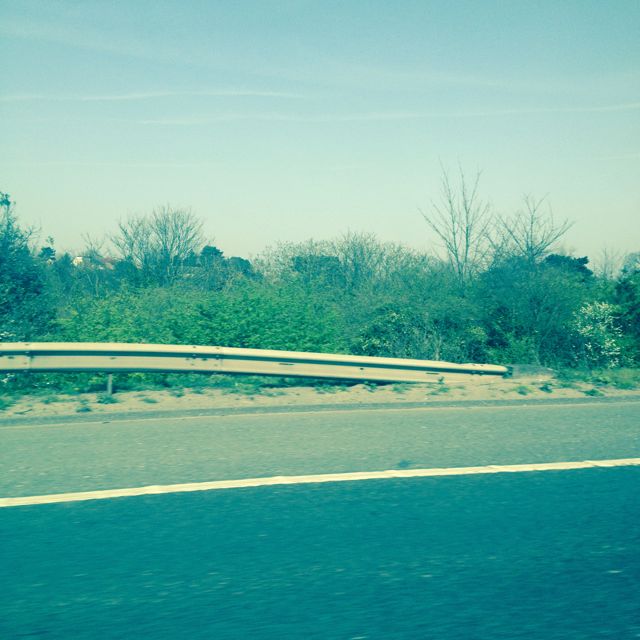
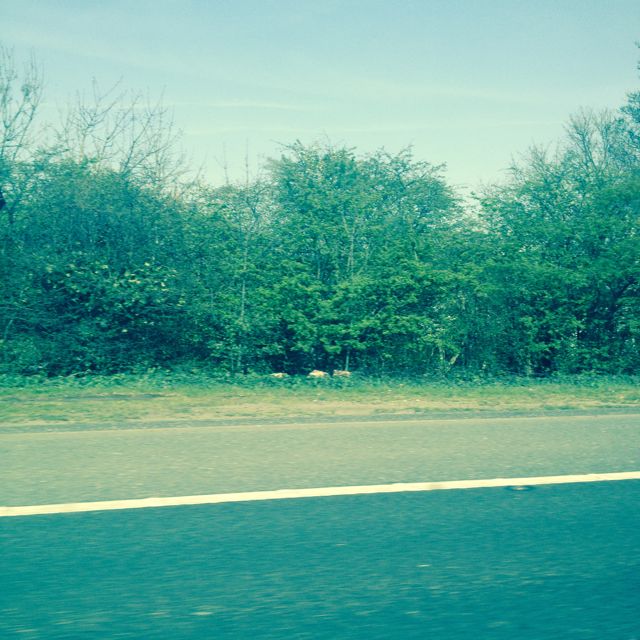
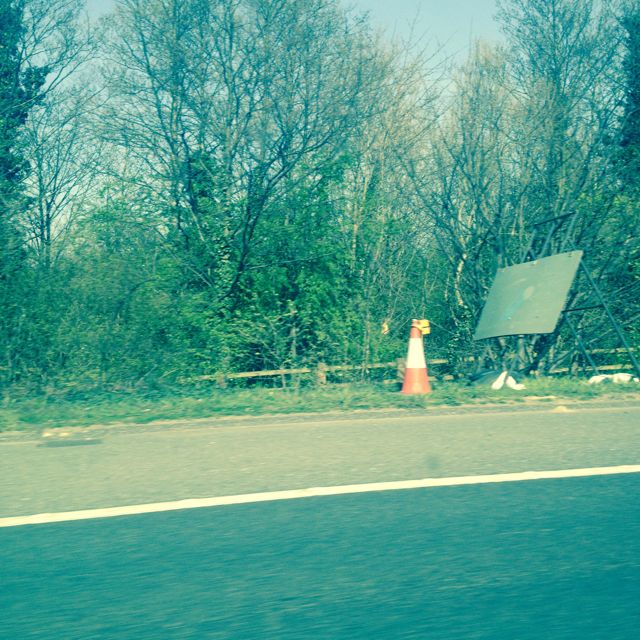
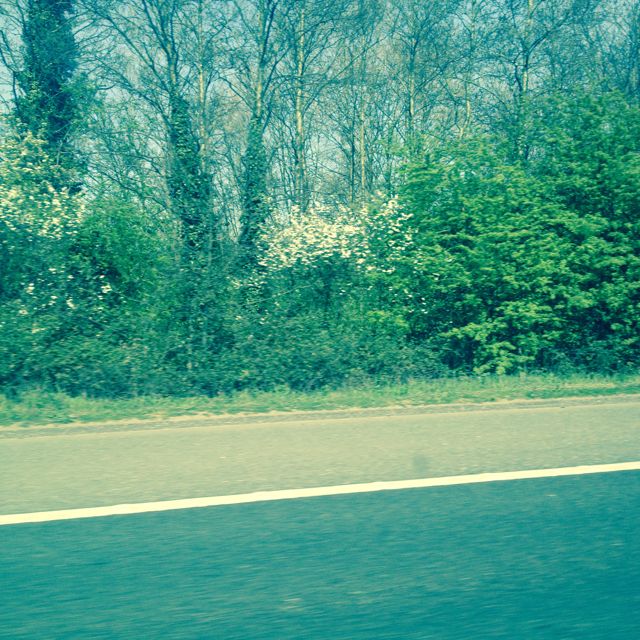
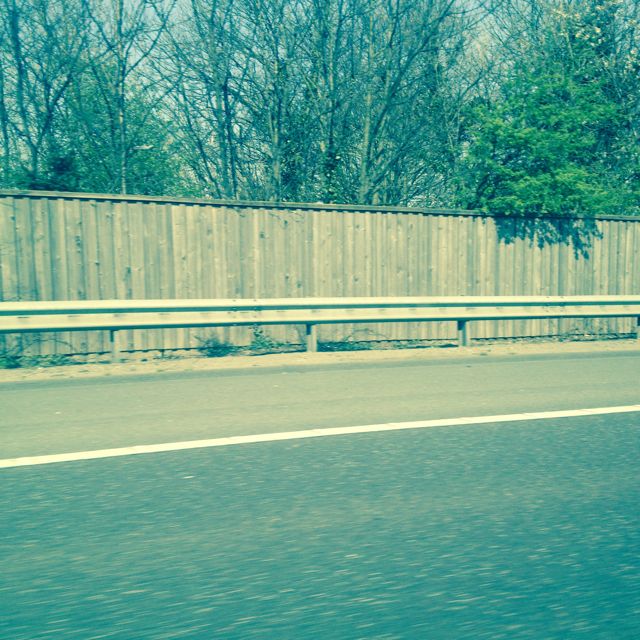
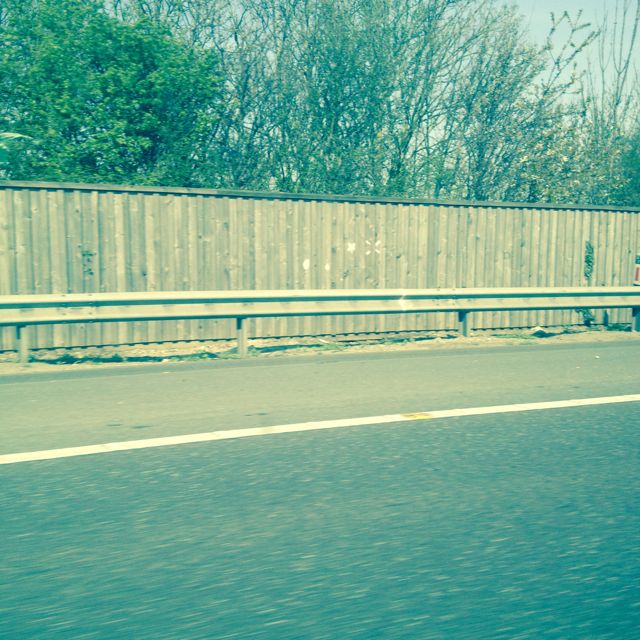
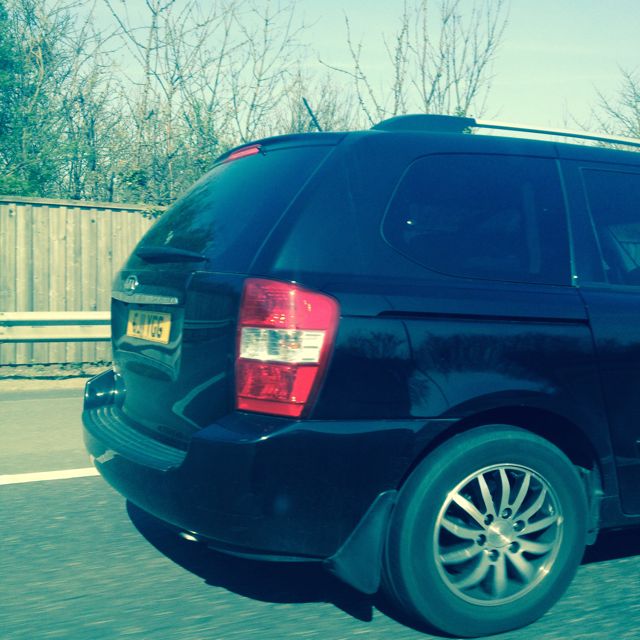
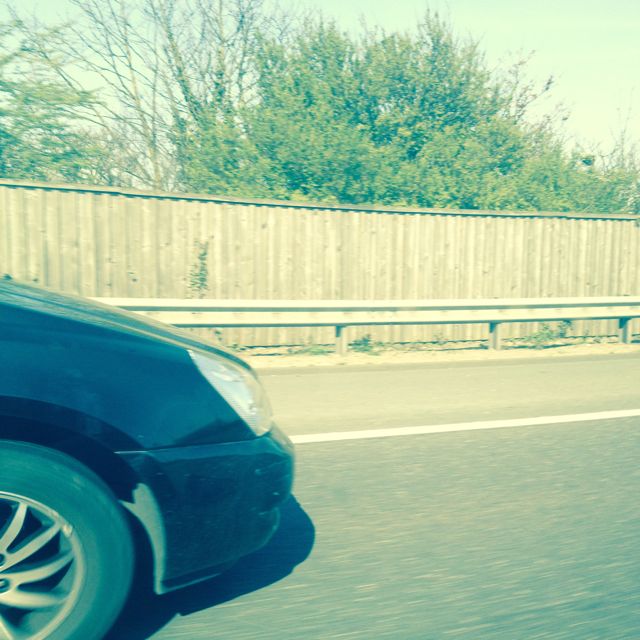
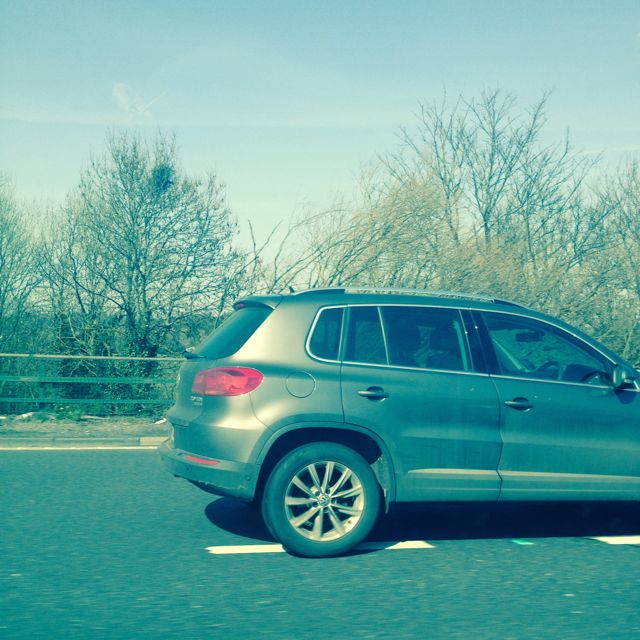
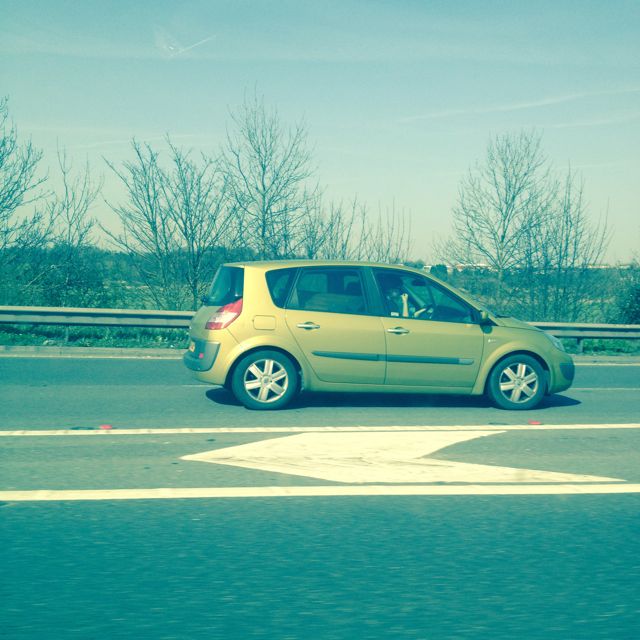
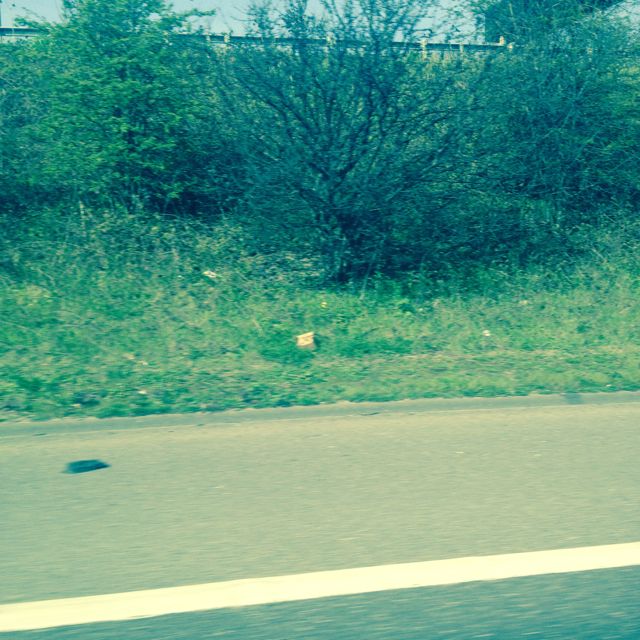
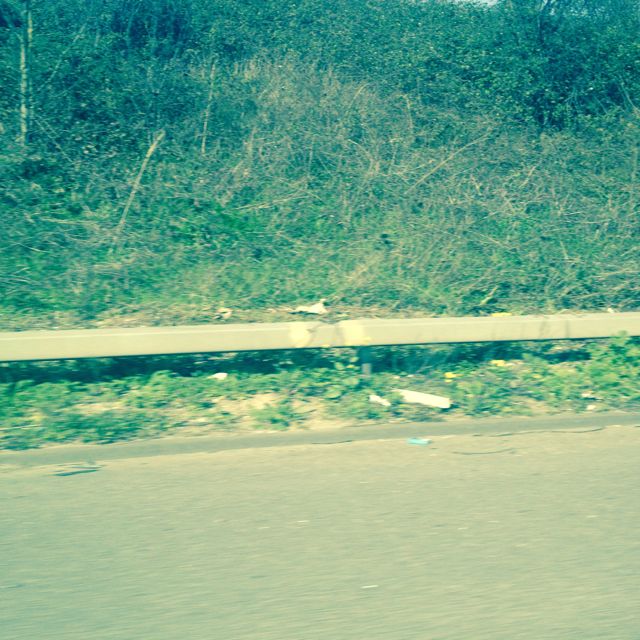
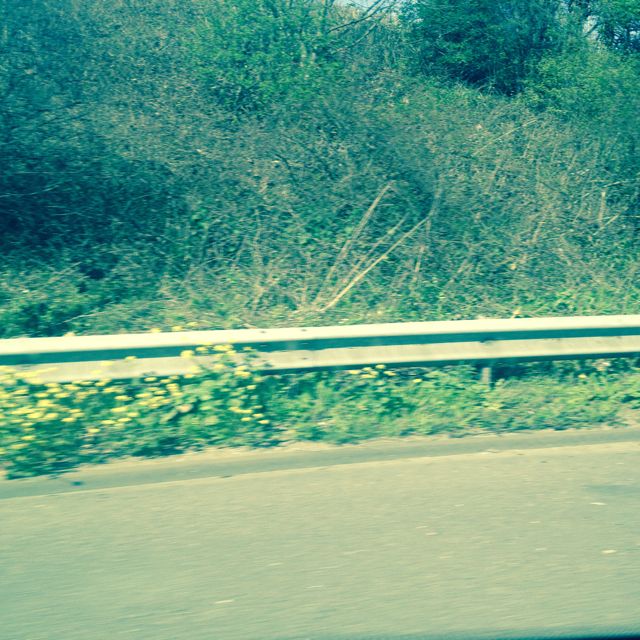
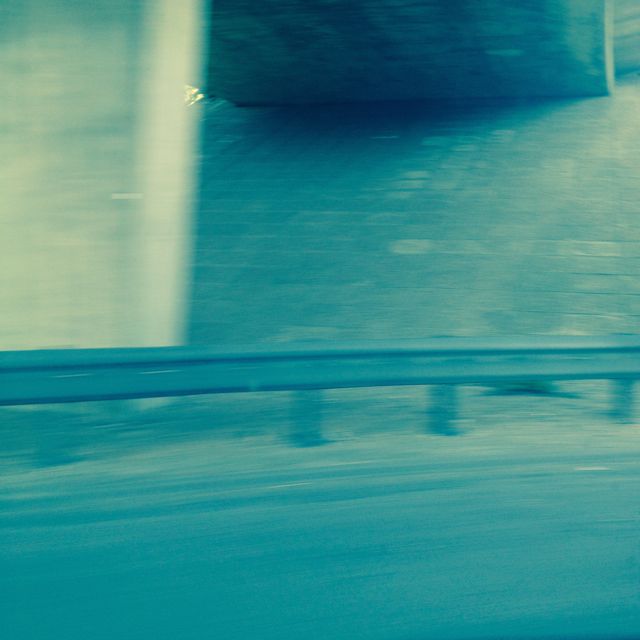
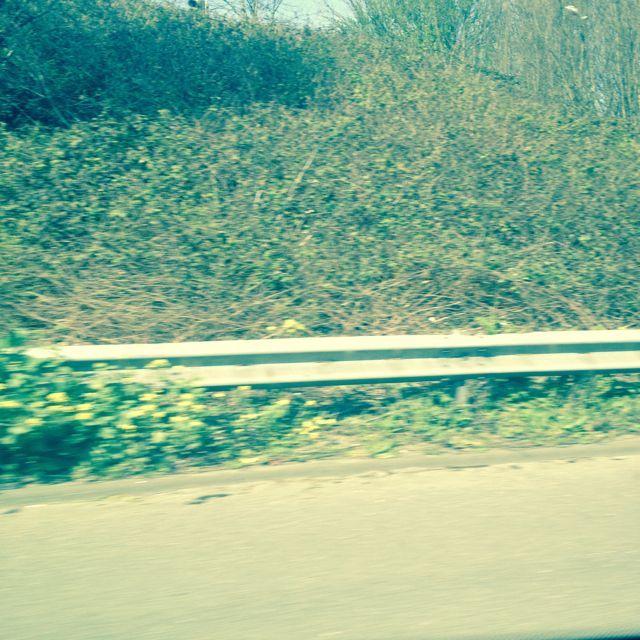
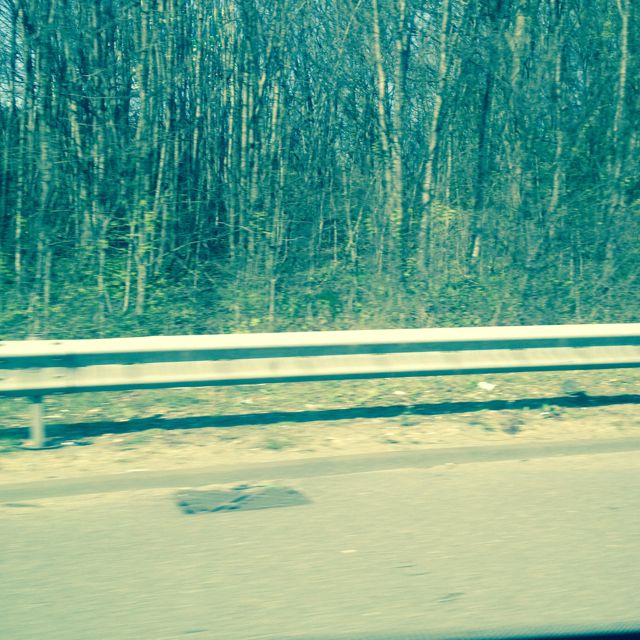
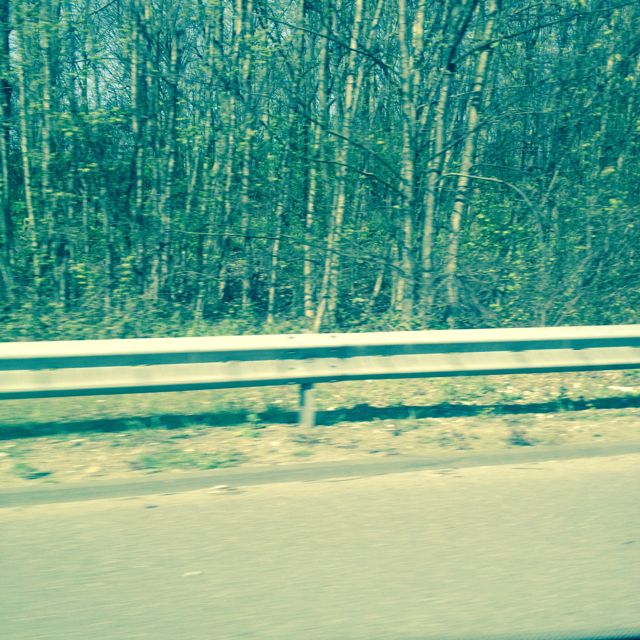
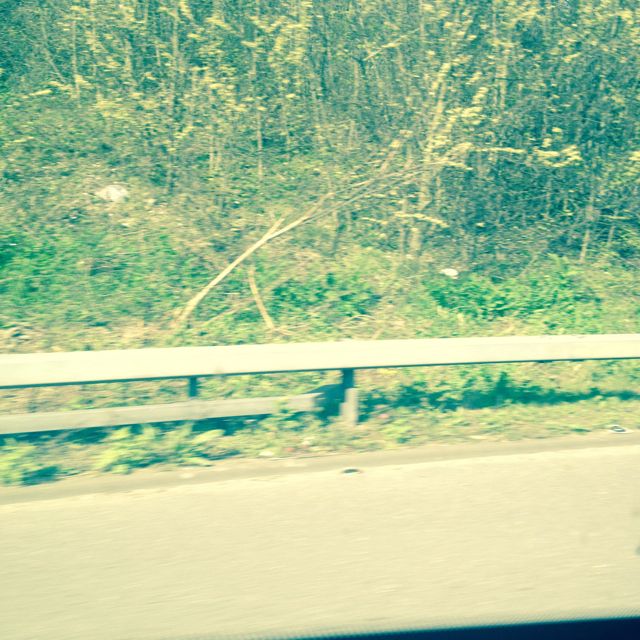
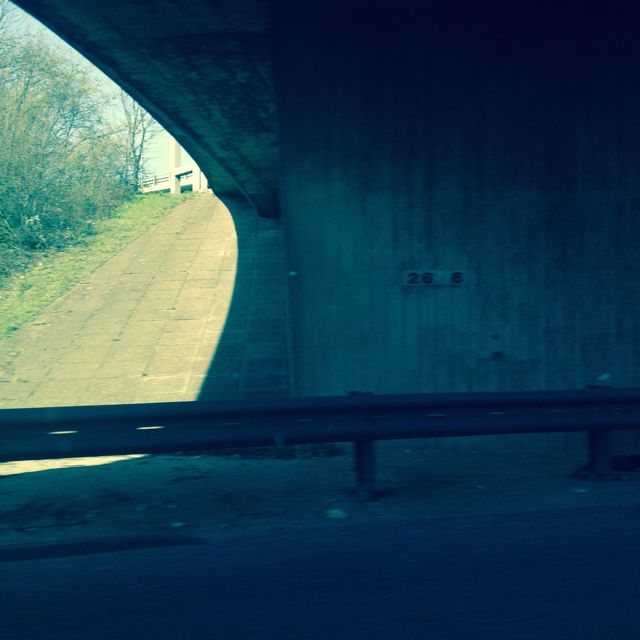
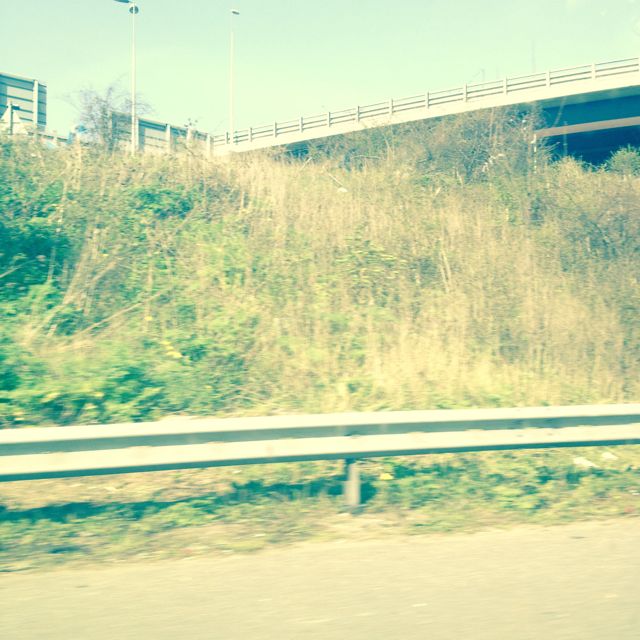
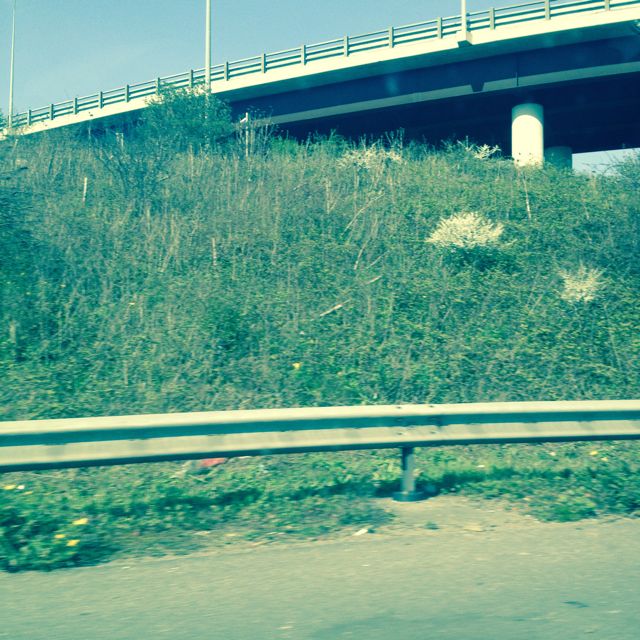
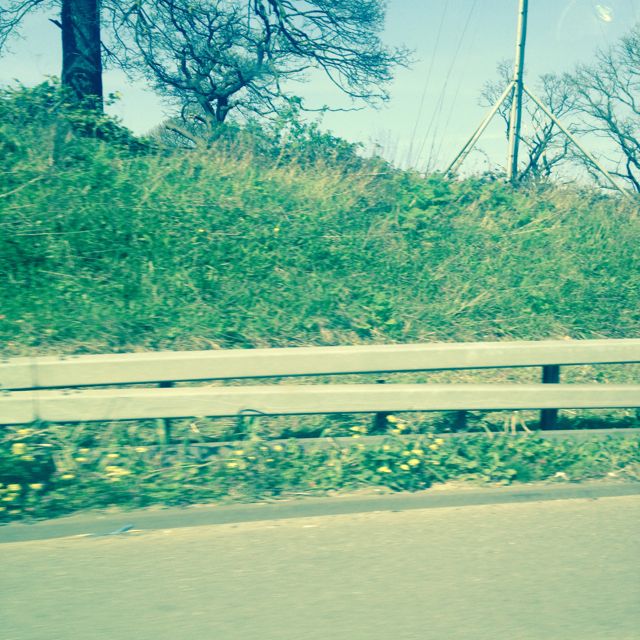
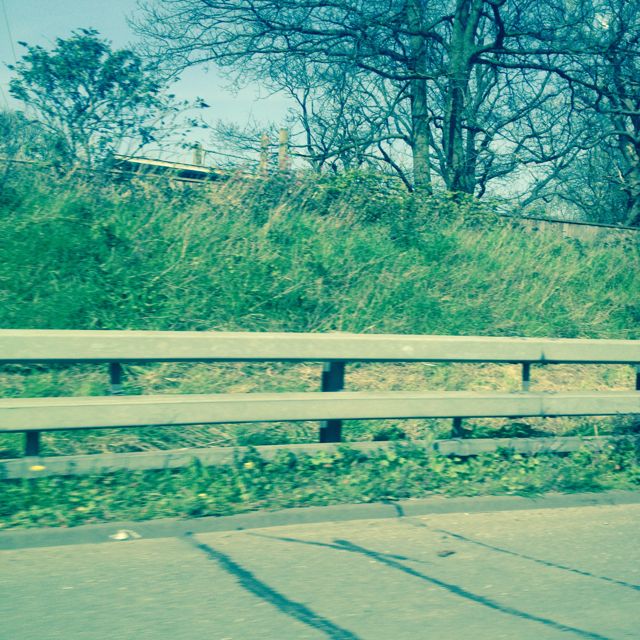
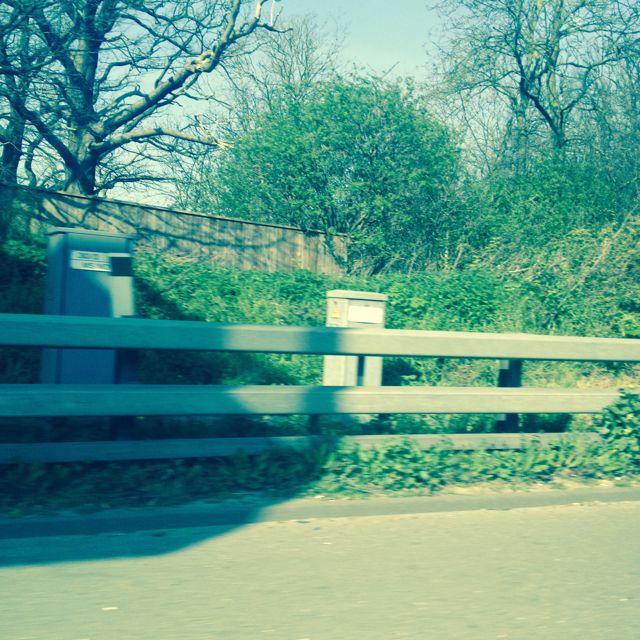
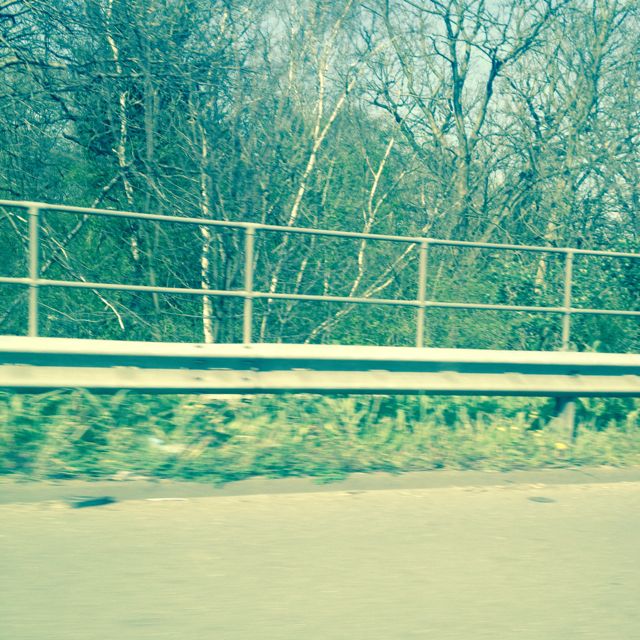
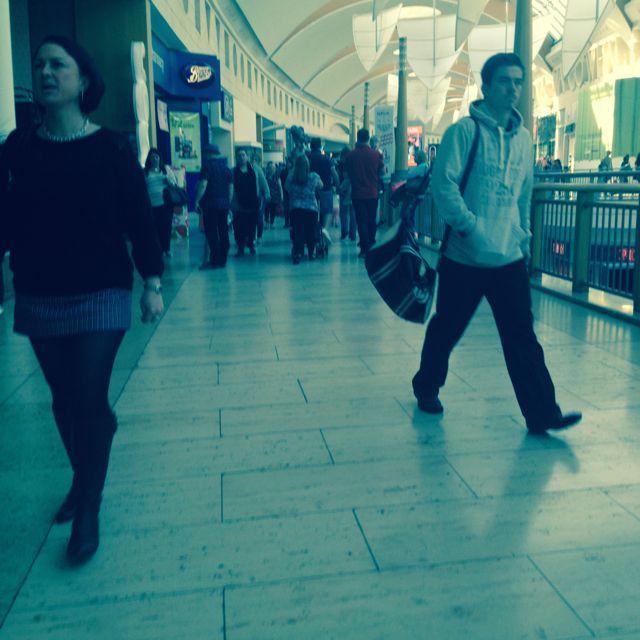
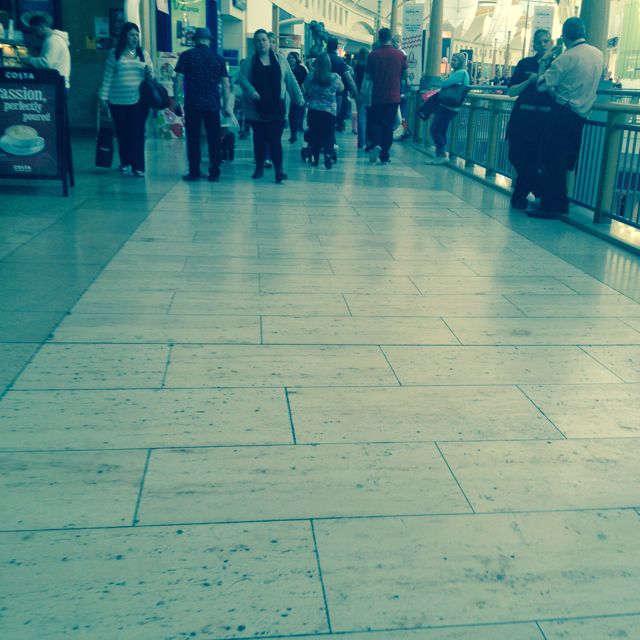
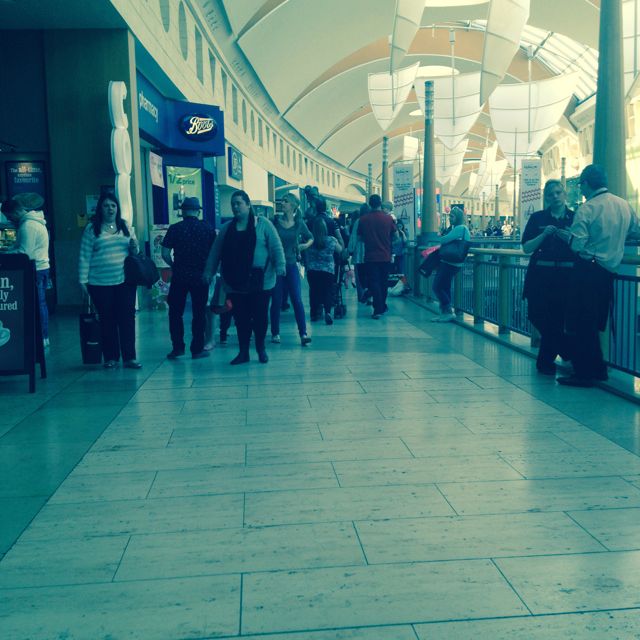
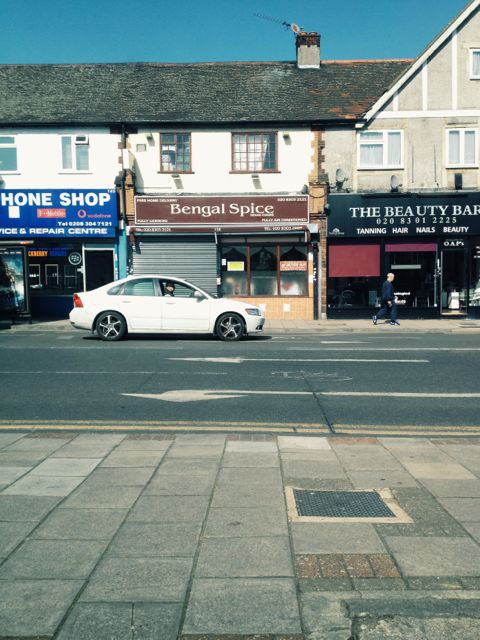
Second Journey

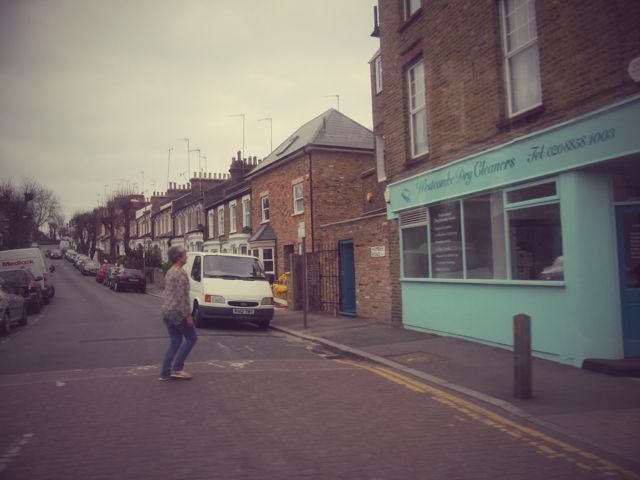
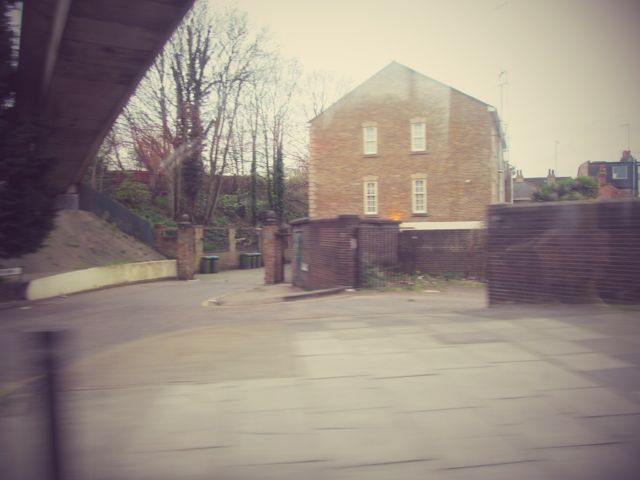
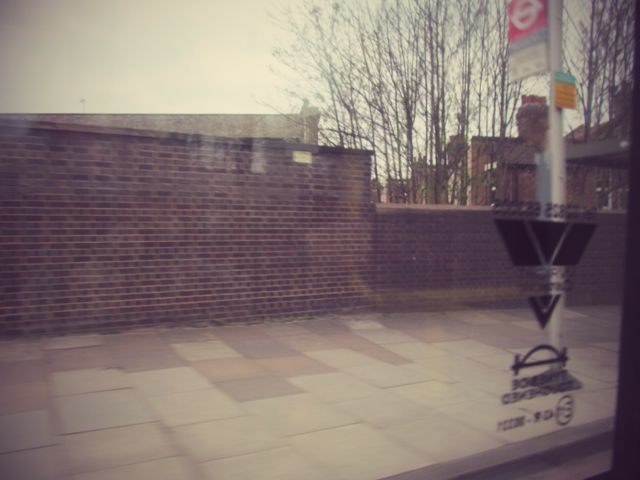
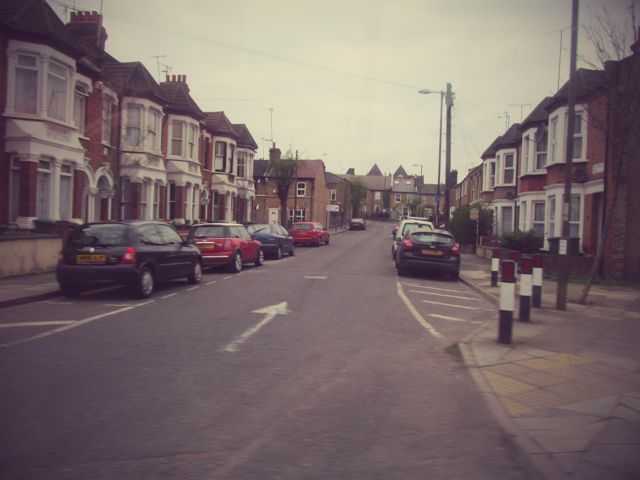
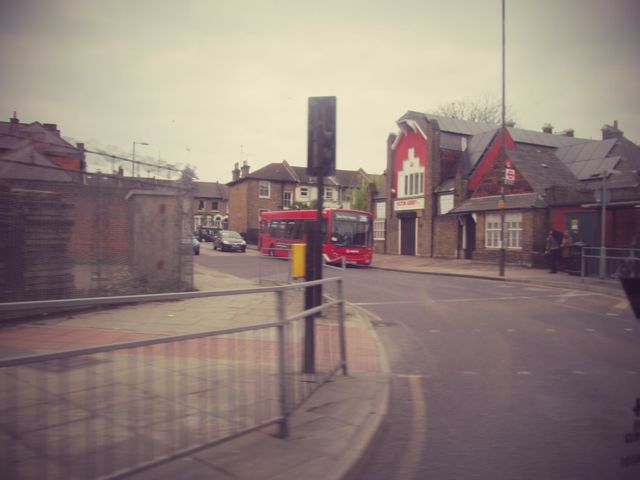
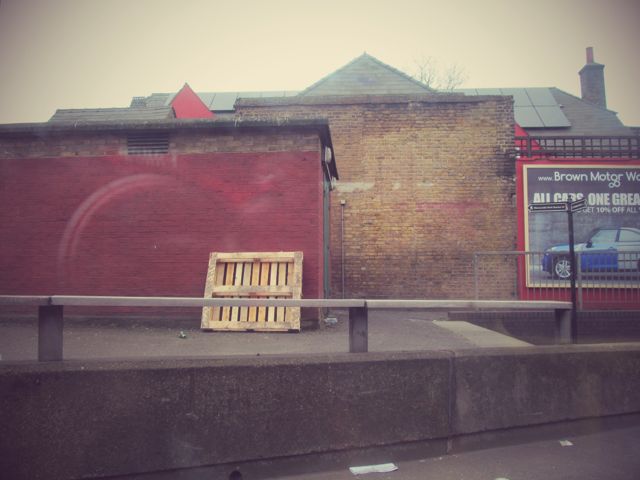
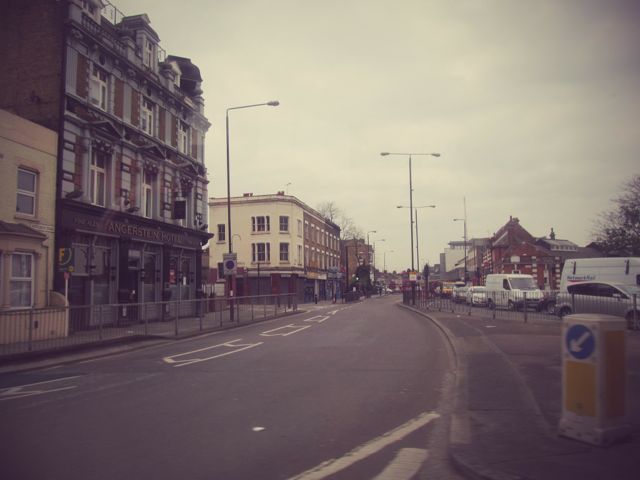
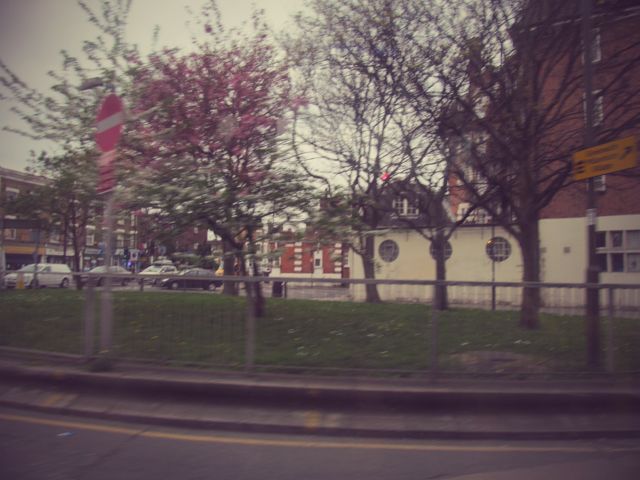
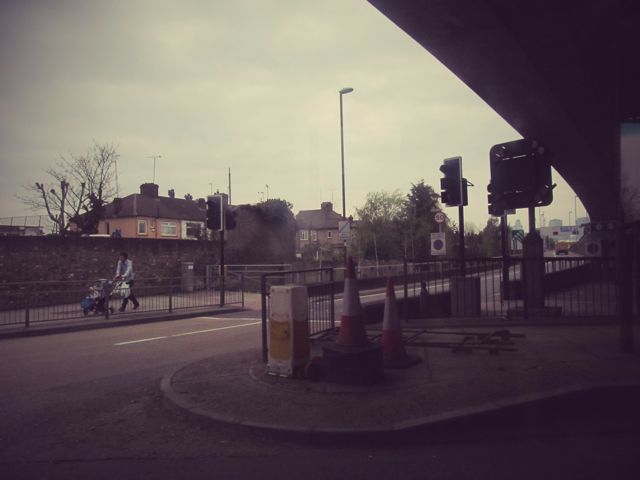
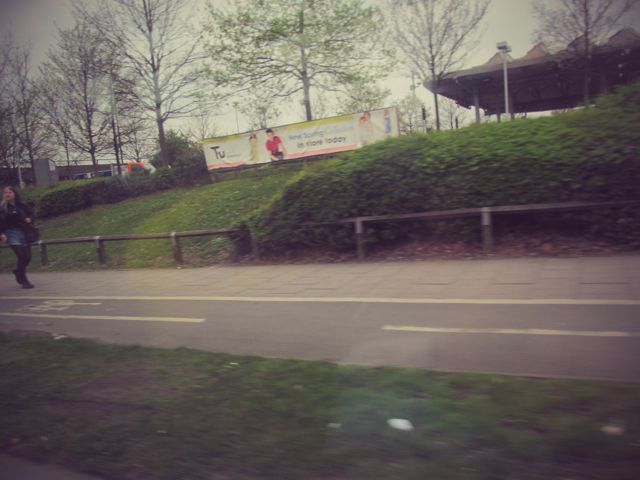
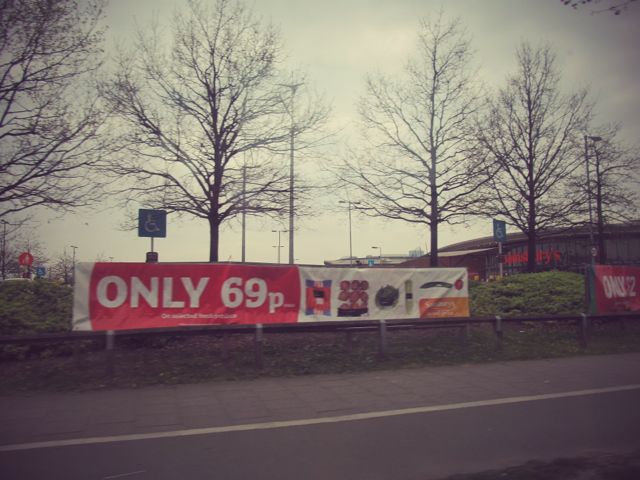
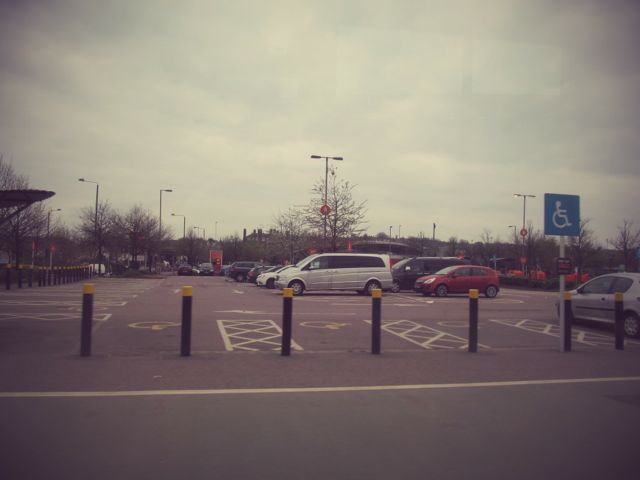
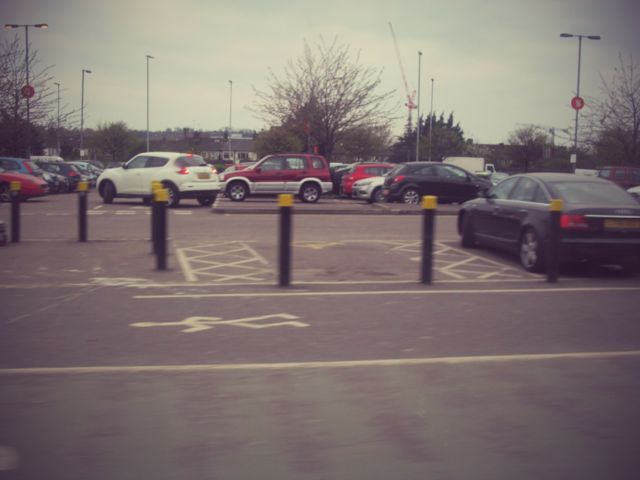
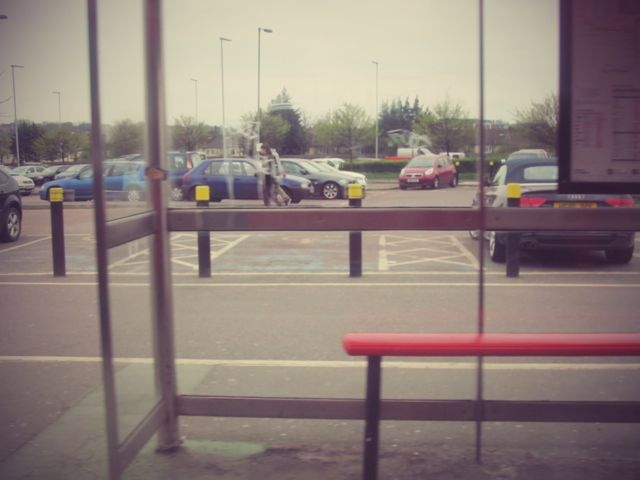
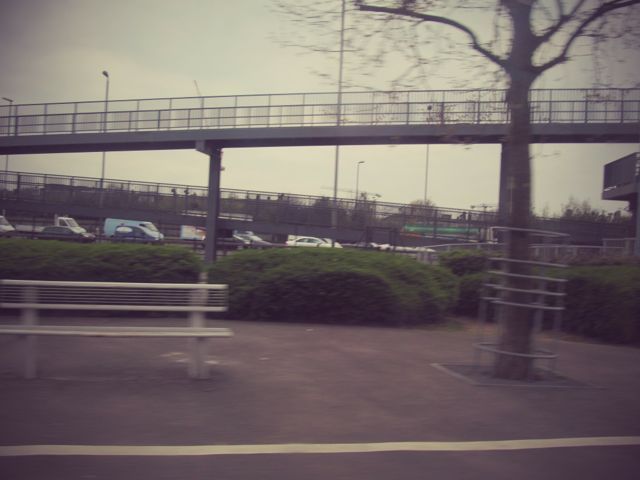
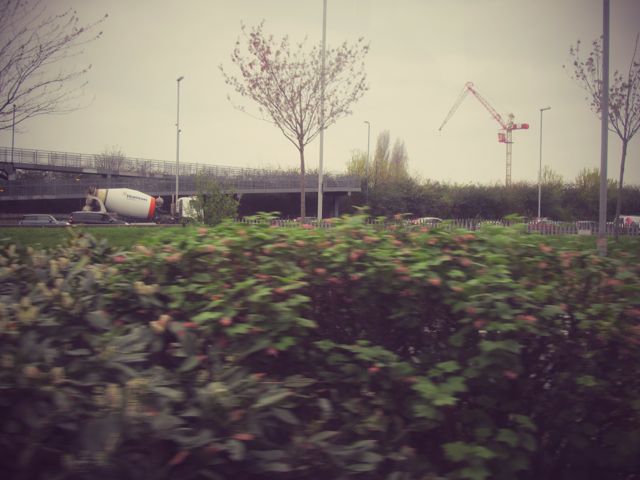
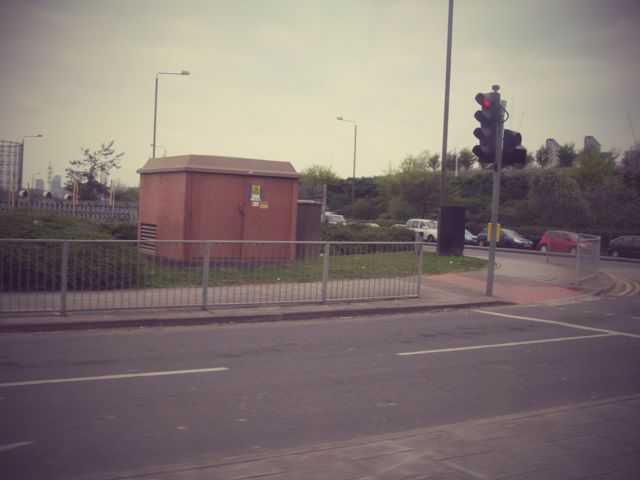
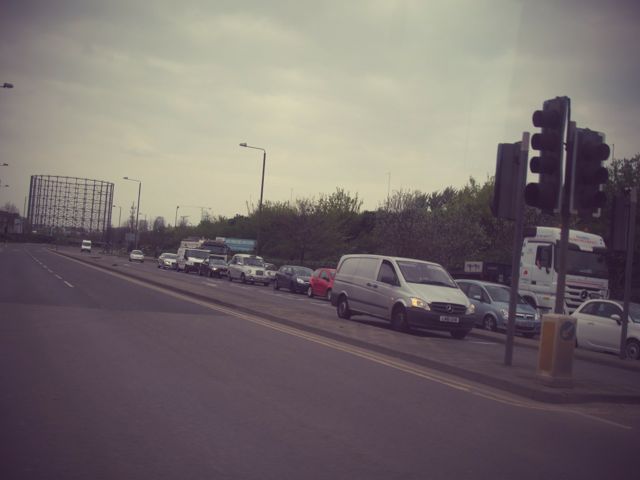
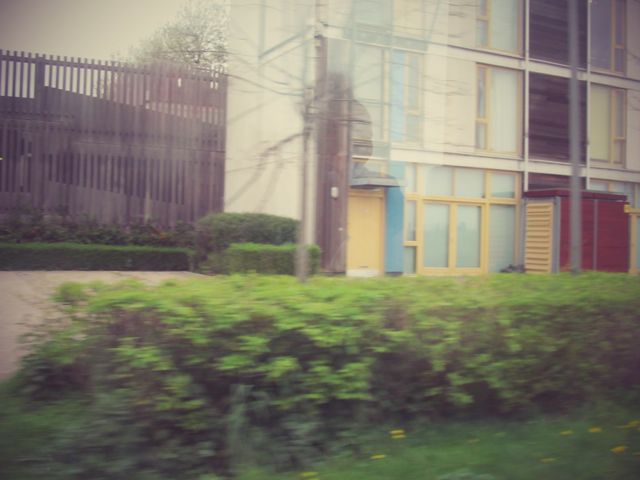

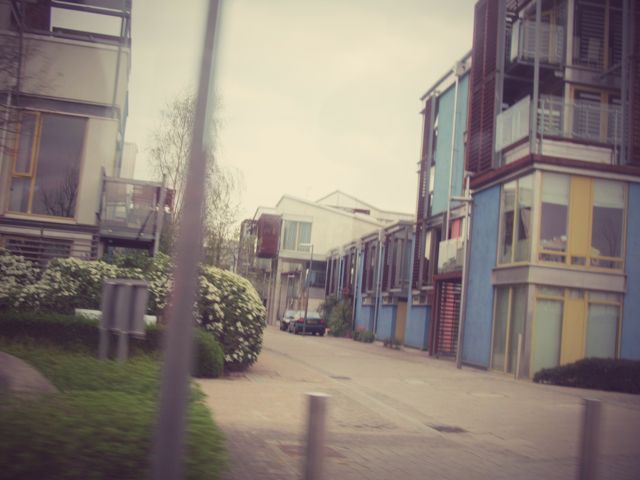
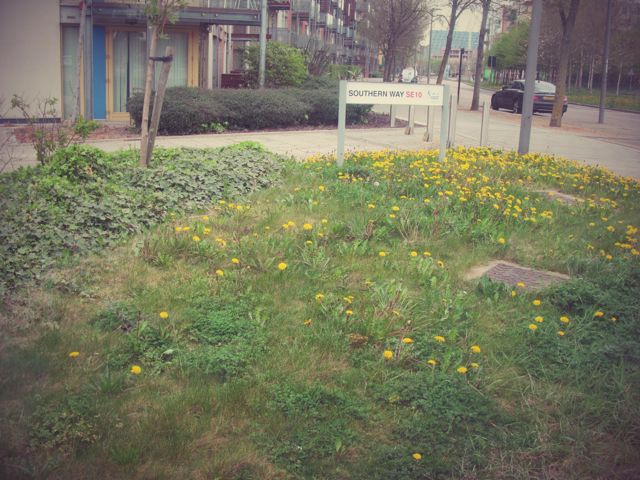
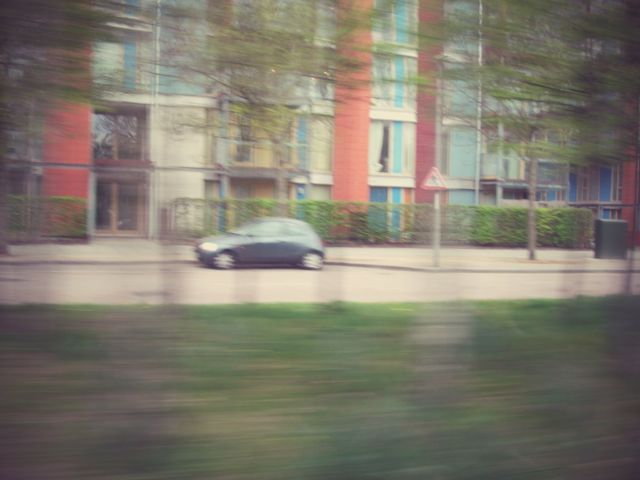
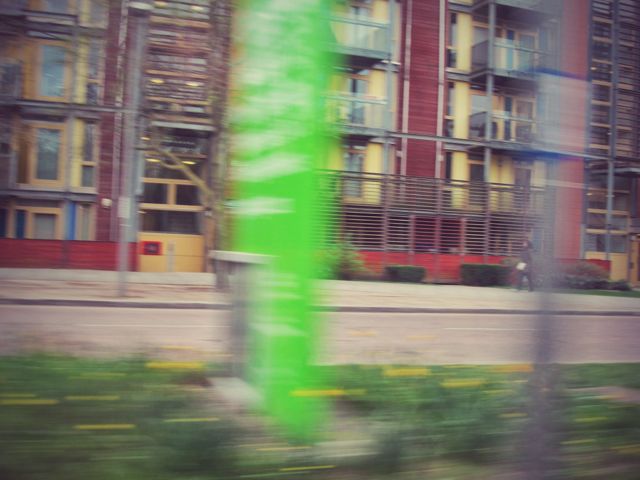
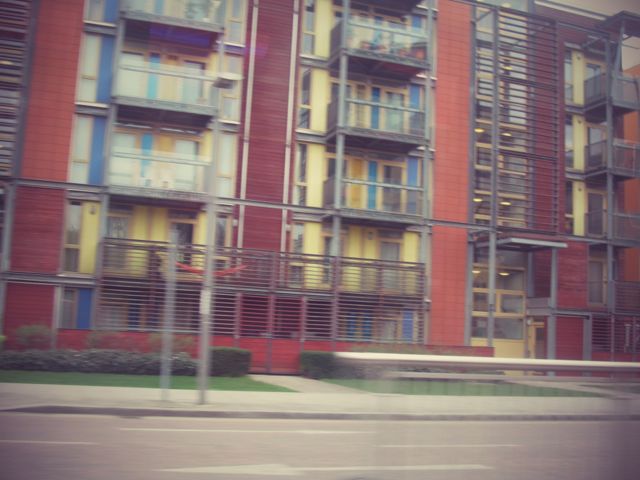
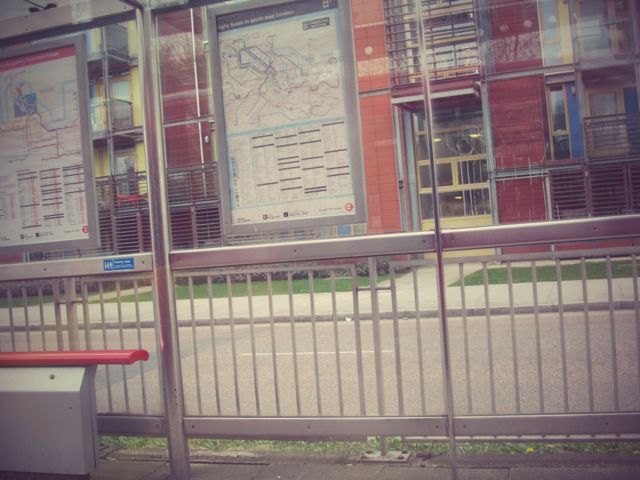
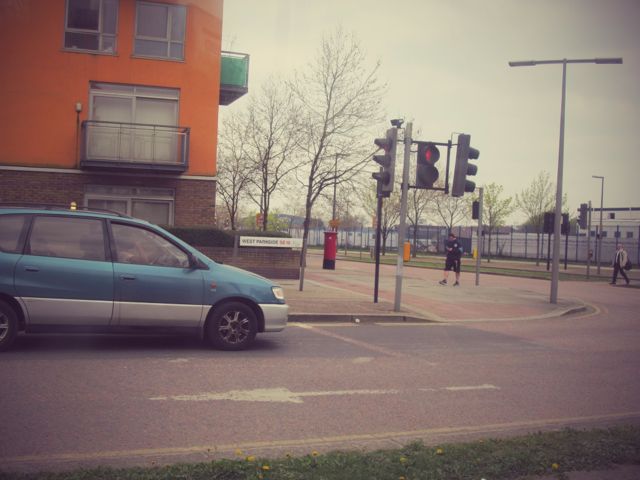
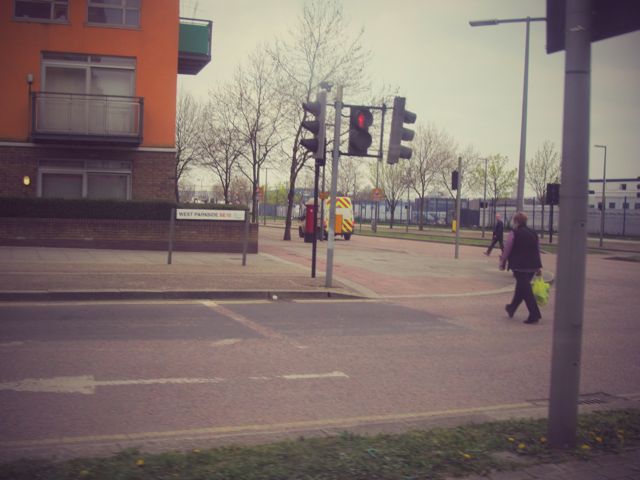
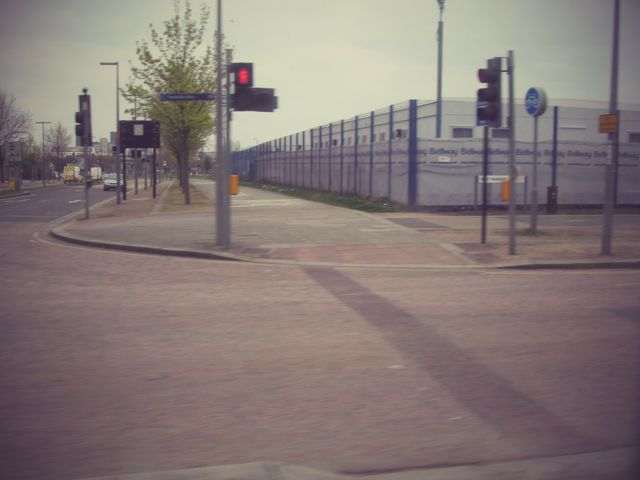

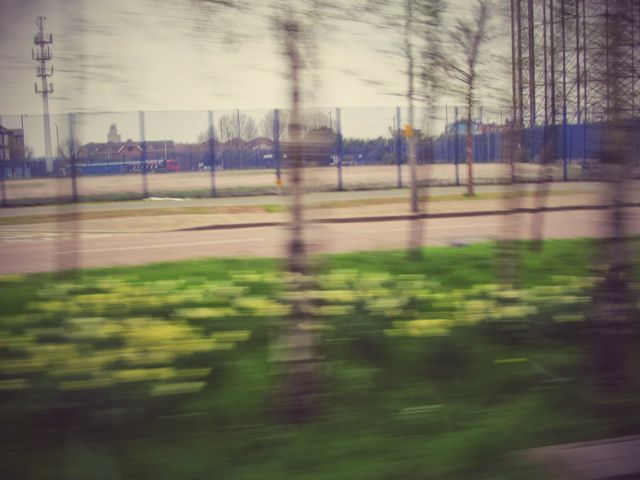
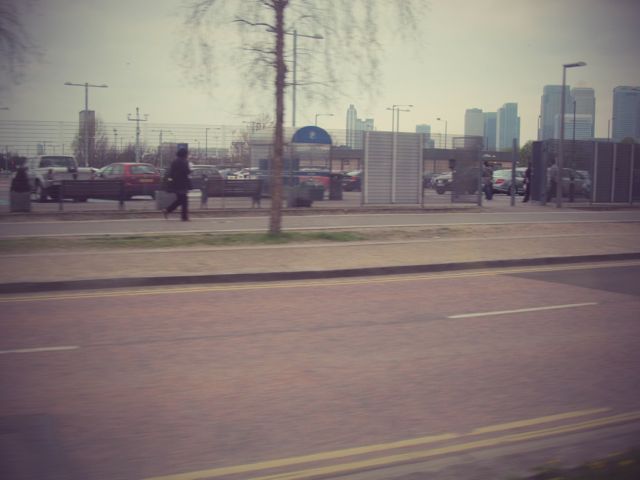
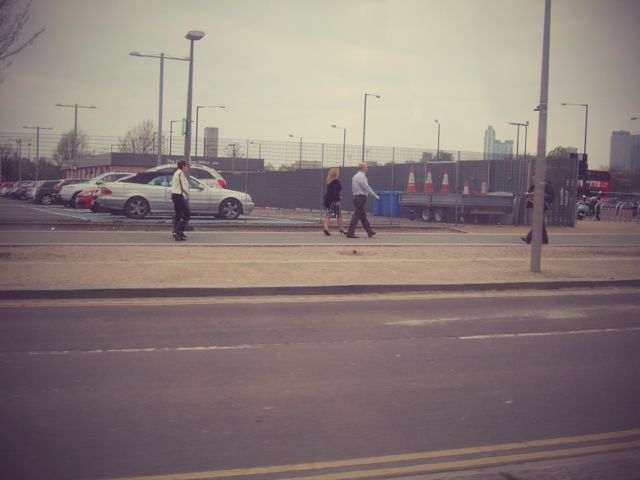
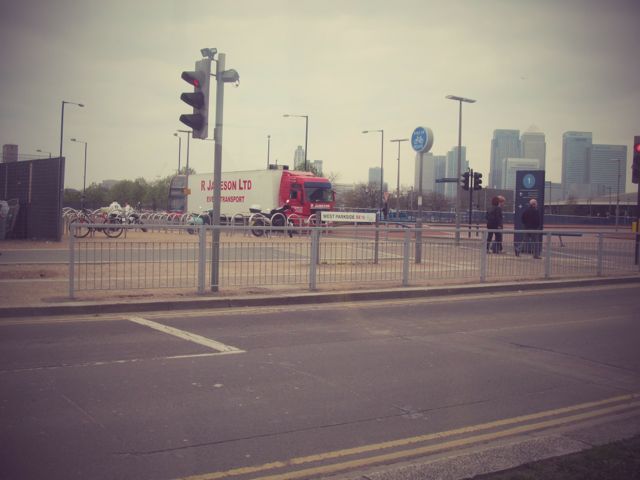
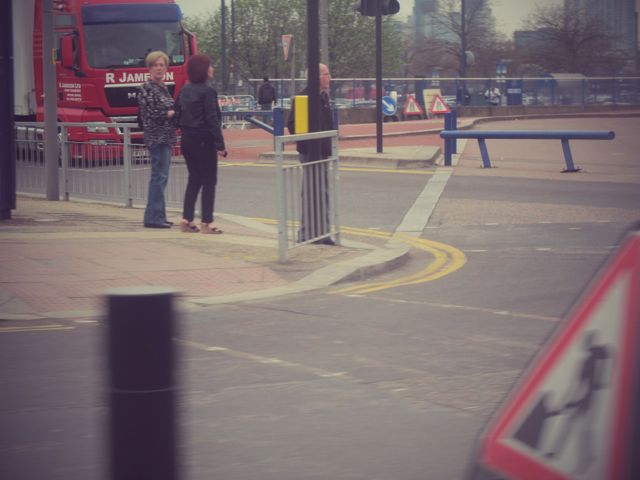
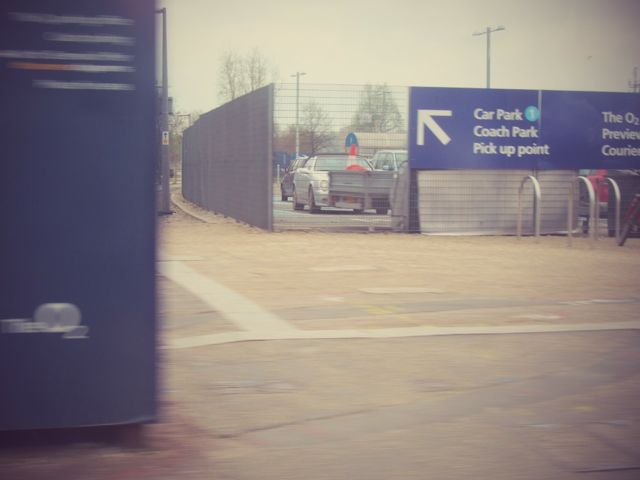
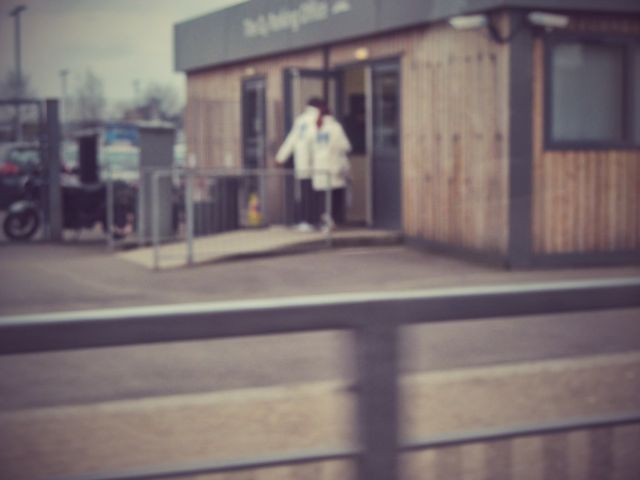
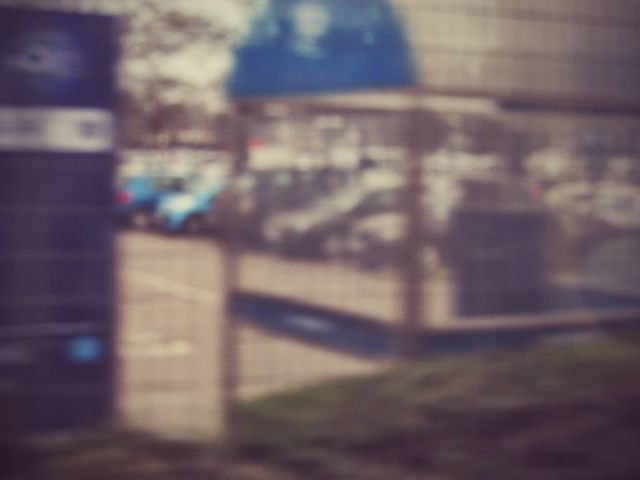
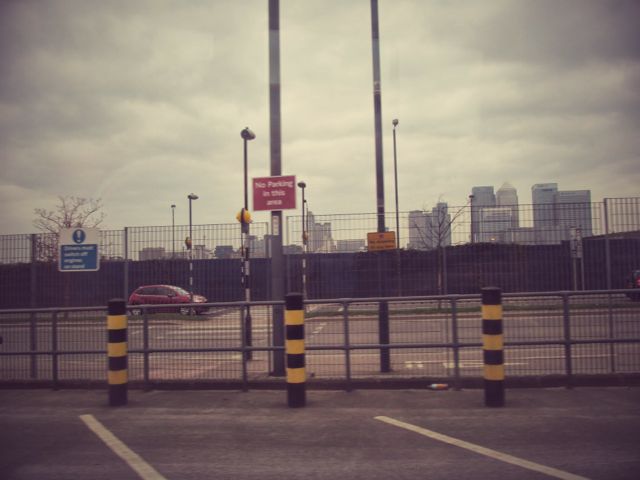
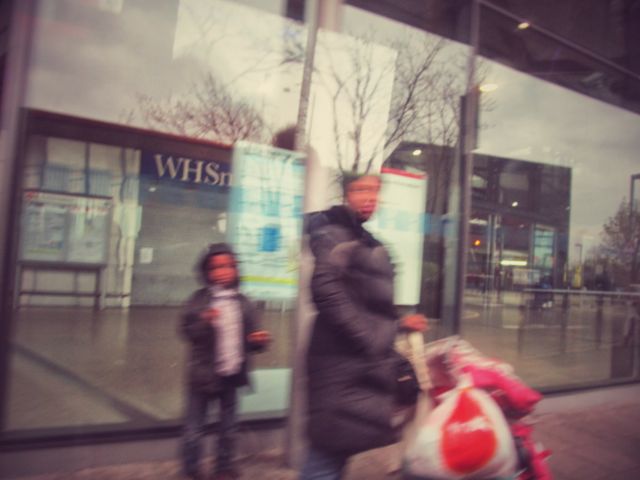
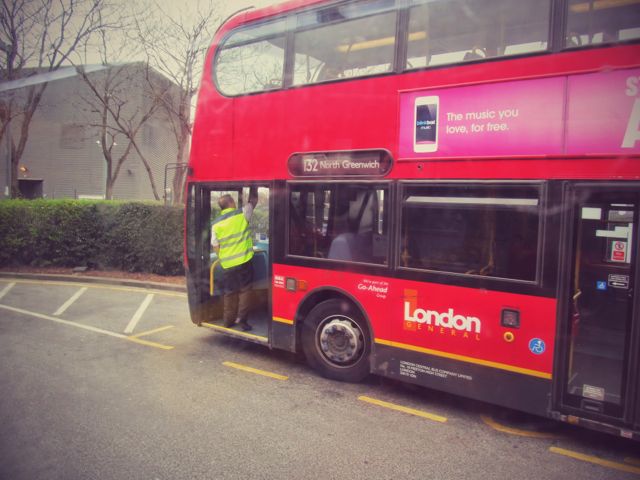
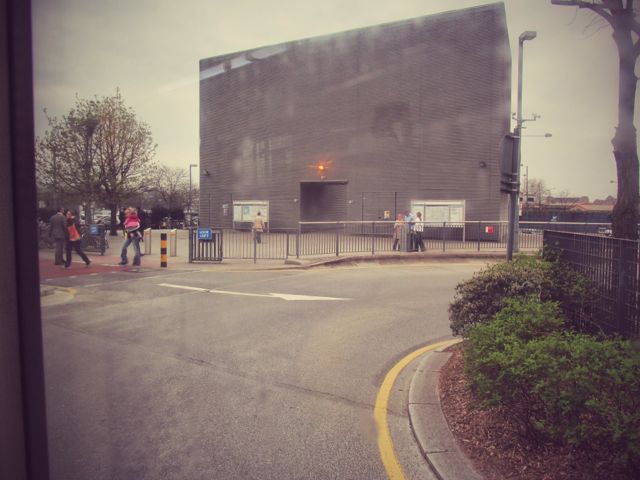
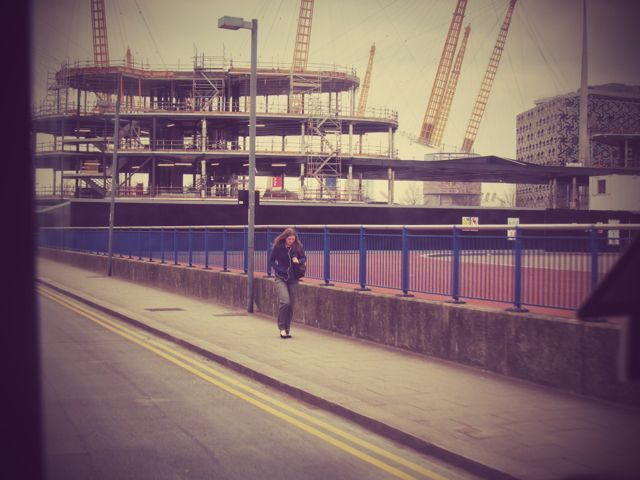
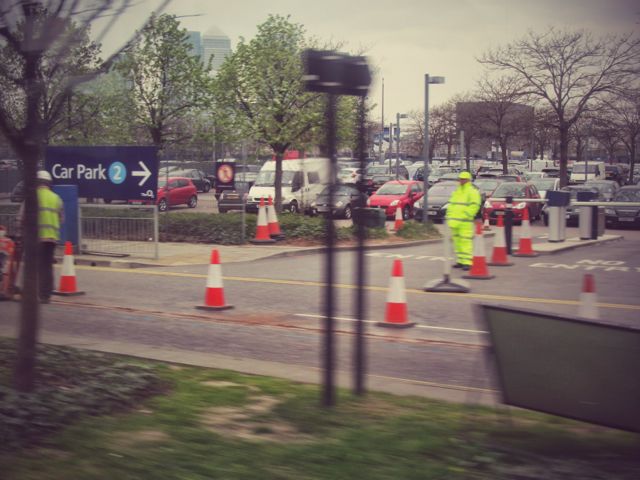
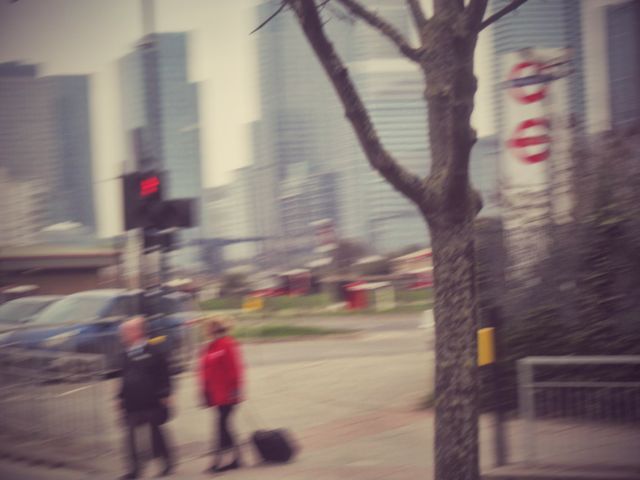
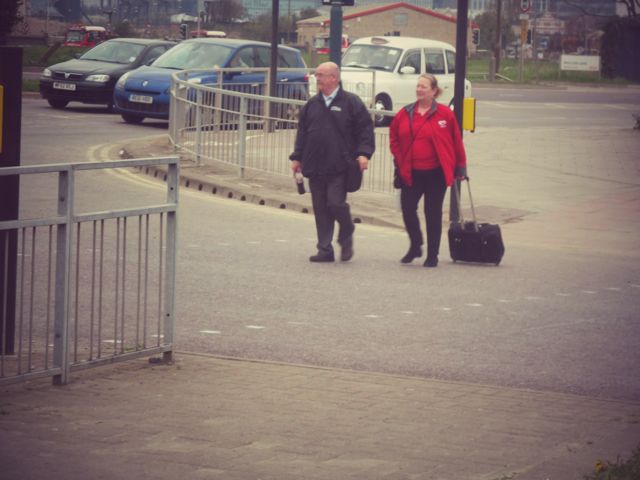
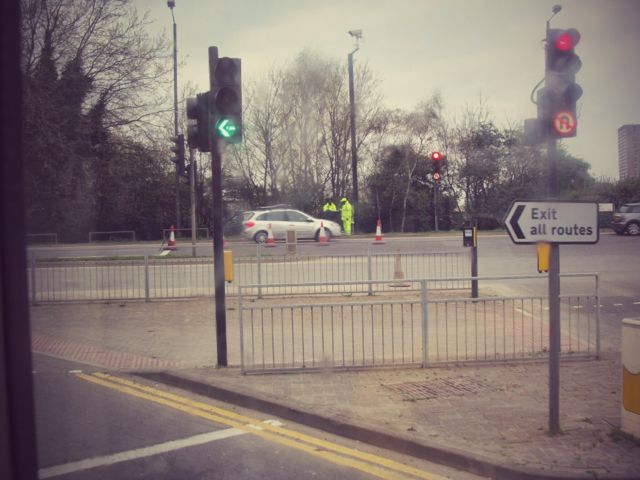
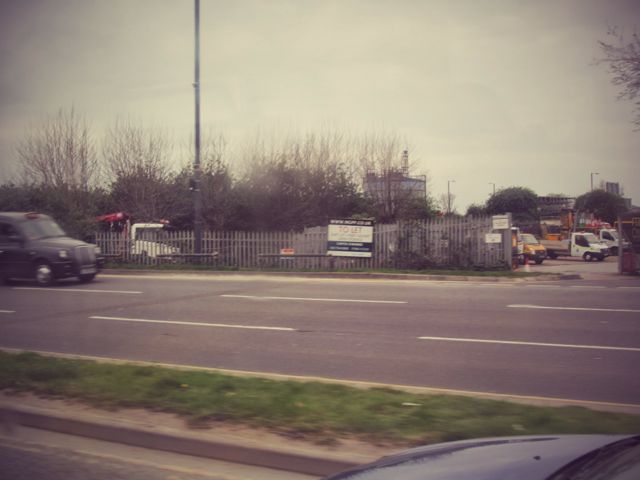

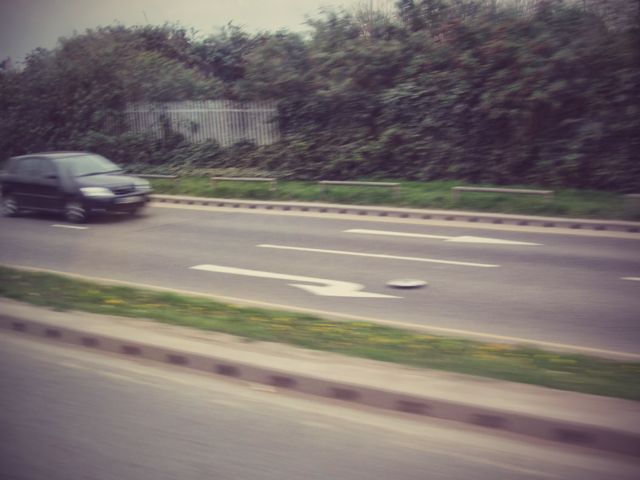
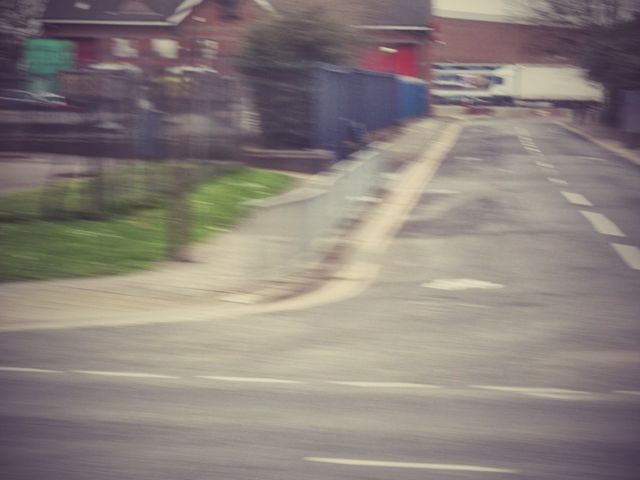
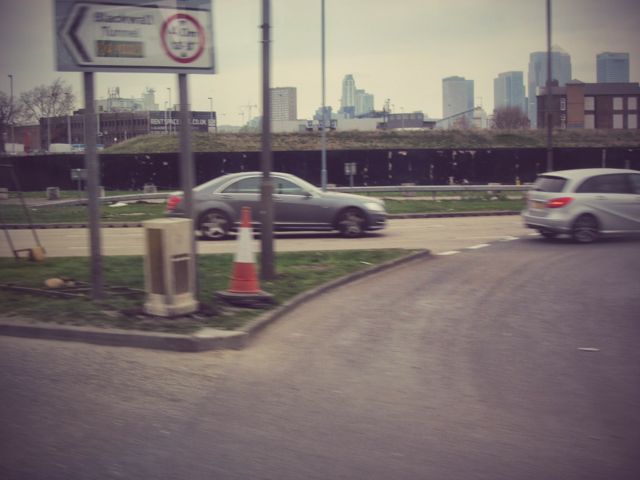
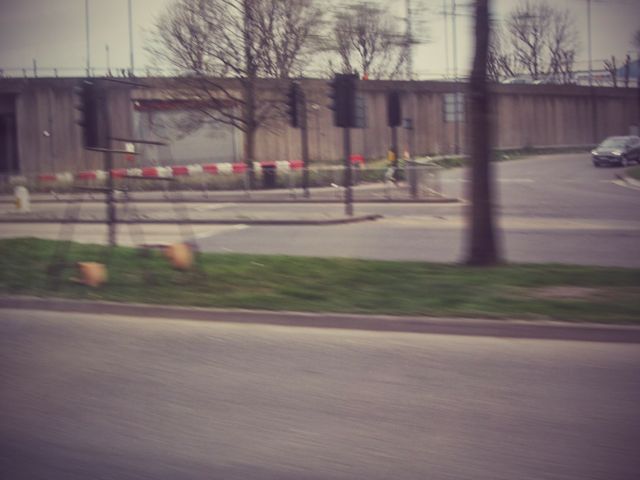
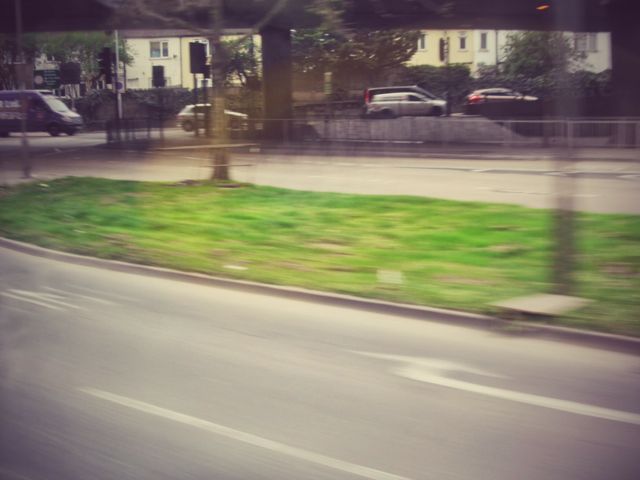
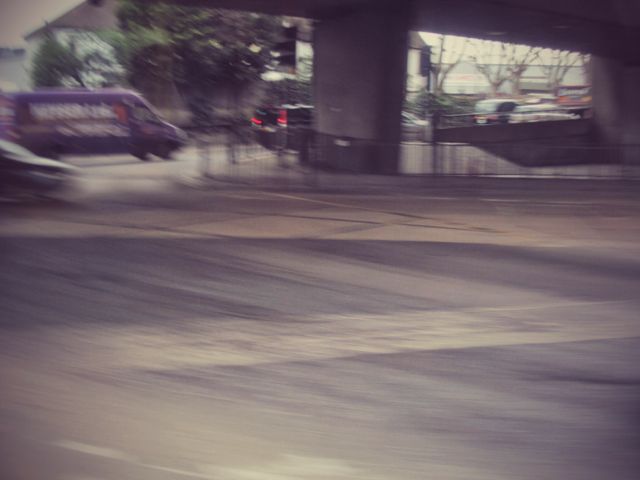
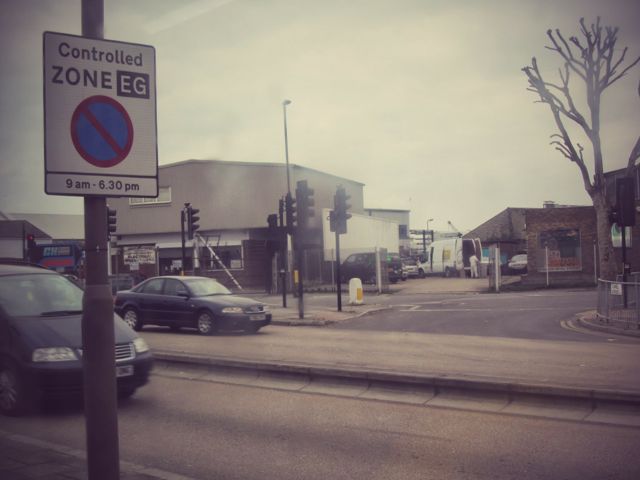

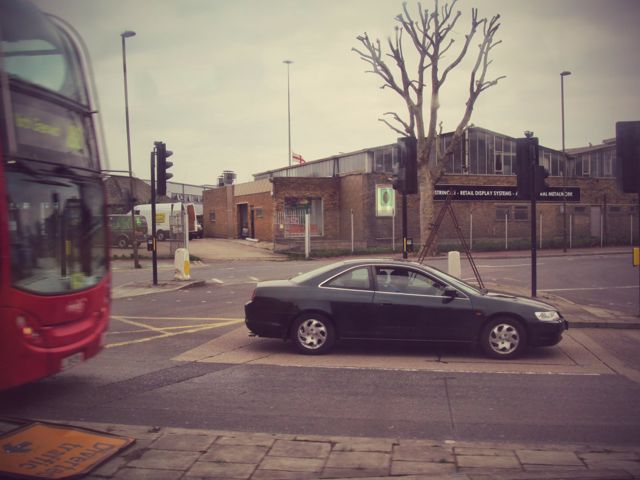
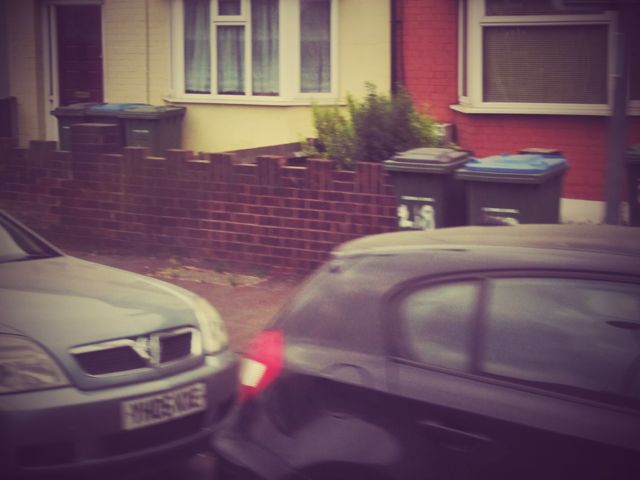
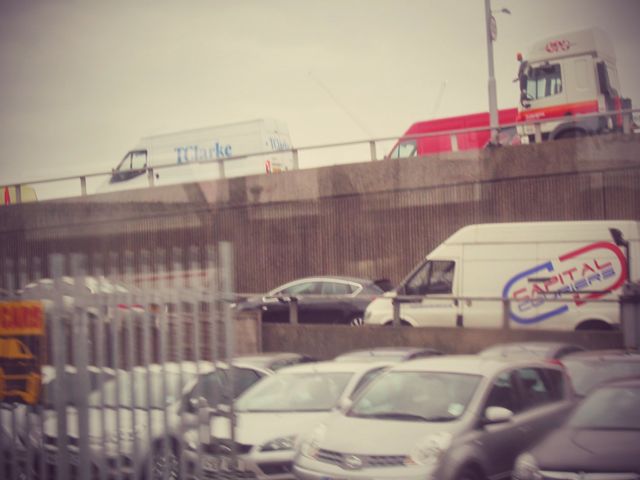

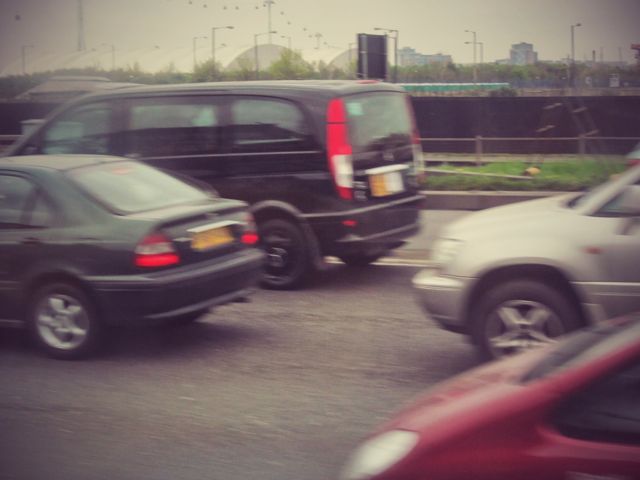
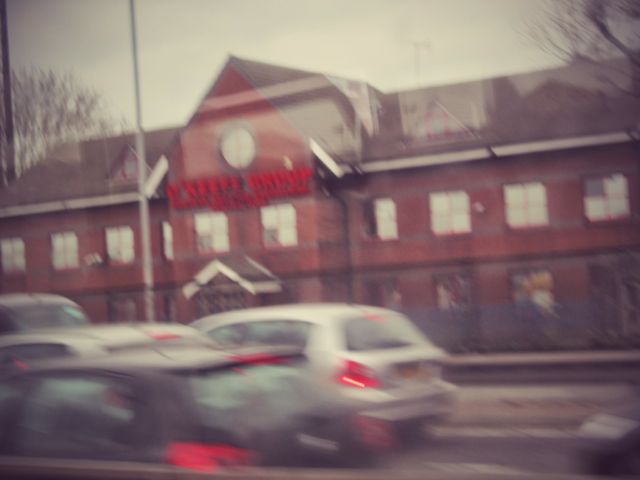
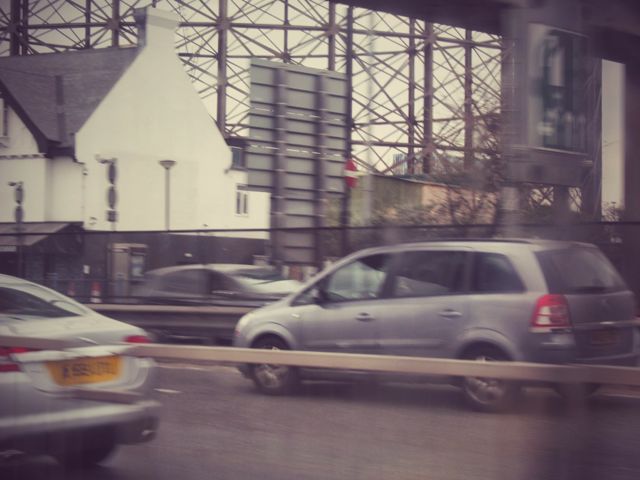

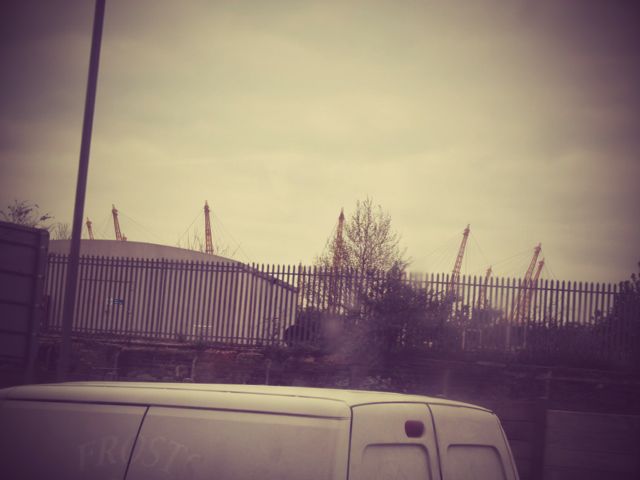
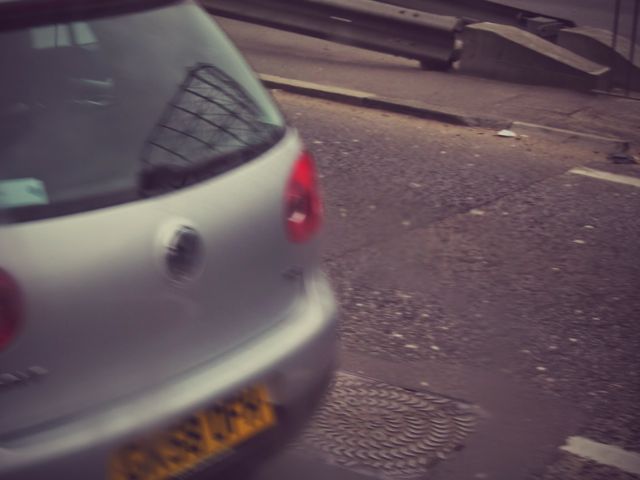
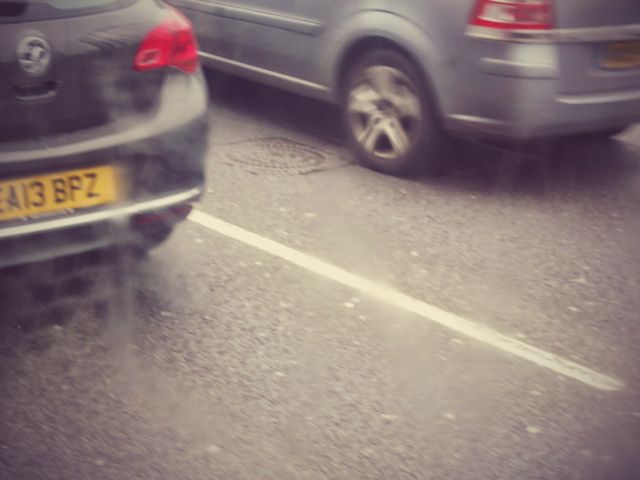

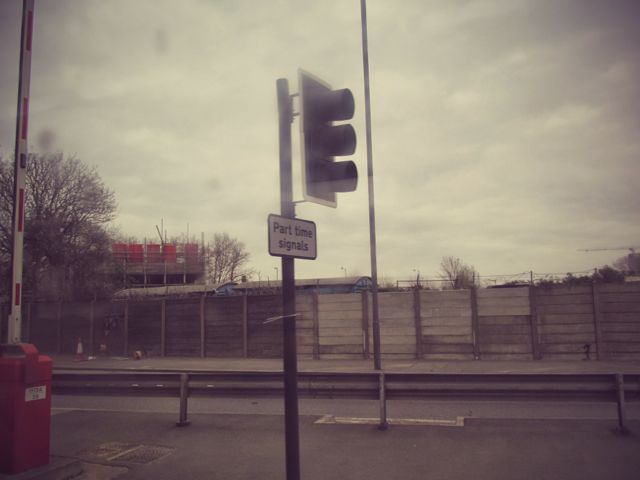
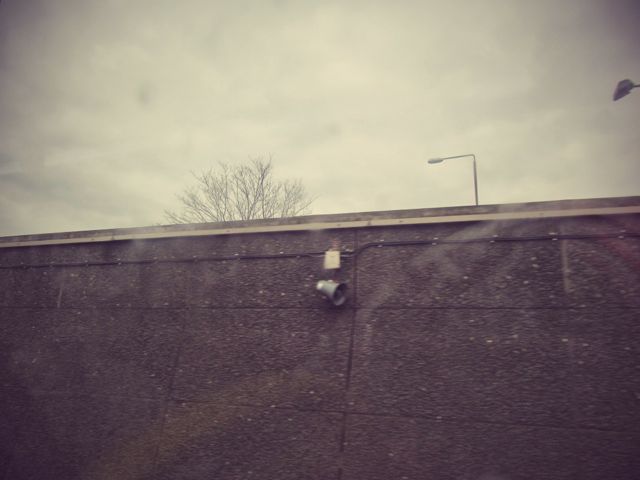
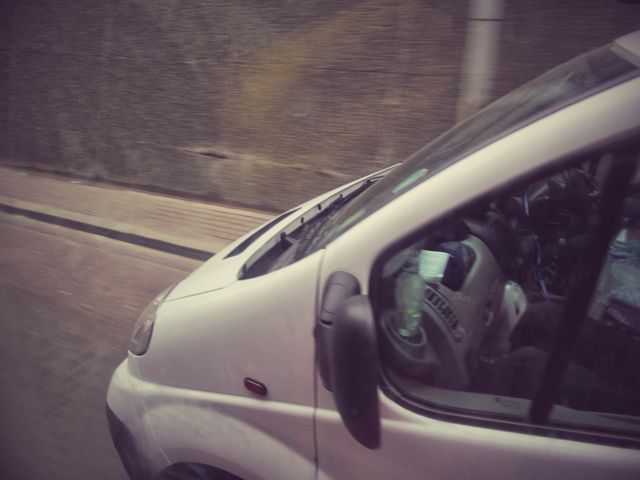
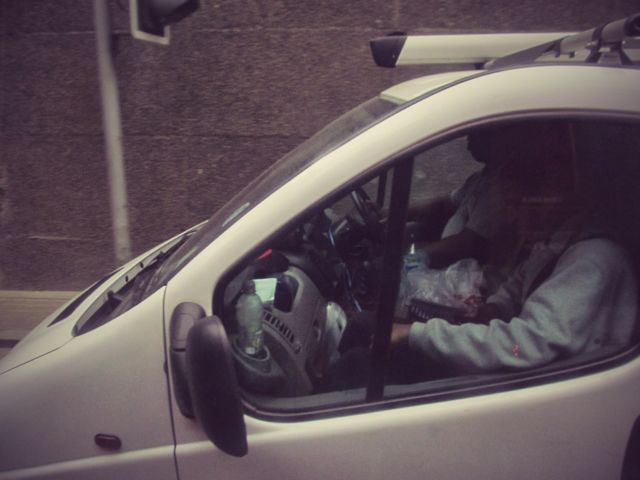
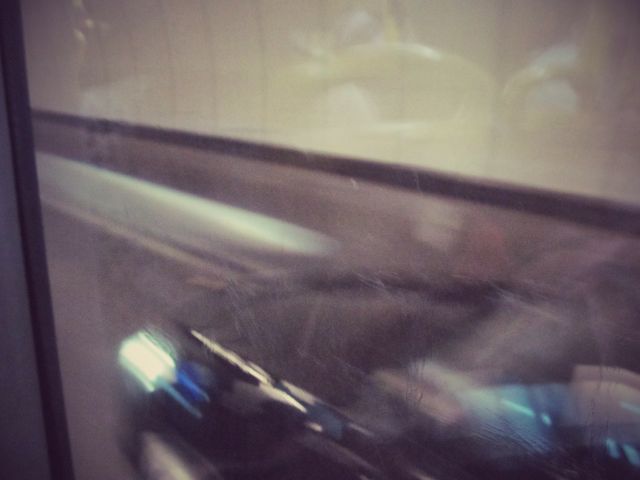
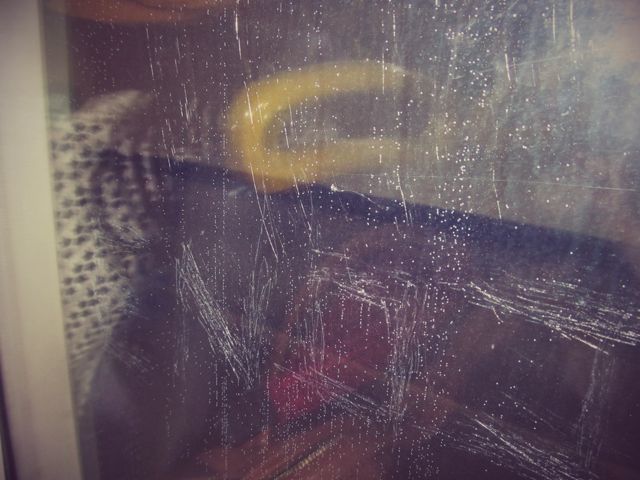
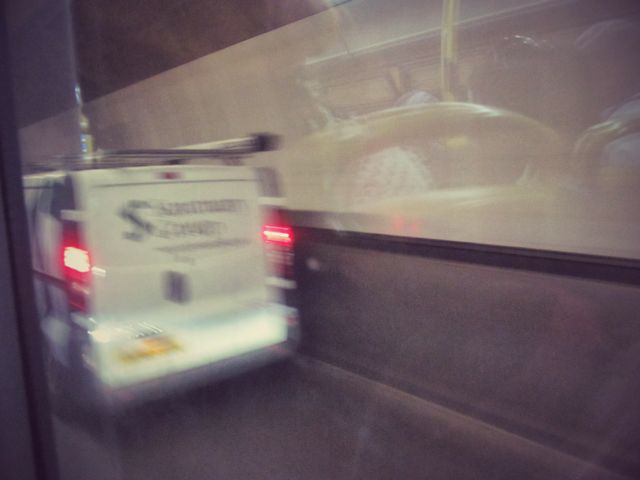


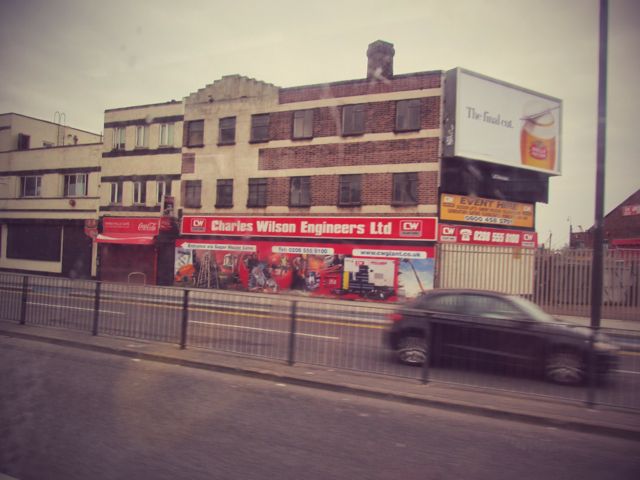
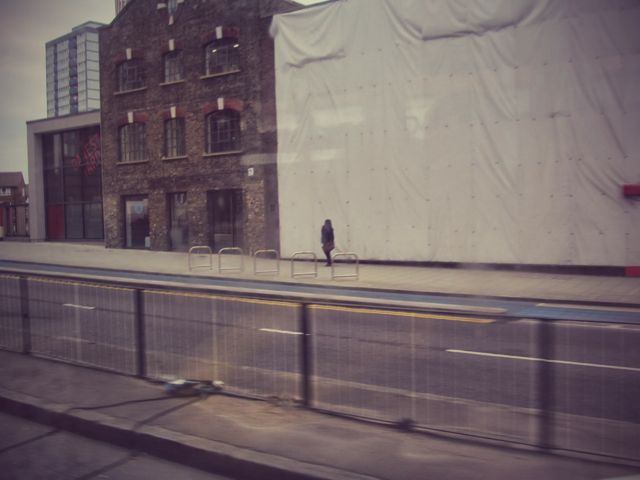
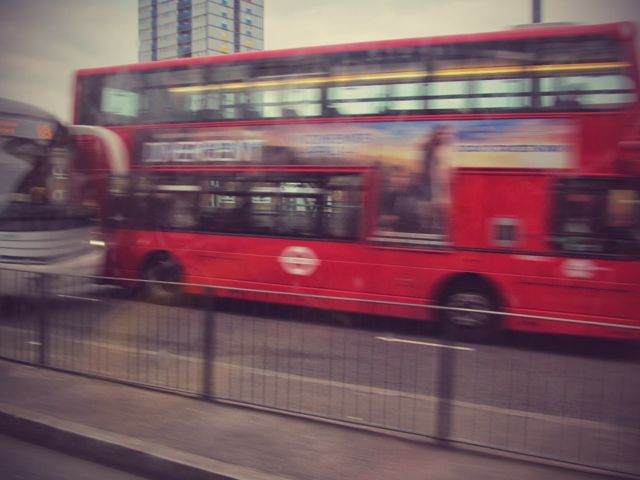
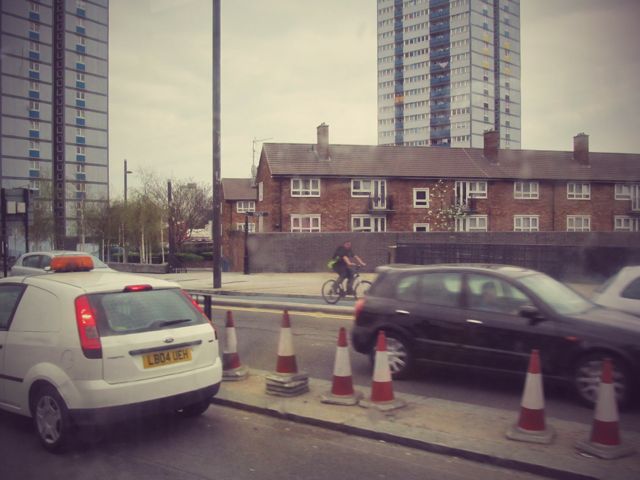
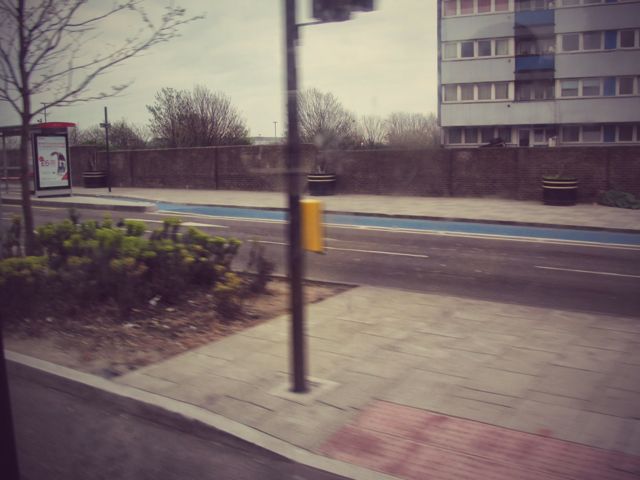
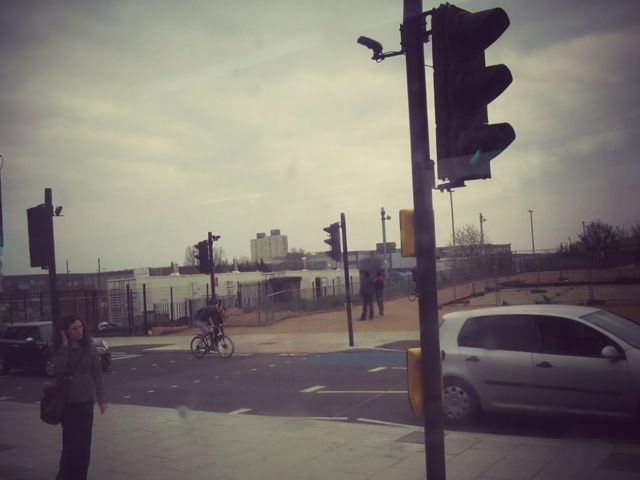
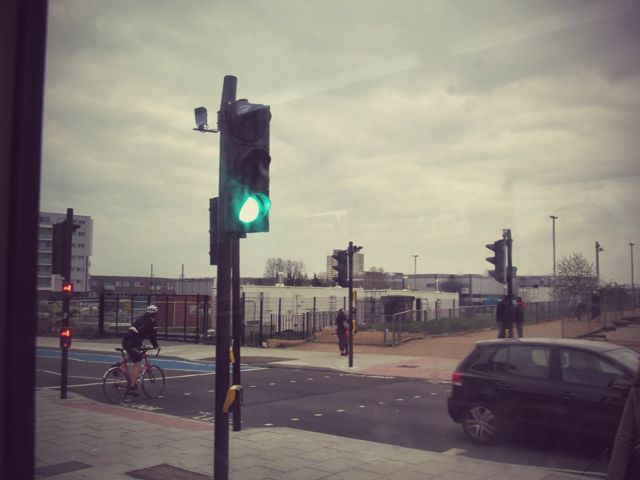

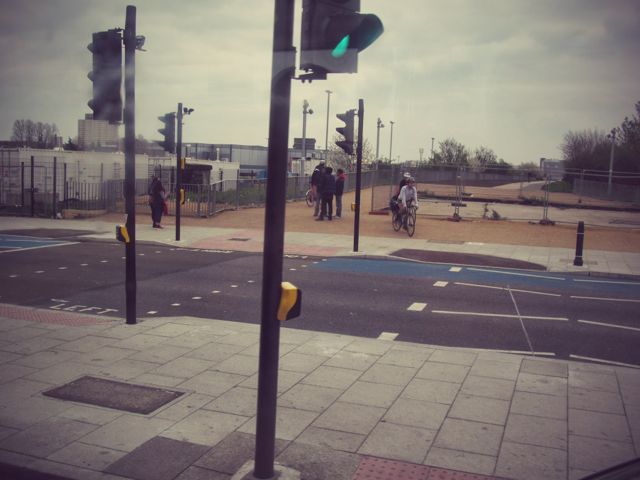
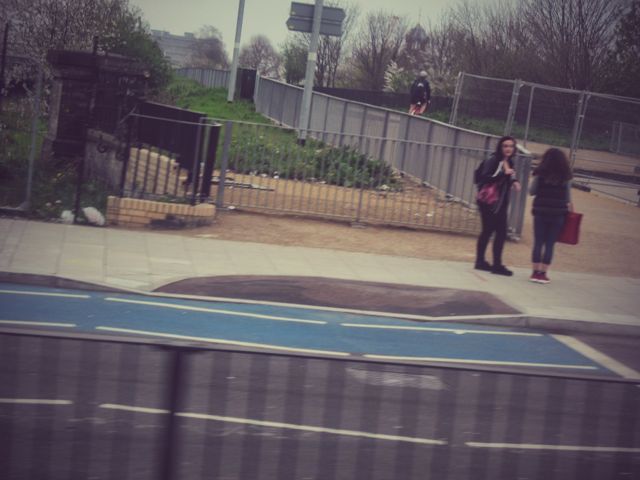
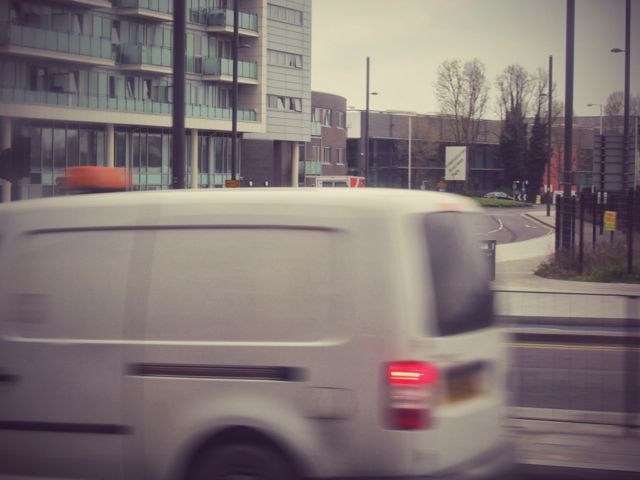


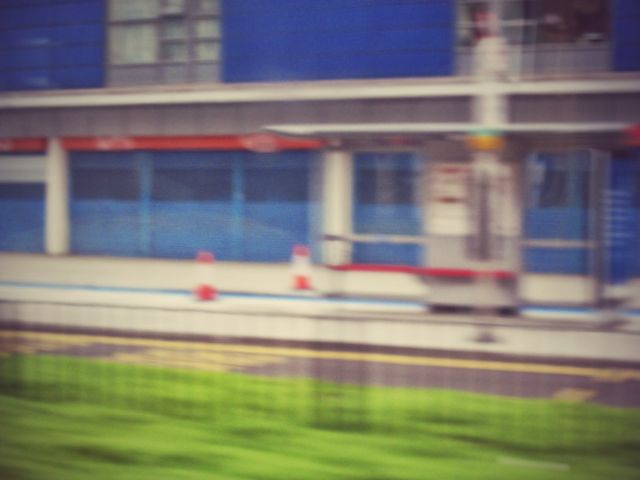

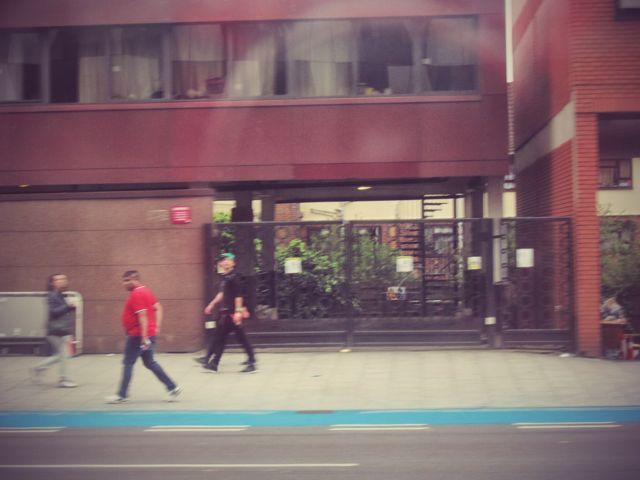
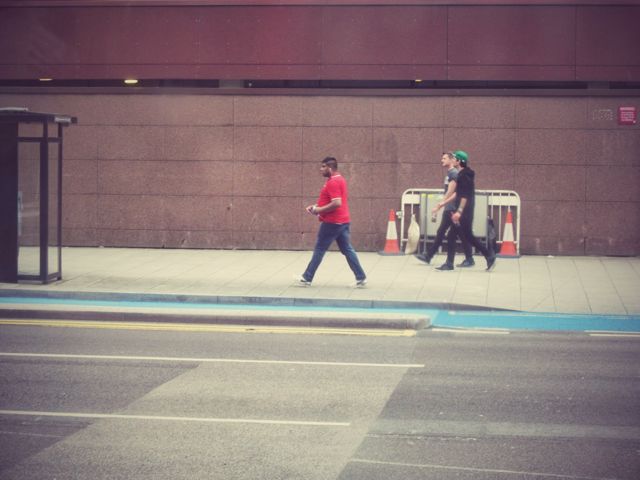
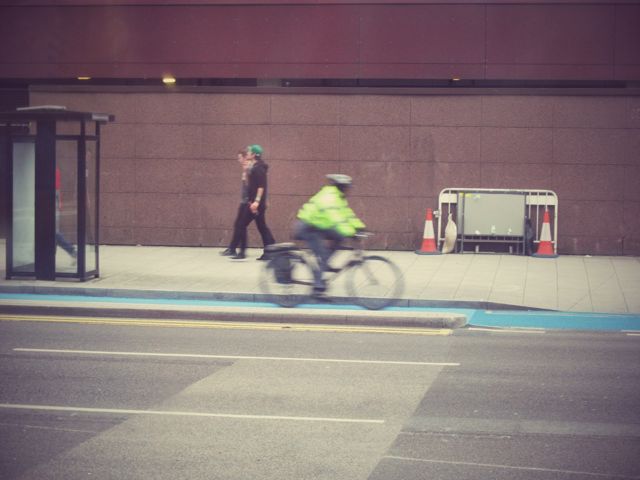
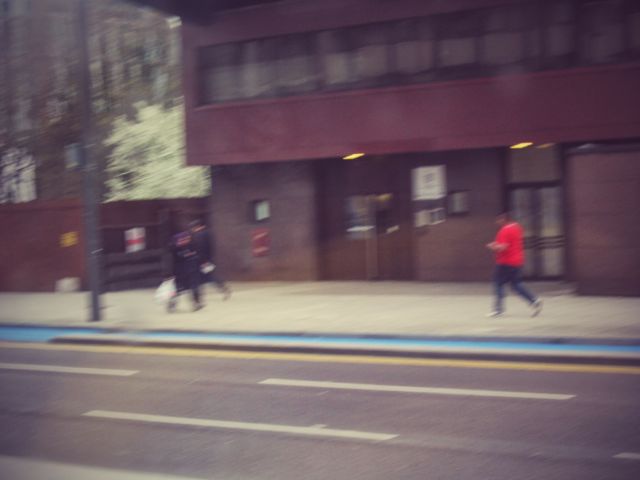
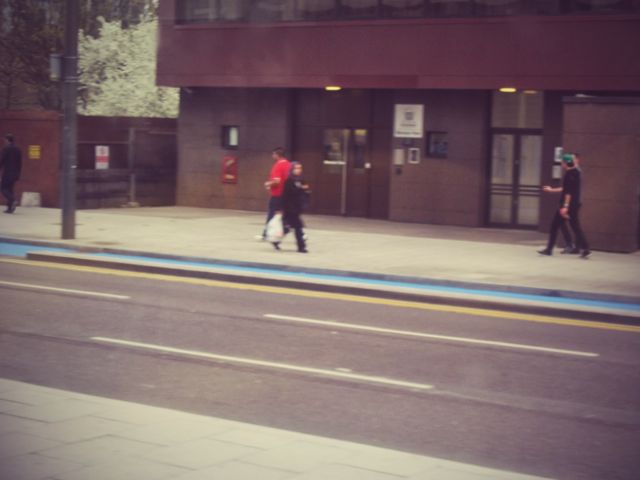
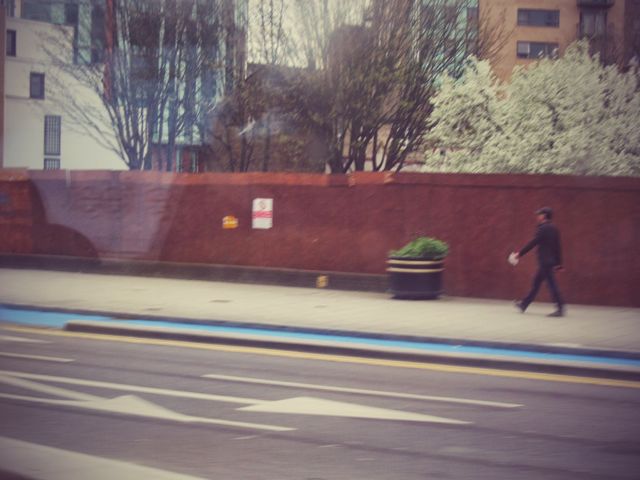
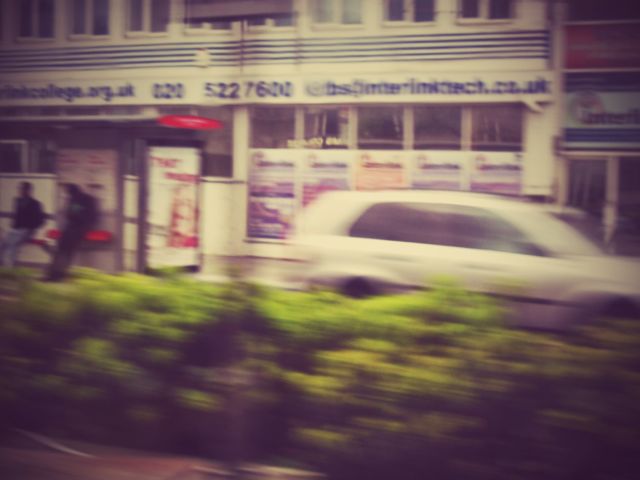
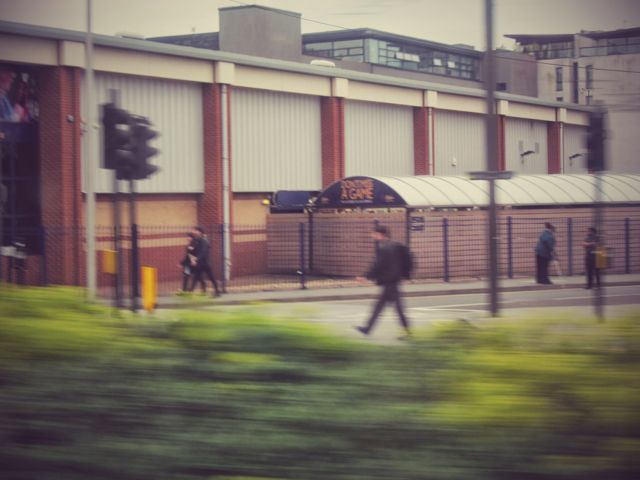
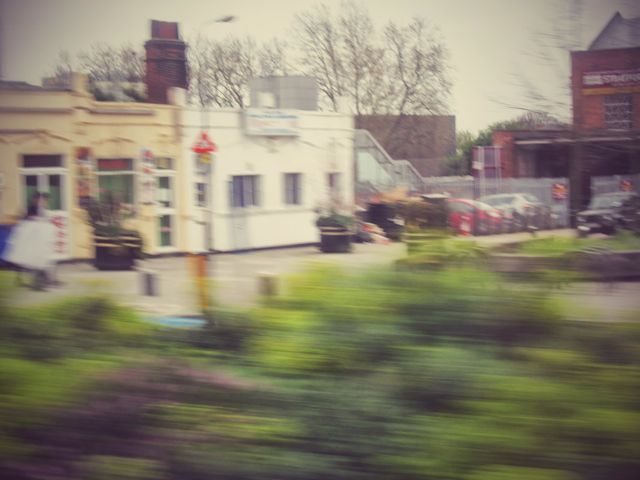
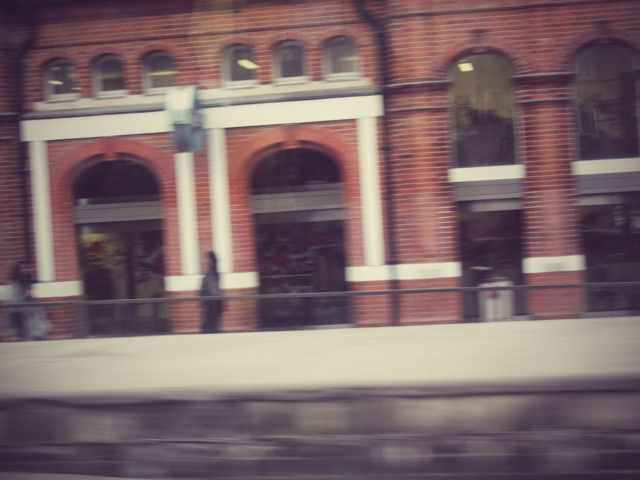
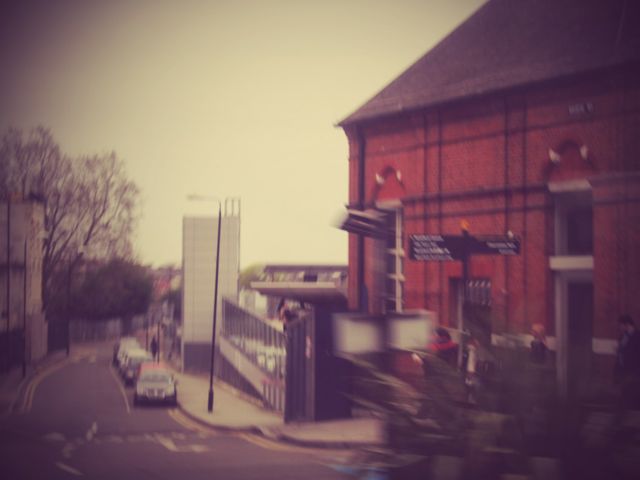
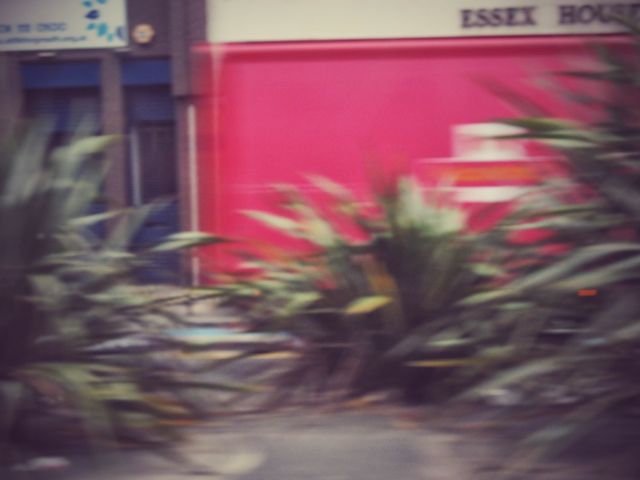
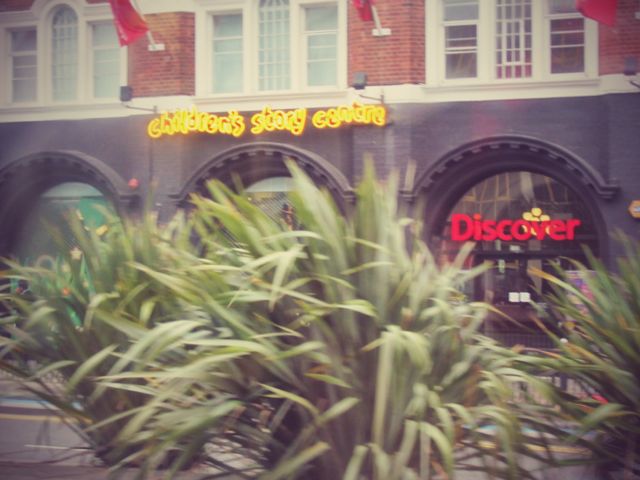
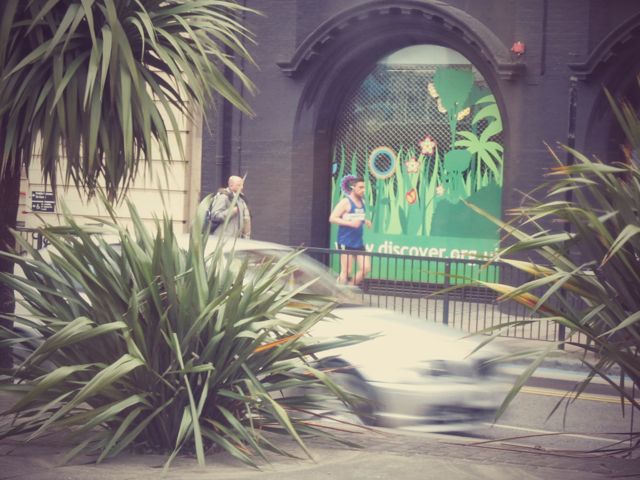

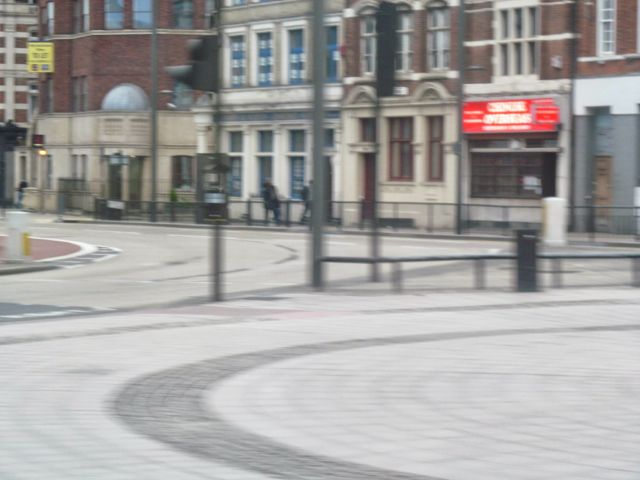
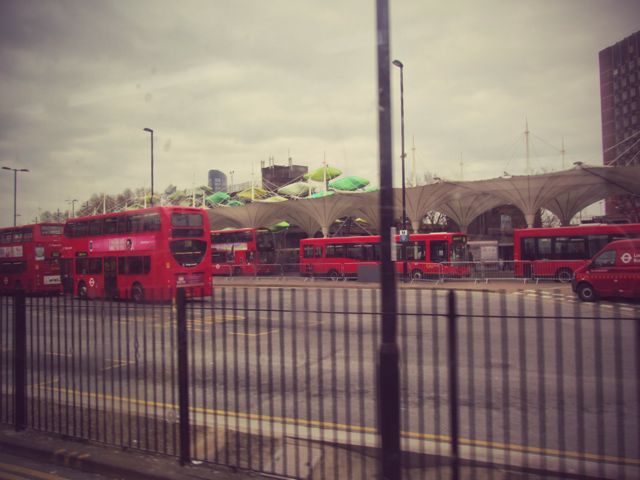
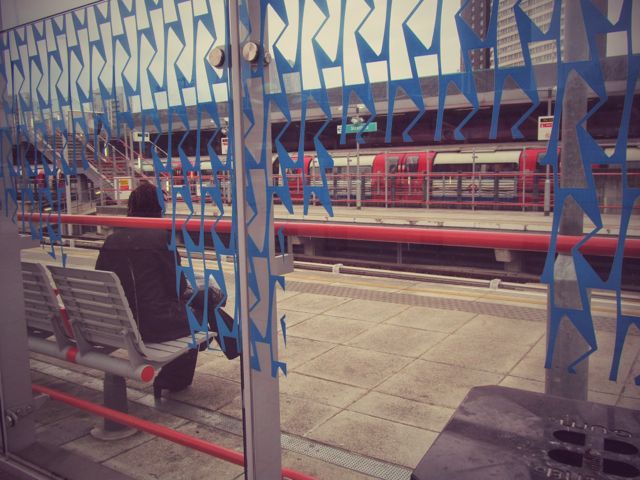
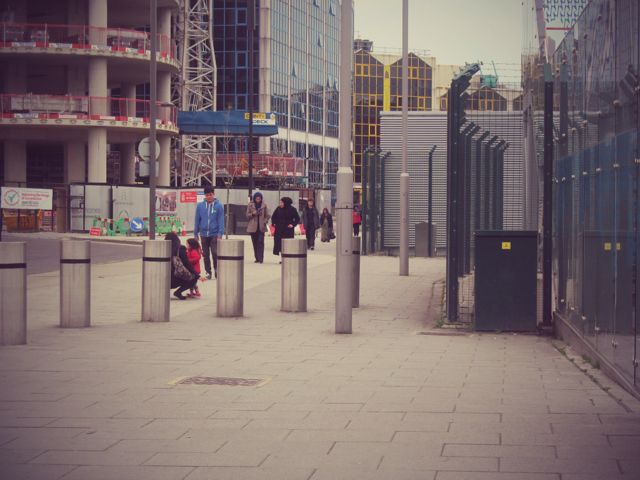
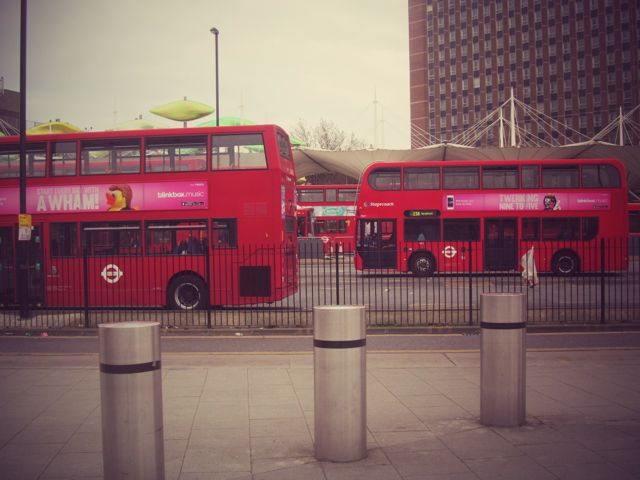
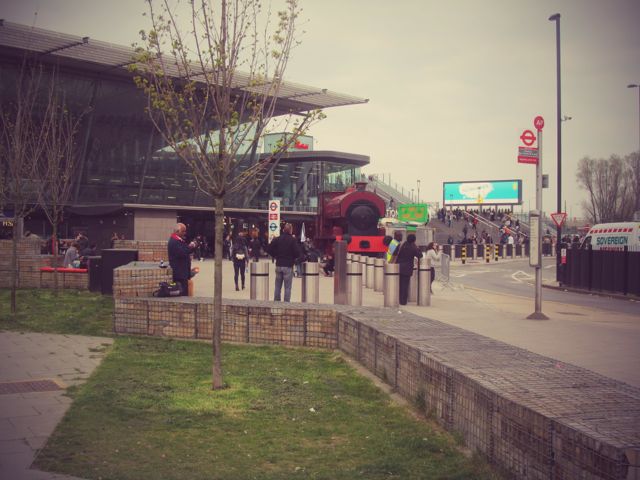
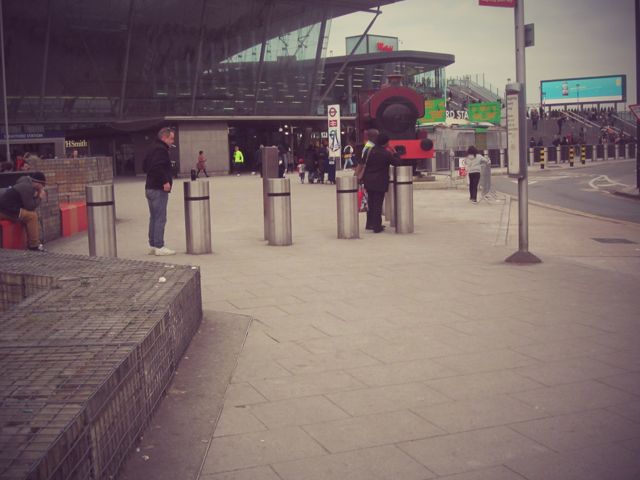
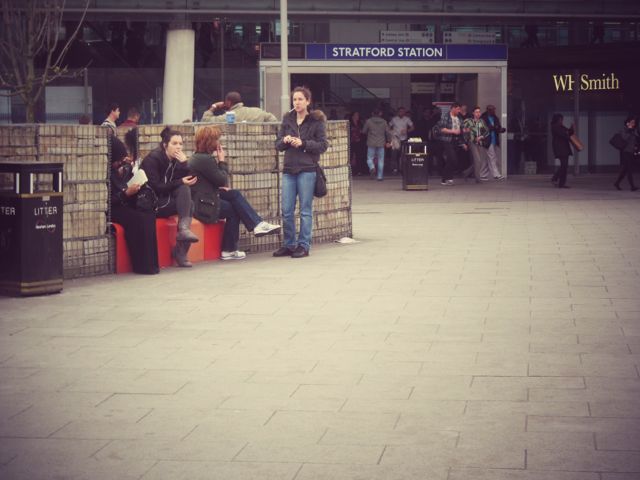
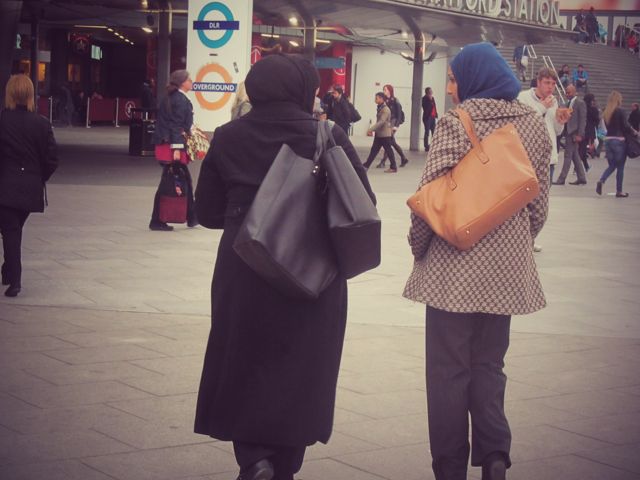
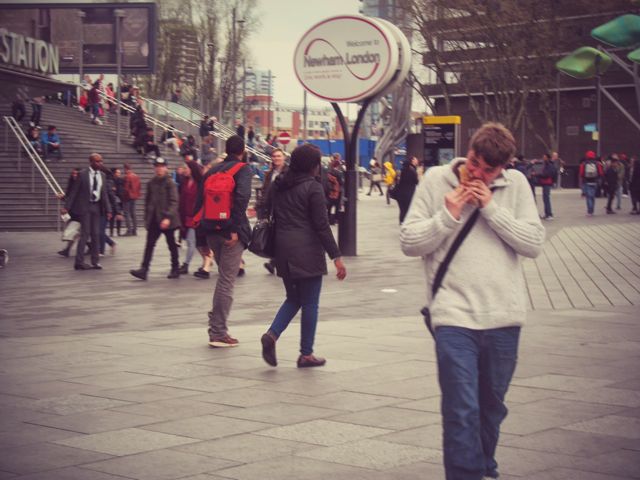
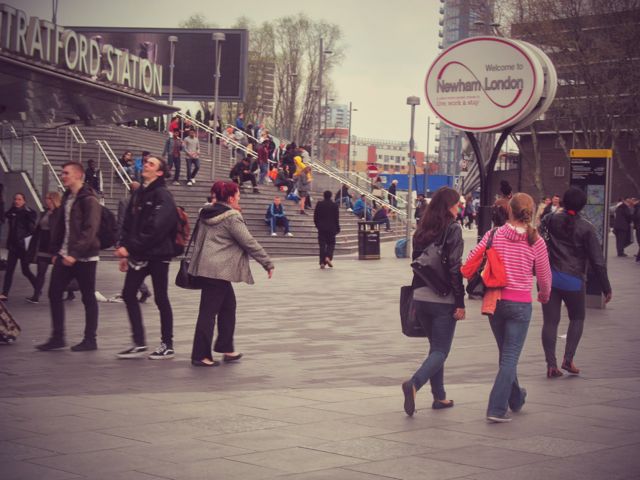

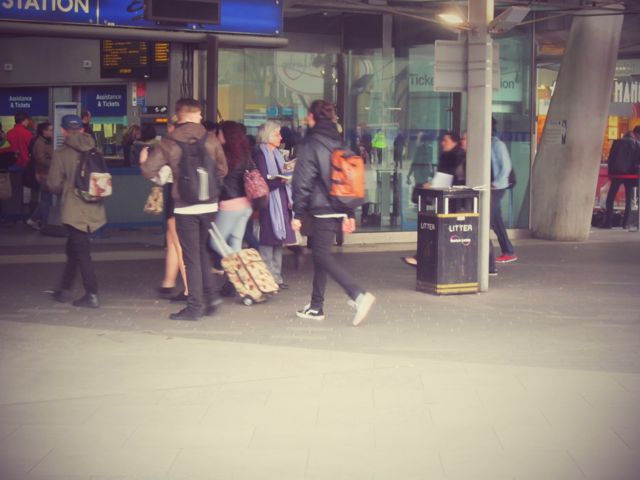
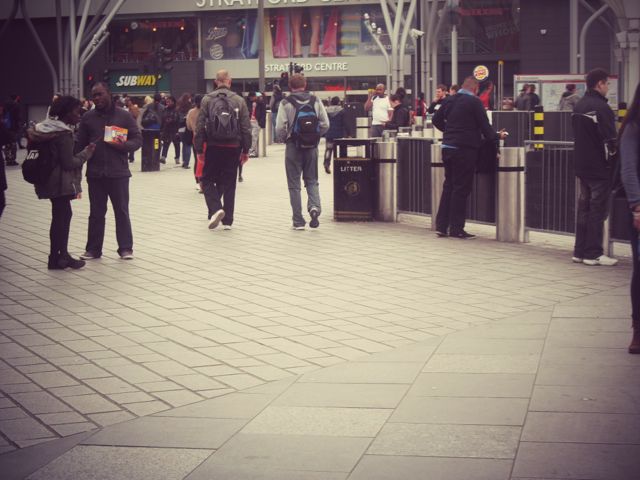


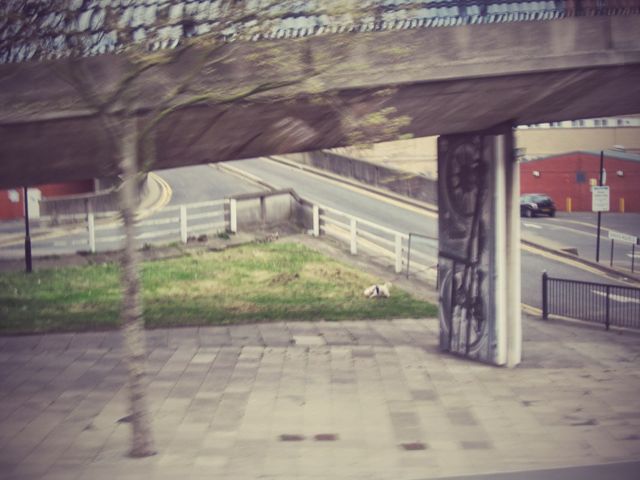
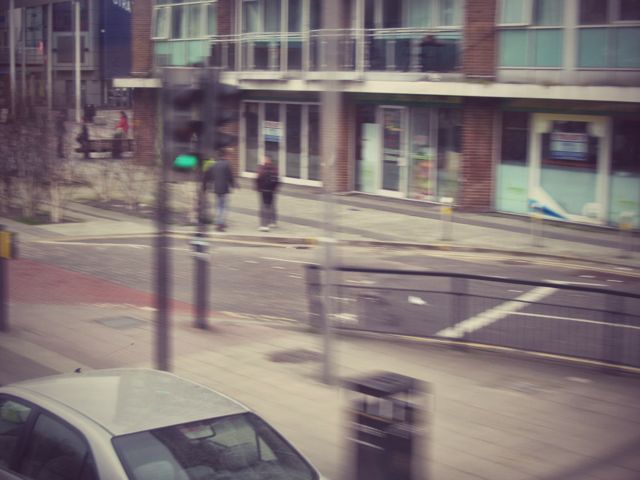
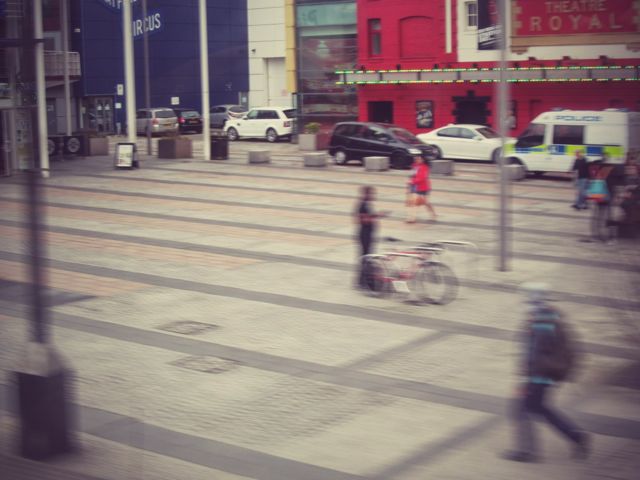
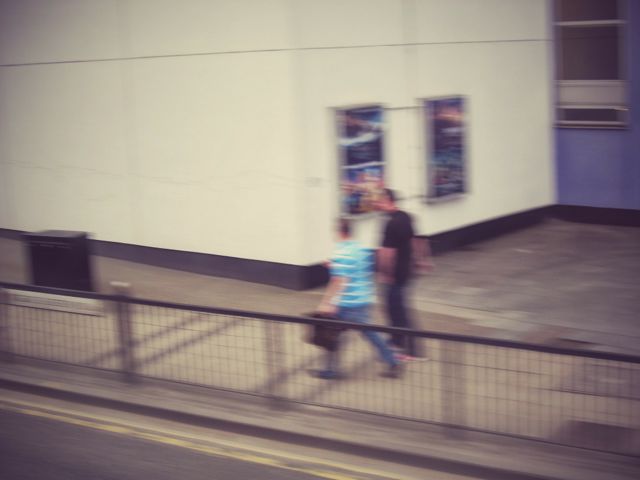

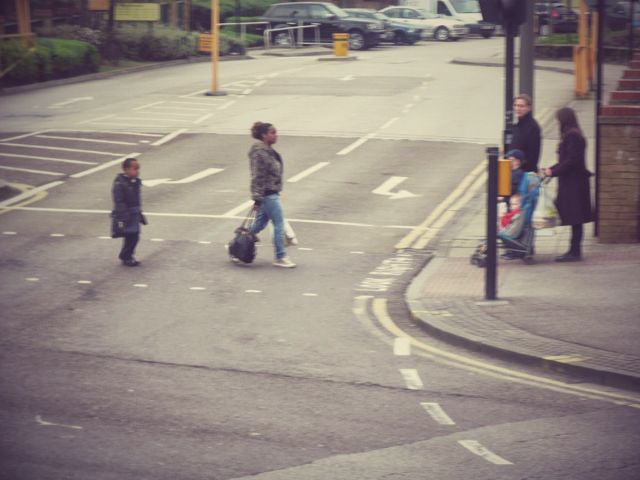
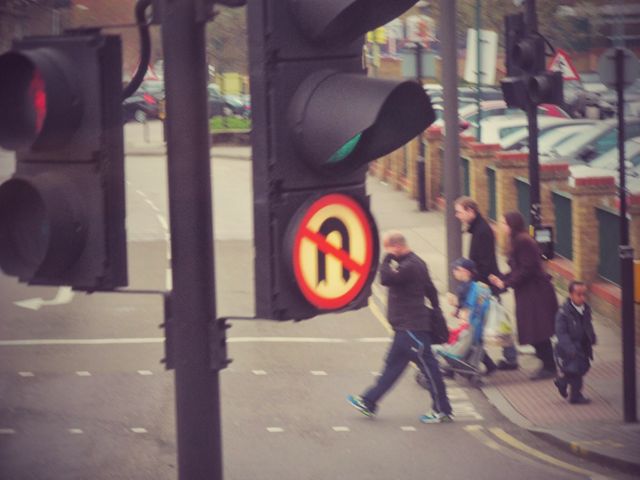
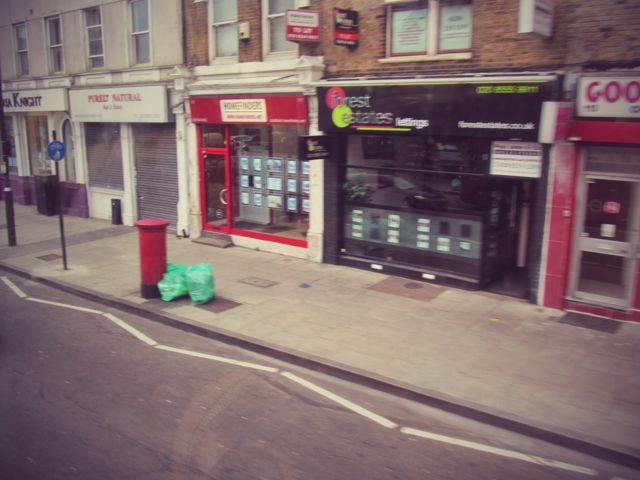
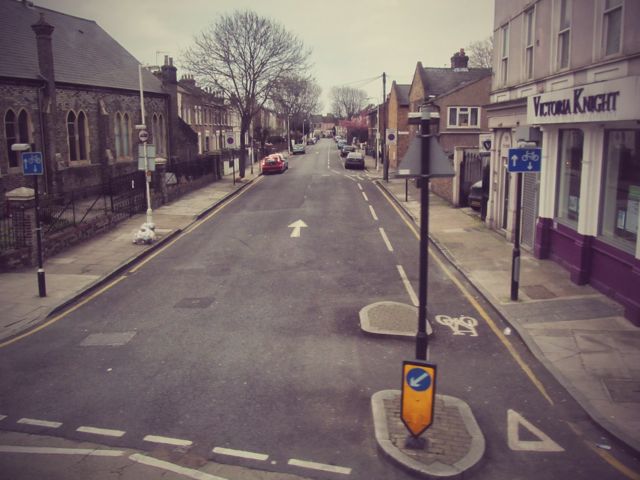
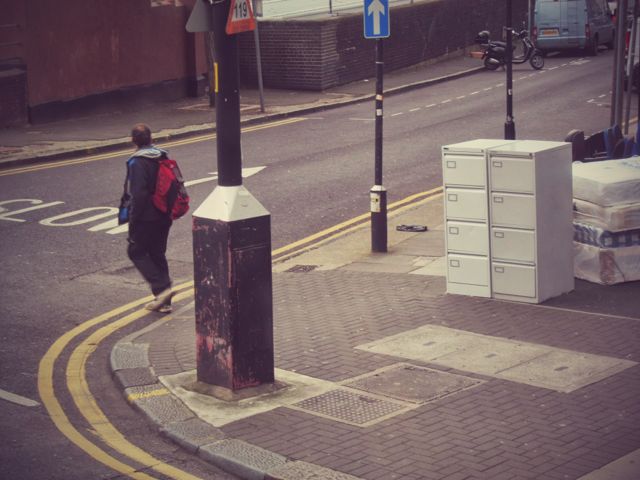


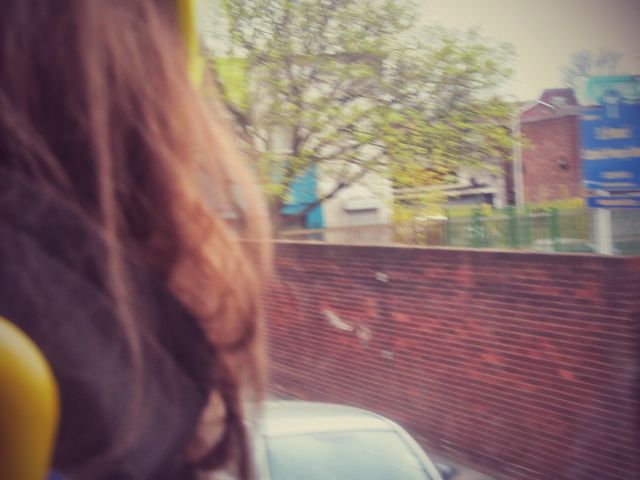

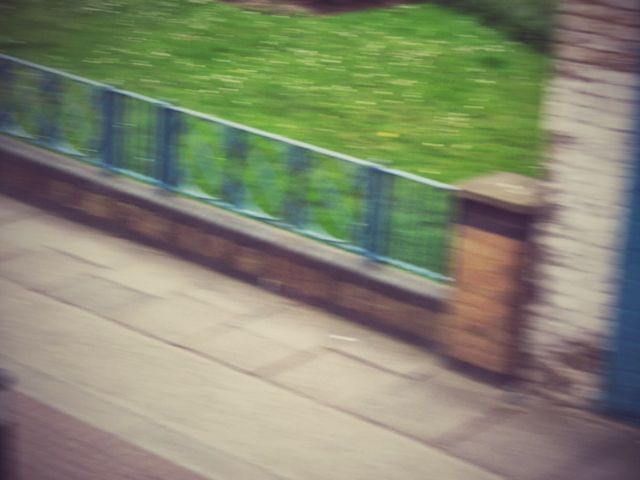
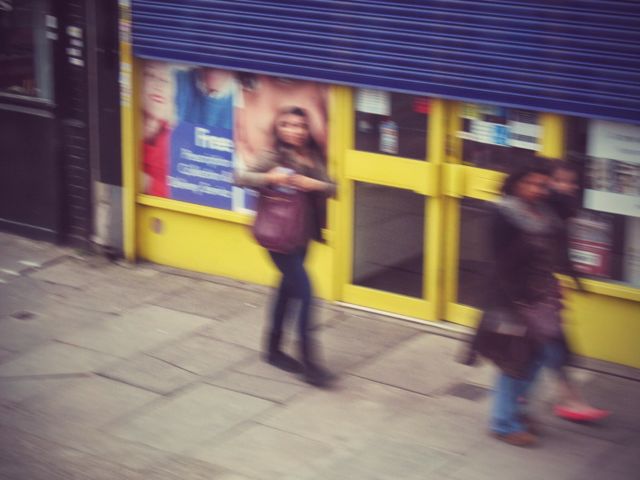
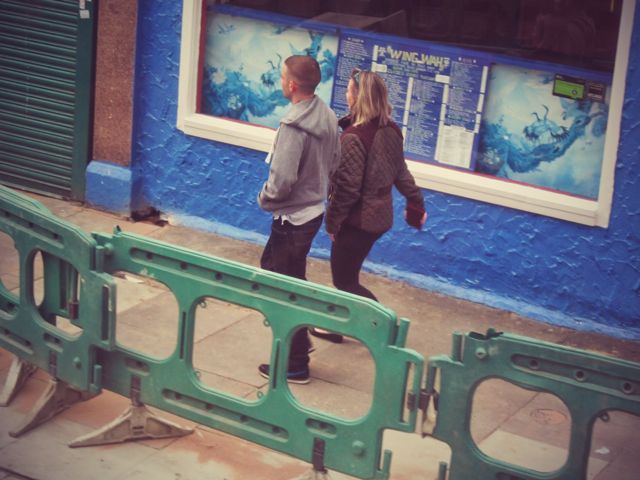
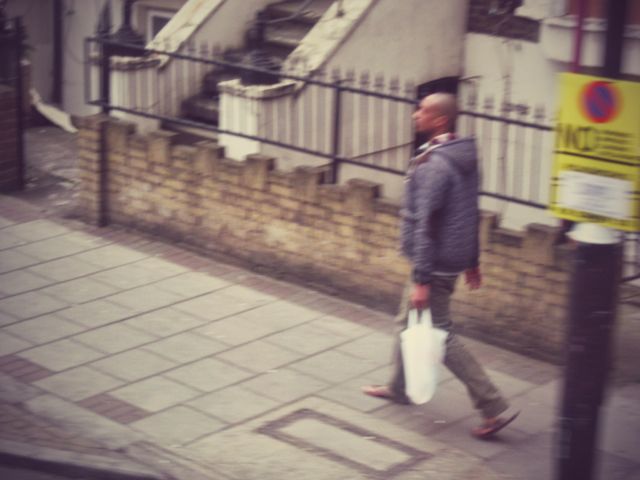
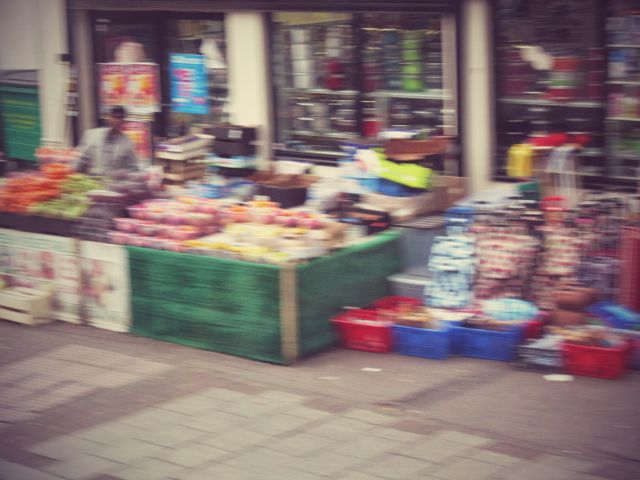
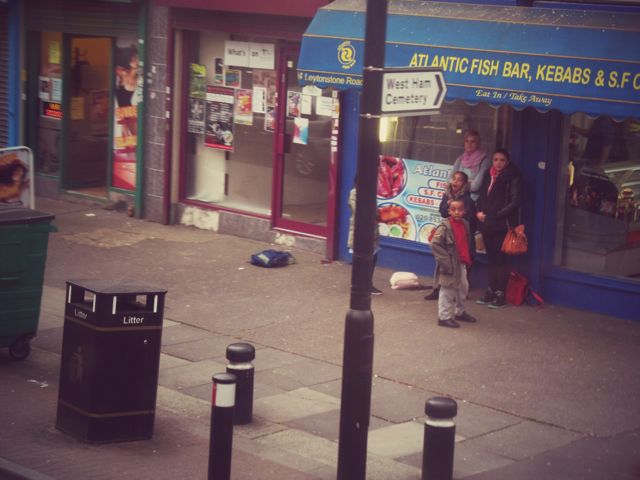
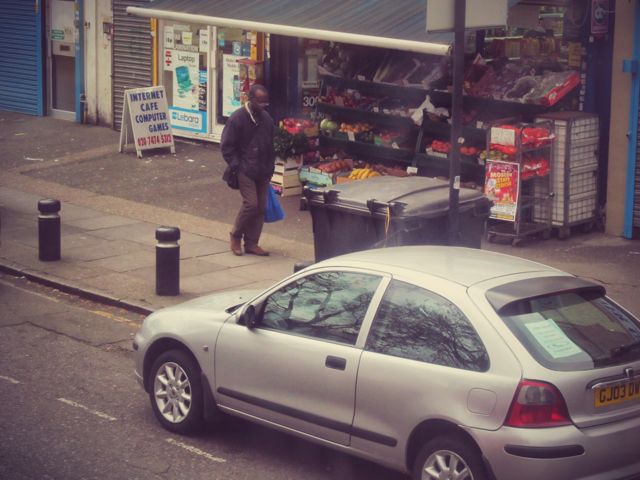
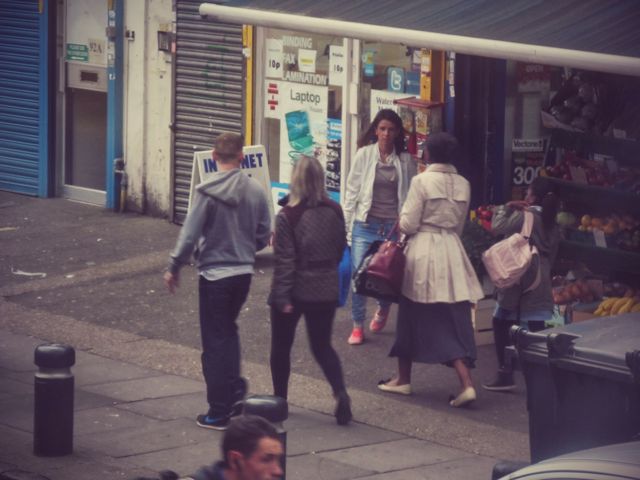

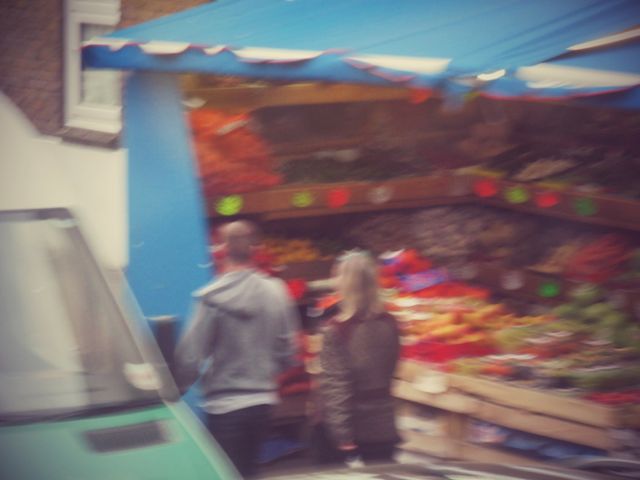

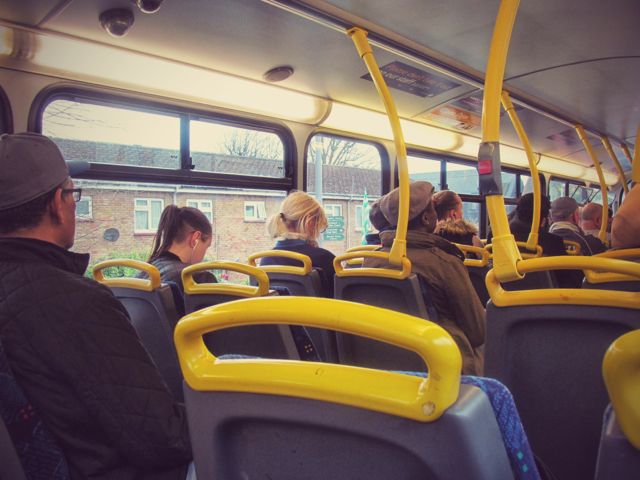
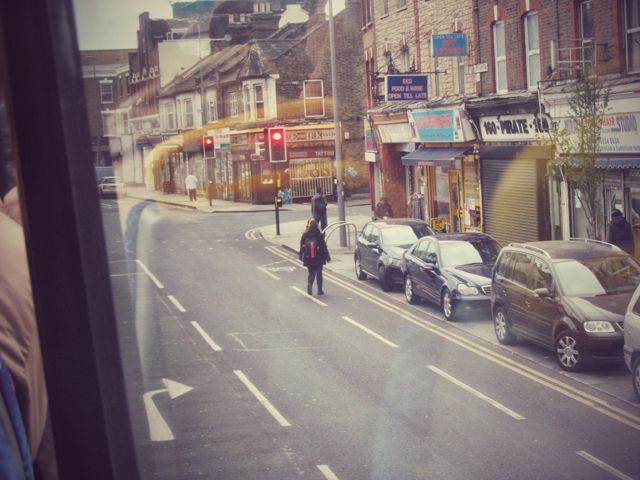

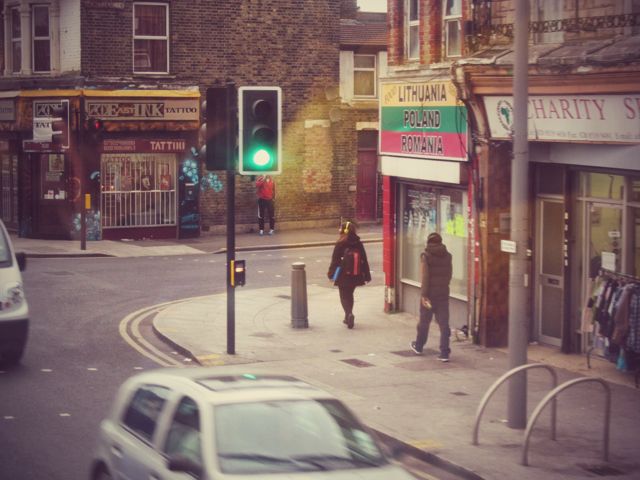
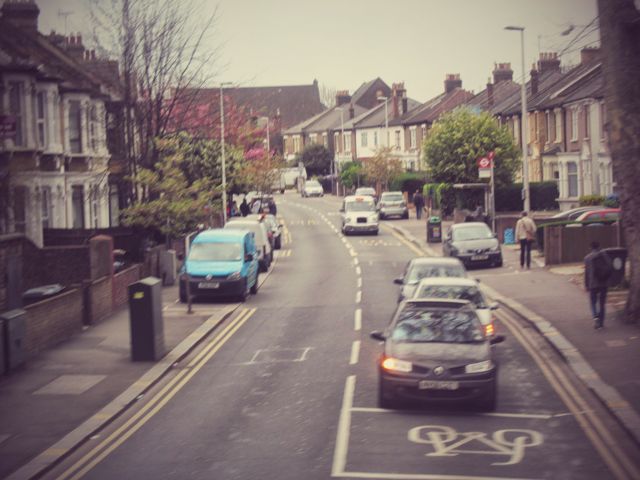
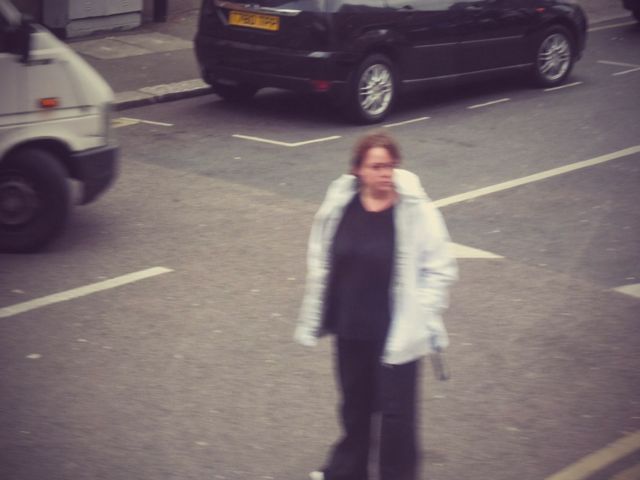

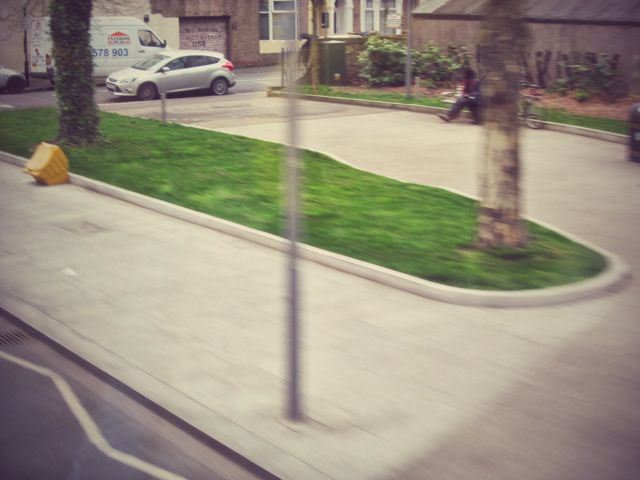
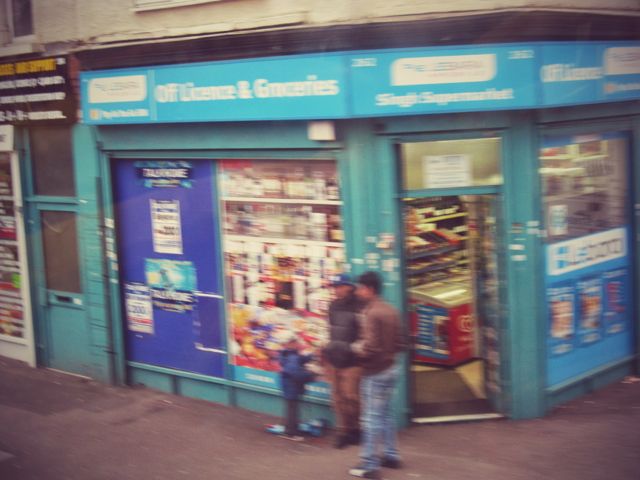
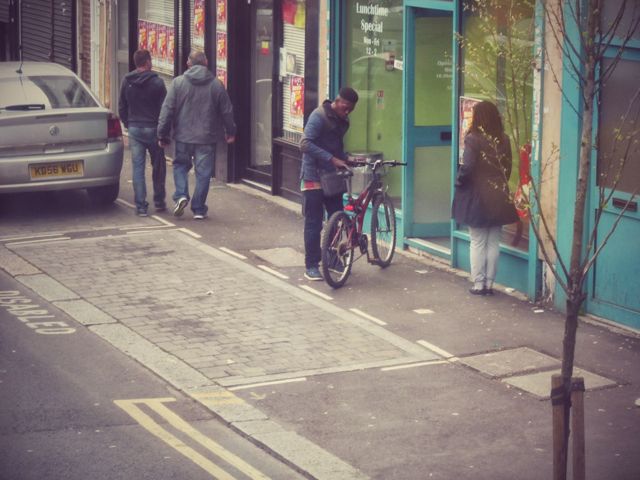
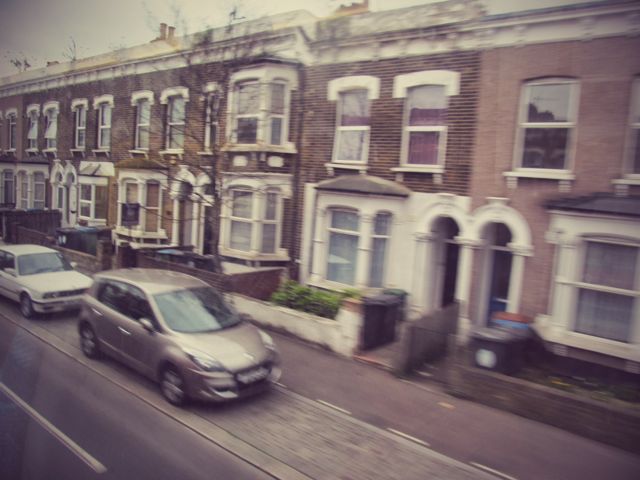
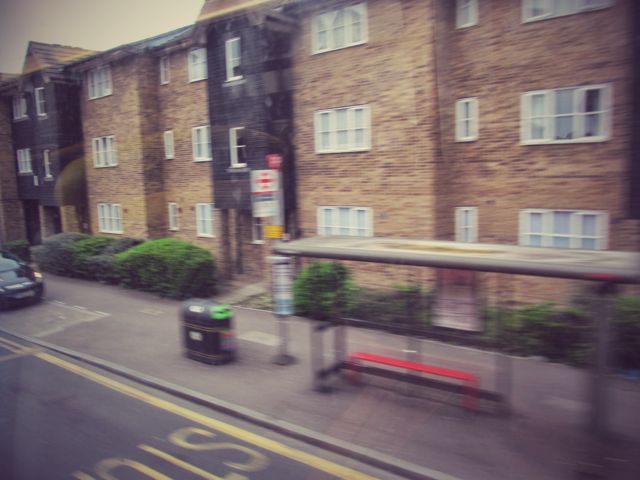
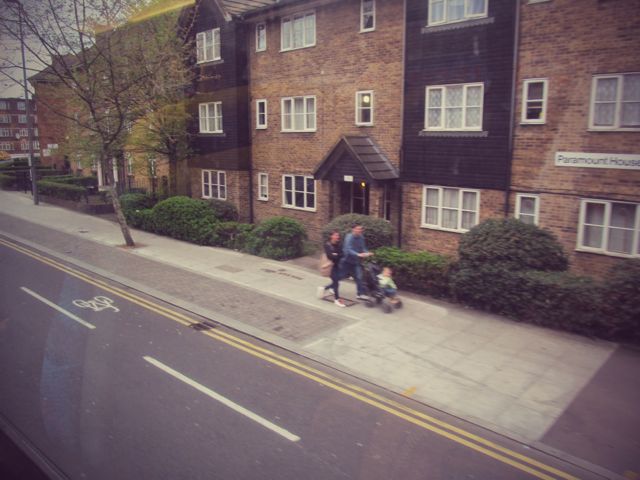
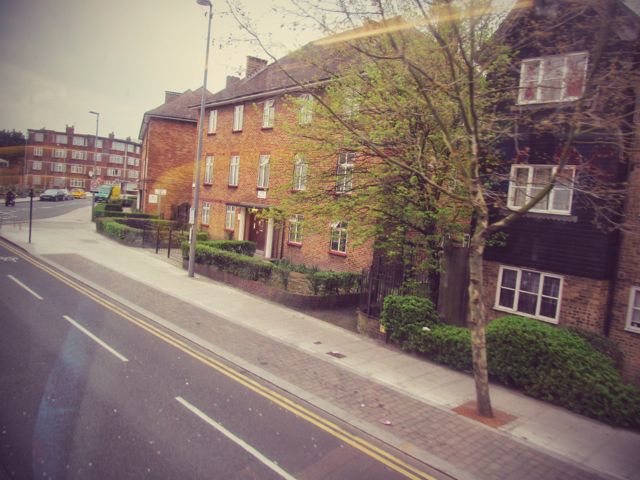
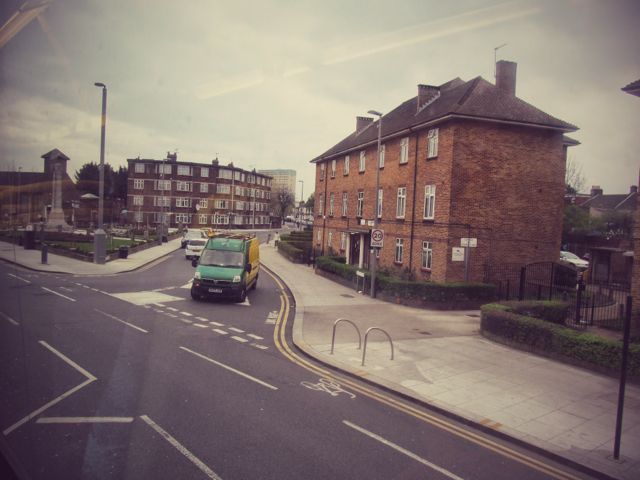

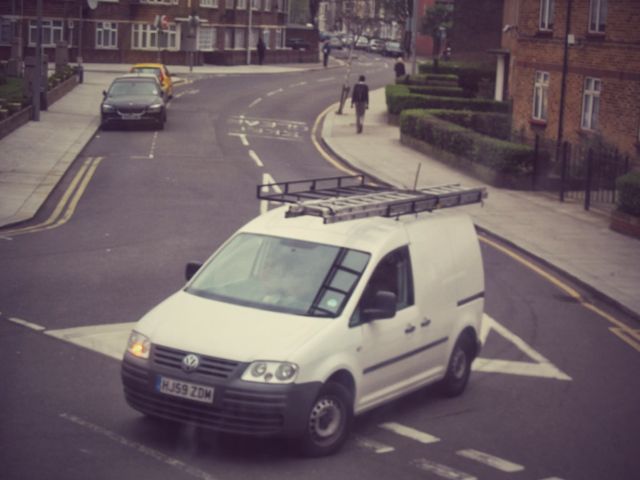
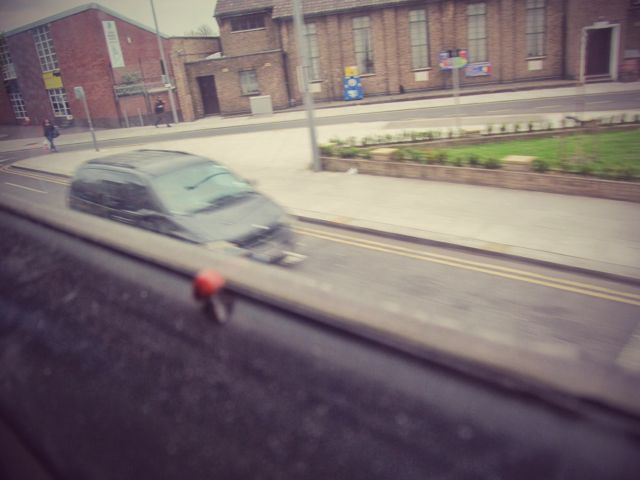
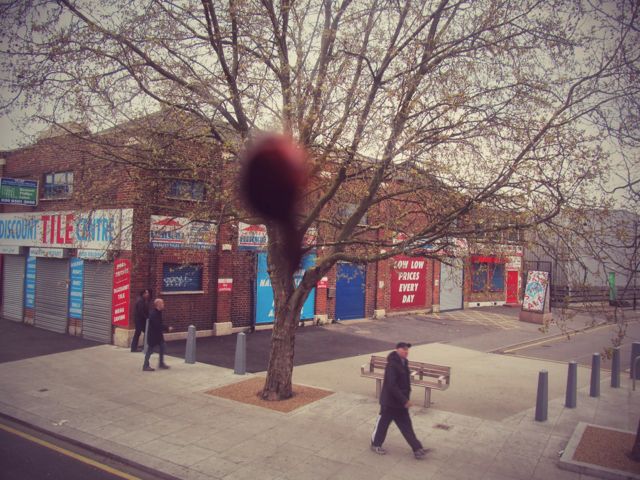
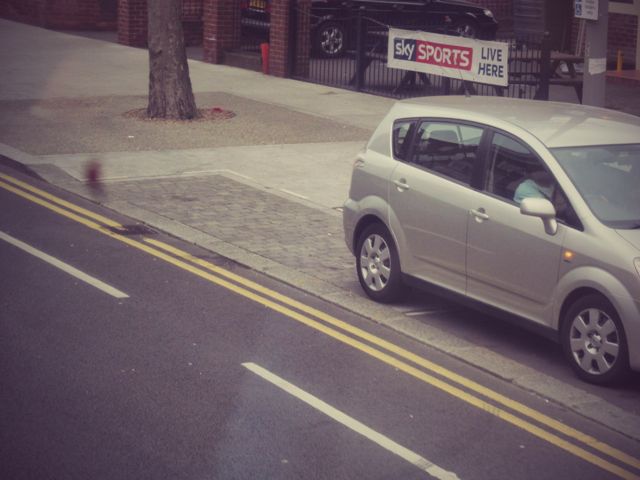
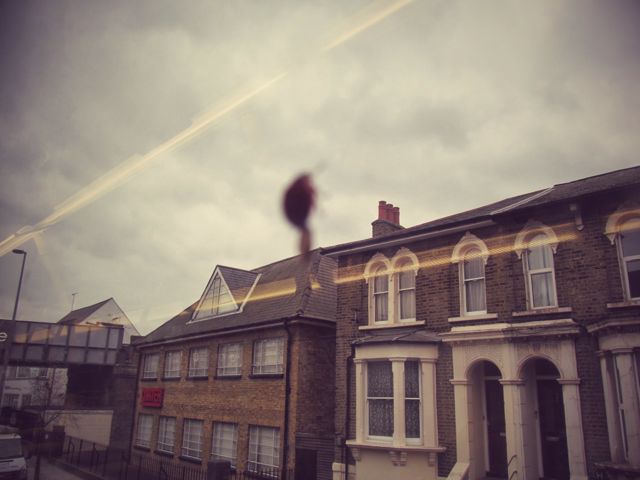

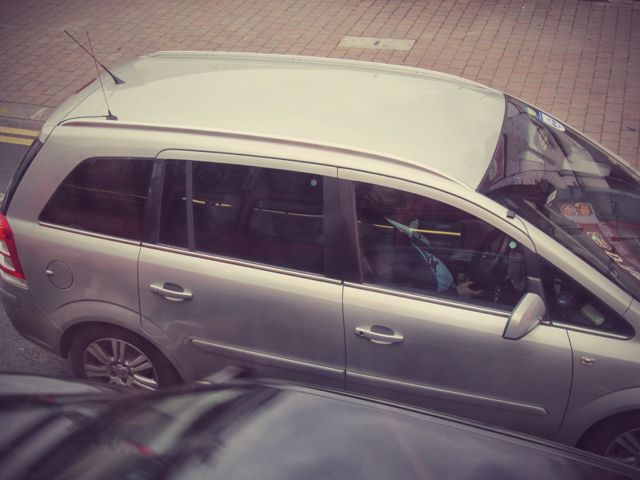
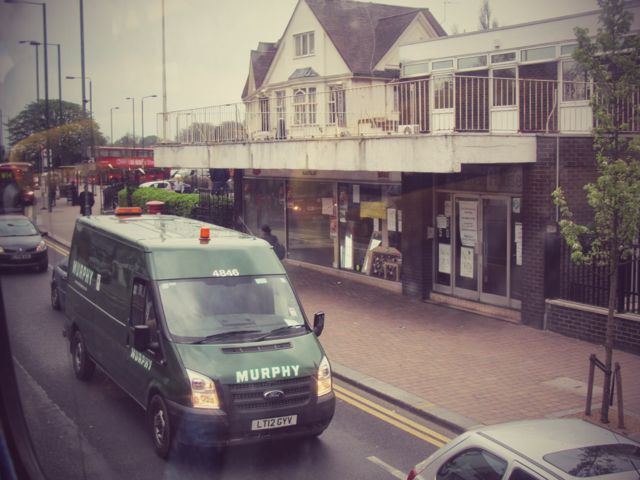
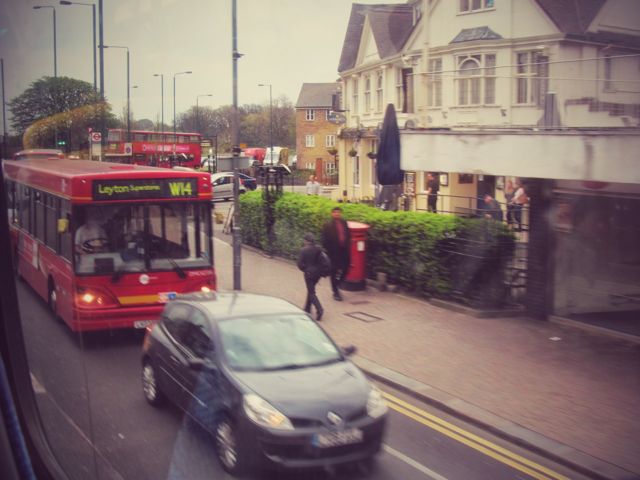
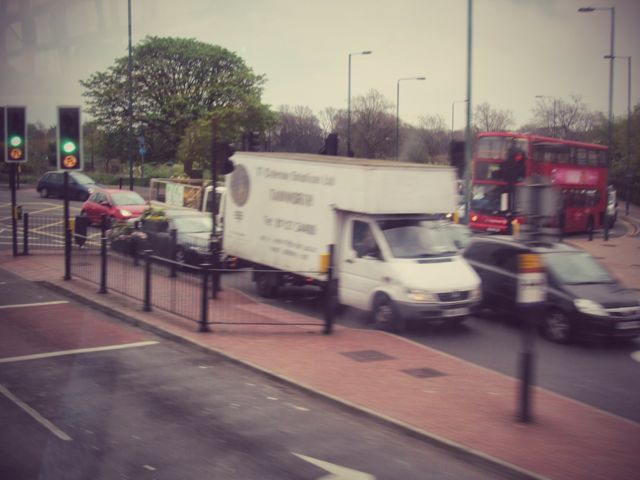
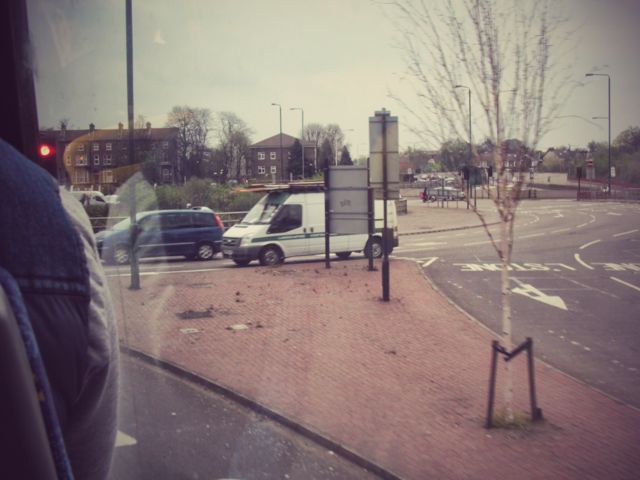
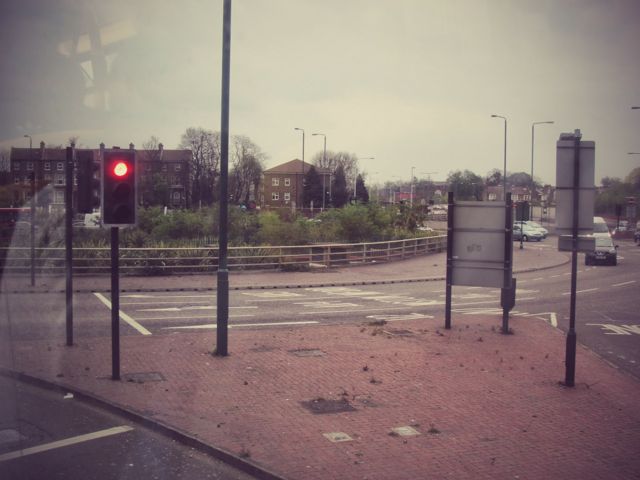
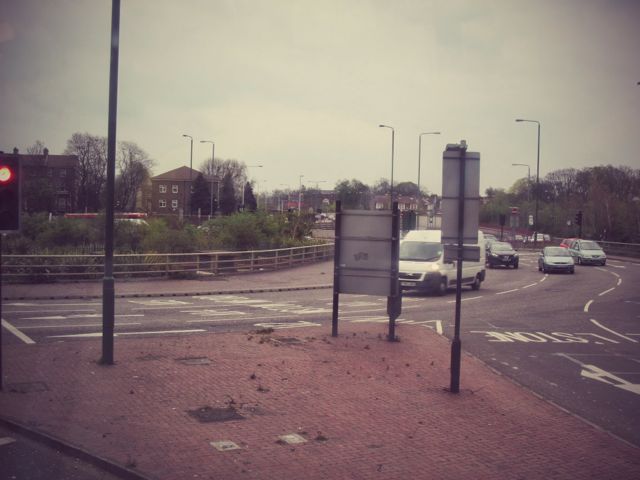
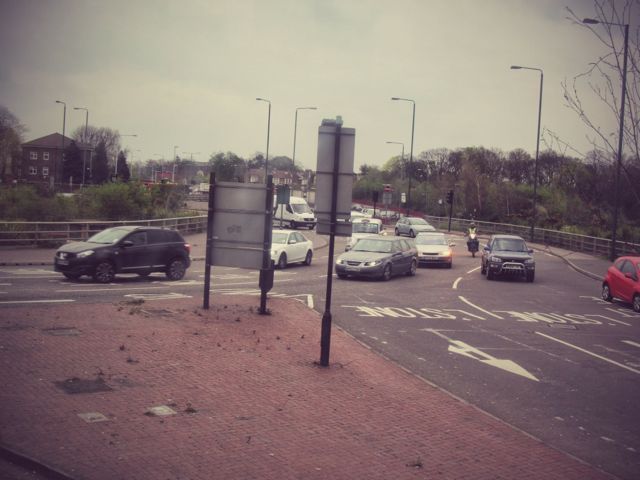
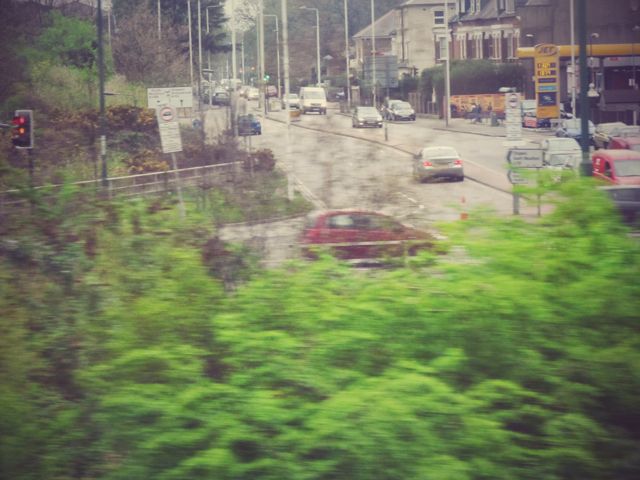
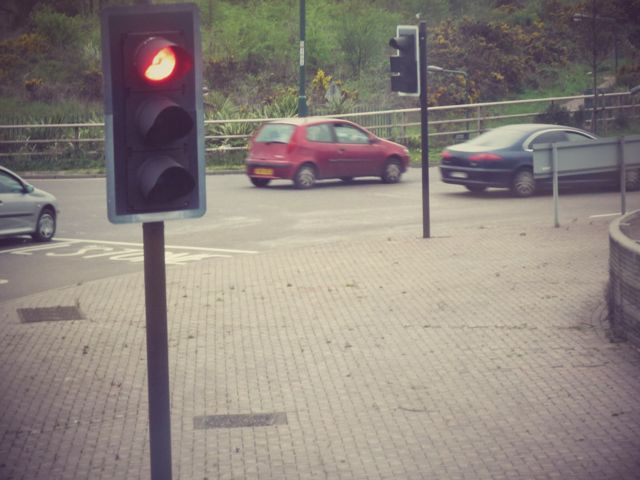
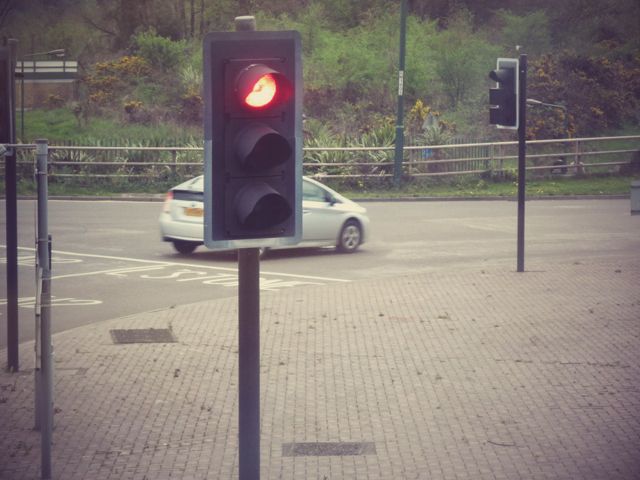
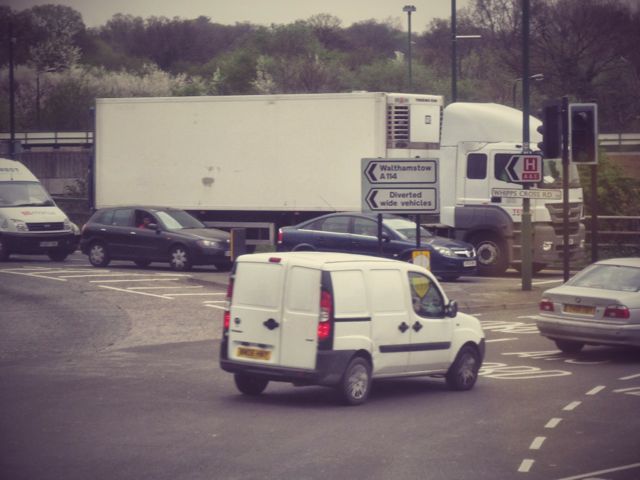
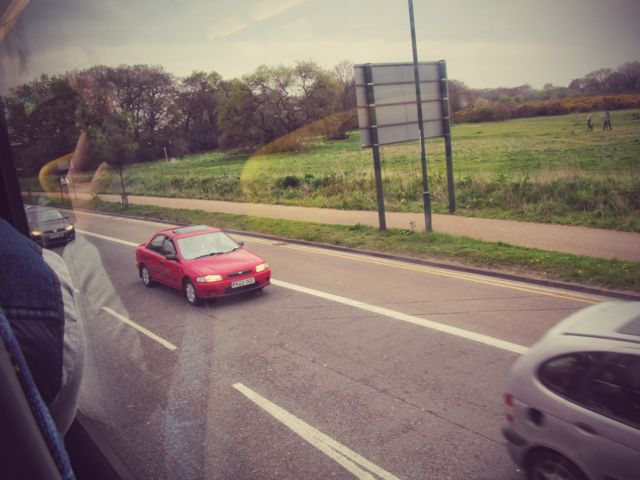
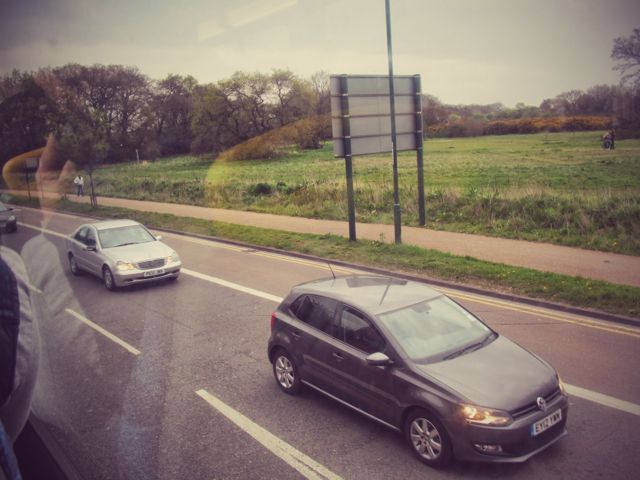
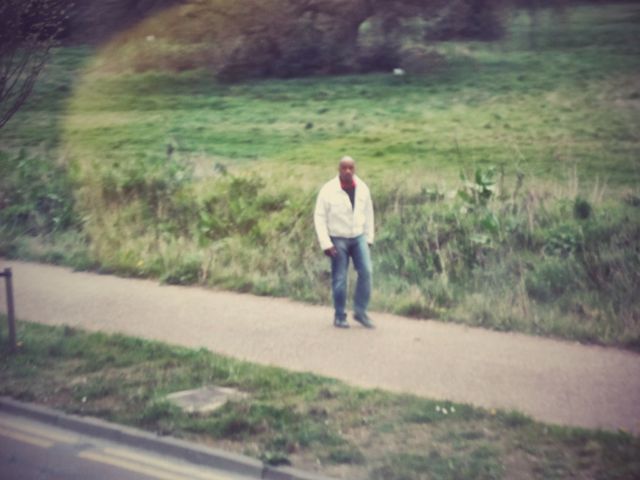

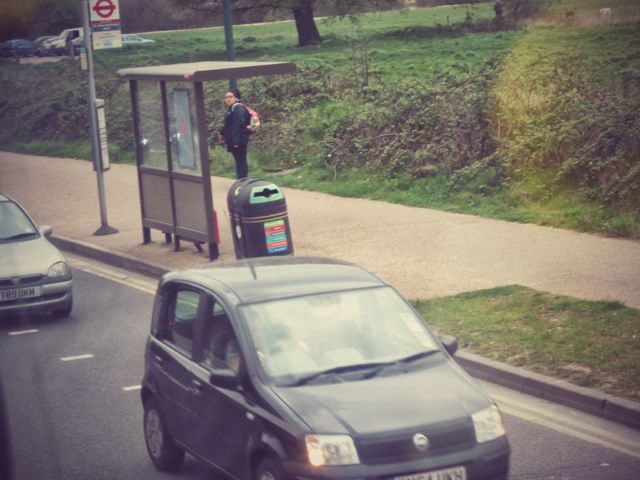
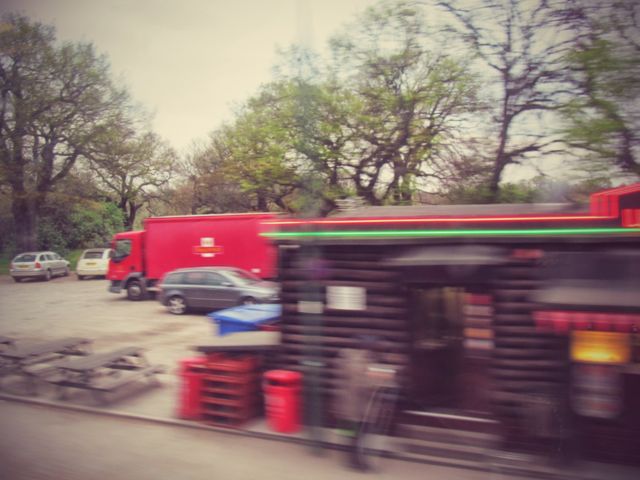
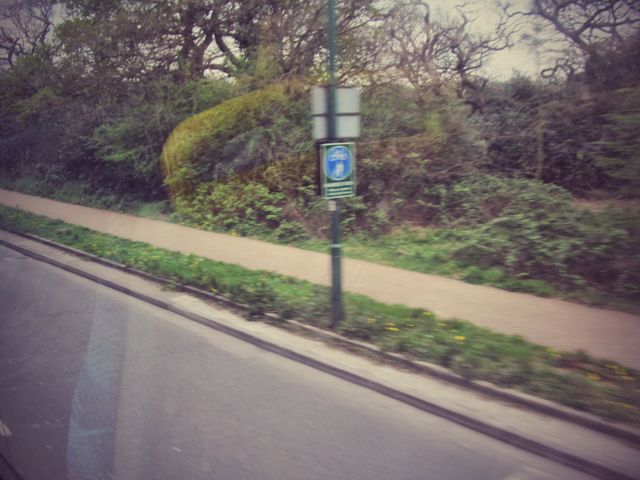
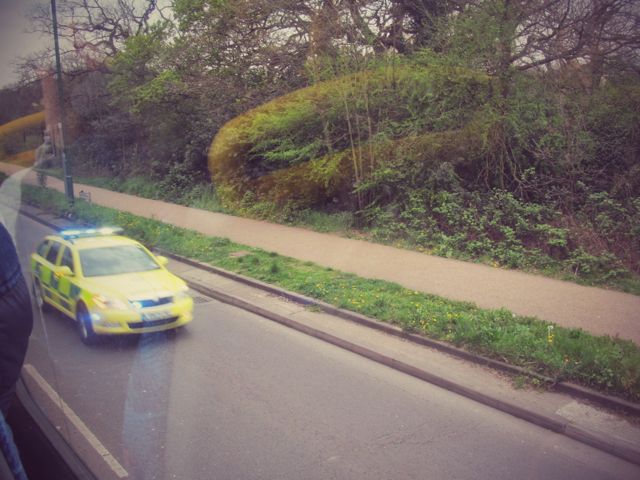
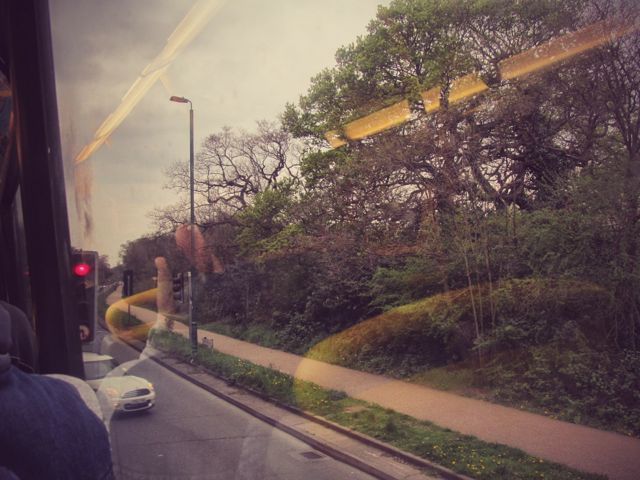
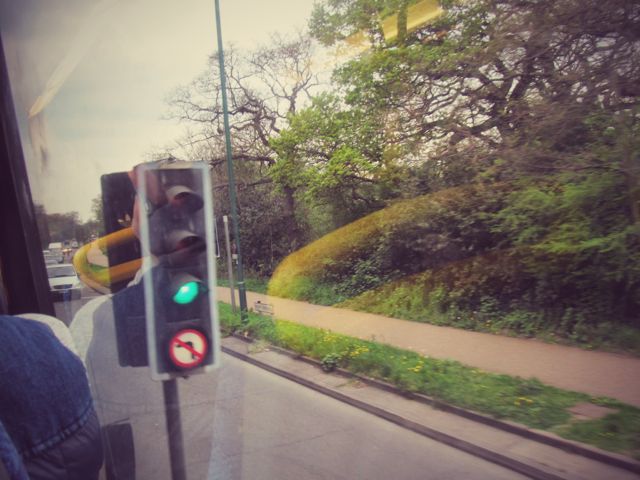
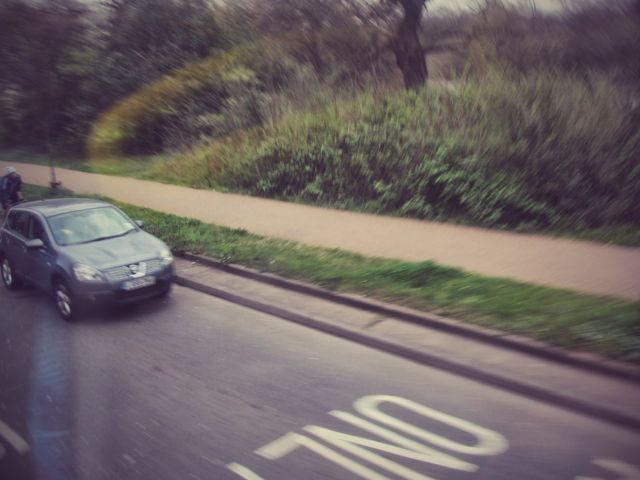


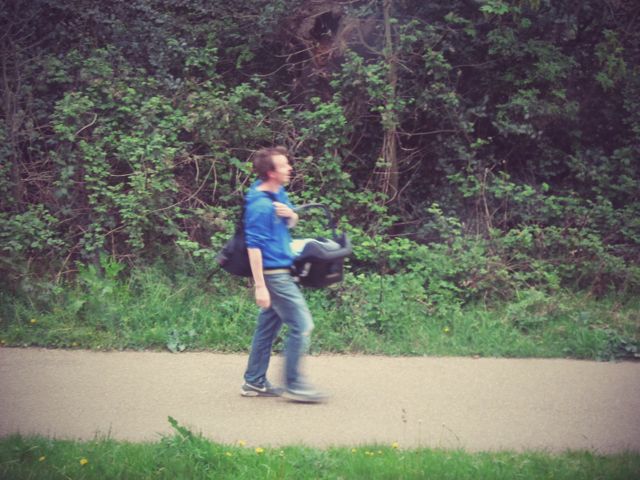
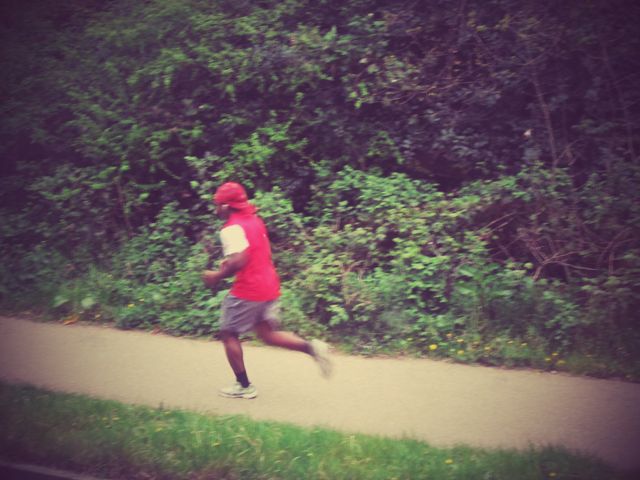

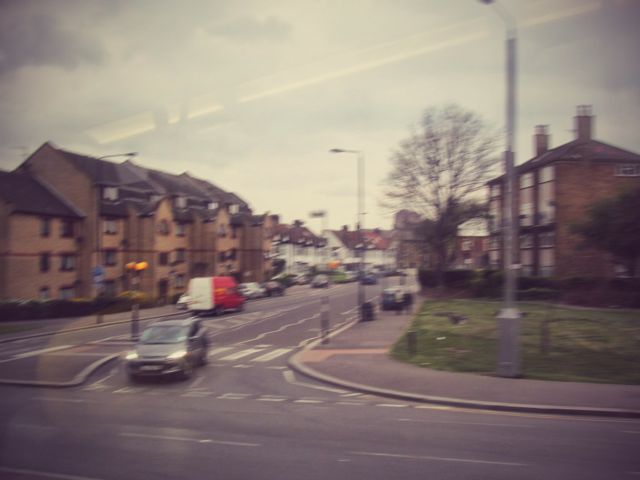

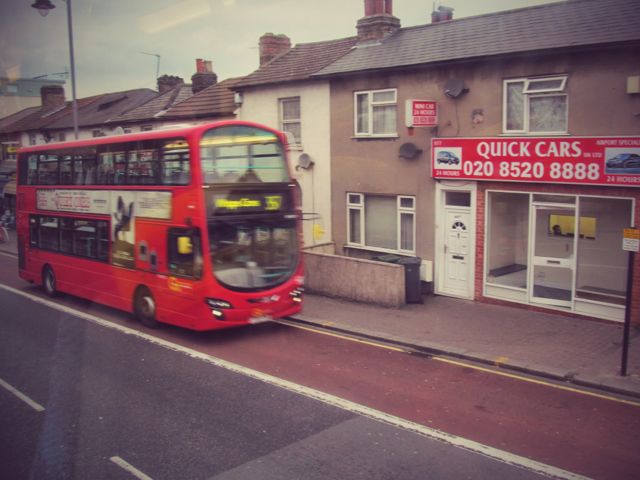
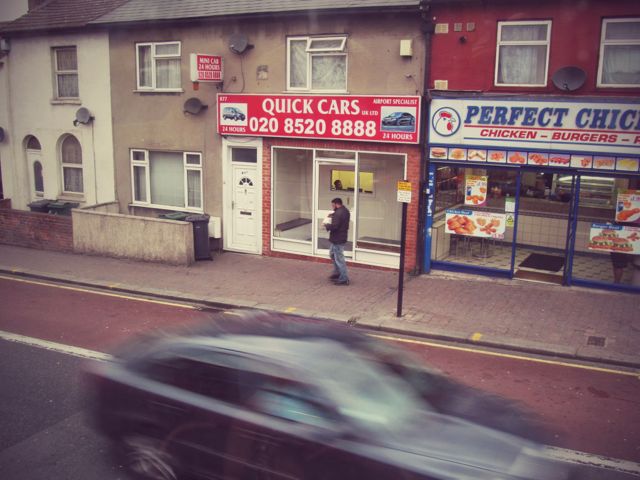
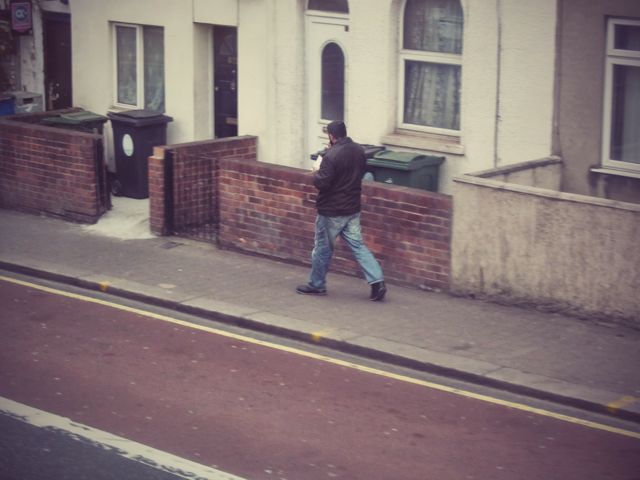
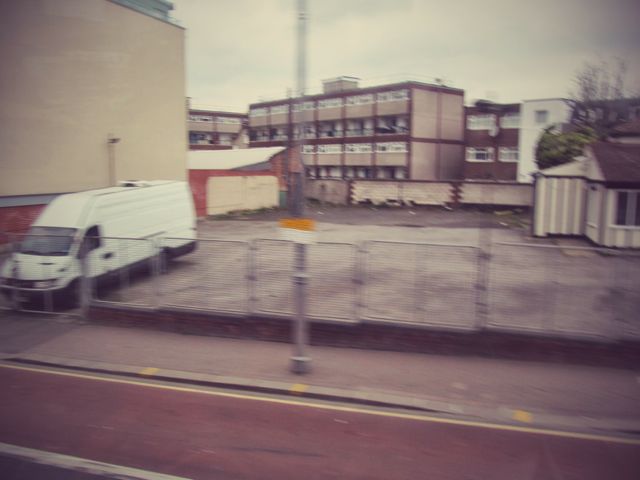
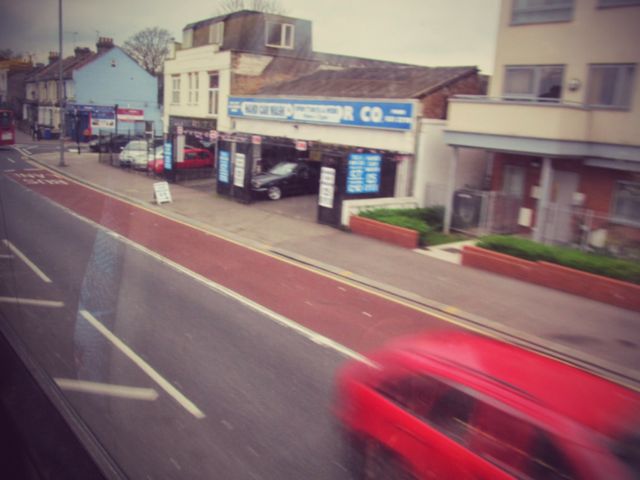
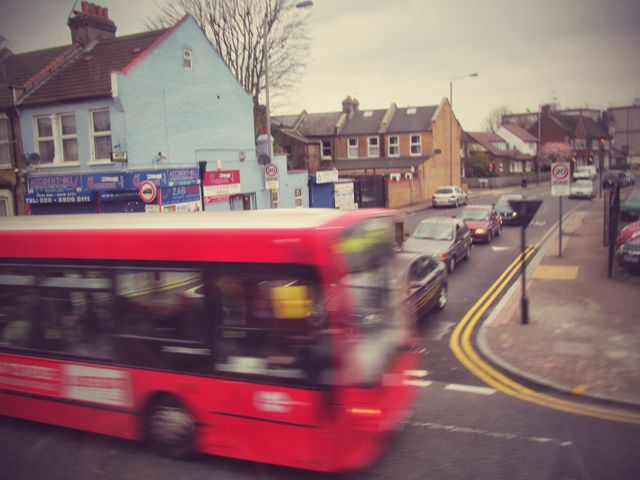
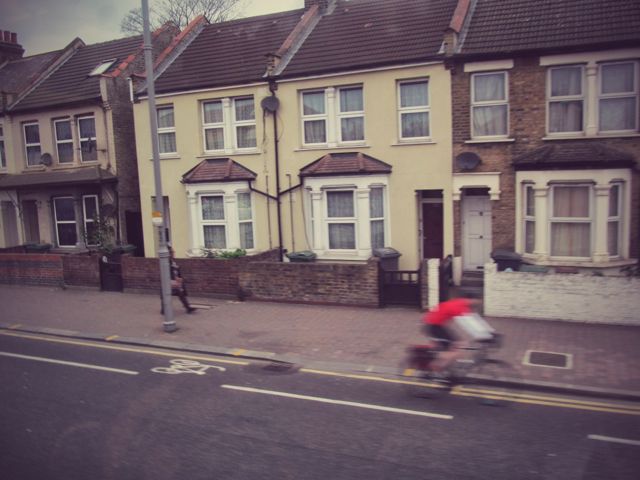
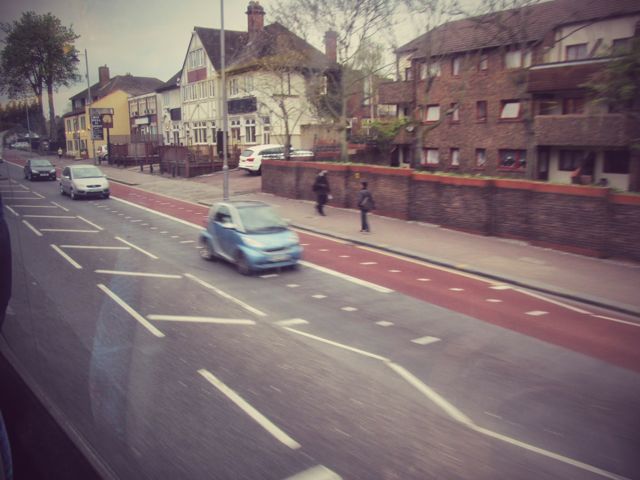
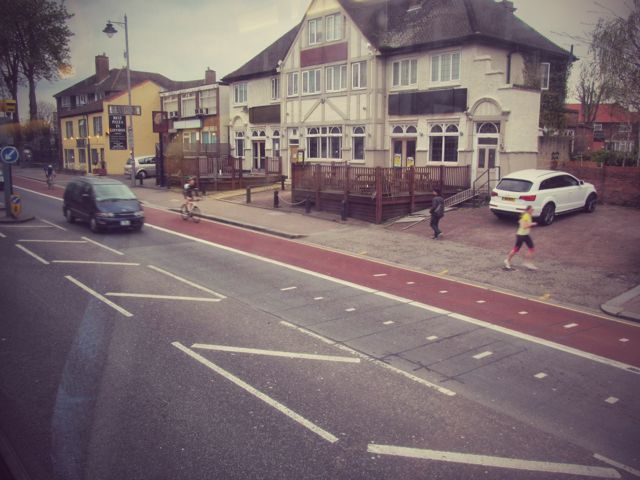
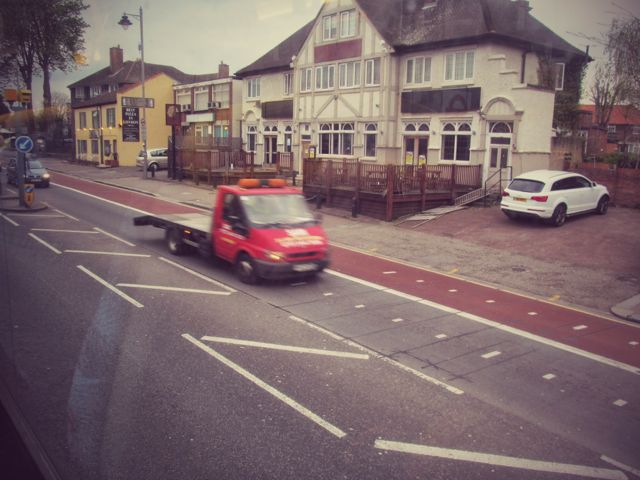
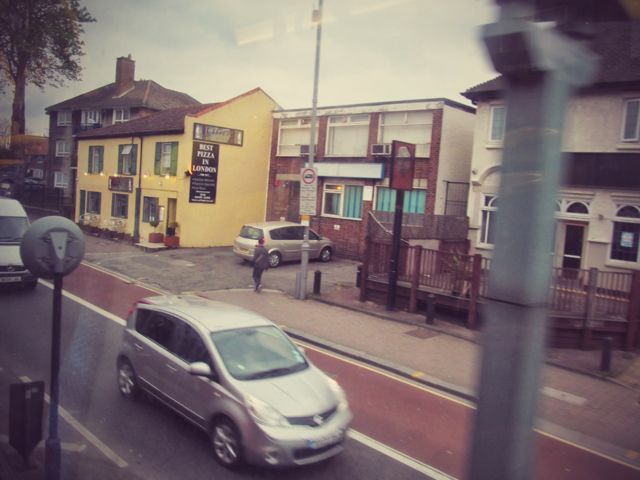
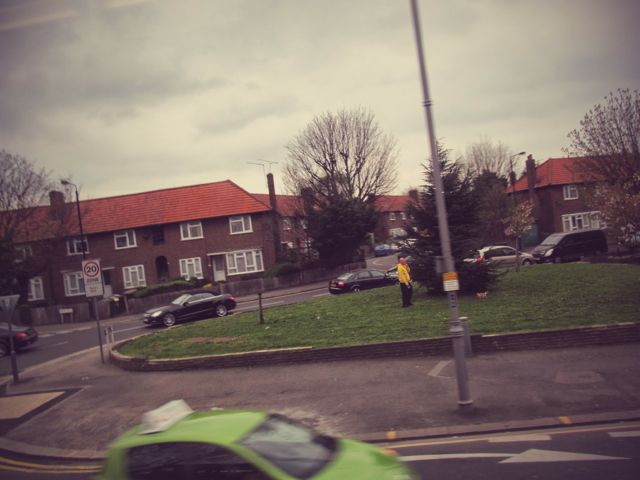
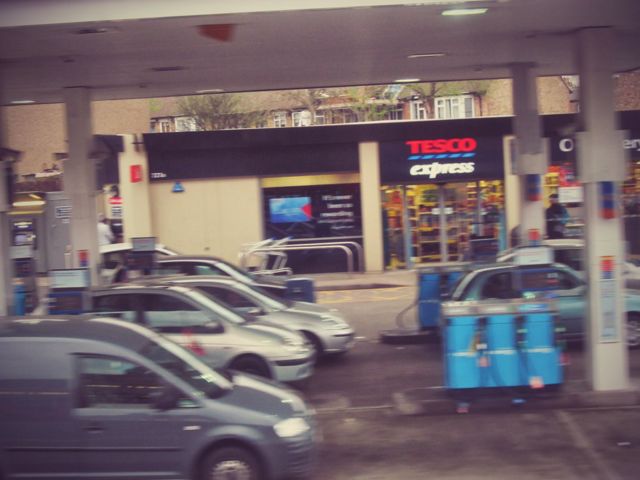
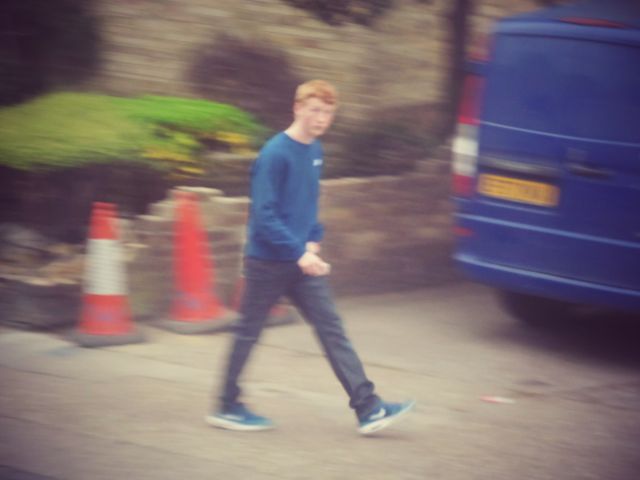
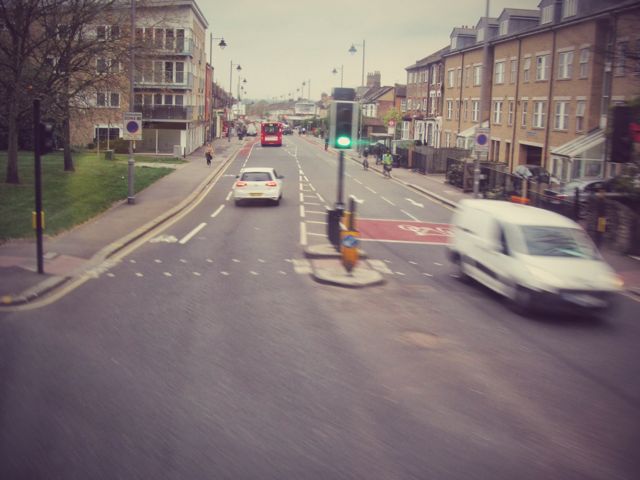
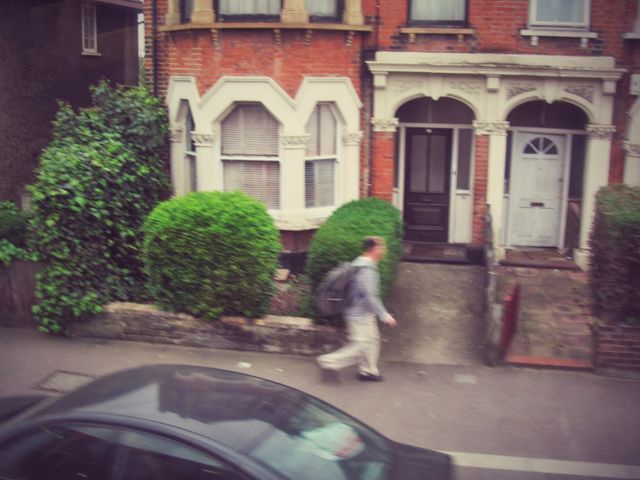
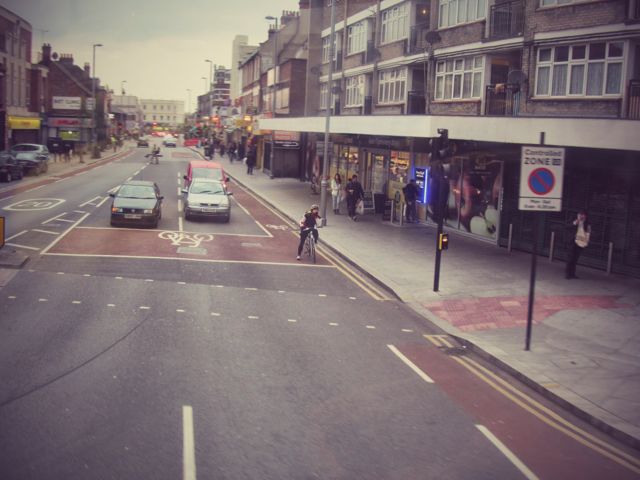
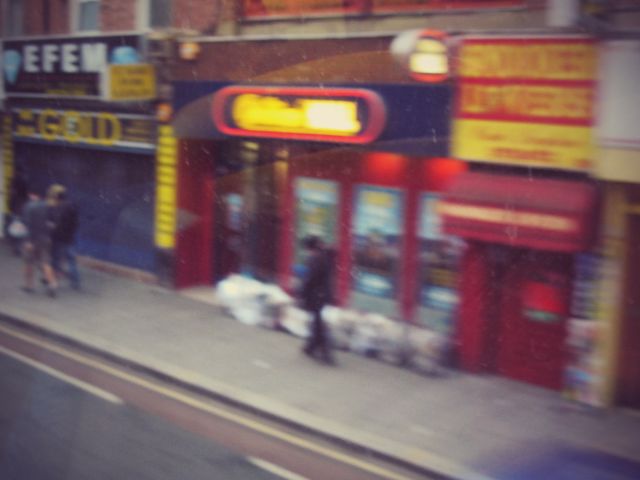
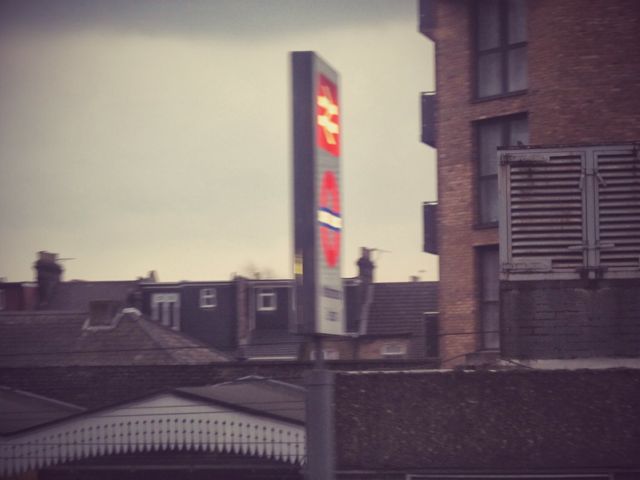
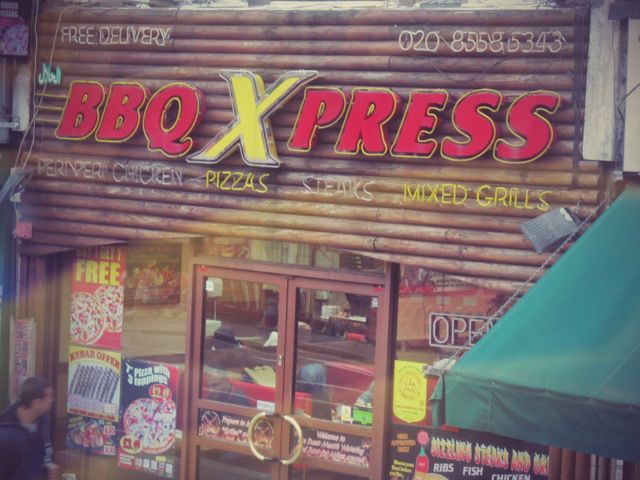
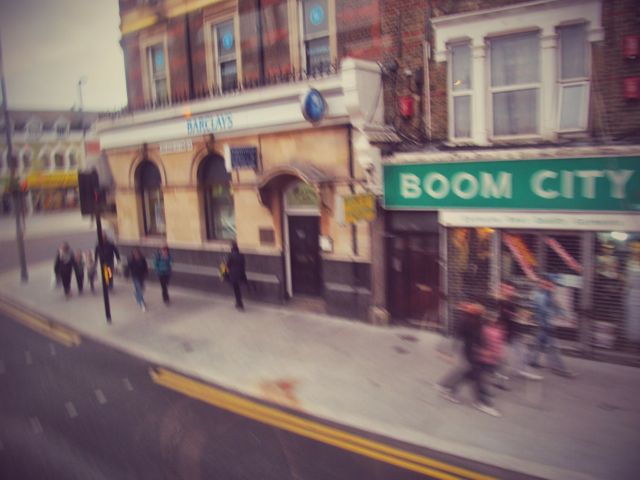


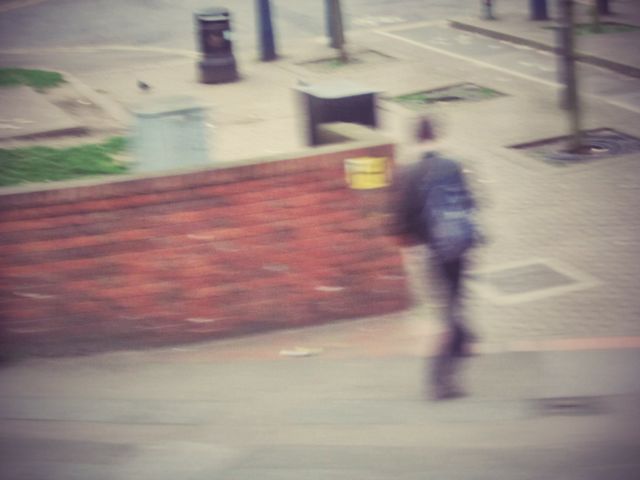
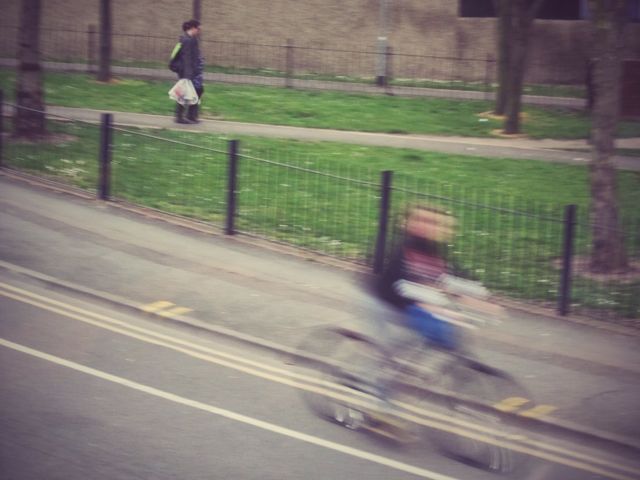
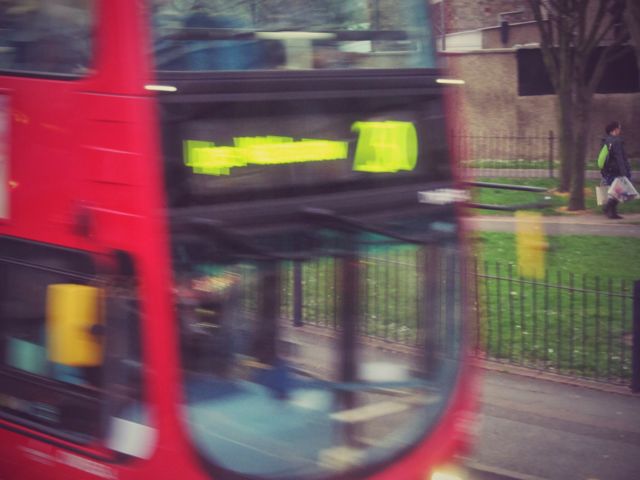
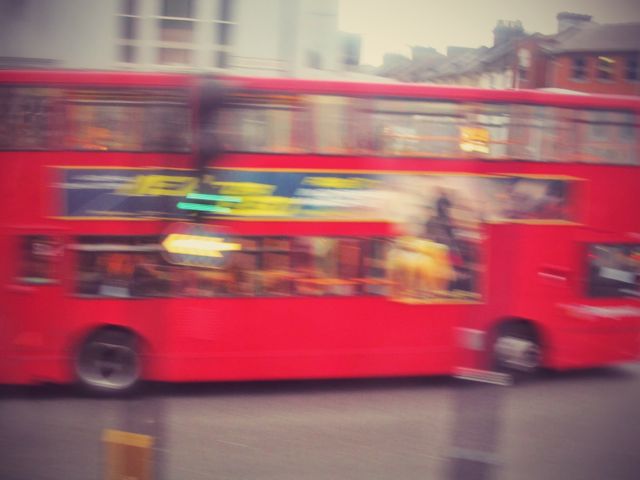
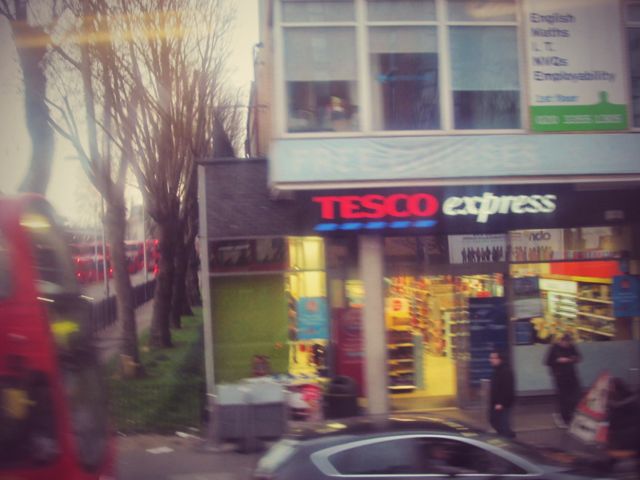
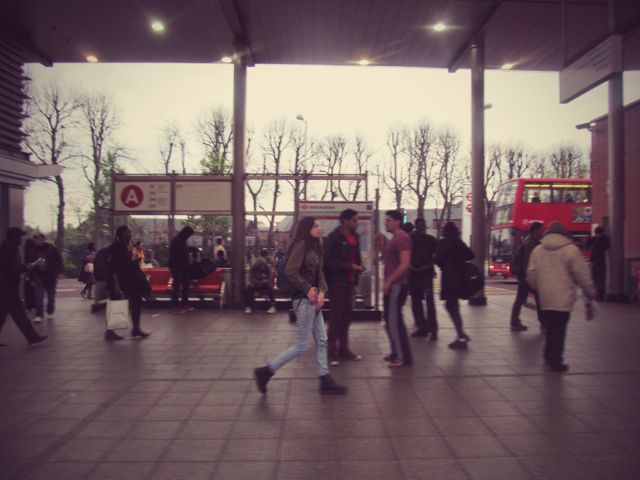
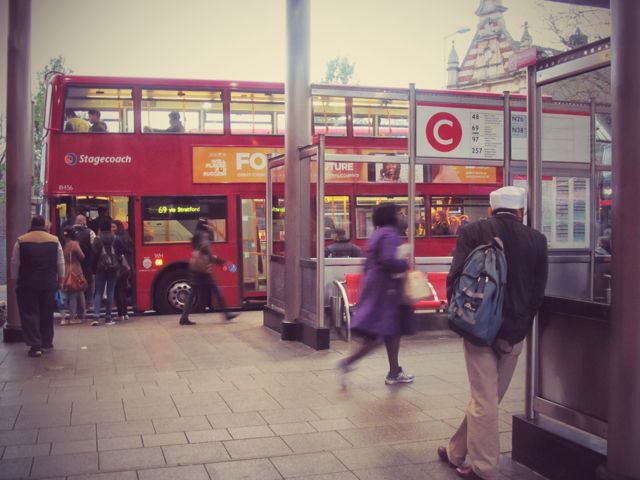
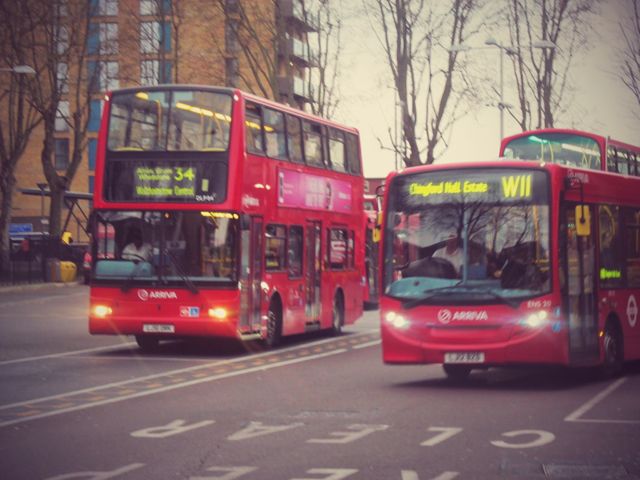
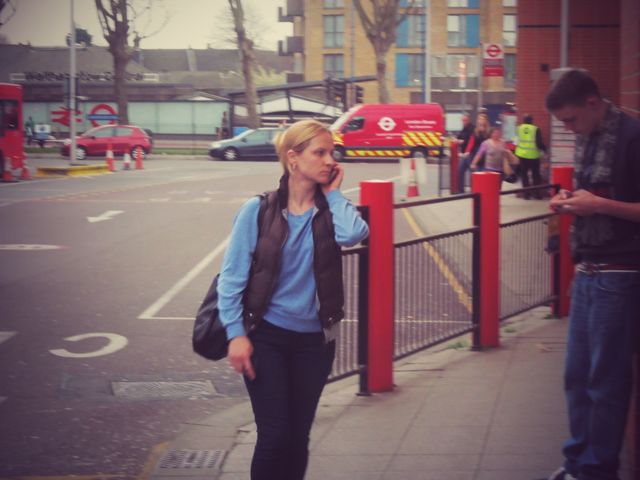
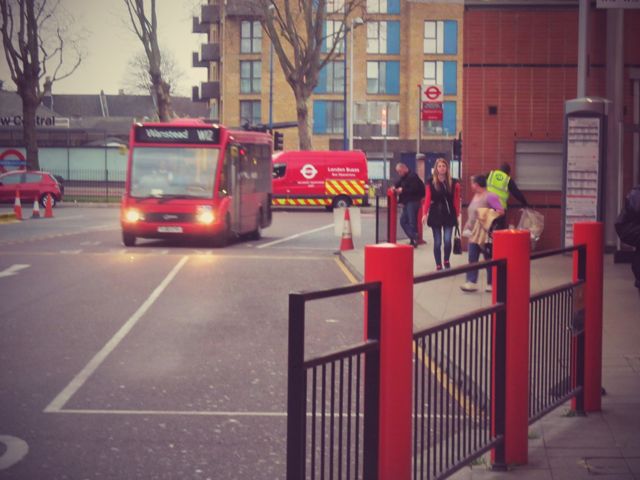
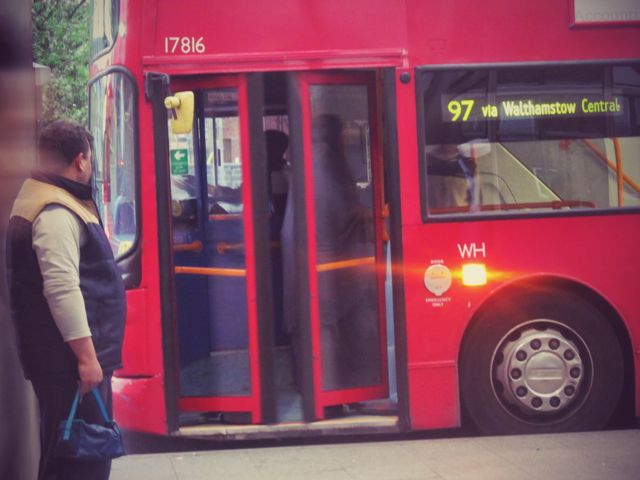
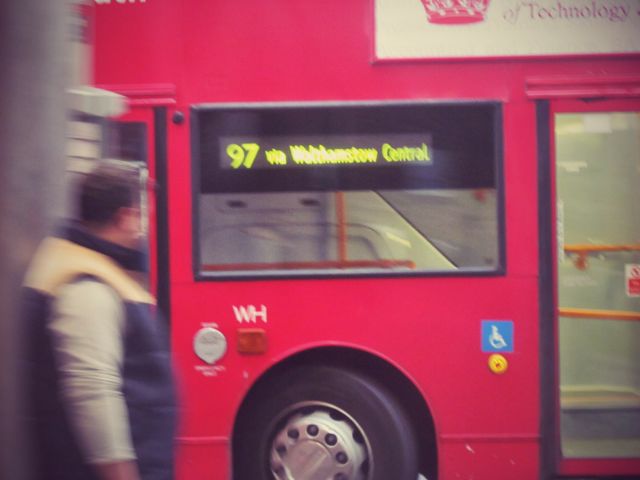
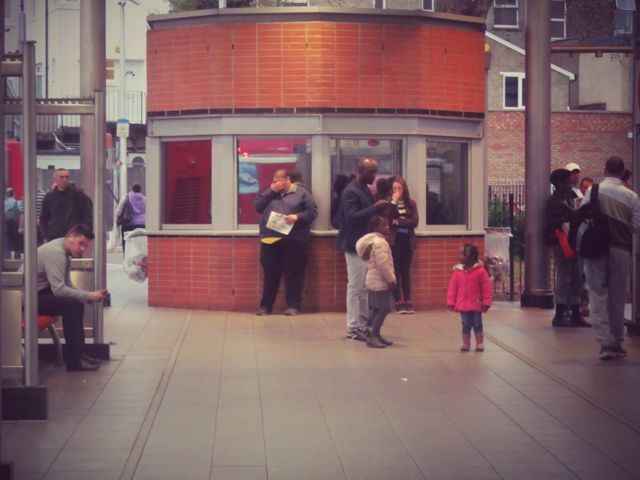
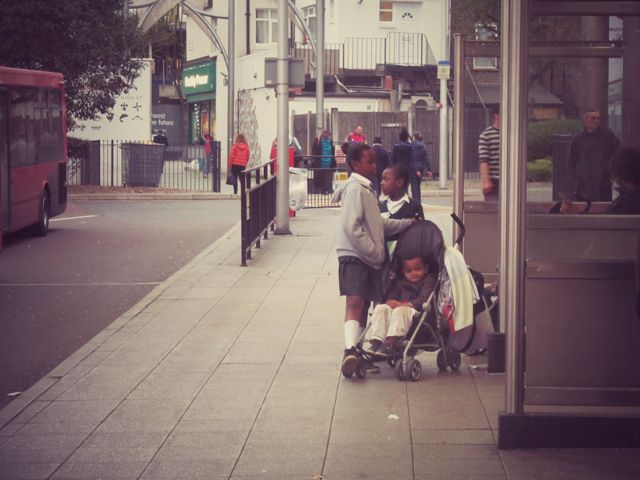
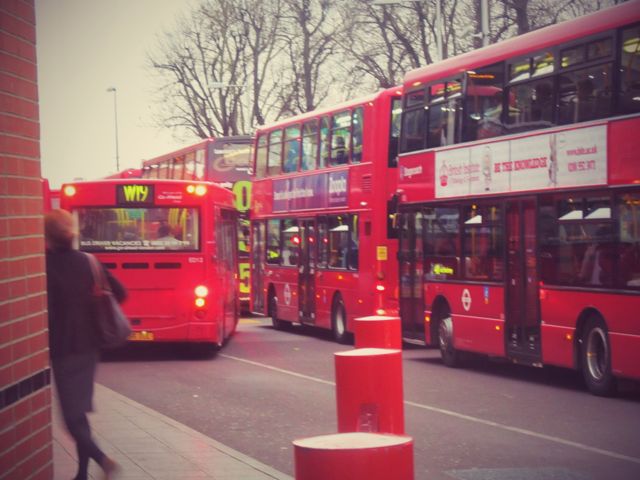
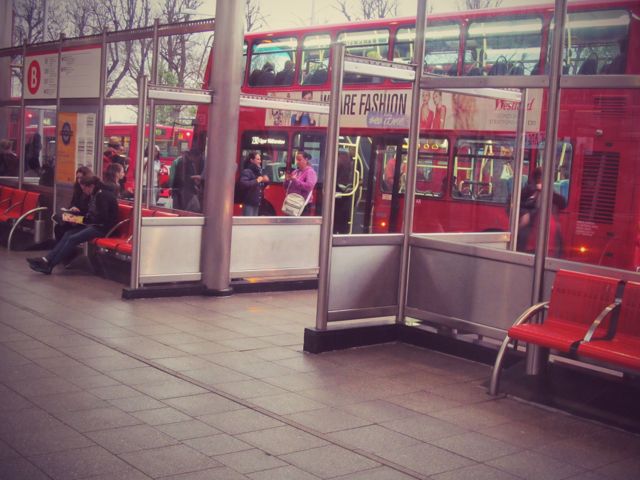
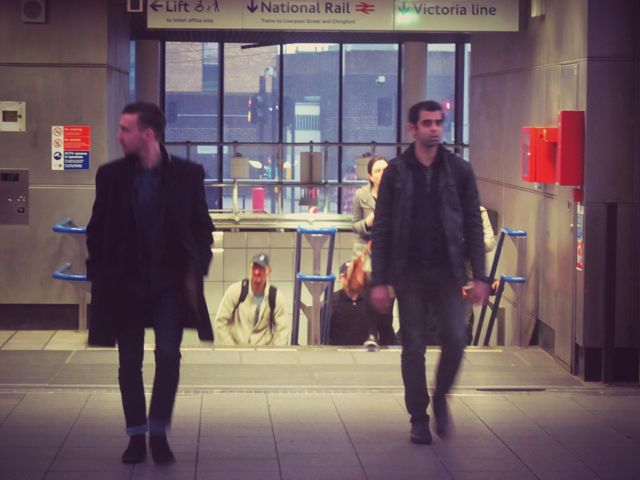
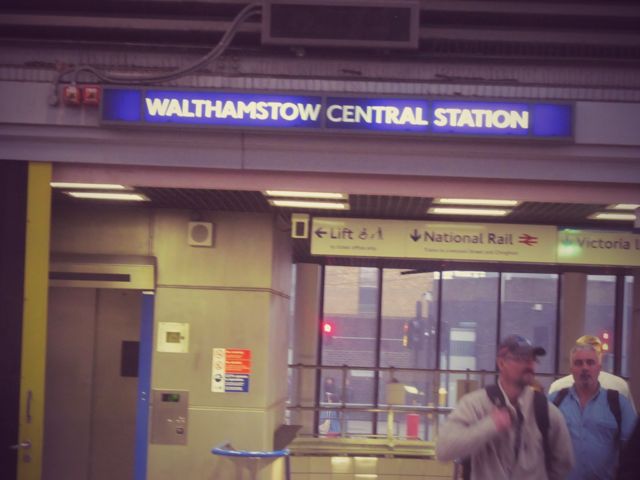
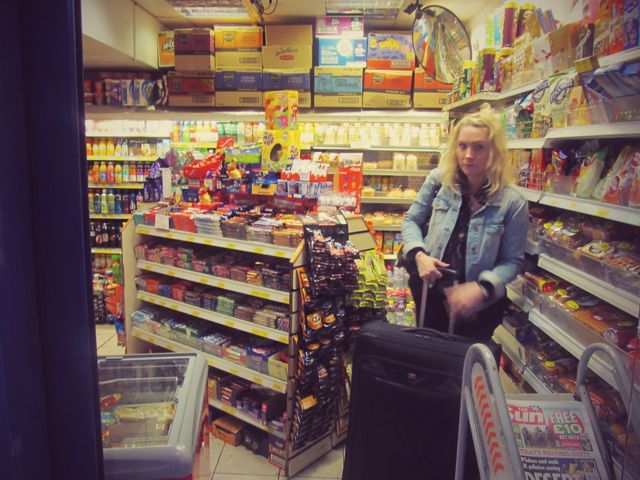
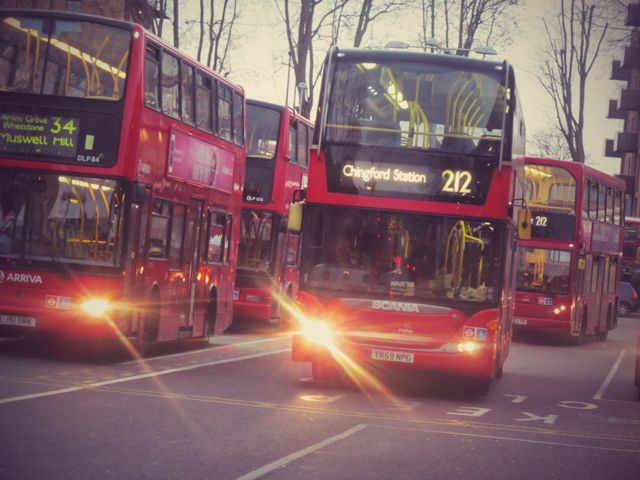
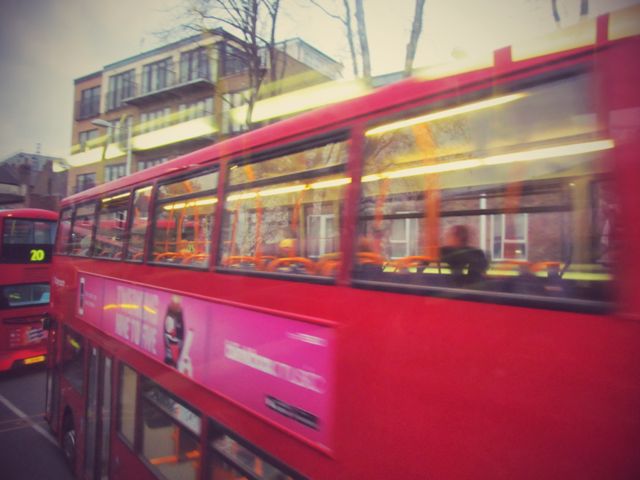
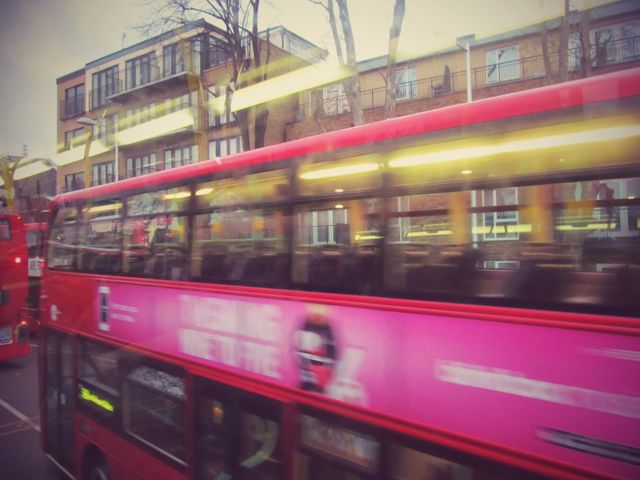
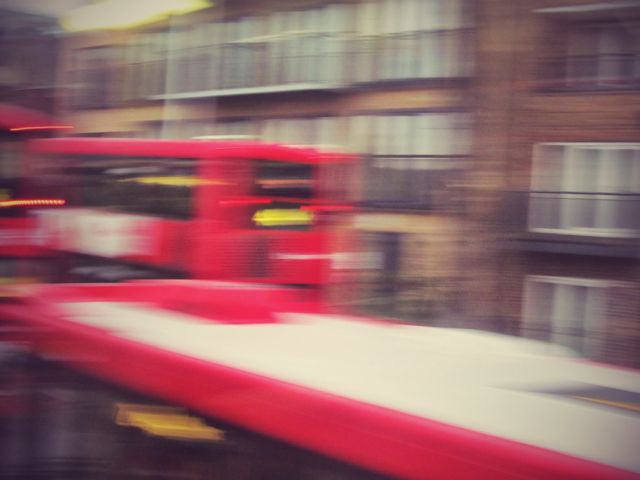
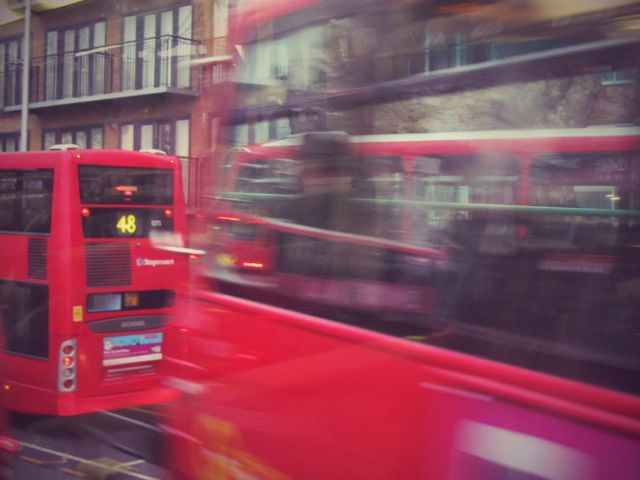
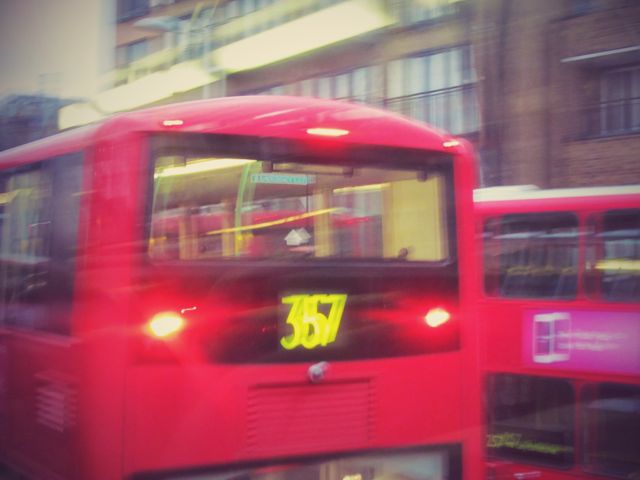
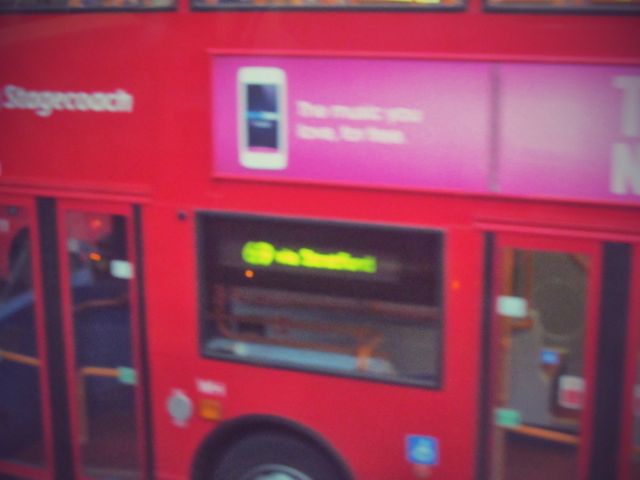
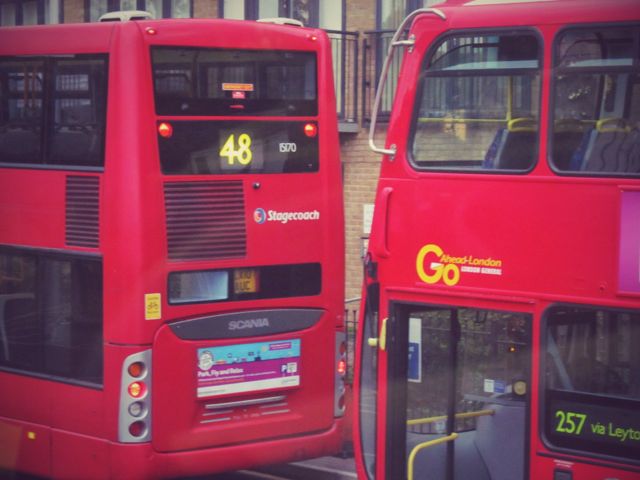
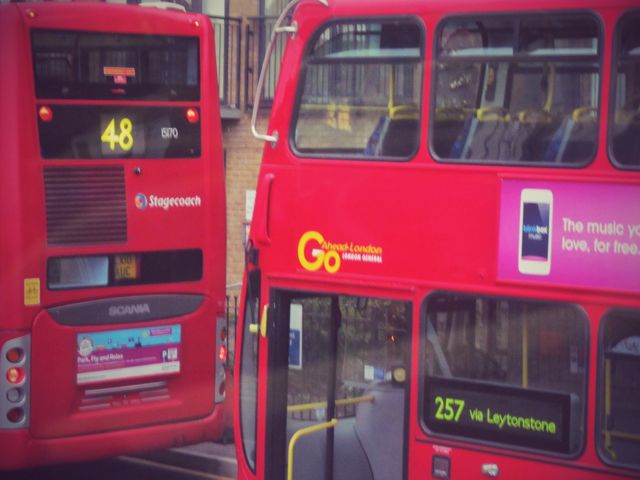
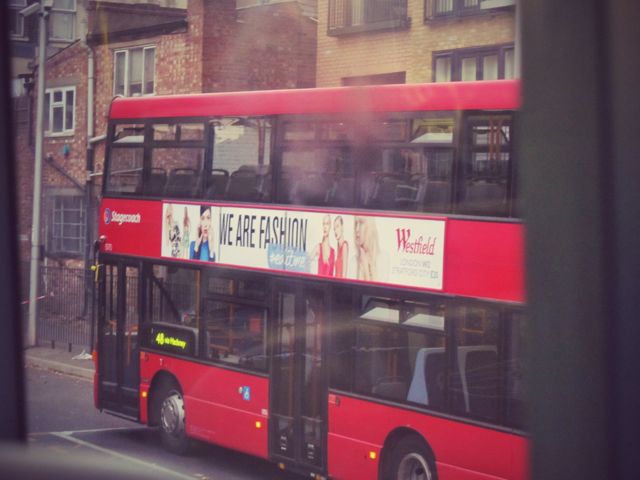
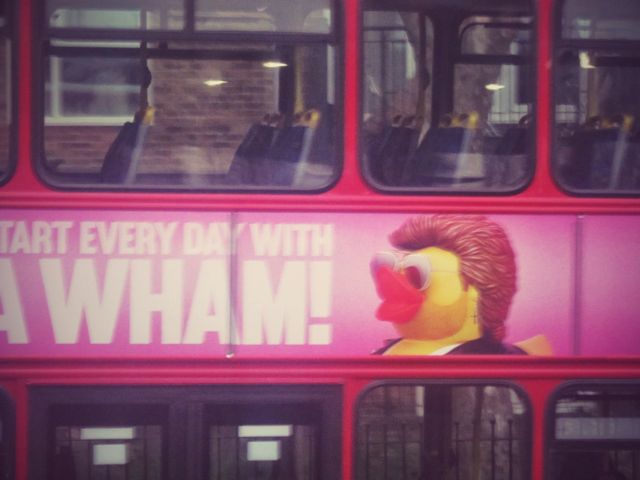
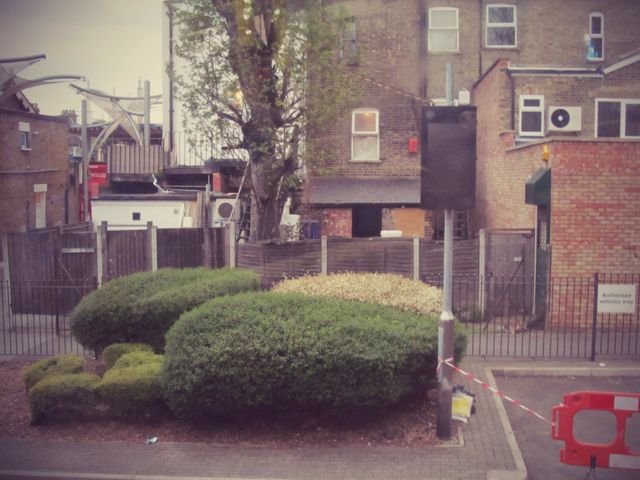
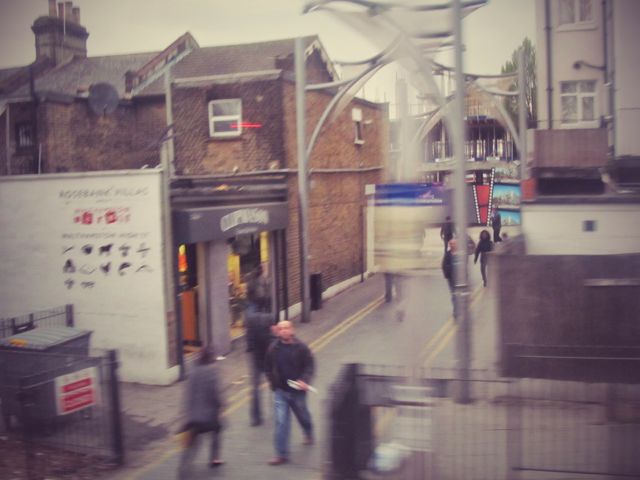
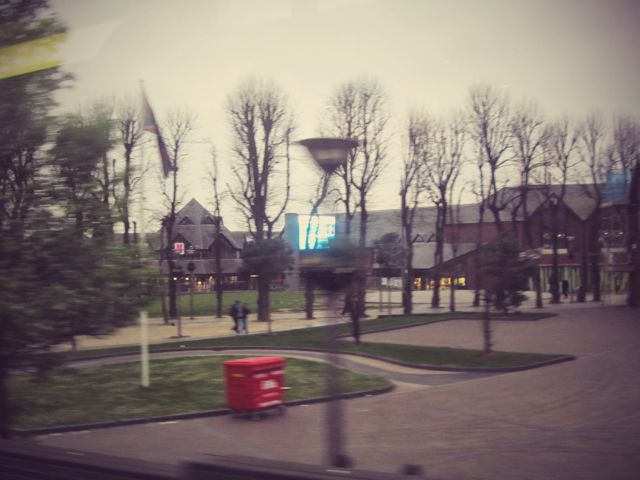

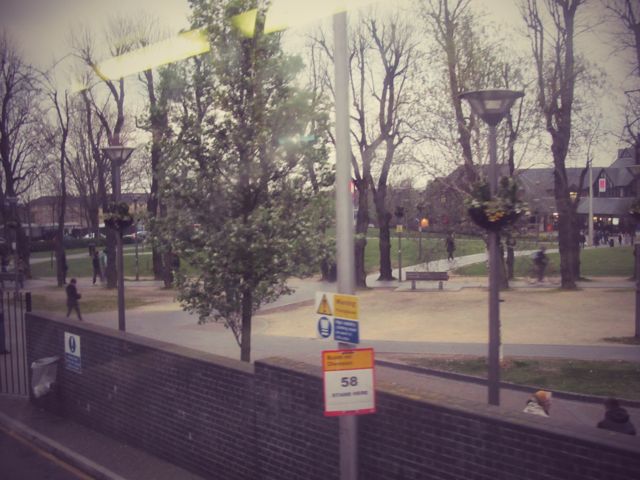
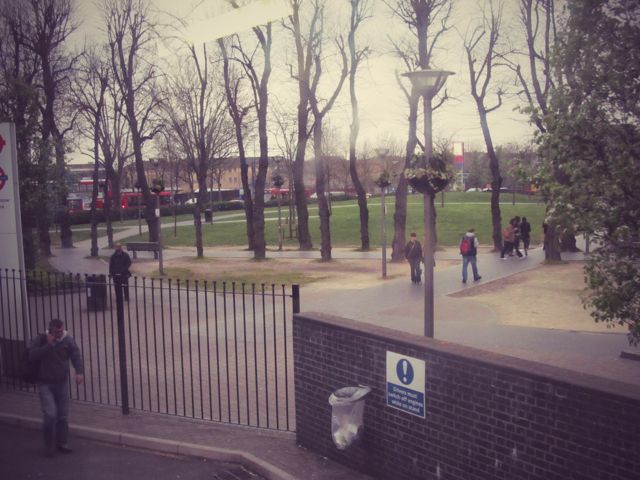
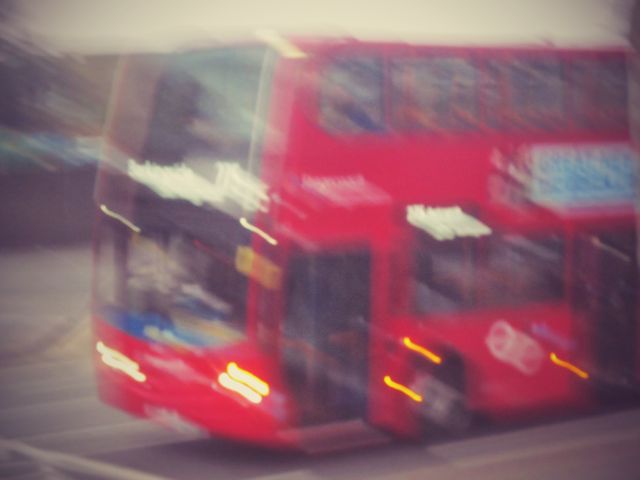
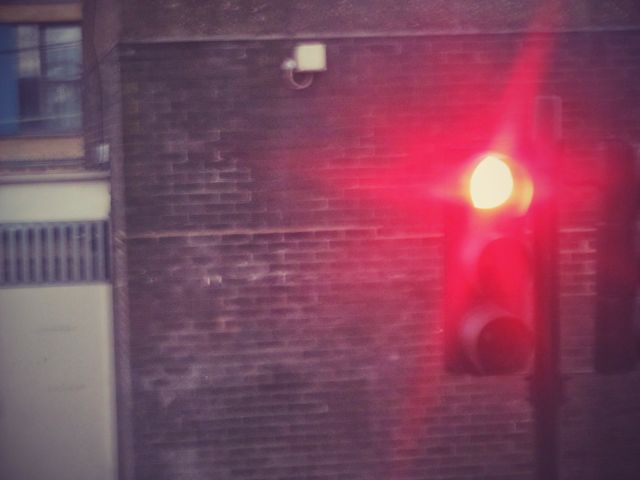
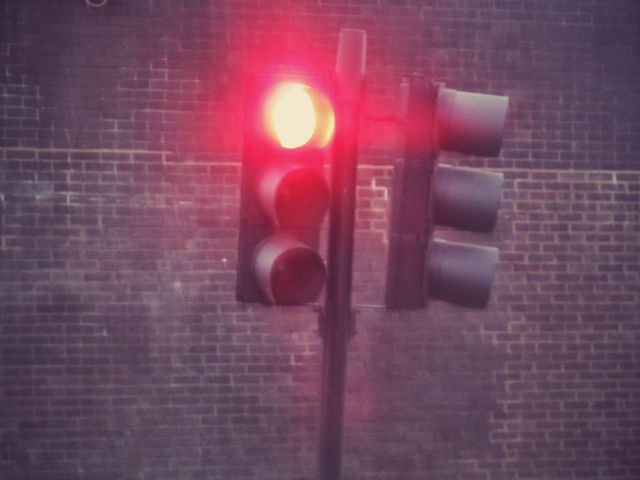
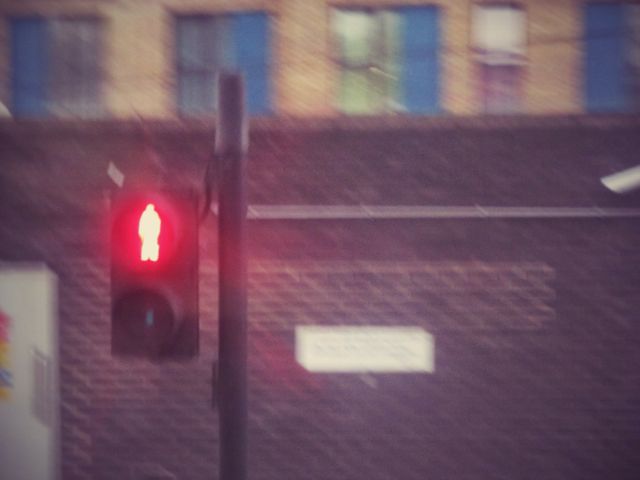
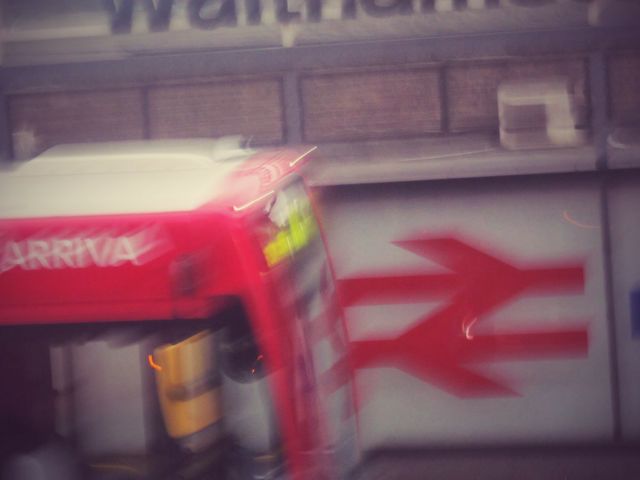
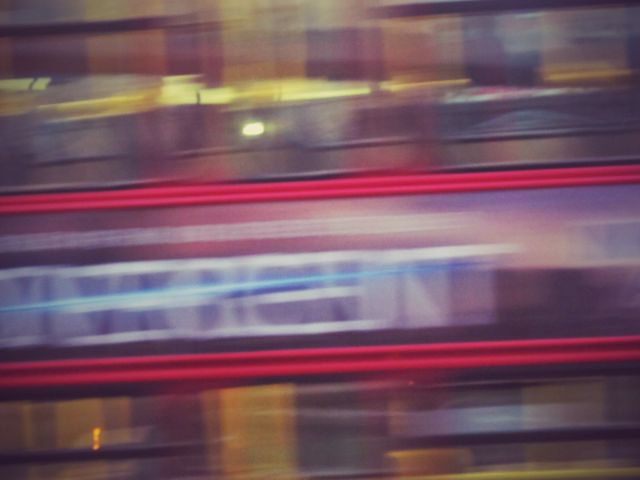
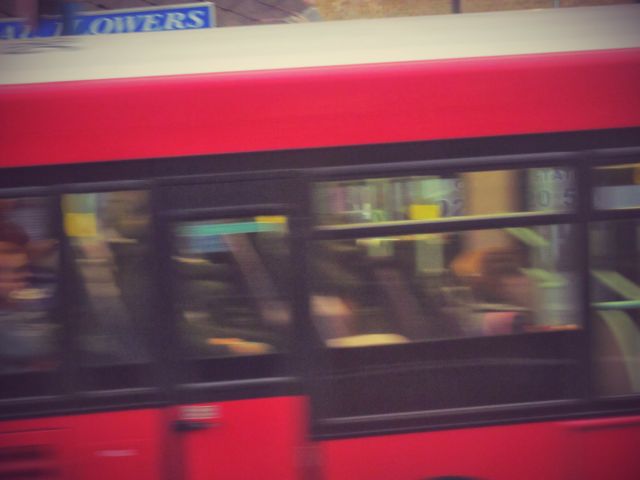
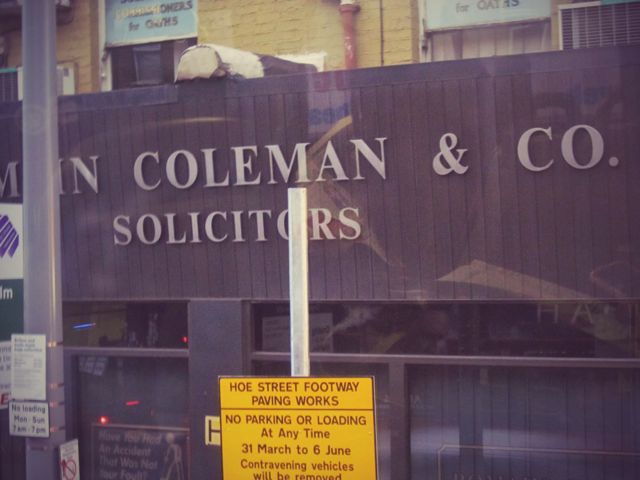
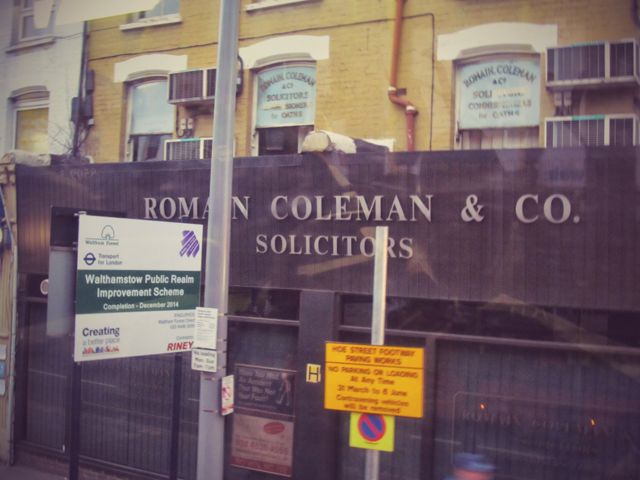
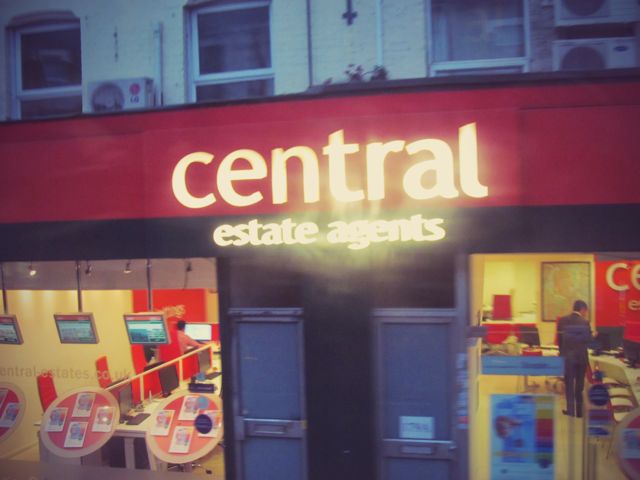
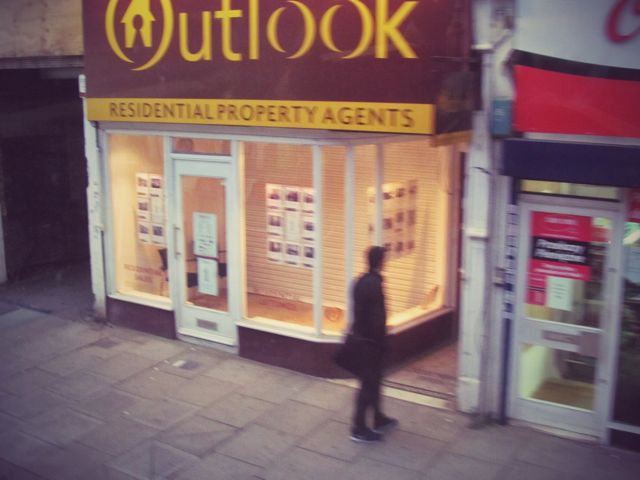

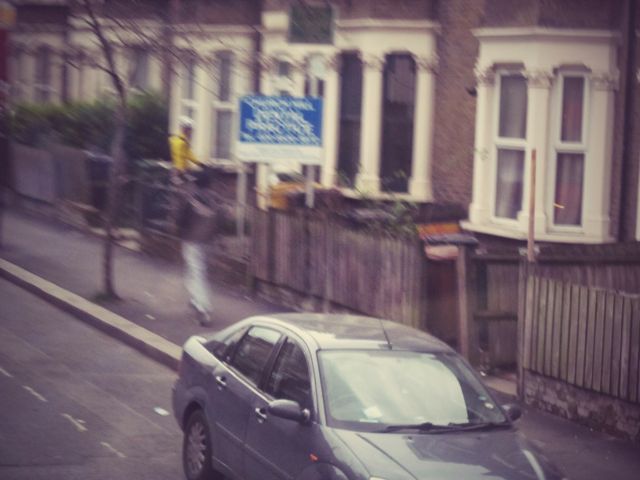
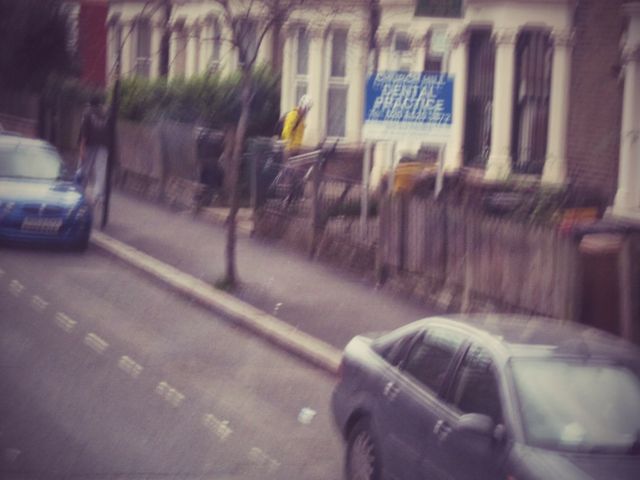
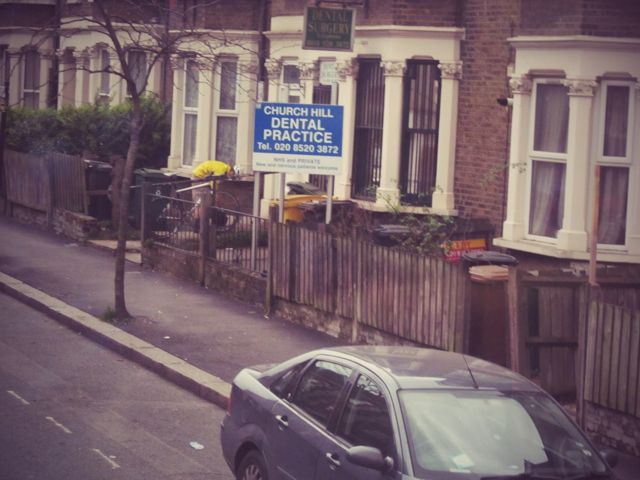
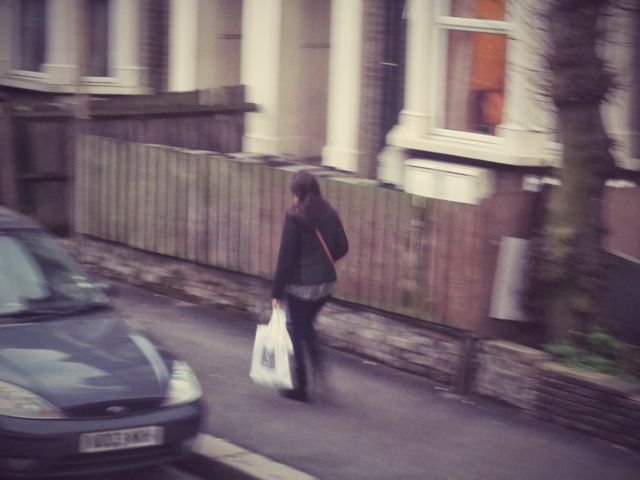
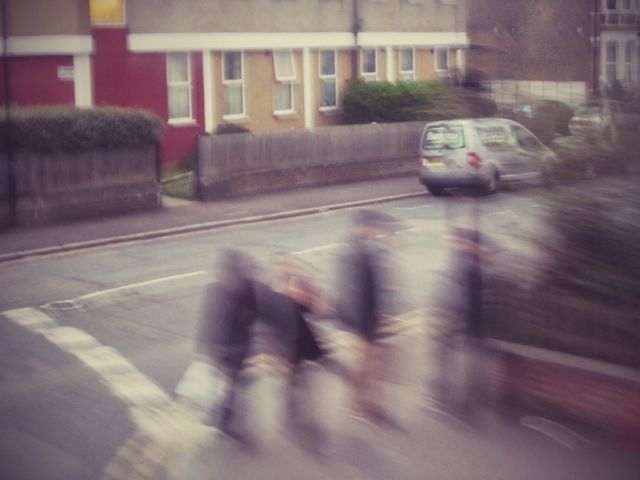
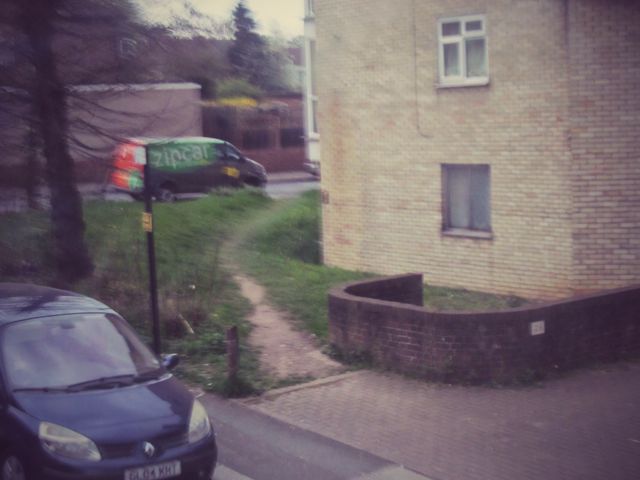
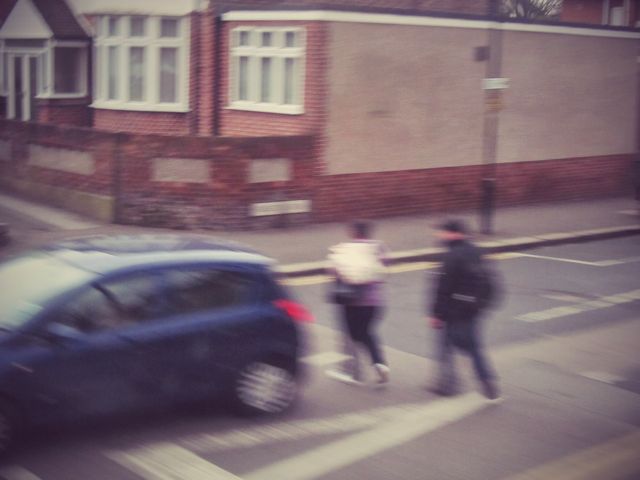
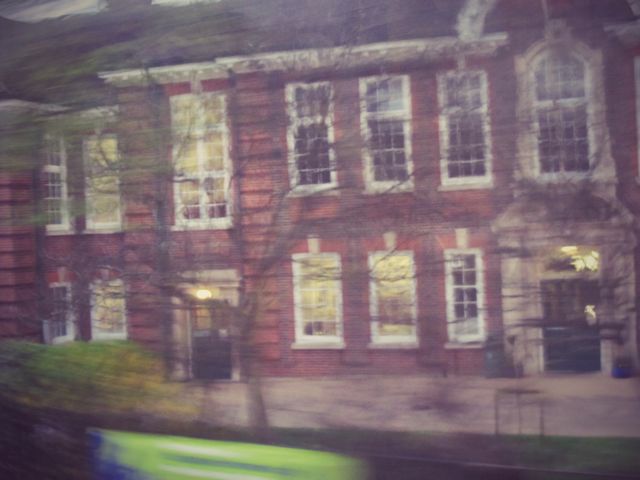
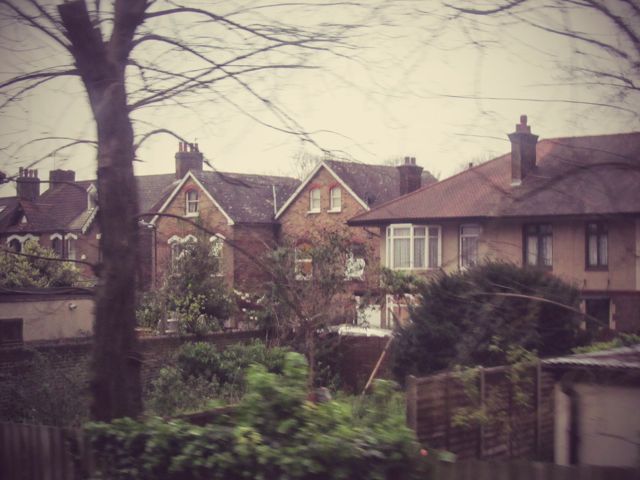

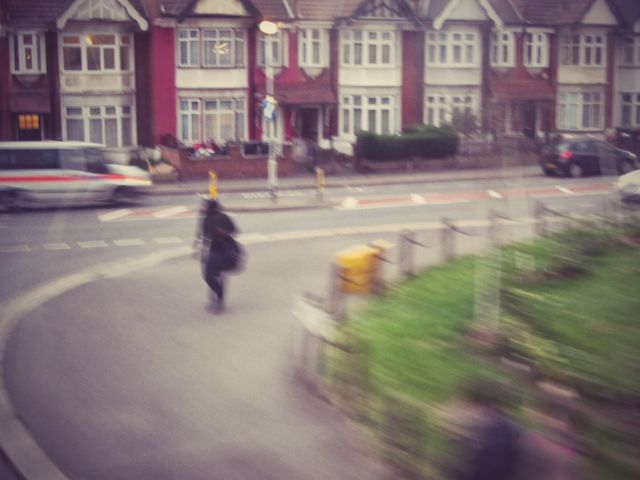
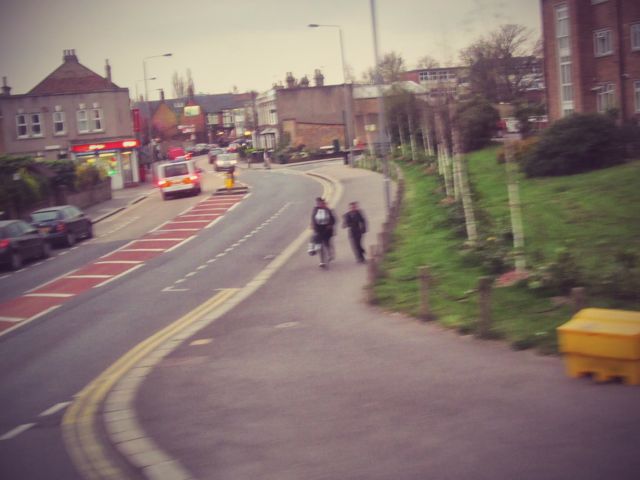
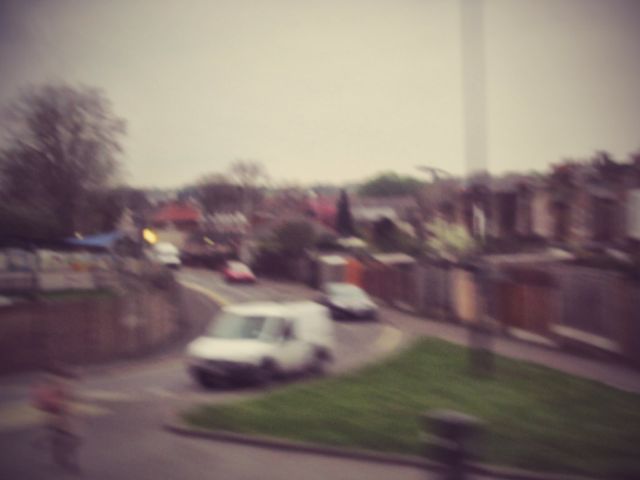
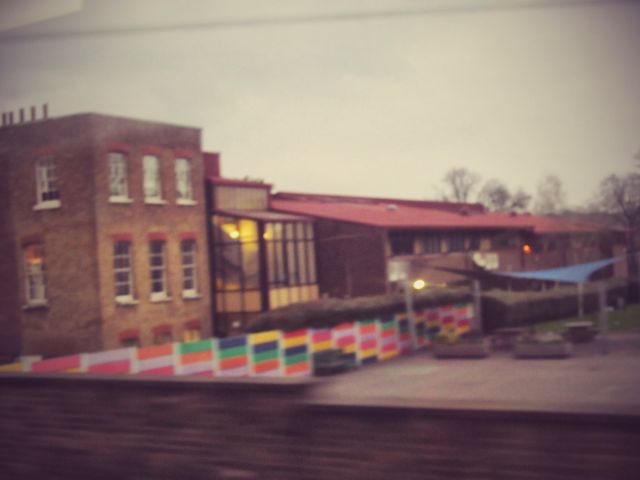
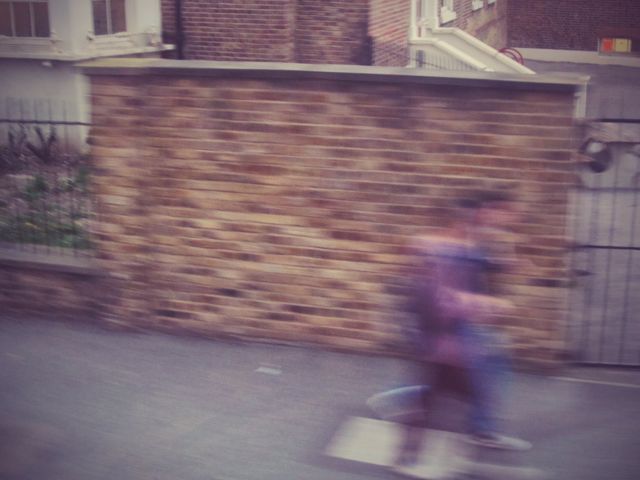

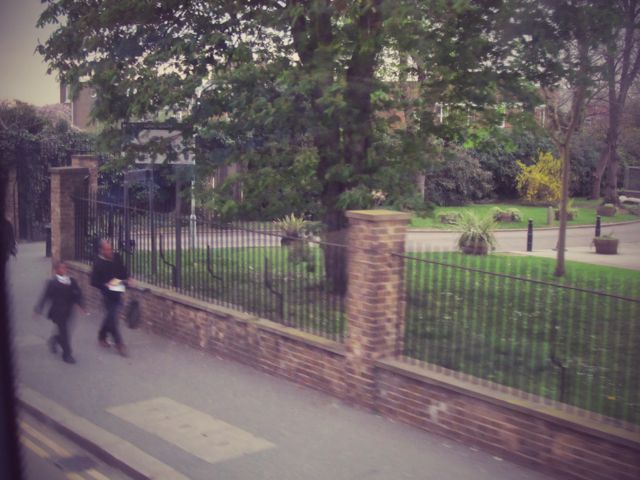
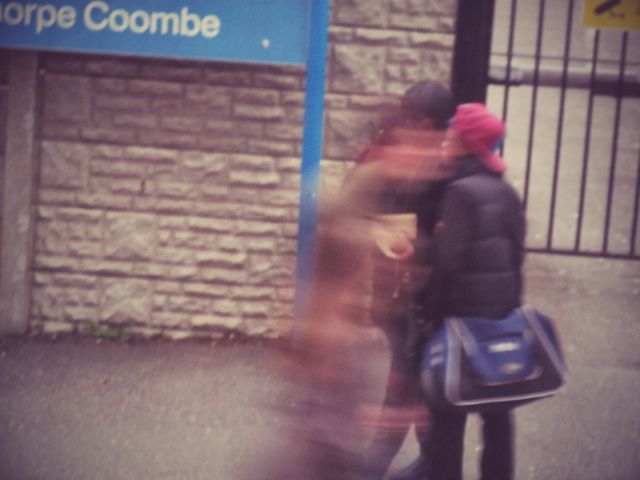
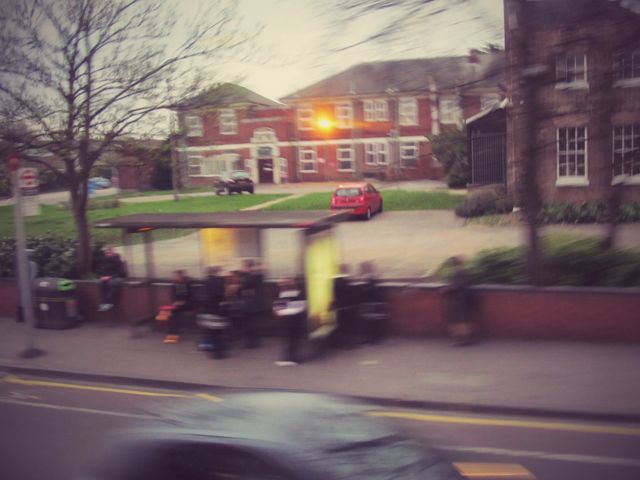
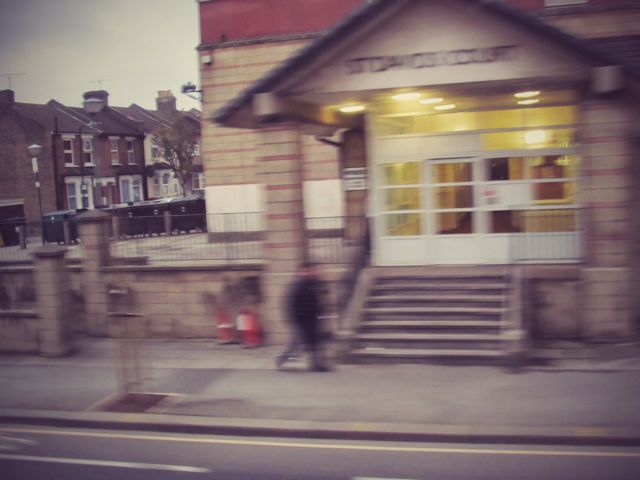
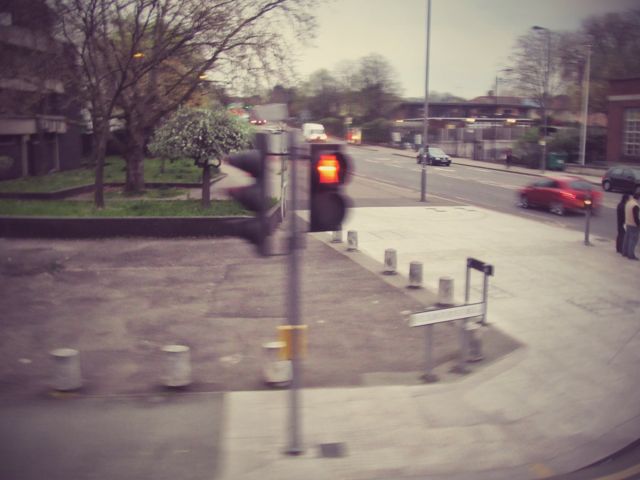
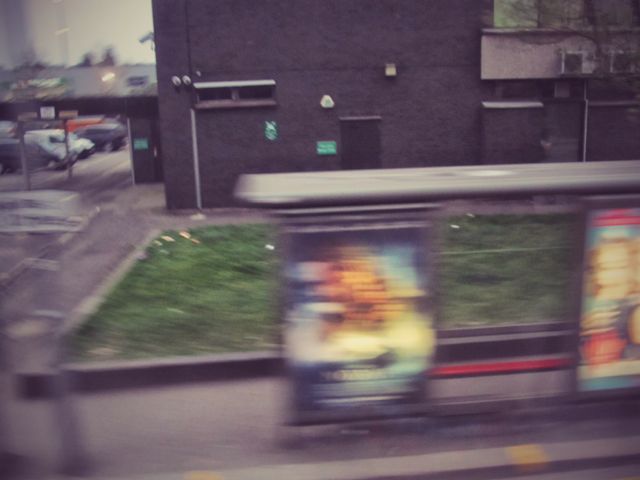
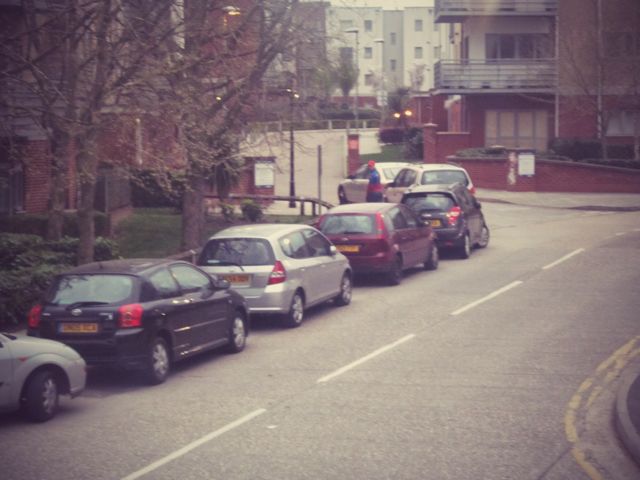
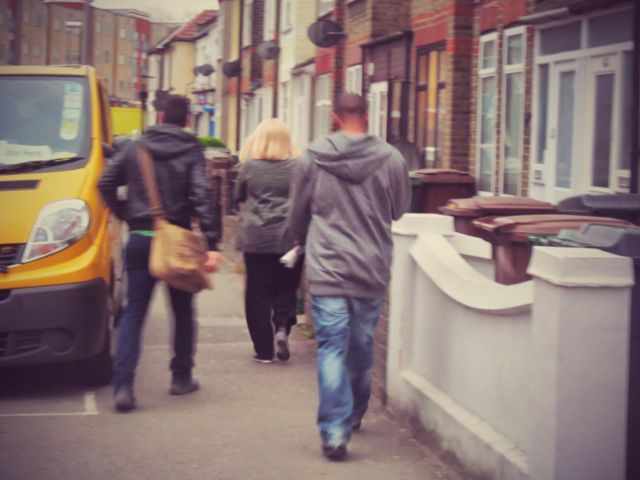
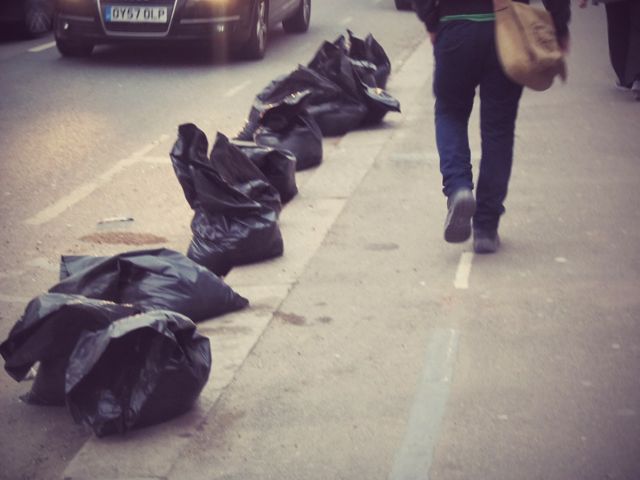

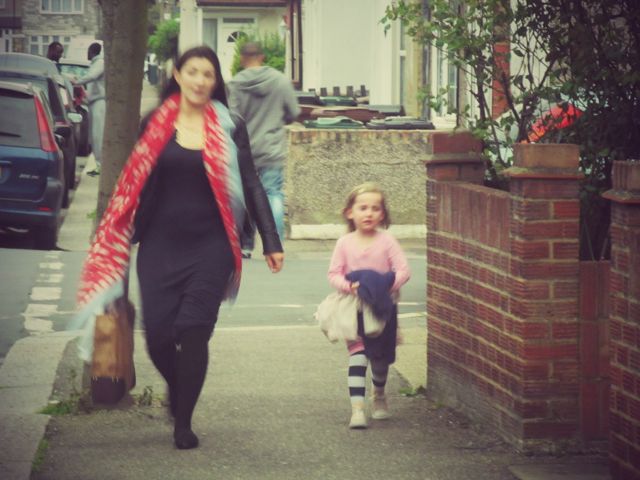
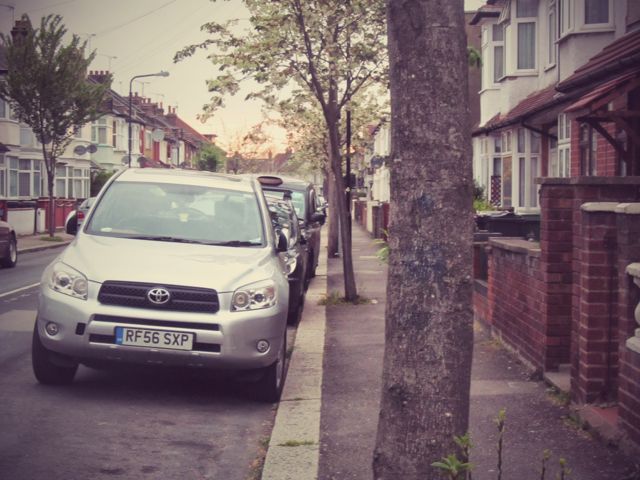
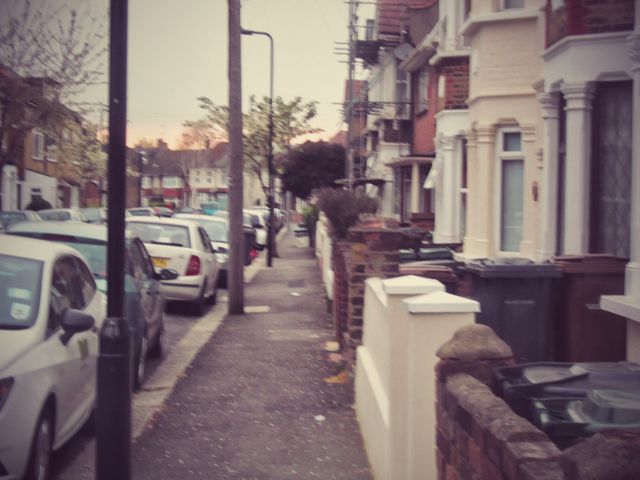
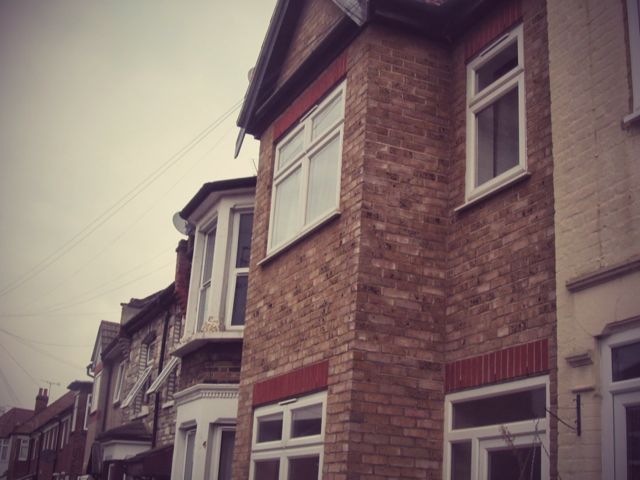

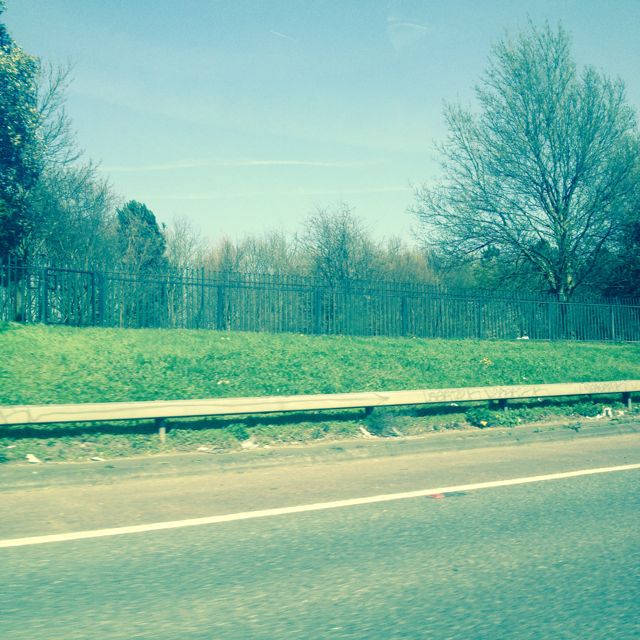
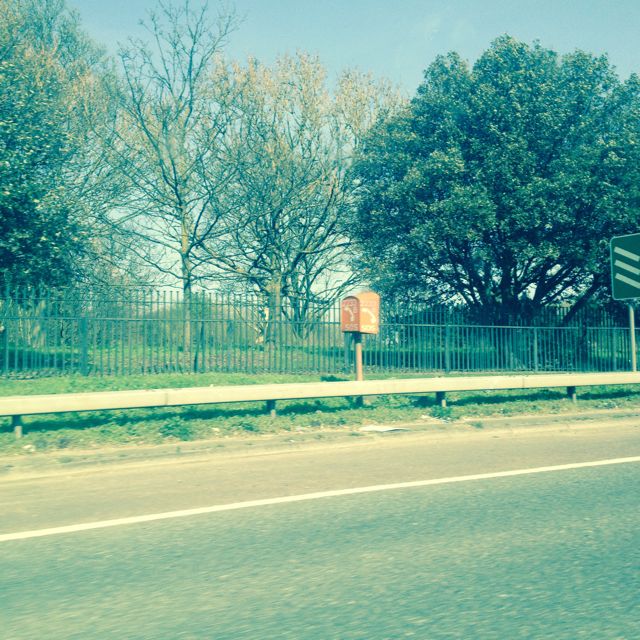
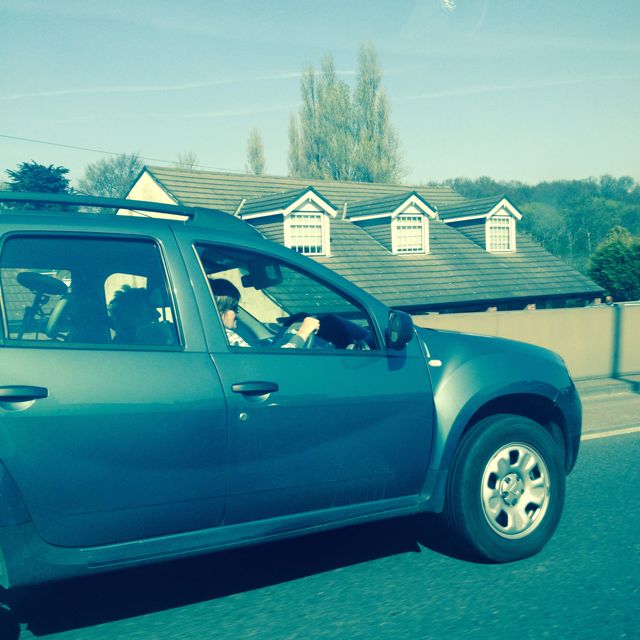
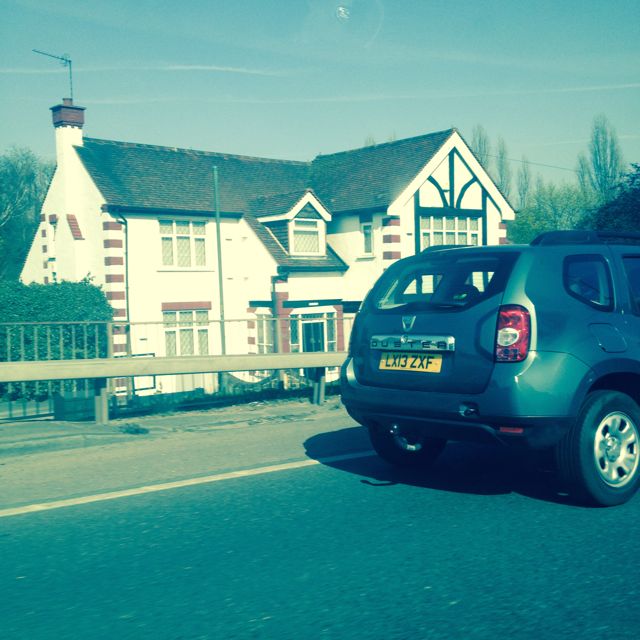
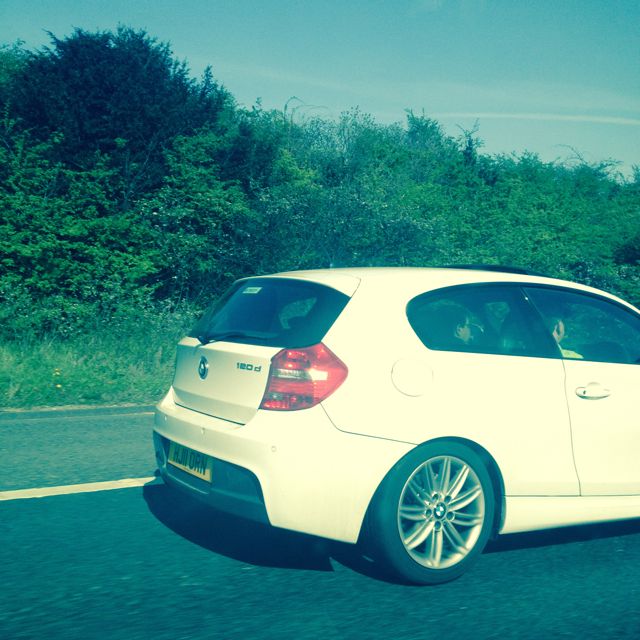
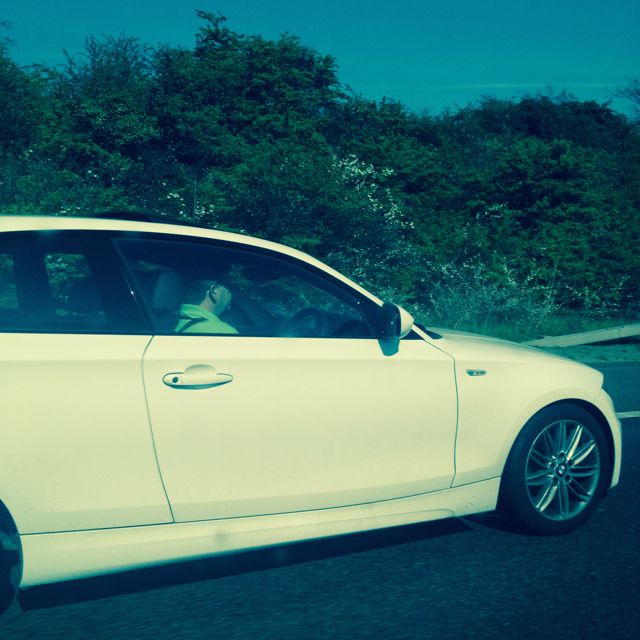
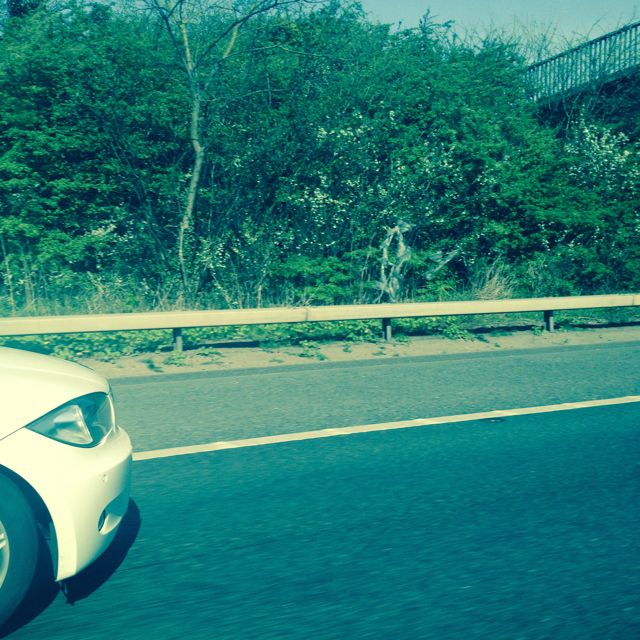
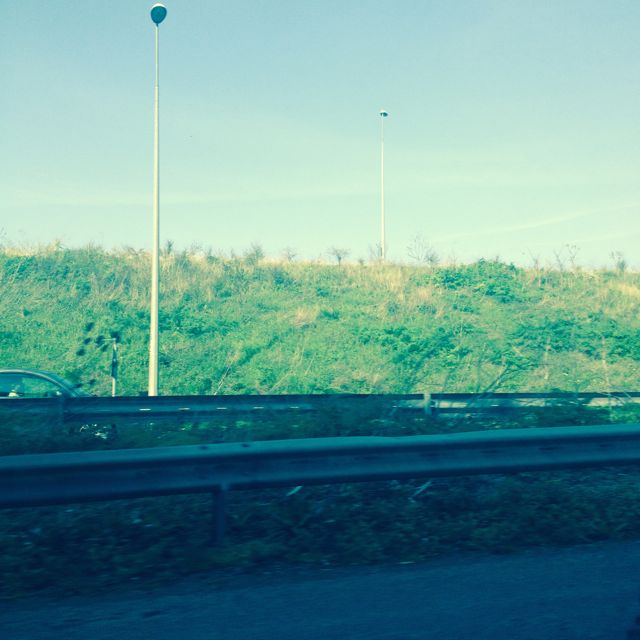
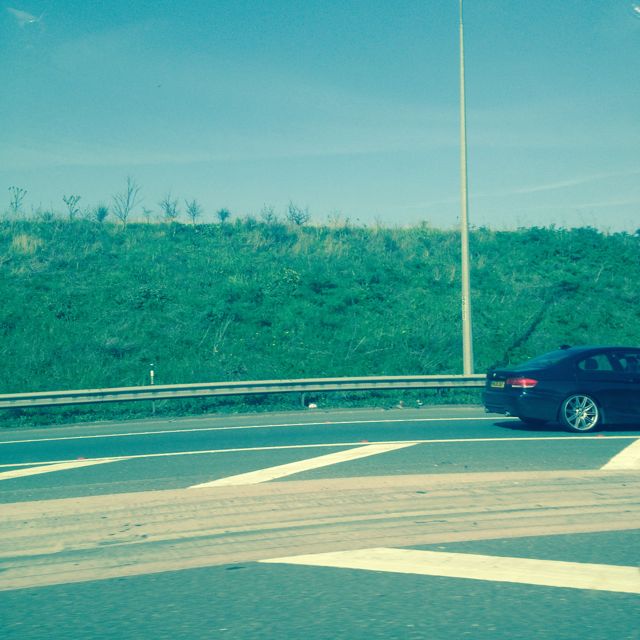
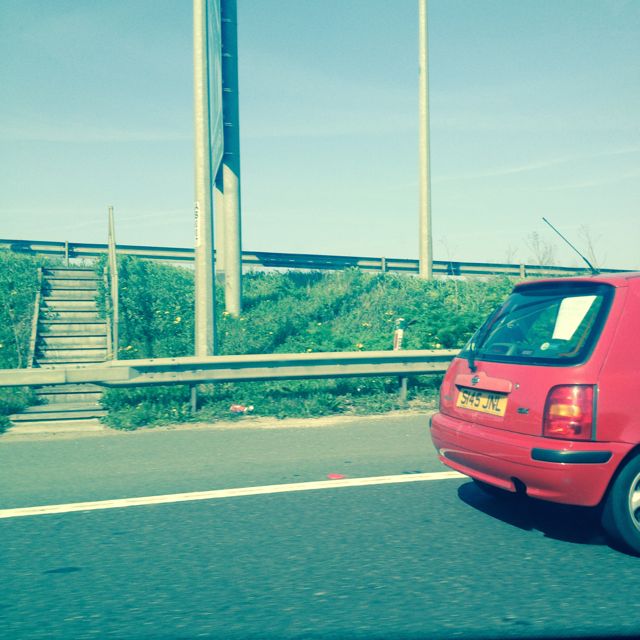
After doing my research on Robert Frank, I decided to go and take some more images on the journey that I made to Walthamstow one day. I made sure to try and get a wide range of images in different places and different scenes to make the set a lot more interesting than the Bluewater set that I made previously. I decided that I wasn't going to completely copy Robert Frank's style and so rather than editing the images with a black and white filter like I started to do originally (like the work of Robert Frank and also Markus Hartel), I changed my mind and realised that the images were so much more interesting to look at still in colour. However, I felt the images looked a bit dull and so I used the vintage photo editing effect on Google+ to bring the colours out more. I used my Canon PC1677 camera instead of my phone camera as my Canon takes much better quality images than my phone. I think I got some great images out of my trip and I benefited from choosing to use my camera. Having said that, I found it quite frustrating at times as I sometimes had to wait for the camera to focus and by the time it had done so, sometimes the scene I wanted to capture would be gone. I think that if I had something like an iPhone then I would have found it a lot easier as the pictures would have been captured so much quicker and I probably would have got a lot more overall.
My Final Piece
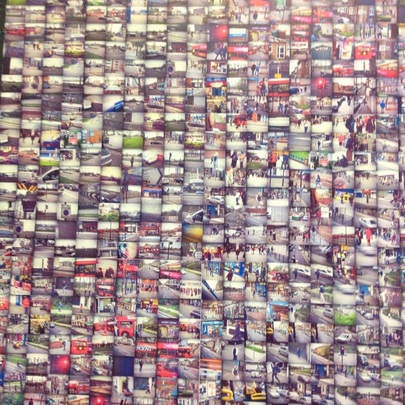
For my final piece, I thought a lot about what I was going to do and decided I wanted to use every image I had taken on my journey. I wanted to take all the images, print them off and stick them down on a board in a sequencing order to show the order of the trip. However, because I realised that the idea of printing off all 500 images and sticking them down on a board one by one was going to take too much time, I decided to use the Apple Mac app, CollageIt to make my pictures into collages. At first I wanted the images to be in a sequencing order but after seeing them in the randomized formation that the app put them in as a default, I realised that I liked it that way and so kept it that way. I made six randomized collages, trying to use every single one of my pictures in them and then printed them off on A3 paper and then stuck them all down on a board with no gaps in between so as to give off the effect that each individual image had been stuck down like I wanted. I really like the outcome of my final piece because of the busyness of the piece as a whole - the fact that there is so much going on in the whole thing I feel makes it a lot more intriguing to look at. I think it worked well because of the layout - the way all the images fitted together made them look like one big image rather that just loads of separate little ones. However I think if I had the chance to do it again, I would do it on a larger scale so the overall piece was much bigger than the original.
|
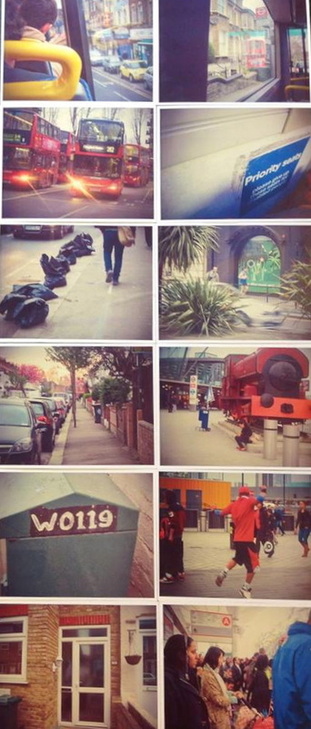
I also made an addition to this piece by picking out twelve of the images out of the 500 I had that were my favourite and that I thought represented well the journey as a whole. I then printed these off and stuck them down on boards and cut each one out of the board so they stood as individual images that I could arrange however I wanted.
|
Final Evaluation
I chose street photography as my theme for unit 2 because right from the start of the photography course I’ve always taken a particular interest in the theme. I mostly enjoyed the Mobile Photography and Work Experience units because they were the units most related to street photography and I really enjoyed going out and capturing different scenes as I was out and about.
My ideas developed over the time of the course by looking at the work of other street photographers to use as inspiration. I looked at a few photographers and these included; Joel Meyerowitz, Markus Hartel and Robert Frank. All three of these photographers followed the same theme but had completely different styles to their work. Joel Meyerowitz was the only street photographer I looked at that worked with colour and I think it was quite a good idea that I looked at his work because although my original plan was to edit my final piece work with a black and white filter, I ended up leaving my work in colour. Each of the photographers used all the different types of styles in street photography: Looking Down, Shadows & Reflections, Over the Shoulder, Cropping, Walk on By, and Surfaces. And I tried to incorporate at least three of these styles into my first sets of images, just to experiment before going out and taking the photographs for my final piece.
During the unit, I experimented with different cameras and apps. I first of all started off using a DSLR camera in school to take some images before using iPhoto to edit them all with the black and white filter. In my second set, it was quite a sunny day so I decided to use the natural lighting to my advantage. I used a DSLR camera also in this set, as they take images with outstanding quality. For my Bluwater journey set of photographs, I used a borrowed iPhone 4S to take the pictures. I used the camera to make sure that all the images were automatically cropped square and had a cross process effect on them. My last set of images I used my Canon PC167 camera to take the pictures for a better quality that my phone. I then used the Google+ vintage effect to edit the images. When incorporating these images into my final piece I used an app called CollageIt to put the pictures into collages to speed up the making process.
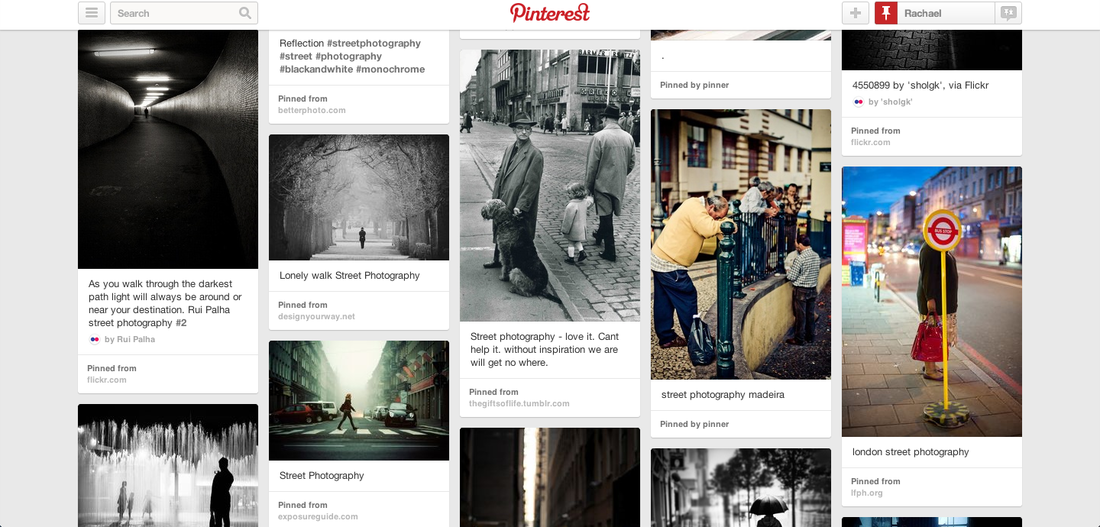
To record my ideas, I first of all started off my page by posting a picture hyperlink to my Pinterest board on street photography. For the some of my page, I used a double column layout to make my work look my orderly and neat. I also posted a YouTube video called “Everybody Street” which talks about street photography and features quite a few very popular street photographers and helped me gain a bit more of an understanding about street photography. I used galleries and slideshows to display different images and make them look more interesting. I also posted a quote on my page by Elliot Erwitt, talking about the work of the iconic street photographer Robert Frank.
I arrived at my final pieces by taking all the skills I learned and developed throughout the unit and applying them into my work. For example, I used the work of other photographers to learn different ways to capture a scene and what kind of scenes to actually capture. I am very happy with how my final outcomes have turned out and I feel that the images were a success and successfully displayed in the way that I imagined they would turn out. Not all the images are perfect, some out of focus or not in the right composition but they still work well in the piece because I feel it’s like every single moment in the journey was included to capture the reality of it. I feel that I have only been able to create a successful final piece because of all the creative processes I have been through in the unit. Without all the trial and error I would not have been able to figure out what would work well and so I believe that my piece wouldn’t have turned out as good as it did.
I am quite satisfied with the progress that I have made in this unit because I feel I have been able to perform to the best of my ability without as much help as I received in the previous units. I feel as though I have been independent in my work and have lived up to the requirements. I especially feel this as Street Photography was more independent than the others as there wasn’t really much I could do in lessons but I still managed to get it all done and produce a final piece that I am proud of.
My ideas developed over the time of the course by looking at the work of other street photographers to use as inspiration. I looked at a few photographers and these included; Joel Meyerowitz, Markus Hartel and Robert Frank. All three of these photographers followed the same theme but had completely different styles to their work. Joel Meyerowitz was the only street photographer I looked at that worked with colour and I think it was quite a good idea that I looked at his work because although my original plan was to edit my final piece work with a black and white filter, I ended up leaving my work in colour. Each of the photographers used all the different types of styles in street photography: Looking Down, Shadows & Reflections, Over the Shoulder, Cropping, Walk on By, and Surfaces. And I tried to incorporate at least three of these styles into my first sets of images, just to experiment before going out and taking the photographs for my final piece.
During the unit, I experimented with different cameras and apps. I first of all started off using a DSLR camera in school to take some images before using iPhoto to edit them all with the black and white filter. In my second set, it was quite a sunny day so I decided to use the natural lighting to my advantage. I used a DSLR camera also in this set, as they take images with outstanding quality. For my Bluwater journey set of photographs, I used a borrowed iPhone 4S to take the pictures. I used the camera to make sure that all the images were automatically cropped square and had a cross process effect on them. My last set of images I used my Canon PC167 camera to take the pictures for a better quality that my phone. I then used the Google+ vintage effect to edit the images. When incorporating these images into my final piece I used an app called CollageIt to put the pictures into collages to speed up the making process.
To record my ideas, I first of all started off my page by posting a picture hyperlink to my Pinterest board on street photography. For the some of my page, I used a double column layout to make my work look my orderly and neat. I also posted a YouTube video called “Everybody Street” which talks about street photography and features quite a few very popular street photographers and helped me gain a bit more of an understanding about street photography. I used galleries and slideshows to display different images and make them look more interesting. I also posted a quote on my page by Elliot Erwitt, talking about the work of the iconic street photographer Robert Frank.
I arrived at my final pieces by taking all the skills I learned and developed throughout the unit and applying them into my work. For example, I used the work of other photographers to learn different ways to capture a scene and what kind of scenes to actually capture. I am very happy with how my final outcomes have turned out and I feel that the images were a success and successfully displayed in the way that I imagined they would turn out. Not all the images are perfect, some out of focus or not in the right composition but they still work well in the piece because I feel it’s like every single moment in the journey was included to capture the reality of it. I feel that I have only been able to create a successful final piece because of all the creative processes I have been through in the unit. Without all the trial and error I would not have been able to figure out what would work well and so I believe that my piece wouldn’t have turned out as good as it did.
I am quite satisfied with the progress that I have made in this unit because I feel I have been able to perform to the best of my ability without as much help as I received in the previous units. I feel as though I have been independent in my work and have lived up to the requirements. I especially feel this as Street Photography was more independent than the others as there wasn’t really much I could do in lessons but I still managed to get it all done and produce a final piece that I am proud of.
