How to make a Pinhole Camera - Step by step instructions
Ingredients:
- 1 x container, preferably with a lid
- 1 x sharp knife
- Black tape
- A small, sharp pin
- Black paint and a brush
- Aluminium foil
- A pair of scissors
- Photographic paper
Instructions:
- Take your container and paint the inside black, including the lid. This will stop any light from bouncing around the inside of the container.
- Cut a rectangular hole in the middle of your container. Not too big, but not too small either.
- Cut a square of your aluminium foil and smooth it out so there aren't too many creases.
- Use your tape to stick the aluminium foil over the rectangular hole that was previously cut.
- Use your pin to pierce a tiny hole in the aluminium foil.
- Make a shutter flap that is secure and completely covers the hole. You need to make sure that the flap is easily opened and closed.
- Turn on the red light in the darkroom and then cut a piece of your photographic paper to fit inside of your container.
- Put this paper inside of your container and make sure it is in a secure position that will stay completely still throughout the process.
- Put the lid on the container and close the shutter flap before going outside.
- Find an object or scene that catches your eye then open the shutter and leave it in the same position for between 30 seconds - 5 minutes
- Close the shutter at the end of that time and then take your camera back to the dark room.
- Place the paper into the developer for 1 minute, the stop bath for a few seconds, and then the fixative for 5 minutes. (In that order)
- Finally, wash the print in water and then use the squeegees to dry the print, before hanging it up on a rack to dry properly.
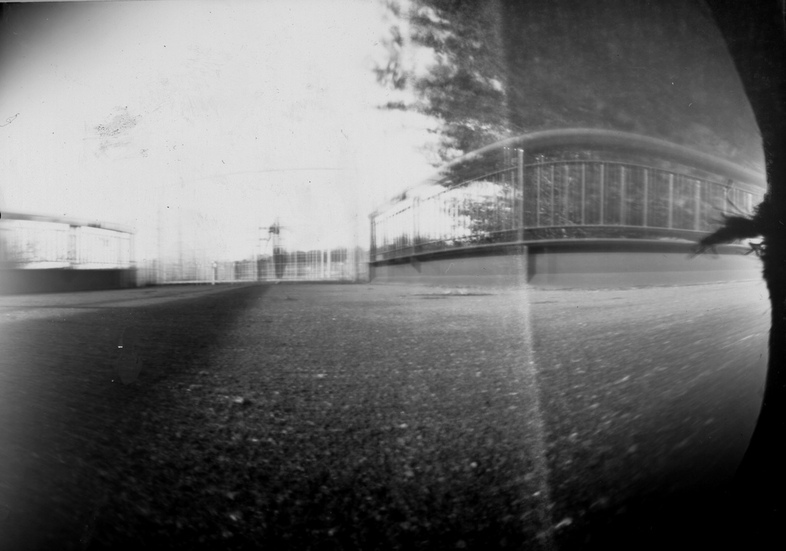
Here's what your end result should look like: